Like a doorway to efficiency, your kitchen layout should embody flow and function. You’ll weigh galley, L-shaped, and U-shaped options, balancing workflow, storage, and sightlines while keeping traffic away from the prep zone. Compact work triangles and vertical storage will maximize what you have, but decisions hinge on your apartment’s footprint and doors. The next steps reveal how to map your space, optimize lighting, and pick a plan that meets real constraints—without sacrificing usability.
Choose the Best Small-Kitchen Layout
Choosing the right small-kitchen layout starts with defining your workflow. You map tasks, identify peak moments, and note constraints like door swings and plumbing.
Prioritize a work triangle that minimizes steps between sink, prep area, and stove, keeping critical paths under 8 feet where possible.
Consider a U- or L-shaped base for ample counter space without crowding; a galley can work if you plan traffic flow and appliance access carefully.
For flexibility, use open shelving and compact, high-output appliances.
Incorporate decorative accents to soften edges without stealing counter space, and plan appliance upgrades that boost efficiency—induction cooktops, compact dishwashers, and quiet refrigeration.
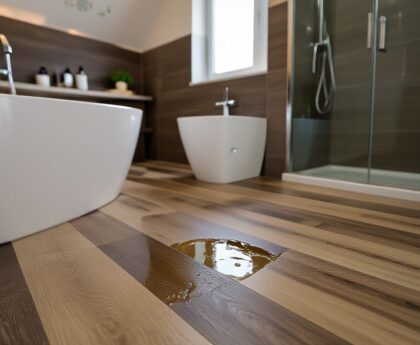
Finish with moisture-friendly backsplashes and clean lines to maximize perceived space while preserving usability.
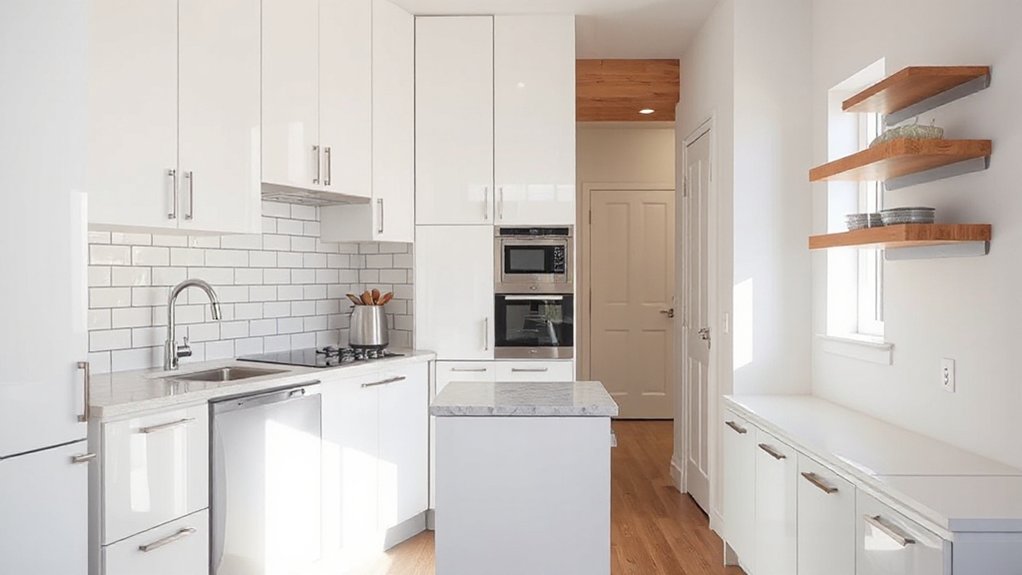
Galley Layout: Ultra-Efficient, Narrow Spaces
In a galley layout, you’ll optimize the Narrow Work Triangle to minimize steps between user, sink, and stove.
Use Efficient Storage Tricks to reclaim vertical and under-counter space without crowding the corridor.
Focus on clear Traffic Flow Optimization to keep walks unobstructed and appliances easy to access.
Narrow Work Triangle
The galley layout, a narrow work triangle optimized for tight spaces, positions the stove, sink, and fridge on parallel walls to minimize walking distance. In this setup, you’ll keep all primary work zones within a short stride, reducing cross-traffic and enhancing focus during meal prep.
Optimize appliance placement so hot zones stay away from cold storage and prep areas, and guarantee the corridor between walls remains unobstructed for safe passage.
Countertop materials should resist moisture and staining, since spills are common in compact kitchens. Choose seamless transitions between prep and cleanup, with short, straight work aisles that support quick movement.
Prioritize durable, easy-to-clean surfaces and thoughtful edge treatments to reduce chips and edge wear during frequent use.
Efficient Storage Tricks
Efficient storage in a galley layout hinges on maximizing vertical and wall space while keeping traffic clear. You’ll harness ceiling-height cabinets, adjustable shelves, and adjacent counter niches to create rapid-access zones.
Use nested organizers for pots, pans, and lids, and install pull-out trays to minimize reach and effort. Edge-drawer dividers separate utensils by frequency of use, reducing rummaging during prep.
For small appliances, assign a dedicated, ventilated alcove; label cords and maintain appliance maintenance schedules to prevent buildups and heat risk.
Incorporate magnetic strips for metal tools alongside a shallow, closed bin for disposables to reduce clutter.
Dining etiquette matters at the counter: keep serviceware nearby, avoid overloading surfaces, and respect workflow when guests approach.
Maintain clear perimeters to sustain ultra-efficient throughput.
Traffic Flow Optimization
Even in a galley layout, keep traffic tight but unobstructed by aligning the work zones with a single, clear path from entry to task areas. You’ll optimize the corridor by prioritizing uninterrupted circulation, minimizing crossing distances, and anticipating peak moments near the sink, stove, and prep zone.
Observe traffic patterns to prevent bottlenecks; design loops that allow one-way flow where possible and maintain sightlines for safe movement. Pedestrian zones should stay distinct from work zones, reducing interruptions and distraction.
Place primary storage off the main path to avoid backtracking. Use tactile cues or color contrasts to guide movement, and keep doors, drawers, and appliance doors flush with walls to preserve clearance.
- Clear entry-to-task path with defined pedestrian zones
- Sufficient clearance at door swings and drawer fronts
- Visual cues to direct traffic and reduce crossings
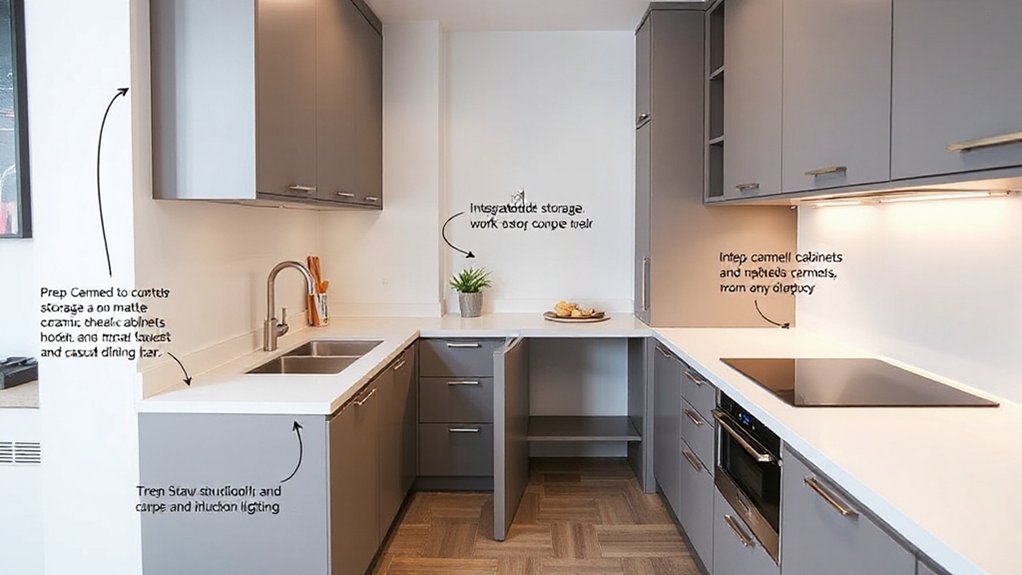
L-Shape Kitchen: Corner Storage Wins
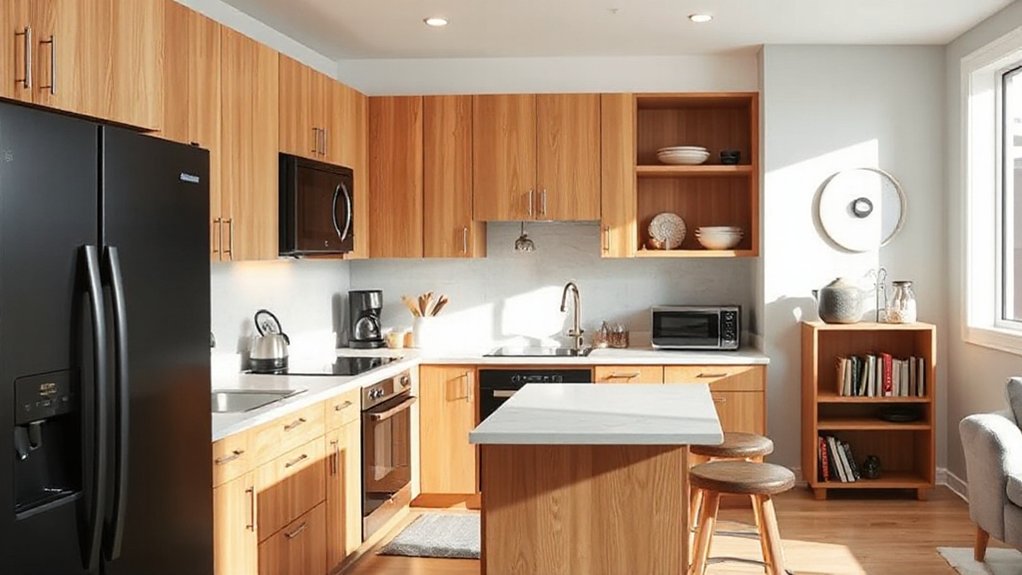
Is an L-shaped layout the best use of corner space in a small apartment? Yes, when you optimize corner storage, the L shape becomes highly efficient. You’ll gain uninterrupted work zones along two walls, freeing surface area for prep and cleanup.
Place tall units at the ends to maximize vertical storage without intruding on flow. Corner niches, pull-out shelves, and lazy Susans turn dead corners into usable space, improving overall L shape efficiency.
Use an under-cabinet rail system for utensils and spices to keep counters clear. Integrate a compact island or peninsula only if it won’t disrupt traffic between zones.
Prioritize a reachable fridge and pantry along the primary work line. In short, smart corner storage turns an L into a precise, practical kitchen backbone.
U-Shape Kitchen: Max Counter, Smooth Flow
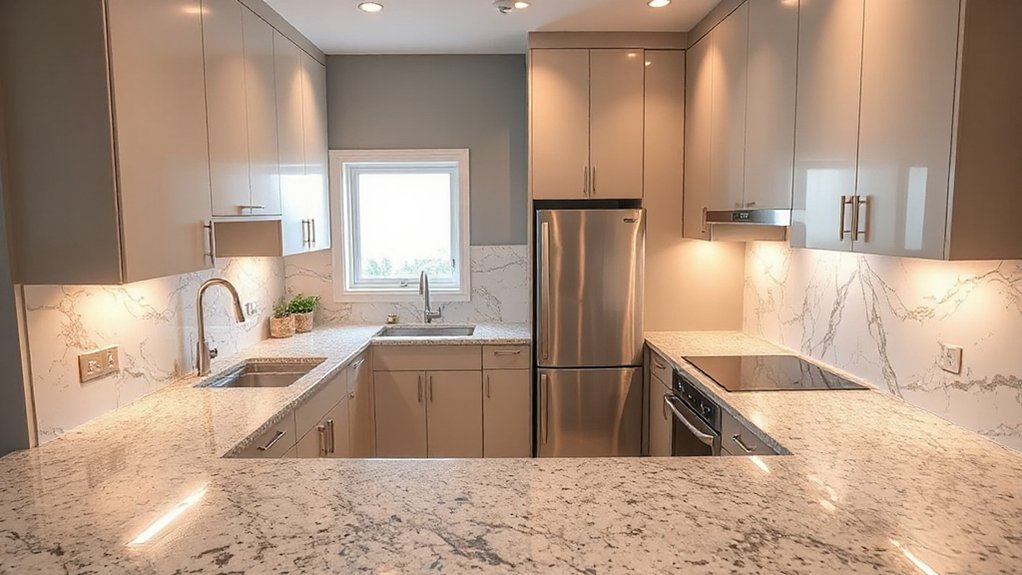
A U-shaped kitchen uses three walls to deliver maximum counter space while maintaining clear, unobstructed traffic paths. You’ll leverage this layout for efficient workflow, with primary work zones aligned to minimize steps.
Focus on countertop organization to keep essential tools within reach without clutter. An ergonomic design places the sink, range, and fridge on three sides, creating a natural work triangle that reduces fatigue and boosts speed.
- Visualize glide-systems for spices and utensils, keeping them near the prep area
- Install deep drawers for pots, pans, and bulky appliances to free counter space
- Mount under-cabinet lighting with task-focused brightness for precision work
This configuration prioritizes clean lines, precise spacing, and easy maintenance, ensuring smooth, repeatable tasks.
One-Wan Entrance Plans: Open Feel in Tiny Rooms
One-Wan Entrance Plans open an open feel in tiny rooms by removing unnecessary doors and embracing a single, wide threshold. You prioritize clear sightlines, minimal interruption, and consistent material connections to maximize perceived space.
Use doorless or pocket-door variants to maintain flow between entry, kitchen, and living zones, while preserving storage access. Consider threshold height, lighting alignment, and HVAC zoning to avoid drafts or noise leaks.
Entrance aesthetics focus on seamless junctions: flush jambs, uniform trim, and complementary finishes that read as one space rather than discrete compartments. Tiny room acoustics matter; install soft flooring, area rugs, and wall panels at key echo points to dampen reflections without sacrificing brightness.
Plan around furniture footprints to prevent clutter-induced bottlenecks, ensuring efficient circulation throughout the compact plan.
Island-Optional Kitchens: When Islands Help (and When They Don’t)
Islands aren’t always the answer in small kitchens; they should be evaluated for how they affect circulation, storage, and work zones. When you’re weighing an island, prioritize flow: can you pass behind tasks without squeezing? If you gain prep space but lose drawer depth or corner access, it’s a net negative.
Use compact dimensions, integrated storage, and rounded edges to reduce collisions. Decorative accents and lighting fixtures should be planned to complement, not clutter, the line of sight and work surfaces. Keep cooking zones contiguous, with a clear path to the fridge and sink.
- Visualize tight corridors with a shallow island and built-in organizers
- Align lighting fixtures to illuminate both prep and cleanup zones
- Choose decorative accents that read as architectural detail, not baggage
Peninsula Kitchens: Desk-to-Dine, Multi-Use Surfaces
Peninsula kitchens blend desk-like surfaces with full prep zones, offering a line of sight open to both dining and work without sacrificing circulation. You integrate a continuous work counter with seating, creating a clear boundary between prep and dining.
Prioritize efficient appliance placement: align the fridge, sink, and range on an ergonomic triangle to minimize steps without crowding the peninsula edge. Use the desk-like portion for quick tasks, charging phones, or meal planning, keeping it visually distinct from the cooking zone.
For storage, choose tall cabinets adjacent to the peninsula to maximize footprint without trapping traffic flow. Seating should face the dining area, not the wall, preserving conversation lines while you chop.
Finish with unobtrusive lighting and durable, easy-clean finishes for high-traffic surfaces.
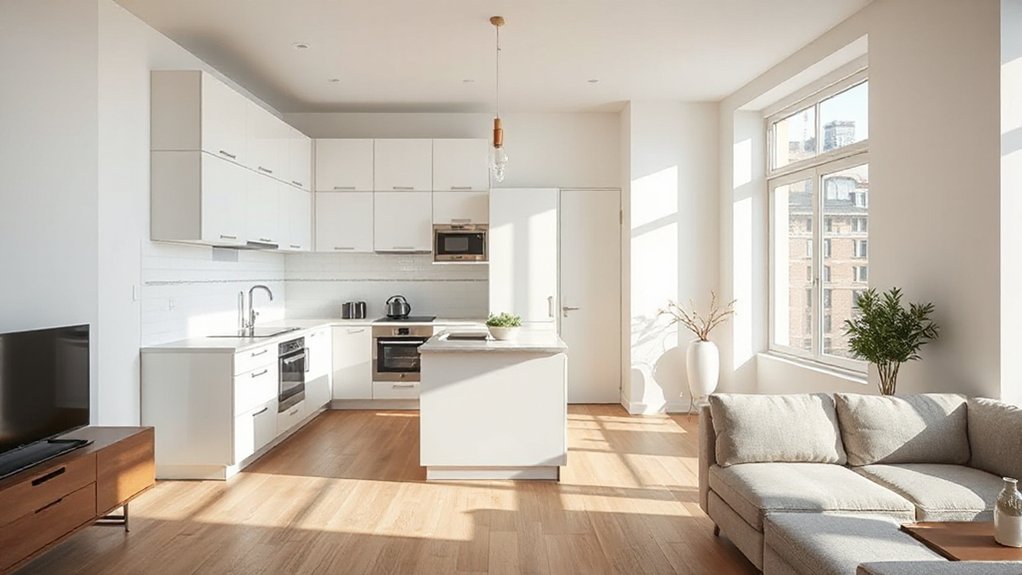
Open-Plan Kitchens: Balancing Light, Access, and Noise
Open-plan kitchens fuse living, dining, and cooking zones into a shared footprint, so light, access, and noise require deliberate balancing. You optimize sightlines with low-profile cabinetry and glass accents to preserve daylight and avoid visual clutter.
Position major appliances to create clear workflow corridors, then deploy localized task lighting to sustain lighting ambiance without glare.
To manage noise control, implement soft-surfaced seating, under-counter fridges, and boundary screens that dampen sound transfer between zones. Use area rugs and cushioned seating to absorb reflections and reduce echo, while keeping traffic routes unobstructed.
Consider a linear island with integrated power and a spill-safe panel to contain activities.
Small design tweaks yield a cohesive, functional open plan that feels spacious and practical.
- Low-profile storage and glass accents for light
- Soft furnishings and boundary screens for sound control
- Linear island with integrated power and spill-safe panels
Hidden and Vertical Storage Hacks for Small Layouts
Hidden and vertical storage maximize efficiency in compact kitchens by turning underutilized surfaces into cargo-ready space. You’ll install hidden compartments beneath counters and inside island bases to keep rarely used tools out of sight while remaining accessible.
Vertical dividers separate stacks of lids, cutting boards, and pans, so you retrieve items without unpacking the entire cabinet. Use pull-out trays and hinged doors to reclaim toe-kick space, and mount magnetic strips for metal utensils along backsplash edges.
Corners become usable with lazy Susans or pull-out carousel racks, reducing dead zones. Ceiling-height shelves add storage without widening the footprint, and labeled bins maintain organization under stacked containers.
Prioritize accessibility, ensuring you can reach every item with minimal disturbance to neighboring contents.
Cabinetry Choices That Maximize Perceived Space

You can optimize perceived space by pairing floating shelves with strategically placed vertical cabinet organization to keep counters clear.
Consider hidden hardware ergonomics to simplify access and reduce visual clutter, reinforcing a streamlined, airy feel.
This approach sets the stage for practical, space-maximizing cabinetry decisions that support quick, efficient workflows.
Floating Shelves Strategy
Floating shelves can dramatically expand perceived space by reducing bulk and creating open sightlines. You prioritize compatibility with compact layouts, choosing shallow depth, single-plane supports, and hidden brackets to minimize visual clutter. Install at eye level for quick access, and align with major work zones to boost efficiency.
Use floating shelves to host decorative accents, daily dishes, or small appliances, keeping surfaces clear to preserve airiness. Materials should be moisture-resistant and matte to limit reflections. Pair with led lighting under shelves to emphasize depth without crowding counters.
Balance weight limits with shelf spacing, reserving higher shelves for rarely used items.
- Compact brackets, recessed into wall, with clean lines and seamless seams
- Decorative accents arranged in asymmetric groups for rhythm without clutter
- Coordinated finishes that echo cabinetry for cohesion
Vertical Cabinet Organization
Prioritize cabinet organization that minimizes wasted depth: use adjustable shelving, labeled zones, and a clear path for rotation of frequently used items. Install full-extension drawers for utensils and prep gear, plus corner solutions like diagonal carousels or slim pullouts to reclaim dead space.
Elevate accessibility by grouping by function—baking, weeknight meals, and snacks—so you don’t hunt. Use consistent hardware heights and edge profiles to reduce visual clutter.
Favor light, uniform finishes to reflect light, enhancing perceived space while supporting practical, fast retrieval.
Hidden Hardware Ergonomics
Hidden hardware choices can dramatically alter perceived space without adding bulk. You’ll evaluate cabinet fittings that lessen visual clutter while preserving function, focusing on ergonomic design and smooth operation. Select mechanisms that require minimal reach, reduce finger strain, and provide predictable, quiet motion.
Favor touch latches, push-to-open systems, and soft-close slides that keep lines clean and corners safe in busy kitchens. Align pulls and hinges to minimize protrusion and snag points, so you feel more open countertop real estate.
Prioritize consistent depth, balanced weight distribution, and intuitive opening directions to improve daily flow. Implementing these choices boosts perceived space while maintaining durable performance.
- Quiet, push-to-open cabinets that eliminate handles
- Soft-close doors and drawers for controlled, safe access
- Recessed or minimal hardware for streamlined lines
Lighting Tricks to Make Small Kitchens Feel Bigger
Smart lighting can transform a cramped kitchen by creating the illusion of space and improving usability. You’ll balance brightness with glare control, using layered lighting to define zones without bulk.
Choose a compact ceiling fixture or recessed downlights for general illumination, paired with under-cabinet LEDs to brighten work surfaces. Use white or light-emitting-diode elements with high color rendering to preserve true colors on counters and appliances.
To emphasize vertical space, aim wall-wash or adjustable sconces that cast soft, even light along walls, reducing shadows. Plan dimming controls to shift lighting ambiance across tasks—from crisp task light to warm, ambient glow.
Maximize natural daylight by avoiding heavy window coverings; reflectors and cool-tinted sources prevent color distortion while maintaining energy efficiency.
Color and Material Palettes That Read as Spacious
Color and material palettes play a decisive role in making small kitchens feel expansive; the right choices reflect light, unify surfaces, and visually extend space.
You’ll choose light, neutral bases with subtle warmth to maximize perceived area, then layer texture via materials that read as cohesive yet durable.
Color psychology guides you toward airy blues, soft grays, and warm beiges that calm activity and increase focus.
For surfaces, prioritize materials with low reflectivity variance and high durability to maintain a seamless look under daily use.
Pair matte cabinets with polished countertops sparingly to avoid glare, and guarantee consistent undertones across finishes.
Keep hardware minimal to preserve line continuity and enhance perceived spaciousness.
- Light neutrals with warm undertones for walls and cabinetry
- Durable, cohesive materials that reflect subtle light
- Minimal hardware, consistent undertones across finishes
Smart Appliance Placement to Save Steps
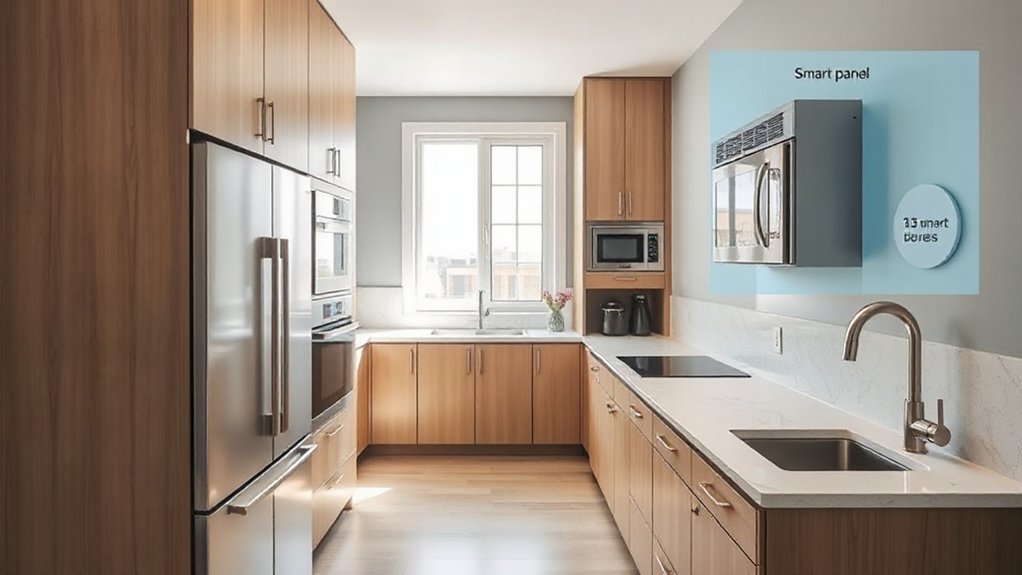
Efficient appliance placement reduces motion and shortens prep times, so map tasks like cooking, cleaning, and food storage to a logical workflow. You design around three core Appliance zones: prep, cook, and cleanup.
Position the fridge and prep counter near each other to minimize reach distance. Then place the stove, sink, and hood in a triangle for efficient transfers.
Confirm the microwave and small appliances anchor the prep zone without crowding it. Use vertical storage to keep frequently used tools at hand, reducing handoffs.
For smart appliances, group devices by function: heating, cooling, and cleaning. This enables automation and feedback loops that cut steps.
Prioritize clear sightlines, minimal door swing, and consistent countertop height to sustain smooth, repeatable routines. Smart placement enhances efficiency without added complexity.
Budget-Friendly Tweaks With Big Payoff
Small changes add up fast in a compact kitchen. Budget-friendly tweaks deliver high payoff without major renovations. You’ll gain efficiency with targeted, affordable actions that don’t disrupt workflows or storage.
Focus on modular enhancements, leveraging existing structures, and precise organization to maximize counter space and usability. Budget hacks rely on inexpensive hardware, smart labeling, and adjustable components to reduce friction during daily tasks.
DIY upgrades let you control quality, timing, and impact, while avoiding contractor delays. Prioritize vertical storage, accessible upfront shelves, and decluttering to reveal usable real estate.
Implement simple, repeatable steps that scale as needs evolve.
- Install magnetic knife strips and pegboard for small utensil pooling
- Use clear, labeled containers and stackable organizers to streamline pantry flow
- Add adjustable shelves and under-cabinet lighting for visibility and reach
Real-World Small-Kitchen Makeovers: Case Studies
Real-world small-kitchen makeovers reveal how targeted changes translate into tangible gains, from tighter layouts to faster task flow. Case studies show how a compact footprint benefits from focused interventions rather than broad revamps.
You’ll see appliances upgraded for efficiency, allowing you to reclaim counter space and shorten prep cycles without enlarging the room. Appliance upgrades often prioritize multi-function units and clearances that fit existing gaps, minimizing disruption.
Color schemes then reinforce perceived space, using light neutrals with reflective surfaces to brighten corners and reduce visual clutter.
In several projects, vertical storage was leveraged with wall-mounted cabinets and open shelving, keeping essential tools within arm’s reach. These measures deliver measurable gains in usability, with minimal costs and downtime.
Traffic Flow: Keeping Kitchen Benign to Living Areas
As small kitchens evolve from case-study gains into daily routines, managing traffic flow becomes the glue that keeps living areas calm and usable. You control movement by creating clear corridors, minimizing crossing paths during meal prep, and sizing doorways to avoid bottlenecks.
Prioritize appliance placement to keep hot zones away from seating areas, and use color schemes to subtly delineate zones without adding visual clutter. A tight triangle between sink, stove, and fridge should feel natural, not forced, with drawer and countertop clearances guiding foot traffic.
Use thresholds and narrow islands to discourage shortcuts through main seating. Plan for doorway swing paths that don’t collide with prep work or chairs, and ensure ventilation doesn’t push cooking smoke toward lounges.
- Clear circulation paths
- Defined zones through color
- Nonintrusive appliance placement
Multi-Functional Surfaces for Space-Saving
You’ll optimize your counters with modular work surfaces that switch between prep and dining modes, saving space without sacrificing workflow.
Hidden storage tricks tuck away tools and appliances, keeping the surface clean and efficient.
Start by outlining how modular and concealed elements integrate to support daily tasks while preserving open sightlines.
Modular Work Surfaces
- Quick-connect surfaces that rotate between prep and dining modes
- Hidden, pull-out storage under counters for utensils and tools
- Foldaway side panels that extend work zones without enlarging footprints
Hidden Storage Tricks
Focus on concealed storage within base cabinets, toe-kick panels, and island extensions to hide utensils, appliances, and bulk items. Use magnetic latches and soft-close slides to secure access while minimizing noise.
Prioritize modularity: compartments adapt to pan sizes, lids, and bakeware, creating quick, organized retrieval. For clean aesthetics, pair hidden compartments with uniform interiors and labeling schemes that keep you aligned.
What you gain is deliberate concealment: work surfaces that convert to storage, and concealed storage that becomes instantly available when you need it, without visual clutter.
Planning Checklist: Decide Your Best Layout
When choosing the best kitchen layout for a small apartment, start with a clear plan of your workflow: prep, cooking, cleaning, and storage. You’ll map zones that minimize steps and backtracking, ensuring each task flows to the next without disruption.
Focus on circulation, door swings, and alcoves to prevent crowding, then evaluate traffic patterns between entry, fridge, sink, and range.
Decide on features that support efficiency, like a custom backsplash that protects walls and visually defines zones, and explore appliance integration to reduce bulk and seams.
Create a checklist to confirm scale, accessibility, and future needs before committing to a layout.
- Visualize tight spaces with precise dimensions and clearance
- Prioritize seamless surfaces and integrated appliances
- Validate future upgrades and maintenance access
Frequently Asked Questions
How Much Does Each Layout Typically Cost to Install?
Typically, installation costs range from $5,000 to $20,000, depending on scope. You’ll consider appliance placement and storage solutions, plus labor, permits, and materials. You’ll optimize layout efficiency while balancing aesthetics, durability, and long-term maintenance costs.
Which Layout Is Best for One-Cook Households?
For a one-cook household, an open plan, compact design works best, maximizing workflow while keeping zones defined. You’ll benefit from integrated appliances, minimal aisles, and clear sightlines, improving efficiency without sacrificing counter space or storage.
Can a Small Kitchen Still Include an Island?
Yes, you can fit a small kitchen island. Prioritize compact storage and open shelving to maximize space, provide prep area, and maintain flow. Choose a slim, multi-use island, inset handles, and guarantee clear circulation around it.
What’s the Quickest Way to Gain Counter Space?
Yes—maximize counter space quickly by decluttering, using vertical storage, and implementing multi-functional surfaces. Storage solutions, appliance placement, pull-out counters, and wall-mounted systems optimize workflow, reduce clutter, and keep essential prep areas ready for use.
How Do Lighting Choices Affect Perceived Room Size?
Ambient lighting and natural illumination alter perceived room size: bright, even ambient lighting expands space, while ample natural illumination pulls the room in. You’ll feel more open when you balance artificial and daylight, avoiding harsh shadows and dim corners.
Conclusion
So you’ll pick a layout, then pretend it’s not influencing every sneeze of your coffee routine. Sure, galley is ultra-efficient, but you’ll miss that corner-cradle of chaos you swore you’d replace with concealed storage. L-shape? Great for plants you’ll forget to water. U-shape? Counter space you’ll never quite justify. Plan with care, not bravado, and accept that traffic flow isn’t a suggestion. Practical, concise choices win, even if irony nudges you toward one more cabinet.