
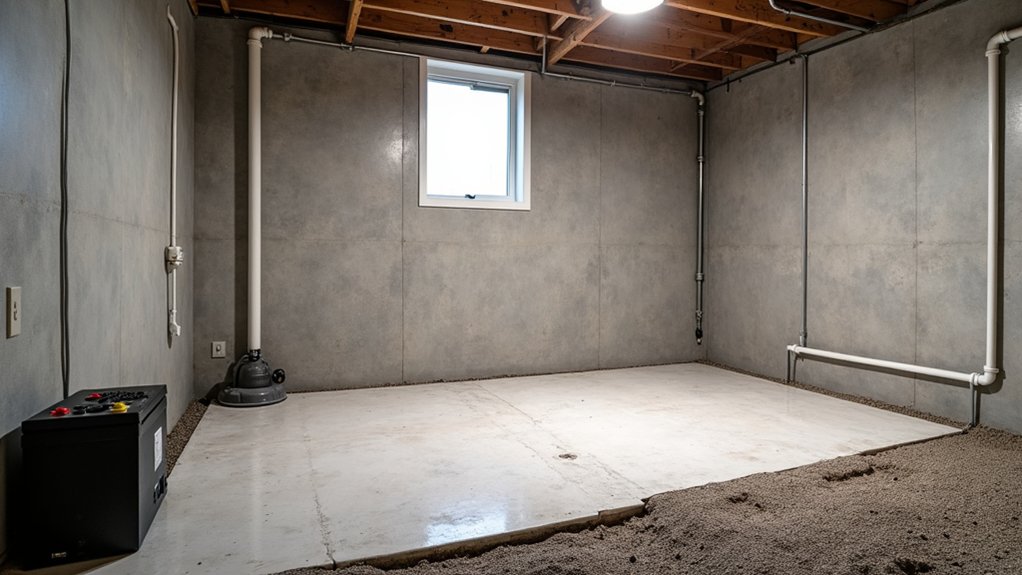

Basement waterproofing in flood-prone areas hinges on a multi-layer approach: start with exterior barriers like crack-free walls, seamless membranes, and UV-resistant coatings, then install exterior drainage and proper grading to direct water away from the foundation. Add interior moisture controls and steady sump-pump support with backups. Choose a qualified contractor, verify permits, and align waterproofing with insurance requirements. This integrated strategy reduces hydrostatic pressure and breaches, and you’ll gain long-term resilience as you optimize for future flood events. More specifics await.
Assess Your Flood Risk to Choose a Basement Strategy
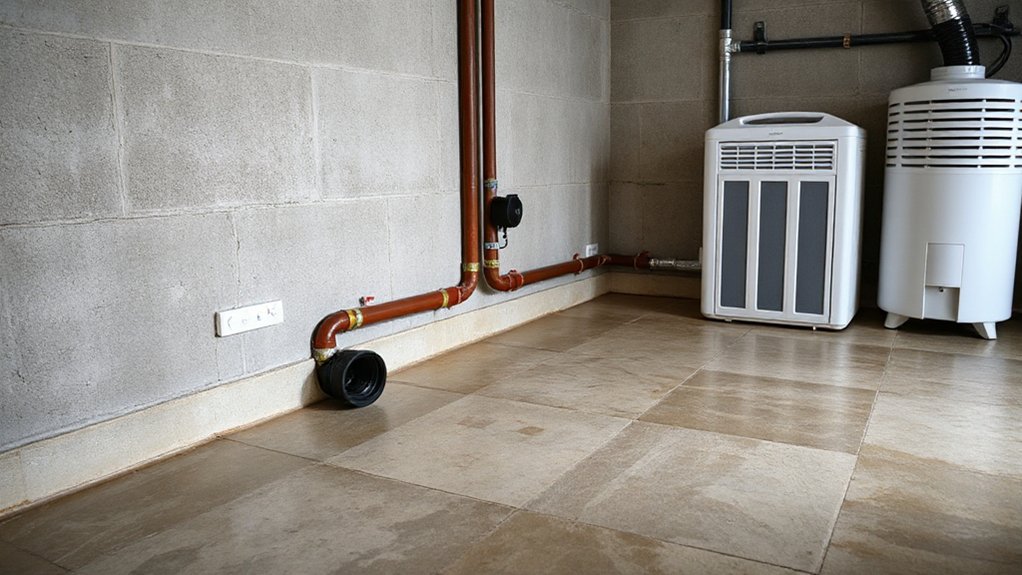
Evaluating your flood risk is the essential first step in selecting a basement strategy. You’ll quantify exposure using historical flood maps, topography, drainage patterns, and local rainfall intensities. Assess base flood elevations, property elevation, and nearby waterways, noting how seasonal events or storm surges affect water ingress.
Identify asset value at risk and exposure duration to prioritize measures. Integrate building utilities layout with anticipated flood depths to inform pump sizing, sump location, and achievable dry protection zones.
Include emergency preparedness planning: evacuation routes, safe-room options, and communication protocols. Factor in flood insurance premiums, deductibles, and coverage limits to refine cost-benefit decisions.
Use findings to tailor a strategy that aligns risk tolerance with practical mitigation steps and resilience goals. Avoid overcomplication; prioritize actionable improvements.
Exterior Barriers for Basement Waterproofing: Walls, Membranes, Coatings
Exterior barriers form the first line of defense against water intrusion, so you’ll want walls, membranes, and coatings that create a continuous, impermeable envelope. In practice, choose vertical barriers that resist hydrostatic pressure, seam joints that’re lapped and sealed, and high-performance coatings with proper adhesion to masonry or concrete.
Walls should be free of cracks, with properly prepared substrates and surface profiles for ideal bonding. Membranes—self-adhesive or liquid-applied—must be continuous across changes, penetrations, and terminations, then protected by a compatible protective layer.
Coatings provide an additional hydrophobic layer and UV resistance for exterior exposure. Consider interior insulation strategies and guarantee ventilation design accommodates basement airflow needs without compromising barrier integrity.
Finally, coordinate with structural and drainage plans to maintain long-term performance and service life.
Exterior Drainage and Grading: Direct Water Away
Direct water control starts with a clear plan to redirect runoff away from the foundation.
You’ll assess grading and implement proper slope, ensuring soil directs water toward positive drainage paths.
Start with an exterior drainage plan that outlines redirect points, discharge locations, and seasonal load considerations.
Direct Water Redirects
Maintain continuous slope away from the wall, aiming for a minimum 5% grade over 10 feet, and guarantee outlet protection to prevent soil infiltration. Use compacted fill to stabilize the backfill and seal joints with proper drainage fabric where needed.
Direct water redirects lessen hydrostatic load, reduce capillary wicking, and support any interior waterproofing system. Be mindful of waterproofing myths that downplay grading or over-rely on interior barriers; historical floods show exterior logic remains foundational.
Monitor grading after freezes, repoint where soils settle, and verify surface drainage paths stay unobstructed.
Grading For Drainage
Your grade should direct water away from footings and foundation corners, avoiding low spots that trap moisture. Use field-tested soil to maintain slope under heavy rain, and verify with a spirit level or laser; regrade as soils settle.
Integrate grading with drainage swales, French drains, or trenching only where authorized, ensuring irrigation runoff won’t cross into the basement zone.
Consider basement insulation implications and plan for interior ventilation compatibility near walls to manage air moisture without compromising slope integrity.
Exterior Drainage Plans
Install a perforated footing drain or trench drain with a grading pattern that encourages surface runoff into a sump or storm inlet, never toward the building envelope. Use parallel swales, curtain drains, and trench drains as needed to intercept subsurface flow before it reaches the basement wall.
Coordinate with rain gutter downspouts, downspout extensions, and perimeter grading to prevent pooling near the footing.
Consider basement insulation strategies and interior ventilation needs when detailing bulkhead and window wells to maintain indoor conditions.
Prioritize durable materials and clear maintenance access.
Drainage Solutions: French Drains and Low-Trench Systems
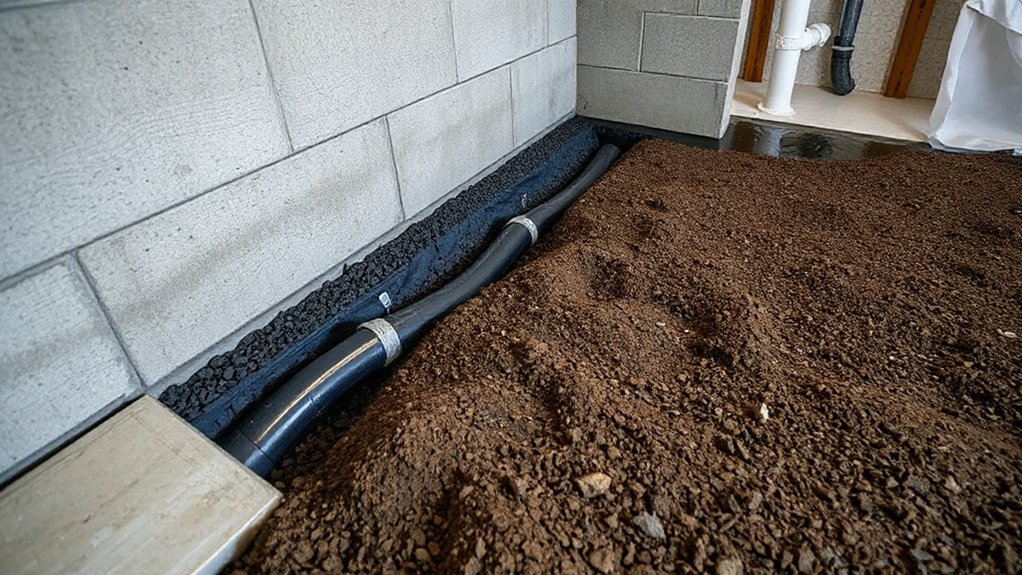
French drains channel subsurface moisture away using perforated pipe surrounded by gravel, forming a gravity-driven profile that minimizes soil saturation.
In low-trench systems, you’ll gain efficient interception at the footer line with a narrow trench and a sloped outlet to daylight or a sump, reducing exterior disruption.
We’ll cover the basics of French Drain setup and the practical benefits of low-trench layouts to help you select the right drainage strategy for your basement waterproofing plan.
French Drain Basics
A French drain is a low-profile drainage trench lined with a perforated pipe and surrounding gravel that directs groundwater away from your foundation. You’ll locate the trench along the exterior perimeter or beneath an interior experienced footing to intercept subsurface flow before it reaches walls.
Install a perforated collector pipe with sock, set on a bed of gravel, and cover with filter fabric to prevent sediment infiltration. Slope matters: aim for about 1 percent grade toward the discharge point to maintain gravity flow.
Materials selection—granular backfill, geotextile, and a cleanout access—impacts long-term performance. Pair this system with proper surface grading and exterior waterproofing for reliability.
Monitor for basement insulation coupling and potential interior humidity shifts, and verify that drainage velocity matches soil permeability and seasonal water tables.
Low-Trench System Benefits
Low-trench systems offer a compact, install-ready alternative when space or accessibility limits traditional French drains. You gain efficient subsurface drainage without full trenching, reducing disruption during retrofit projects.
The design centers on a narrow, shallow trench lined with perforated pipe and filter fabric, slotted to accept lateral connections from the foundation. Aim for a consistent trench depth that ensures gravity flow toward a designated discharge point, while maintaining an adequate fall to prevent standing water.
Coordinate around site constraints, avoiding overly compacted backfill that impedes infiltration. Consider soil compaction effects on trench stability and perforation integrity, and install geotextile to prevent sediment intrusion.
Inspect for cleanout access, venting, and proper cover height to balance protection with surface grading. This approach delivers reliable relief from hydrostatic pressure with finite excavation.
Interior Sealants: When They Help and When They Don’t
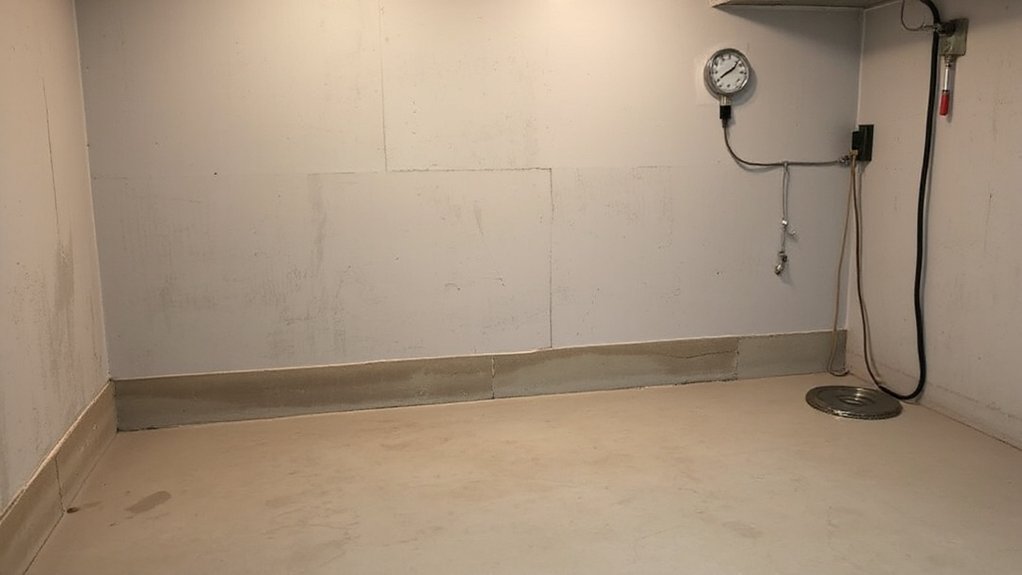
Interior sealants can be a quick, cost-effective fix for minor, non-structural moisture issues, but they’re not a universal solution. You’ll use them when you detect surface leaks or capillary rise at low levels, yet you must verify substrate compatibility and cure conditions to prevent sealant failure.
In practice, these products slow airflow-driven moisture but don’t address hydrostatic pressure or crack movement. Expect limited longevity in high-humidity basements, and plan for ongoing inspection. If you see repeated interior moisture after a season, reassess effectiveness and consider alternative strategies.
Don’t rely on sealants to remediate structural weaknesses or bulk water intrusion. Evaluate material compatibility, substrate preparation, and drainage context to determine if interior sealants constitute a temporary measure or a core component of your waterproofing plan.
- Use cases for surface leaks and minor capillary rise
- Verification of substrate, cure, and compatibility
- Condition-based next steps beyond sealant failure prevention
Sump Pumps: Sizing, Backups, and Maintenance
Sizing a sump pump starts with your worst-case flow and home water load. Then selecting a unit with adequate head and a margin for debris and future increases.
Plan for backup power options—battery, generator, or water-powered units—so you don’t rely on a single supply during outages.
Regular maintenance matters: test run, check floats, clean intakes, and verify alarms before each wet season.
Sump Pump Sizing Guidelines
Choosing the right sump pump size starts with your total discharge load and the worst-case rainfall you’ll face. You’ll match pump capacity (GPM) to calculated inflow, piping head, and basement area. Select a unit with a margin for debris and short-term surges, not just average conditions.
Assess discharge distance and vertical rise to determine pump curve compatibility. Pair sizing with proper installation practices and routine maintenance.
- Estimate peak inflow from catchment area and soil permeability, then translate to required GPM and HP
- Plan for redundancy with a robust check valve, and note head pressure and run-time in cycles
- Integrate basement insulation and Dehumidifier placement to manage humidity after water removal
Proper sizing reduces nuisance alarms, protects finishes, and supports long-term system reliability.
Backup Power Considerations
Backups power is a must-have consideration once you’ve sized the sump and planned for peak inflow. You must assess reliable sources of emergency juice, match capacity to pump head, and account for duty cycle during multi-day events.
Choose between hard-wired standby generators or automatic transfer switches that engage without user input, ensuring uninterrupted operation when mains fail.
Add a battery or UPS for controller electronics and short-term float switch protection, but don’t rely on them for primary dewatering.
Maintain regular run tests, inspect fuel or battery conditions, and document service dates.
Prioritize generator safety: proper clearances, ventilation, fuel storage, and secure mounting.
Record installation diagrams, annual-load verifications, and reset procedures to minimize downtime and protect the basement from sustained flooding.
Basement Membranes: Options and Installation Tips
Basement membranes are a critical line of defense against water intrusion, acting as a continuous barrier between soil moisture and your living space. You’ll choose between sheet membranes, liquid-applied systems, and hybrid options, prioritizing seamless joints and long-term adhesion.
Focus on basement membrane durability and how installation techniques guarantee a continuous sheath that resists hydrostatic pressure. Inspect substrate compatibility, overbanding at framing, and careful detailing at penetrations to prevent capillary rise.
Proper surface preparation and cure times dictate performance, so follow manufacturer specs and test for integrity before backfilling.
- Sheet membrane vs liquid-applied: pros, cons, and durability
- Substrate prep, seam detailing, and penetration sealing
- Curing, adhesion testing, and long-term maintenance planning
Crystalline Waterproofing vs Concrete Coatings
Crystalline waterproofing and concrete coatings represent two distinct approaches to controlling moisture in basements, each with unique mechanisms and applications.
You’ll find crystalline systems rely on hydrophilic or crystalline microstructures that migrate into capillary pores and actively block pathways as moisture enters the substrate. They’re typically applied as part of concrete treatment during or after pour, offering integral, long-term protection with limited surface maintenance.
Concrete coatings, by contrast, form a continuous barrier on the interior wall or floor surface, providing immediate, surface-level waterproofing and often additional resistance to chemical exposure, abrasion, or impact. Coatings are easier to inspect and repair locally; crystalline systems require proper substrate preparation and curing to achieve effectiveness.
Choose crystalline waterproofing for porous, new-construction liners, and coatings for retrofit, high-traffic areas, or UV-exposed interiors.
Drain Tile Systems in Flood-Prone Areas
Drain tile setup forms the backbone of flood-prone basement protection, so you’ll want a robust layout that handles both exterior hydrostatic pressure and interior sump coordination.
We’ll cover proper trenching, gravel bedding, perforated pipe placement, and cleanouts, plus drainage gradients that direct water toward a sump or discharge point.
Plan with flood-resilient strategies in mind, ensuring accessibility for maintenance and future upgrades.
Drain Tile Setup Basics
To install drain tile effectively in flood-prone basements, start with proper planning: determine the perimeter and slope, select high-quality perforated pipe, and guarantee a solid gravel bed with a clean, lapped sock to keep sediments out.
- Position perforated pipe to guide groundwater toward the sump pump and drainage basin.
- Ensure proper trench depth, cross-slope, and wrap with filter fabric for sediment control.
- Verify transitions to cleanouts, sump pit, and discharge line are accessible and code-compliant.
This setup creates a reliable flow path, minimizes clogs, and supports a predictable drainage routine. You’ll want a focused sump pump strategy and precise grout-free joints.
For performance, match pipe size to anticipated flow and maintain an unobstructed discharge route.
Flood-Resistant Drainage Strategies
Flood-prone sites demand drain tile systems that actively manage water before it reaches the living space. In flood-prone areas, you install a continuous perimeter tile with proper slope, coupled with a sump and pump, to intercept groundwater before it infiltrates the wall plane.
Use perforated collector pipes wrapped in fabric to prevent sediment migration, tied into vertical drops that feed a robust sump chamber. Guarantee pore pressure relief by grading away from foundations and incorporating trenching that remains below exterior footing drains.
Monitor basement humidity and seal gaps around penetrations to reduce capillary rise. Address wall cracks with timely grouting and re-anchoring, then backfill with drainage-friendly soil.
Regular inspections keep the system responsive, preventing sustained moisture buildup and preserving structural integrity.
Floor and Wall Drains to Channel Water Away
Floor and wall drains must be properly connected to a channel that directs water away from the exterior and foundation. You install drains to intercept groundwater and redirect it to a defined discharge path, preventing hydrostatic pressure on basement walls.
Use appropriately sized sump and trap configurations to minimize air pressure and odor migration. Guarantee slope continuity from floor to wall drains, with cleanouts accessible for maintenance.
Seal joints with waterproof barriers to prevent seepage and reinforce with proper backfill to avoid settlement.
- Install taps and gravity-feed lines to a sump or storm sewer
- Use gasketed connections and sealants designed for basement environments
- Verify continuous drainage with pressure testing and visual inspection
Waterproof barriers, basement sealing.
Permits, Warranties, and Qualifications You Should Expect
Before you hire, verify the permits, warranties, and contractor qualifications that cover basement waterproofing work. You’ll want locally issued permits, plan approvals, and any declarative documentation stamped by a licensed engineer or architect when required by code or jurisdiction.
Confirm that the scope aligns with your project: interior versus exterior systems, sump pump or battery back-up, drainage trenches, and membrane installation.
Ask for warranty coverage specifics—length, what’s excluded, and whether workmanship or materials are guaranteed separately.
Ascertain the contractor’s licenses, insurance, and bonding are current, with no lapse in coverage during the project.
Document all promised warranty terms, required maintenance, and service intervals.
Verify any permits required and keep copies accessible for future resale or inspections.
Cost by System: Budgeting Your Basement Waterproofing
You’ll start by mapping the upfront cost breakdown across the main systems, so you can compare installation, materials, and labor without surprises.
Consider system longevity factors and how they affect your total cost of ownership, including anticipated replacement intervals and depreciation.
Plan for ongoing maintenance and potential repairs now to shield your budget from future spikes and extend performance.
Upfront Cost Breakdown
Discover the upfront costs by system, so you can budget your basement waterproofing with precision. You’ll value a clear breakdown by component, priced for actionable planning and risk management. Expect concrete, documented line items that align with install phases, labor intensity, and materials quality. Budget for inspection, preparations, and contingencies without overcommitting on features you don’t yet need.
Tie each cost to installation milestones to avoid scope creep and enable transparent bidding with reputable contractors. Consider how basement aesthetics and interior decor choices influence finish costs after waterproofing, so you don’t surprise yourself later.
- Structural prep and drainage components
- Membrane or sealant systems and coatings
- Interior finishing impacts on aesthetics and decor choices
System Longevity Factors
Understanding longevity factors by system helps you budget for long-term performance and maintenance. System selection drives total life-cycle cost and informs replacement timing, withdrawal of components, and warranty claims.
For basement waterproofing, expect sealant substrates, drainage channels, sump pumps, and vapor barriers to define service life; assess material durability, corrosion resistance, and installation quality. Basalt or polymer-based membranes offer extended weather resistance, while conventional concretes can degrade under hydrostatic pressure without proper detailing.
Basement insulation choices affect thermal performance and moisture risk, influencing long-term maintenance cycles.
Interior lighting considerations interact with electrical ingress risk and illumination reliability in confined spaces, potentially impacting retrofit costs if panels or conduits need relocation.
Plan contingencies around pump standby, battery back-ups, and accessibility for repairs without compromising system integrity.
Maintenance and Repairs
- Schedule preventive servicing and field tests annually
- Budget for component replacement cycles and warranty caps
- Prioritize humidity control and interior insulation during upgrades
Maintenance Plans to Prevent Recurring Leaks
Are recurring leaks threatening your basement’s dryness, and if so, what maintenance plan keeps them at bay? Implement a proactive maintenance schedule that targets the water path, not just patches.
Inspect foundation joints, sump pump operation, and interior drainage lines quarterly, after heavy rainfall, and before the freeze-thaw cycle.
Clean debris from foundation vents and soil grading to preserve gravity-fed drainage.
Verify sump pump battery backup and install an alarm for water presence to trigger prompt response.
Schedule annual interior cavity checks for crack movement and sealant integrity, reapplying compatible polymers as needed.
Integrate radon mitigation and mold prevention into the plan by testing air quality, sealing ingress routes, and maintaining humidity levels.
Document actions for continuous performance tracking and contractor accountability.
Risk Assessment: Evaluating Your Home’s Exposure
To assess your basement’s exposure, start with a structured risk snapshot that ties past leaks to current vulnerabilities. You’ll map historical flooding events against site data, drainage patterns, and groundwater levels to forecast pressure points.
Consider climate change trajectories, rainfall intensity, and seasonal flood timing to project risk windows. Quantify potential water ingress paths, from exterior walls to floor slabs, and identify mitigation gaps in drainage redundancy, sump capacity, and seal integrity.
This risk profile guides prioritization for improvements and monitoring, reducing unnecessary fixes while targeting high-return defenses. Stay anchored in measurable indicators, and update annually as conditions shift.
- Historical flooding patterns and severity
- Climate change projections and rainfall trends
- Critical ingress points and remediation priorities
Choosing the Right Contractor: Questions to Ask
Choosing the right contractor begins with a precise, criteria-driven vetting process. You’ll confirm licensure, bonding, and insurance, then verify project history with verifiable references.
Ask for a detailed scope of work, milestones, and site access plans to prevent scope creep and schedule delays.
Demand written estimates that itemize materials, labor, contingencies, and warranty terms, including duration and transferability.
Probe sequencing of waterproofing methods, sump pumps, drainage solutions, and interior- or exterior-based systems, noting compatibility with existing foundation conditions.
Evaluate communication style and responsiveness, because contractor collaboration affects basement aesthetics and ongoing maintenance.
Request a design- and materials-focused walkthrough to imagine how interior decor decisions align with structural choices.
Reconcile budget with risk tolerance, ensuring compliant workmanship and a clearly defined warranty.
Insurance and Flood Coverage: What You Need to Know
Insurance and flood coverage isn’t optional—it’s essential. You must understand how flood insurance interacts with your current homeowners policy and basement waterproofing plan, so you pick coverage options that align with risk, cost, and construction details.
Assess your flood zone, deductible impact, and exclusions that affect repair scope after a flood event. Ask for elevation-based premium adjustments, and verify structural endorsements for basements, sump pumps, and dewatering systems.
Your goal is to minimize out-of-pocket losses while preserving critical rebuilds and timelines. Coordinate with your insurer to document waterproofing improvements, proof of value, and maintenance records for eligibility and accurate claims.
Flood insurance protects assets, while coverage options tailor protection to your flood-prone area.
- Flood insurance specifics for basements
- Coverage options relevant to upgrades
- Documentation and claim practicality
Long-Term Resilience: Synergizing Multiple Systems
Long-Term Resilience hinges on integrating drainage, structural, and material systems so they work as a cohesive suite rather than isolated upgrades. You align perimeter drainage with footing drains, sump strategies, and backflow protection to create a continuous water-management loop.
Simultaneously, you reinforce foundations with load-path considerations, moisture-rated concrete, and vapor barriers that resist hydrostatic pressure without compromising drainage efficiency. Materials selection matters: low-permeability aggregates, DPMs, and properly vented membranes reduce diffusion pathways and simplify future maintenance.
Coordinate interior and exterior components to prevent gaps in protection, ensure proper grading, and seal joints where movement occurs. You monitor basement humidity continuously, calibrating dehumidification against seasonal loads, and implement mold prevention protocols—air sealing, filtration, and proactive cleaning—before detections escalate.
Regular inspections maintain the synergistic system, sustaining long-term performance.
Pre-Storm Readiness: Steps to Minimize Intrusion
Pre-storm readiness starts with a clear, actionable plan to minimize intrusion and protect critical areas. You’ll implement a targeted pre storm checklist that prioritizes seal integrity, drainage routing, and access controls to reduce flood risk and downtime.
Assess sump, cracks, and penetrations, then deploy rapid-response measures to contain water ingress and preserve essential systems.
- Pre storm checklist: verify seals, test sump pump reliability, and confirm backup power
- Flood preparedness: clear exterior channels, position mudsills, and elevate critical equipment
- Access controls: seal doors, reinforce windows, and deploy temporary barriers
Adopt this disciplined approach to minimize intrusion, shorten recovery time, and maintain operational continuity during known flood-prone events.
Frequently Asked Questions
How Long Does Basement Waterproofing Last Before Rework?
Basement waterproofing lasts 15–20 years before rework, depending on system and conditions. You should monitor long term durability and plan maintenance requirements, performing inspections, pump checks, and seal reapplications as needed to preserve effectiveness and extend life.
Can a Pump Fail During a Flood Event?
Yes, a pump can fail during a flood event. You should implement pump maintenance routines and install backup systems to guarantee continuous operation, maintaining redundancies and evaluating discharge pathways, power supply, and auto-switching controls for reliable protection.
Are There Odors From Membranes or Coatings Indoors?
Odors indoors can occur briefly; membrane smells may linger after installation. You’ll notice indoor odors initially, but they typically dissipate as off-gassing subsides. Guarantee proper ventilation, follow manufacturer cure times, and monitor for persistent emissions.
Will Exterior Barriers Affect Crawlspace Ventilation or Humidity?
Exterior barriers can influence crawlspace airflow and humidity control; they may restrict passive ventilation unless you maintain deliberate airflow paths. Guarantee crawlspace ventilation remains adequate while sealing, using vapor barriers and dehumidification for consistent humidity control.
Do Insurance Policies Cover Waterproofing Defects?
Insurance claims for waterproofing defects vary; typically coverage hinges on policy specifics and maintenance history. If you’ve neglected Waterproofing maintenance, chances drop. You should document defects, coordinate with adjuster, and maintain records to support your claim.
Conclusion
You face flood-prone basements with practical, proactive steps you can take. Assess risk, combine exterior barriers with proper drainage, and choose strategies that complement each other. Don’t rely on interior sealants alone; they’re stopgaps, not solutions. Vet contractors thoroughly and align coverage with your plan. Pre-storm readiness matters as much as mitigation. Think of your basement as a fortress you reinforce before the deluge—strong, coordinated, and ready when water rises. Simultaneously, you stay dry, steady, and in control.