
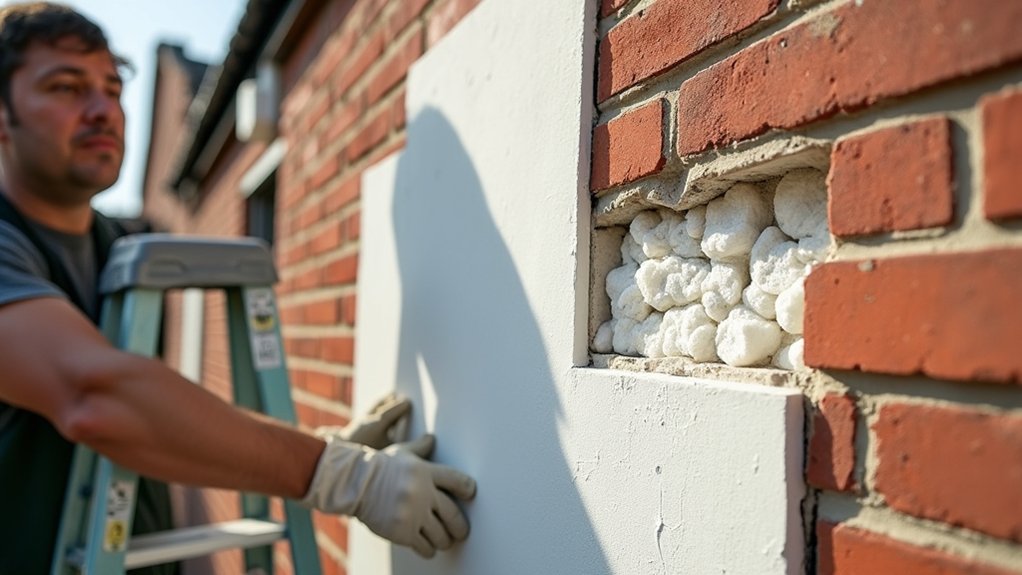

Cavity wall insulation retrofits for 1960s houses help you improve comfort, cut energy costs, and protect brickwork when you correctly identify a usable cavity and work with experienced installers. Start with a wall assessment to confirm cavity existence, type, and moisture risk, then plan for staged insulation that preserves historic appearance. Choose materials suited to your wall construction and guarantee proper moisture management and ventilation. With proper installation, you’ll see real performance gains and long-term benefits, and there’s more to learn ahead.
Do I Need Cavity Wall Insulation in a 1960s Home?
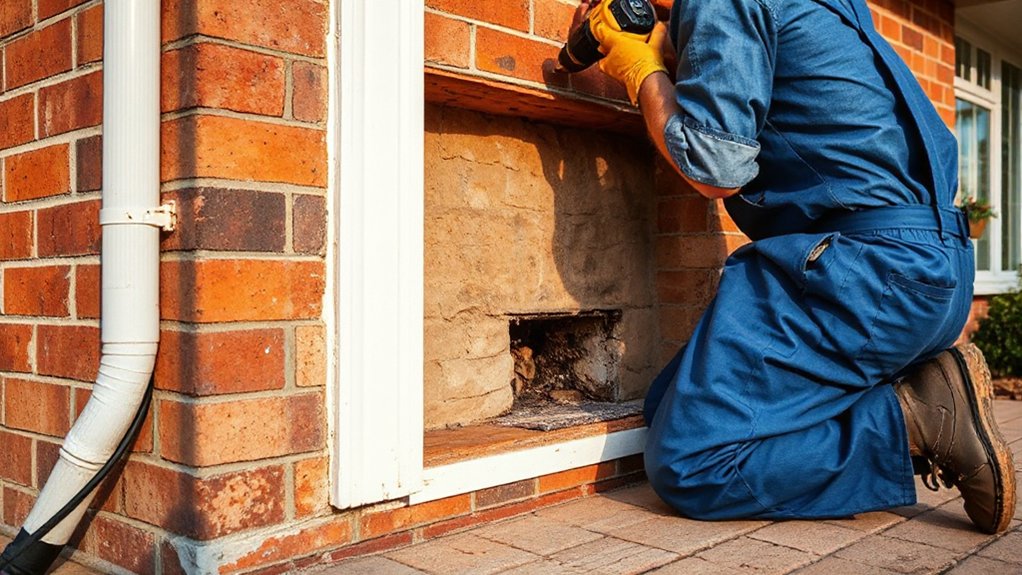
If you’re evaluating a 1960s-era home, you likely have cavity walls, but you don’t automatically have insulation in place. You should consider whether existing performance meets your goals for comfort, energy costs, and moisture control.
In many cases, cavity insulation can reduce heat loss without altering the exterior appearance, supporting historical accuracy while improving efficiency. Assess wall construction, air leaks, and the potential for dampness or cold bridging, then weigh the benefits against disruption to historic finishes.
A retrofit can preserve the facade’s aesthetic characteristics when performed to minimal invasive standards. Prioritize materials and methods that respect the building’s period details and long-term durability.
Decision-making should balance historical authenticity, cost, and achievable thermal gains.
How to Identify a Usable Cavity in Your Walls
Determining whether your walls have a usable cavity requires a straightforward, systematic check of construction details and conditions. Begin with exterior clues: wall thickness evidence, visible joints, and any signs of old insulation removal.
Next, inspect interior features: check for evenly spaced plaster keys, consistent stud layout, and uniform screw patterns on fixtures. A usable cavity typically presents clear alignment between bricks or panels and interior walls, without damp spots or recurrent cracks that suggest structural compromise.
Look for non-invasive indicators like consistent wall color and finish over multiple rooms, and note any interior decor changes that imply retrofitting. If you’re uncertain, consult a professional to assess boreholes or nondestructive testing results.
Wall color and interior decor shouldn’t mask latent cavity issues.
Wall Construction and Brick Types for Retrofits
Wall construction variations and brick types influence how you plan retrofit insulation, especially for cavity configurations and wall ties. Different brick textures, bedding, and hollow versus solid cores affect moisture management and guest compatibility with rigid board or mineral wool systems.
Consider retrofit compatibility factors like brick/brickwork tolerances, repointing needs, and potential effects on thermal bridging as you assess options.
Wall Construction Variations
When retrofitting 1960s houses, wall construction and brick types vary widely, and selecting the right approach hinges on the existing assembly. You’ll encounter solid masonry, cavity walls with varied brick patterns, and mixed-material facades that influence insulation strategy and moisture control.
Evaluate stud-backed systems versus full brick skins to determine cavity accessibility, retrofit compatibility, and vertical continuity of insulation. Consider mortar joints, brick bond, and lintel details, which affect air leakage paths and thermal bridges.
Historical architecture informs detailing choices, helping you preserve appearance while upgrading performance. Aesthetic considerations matter, but durability, wind resistance, and rain penetration control take priority.
Document structural constraints, ensure compatible fasteners, and plan for drainage and flashing to sustain long-term performance.
Brick Type Implications
Your retrofit plan must account for brick type because different bricks and masonry cores behave distinctly under insulation and moisture loads. Brick type influences thermal bridging, moisture movement, and wall drying potential, so you must tailor detailing to the specific masonry you face.
Weathering characteristics, porosity, and efflorescence tendencies drive considerations for cavity fill, vapor retarders, and flashing details. Common brick forms—solid, hollow, and double-damp—each respond differently to sustained moisture and temperature cycling, affecting long-term performance.
You evaluate brick durability to anticipate crack propagation and mortar compatibility, ensuring joints remain sealed without spalling.
Exterior aesthetics matter too; you balance insulation strategy with surface finish and color stability, preserving the wall’s visual integrity while maintaining functional performance and durability.
Retrofit Compatibility Factors
Even though brick type varies in how it tolerates moisture and thermal loads, you must assess each wall assembly to make certain retrofit measures align with its construction and durability. Retrofit Compatibility Factors focus on how wall construction and brick types interact with insulation, moisture barriers, and finishing decisions such as Wall color and paint options.
You evaluate substrate compatibility, moisture migration, and air leakage paths before installation.
- Inspect mortar condition, brick permeability, and potential efflorescence to gauge sealant choices.
- Match cavity insulation thickness to avoid trampling on brick ties and ensure long-term adhesion of finishes.
- Choose breathable coatings and compatible paint options that permit moisture drainage while delivering color consistency.
This approach keeps retrofits durable, minimizes risk, and preserves aesthetic and structural integrity.
How to Estimate Insulation Needs for Your Home
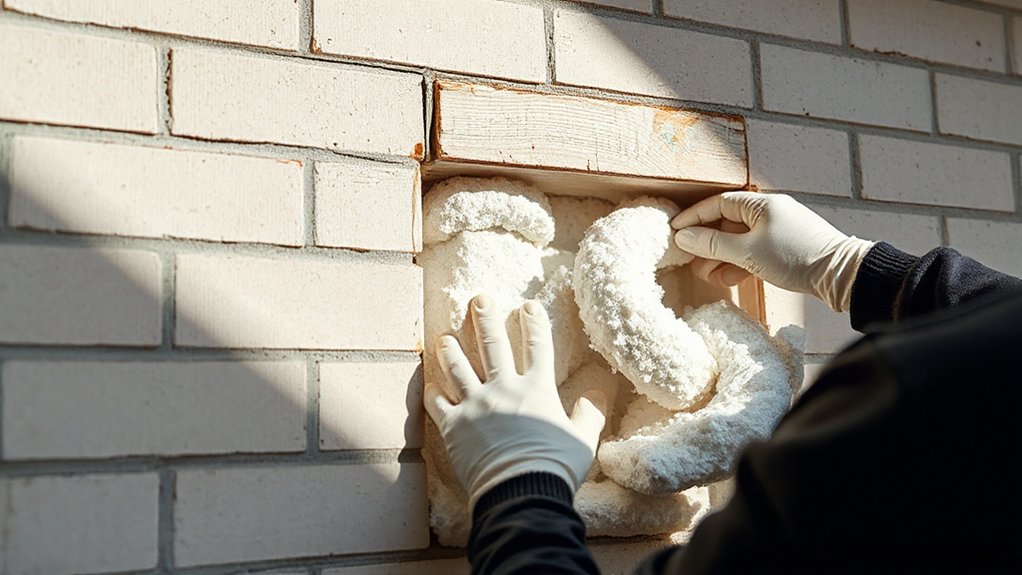
Estimating your insulation needs starts with a clear picture of your home’s current performance. You’ll begin with a focused Cavity assessment to identify where heat loss occurs and which walls are most responsive to retrofit. Document existing materials, thickness, and transparency of any gaps or cracks.
Then, determine target indoor comfort levels and seasonal energy use, translating them into required R-values for each zone. Consider how climate, occupancy, and equipment affect loads, and balance cost against long-term savings.
Catalog insulation materials options suitable for cavity retrofits, noting compatibility with your wall construction and moisture risk. Use standardized measurements and trusted calculators, and verify results with a professional inspection if uncertainties remain.
This process yields precise, install-ready specifications for effective upgrades.
How Cavity Insulation Saves Energy in Practice
How does cavity insulation translate to real energy savings in daily use? You’ll notice improved comfort as heat loss through walls drops, especially in winter. In practice, you reduce demand on your heating system, lowering bills and extending equipment life.
Real-world performance hinges on sealing gaps and minimizing thermal bridging, so insulation works with your full wall assembly. Exterior finishes can influence moisture risk and heat transfer, so compatible detailing matters.
3 concrete examples:
- Reduced heat flux through typical cavity-brick interfaces
- Lower standby heat loss during night-time setbacks
- Steady indoor temperatures with fewer rapid swings after the thermostat cycles
These benefits accumulate even with modest depth, making energy savings predictable and durable.
Choosing the Right Material for 1960s Houses
Prioritize systems that minimize thermal bridges, avoid creating damp pockets, and maintain breathability where historic masonry relies on capillary action. Historic preservation considerations mean selecting finishes and fixings that preserve façade texture, color, and massing without compromising performance.
Aesthetic considerations matter too: you’ll want a visually coherent exterior that respects the house’s character while delivering measurable energy savings. Seek solutions with proven in-situ performance, easy maintenance, and clear retrofit guidance.
Finally, guarantee installation methods protect vulnerable plasterwork and render substrates during retrofit consolidation.
Mineral Wool, Polystyrene, and Natural Fiber
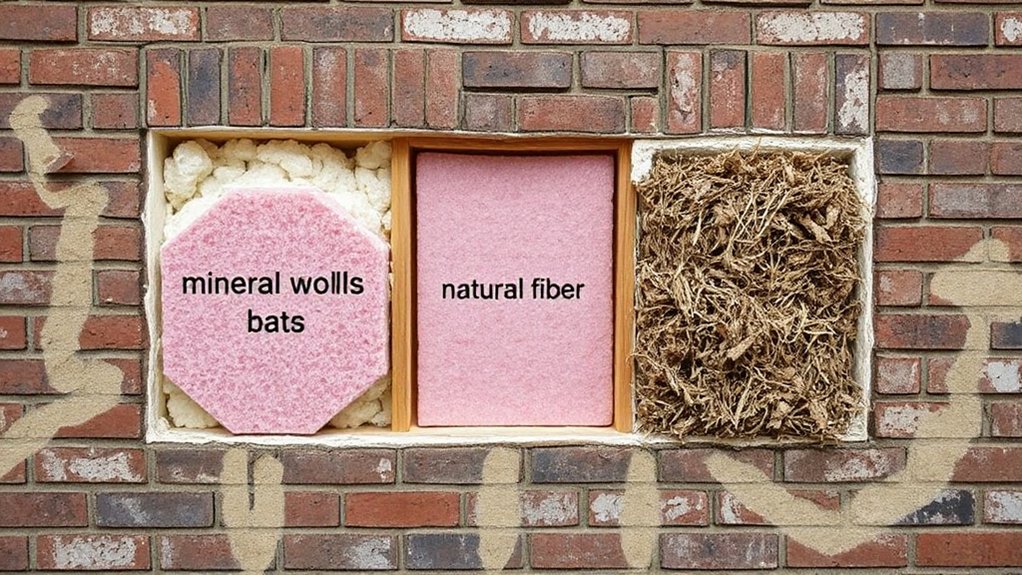
- Mineral wool provides robust fire resistance and vapor permeability, moderating thermal bridging while remaining stable across humidity changes.
- Polystyrene delivers high R-value per inch and low bulk, simplifying retrofit in tight cavities but offers limited moisture handling.
- Natural fiber options, such as cellulose or wood fiber, emphasize sustainability and breathability, helping damp control but potentially lower initial R-value.
Your decision hinges on balancing cost, structural impact, and long-term performance, ensuring the chosen insulation materials meet project goals without compromising wall integrity or comfort.
How Insulation Affects Damp Risk and Moisture Management
Insulation choices for cavity walls influence moisture risk as much as heat retention. You’re balancing thermal performance with damp control, since poorly chosen or installed fills can trap moisture and raise condensation risks inside walls.
When you install cavity insulation, guarantee the outer leaf remains breathable and free of pre-existing leaks, so moisture can migrate outward rather than accumulate. Moisture barriers should be continuous, with gasketed junctions at soffits and windows to prevent warm, moist interior air from advancing into cold cavities.
Use products compatible with your wall construction and ventilation strategy, avoiding voids or bridging that create cold spots.
Regular post-install checks for damp patches, staining, or mould help you verify effective moisture management and reduce long-term damp risk.
Preparing Your Home for Retrofit: Access, Permissions, and Decluttering
Preparing your home for retrofit starts with practical access, clear permissions, and effective decluttering to guarantee safe, efficient work. You’ll coordinate entry routes, schedule timing with neighbors, and secure keys or access codes to minimize delays.
- Confirm ownership permissions and utility shut-offs are documented and accessible.
- Clear corridors and work areas, relocate furniture, and protect valuables to reduce trip hazards.
- Prepare a staging area for tools, dust containment, and waste sorting to maintain site cleanliness.
Garden landscaping and interior decorating themes should be considered only as ancillary planning, not obstruction. Plan temporarily for path access and dust barriers without impacting long-term aesthetics.
Align this prep with contractor requirements and local regulations, then proceed to safe, controlled retrofit execution.
How to Find Qualified Installers (Certifications to Look For)
To guarantee you get durable, safe cavity wall insulation, start by identifying installers who hold recognized certifications and clearly demonstrate technical competence. Look for qualifications from established, industry-backed schemes, such as technician accreditations and installer registrations that prove handling, safety, and performance standards.
Verify that installers can present project-specific certifications, method approvals, and evidence of competency in cavity wall retrofits for 1960s houses. Check references and past projects to gauge consistency in workmanship and adherence to best practices.
In conversations, ask about how they protect historical architecture and manage aesthetic considerations, ensuring slimline applications and finish integrity. Favor teams that document air leakage testing, moisture controls, and post-installation warranties.
Clear documentation supports durable results and confidence in your retrofit plan.
What a Fair Cavity Insulation Quote Includes
A fair cavity insulation quote clearly spells out what’s included, what isn’t, and how workmanship will be delivered. You’ll see itemized components, material specs, and project milestones aligned with historical architecture considerations, so expectations stay clear from the start. The quote should establish fixed prices or transparent formulas for any changes, with a defined warranty window and follow-up support.
- Materials and installation scope, including retrofit methods and insulation thickness.
- Labor schedule, access requirements, and quality checks tied to aesthetic considerations and existing detailing.
- Contingencies, allowances, and payment terms with cancellation and completion criteria.
This clarity helps you compare bids objectively, reduce surprises, and guarantee durable performance without compromising the house’s character.
How Installers Assess Cavities and Plan the Retrofit
Before you can retrofit, installers assess the cavity by confirming wall construction, identifying any voids or obstructions, and verifying existing insulation and moisture conditions. They map cavity dimensions, inspect brick or block interfaces, and note mortar joints, tie patterns, and potential retrofit constraints.
Using non-destructive tests and selective openings, they evaluate stud spacing, lintel placements, and air leakage paths to plan effective insulation strategy. They consider historical architecture so retrofits respect load paths and facade integrity, avoiding damage to decorative detailing or cornices.
A risk assessment flags moisture traps, graffiti, or unvented pockets that could compromise performance. They also forecast installation sequencing, access needs, and containment measures.
Aesthetic considerations are weighed, ensuring the final finish aligns with era-appropriate appearance and long-term durability.
Installation Day: What to Expect From Start to Finish
On installation day, you’ll meet the team at an agreed start time and confirm access to the work area, utilities, and any pets or occupants that need precautions.
Expect a clear safety briefing, prep steps to protect your interior, and a concise process timeline that covers arrival and setup, cavity access, material delivery, and the sequence of insulation application.
The plan guarantees controls on safety, site access, and scheduling are aligned with your home’s layout and the project scope.
Arrival And Access
When the installation team arrives, they’ll review the project scope, confirm access routes, and set up the work area to minimize disruption. You’ll see precise site checks, door protections, and floor coverings to preserve finishes. Communication stays practical: hourly progress updates and any access changes are documented for accountability.
- Access routing confirmation and obstacle removal to keep workflow smooth
- Protective measures for decorative finishes and surrounding surfaces
- External barriers or containment setup to minimize dust escape
You’ll notice coordinated sequencing: scaffold or ladder placement, equipment staging, and restricted-zone signage. The team will verify ingress/egress points, utilities, and waste containment. Expect brief tool and material inventories, along with a defined timetable.
Clear labeling of exterior walls ensures correct cavity access without compromising external barriers or decorative finishes. By design, the process prioritizes containment, efficiency, and cleanliness while preserving your home’s aesthetic and structure.
Safety And Prep
Safety on installation day starts with a clear plan and disciplined execution. You’ll verify permit compliance, access routes, and safety equipment before any work begins.
Protect occupants by scheduling interruptions and establishing containment to limit dust and debris. Inspect walls for moisture, mold, or structural concerns, and address them if needed to prevent compromising the retrofit.
Guarantee indoor air protection with proper ventilation and use of HEPA filtration where appropriate. Exterior finishes should be documented and protected, with masking or temporary coverings to prevent staining.
Installers must follow manufacturer instructions, mixing ratios, and curing times precisely. Maintain a log of equipment checks, measurements, and deviations.
Conclude by confirming site cleanliness, waste disposal, and a clear handover for post-installation guidance.
Process Timeline Overview
Before work begins, a precise installation-day plan guides every step, ensuring coordination between crews, permits, and site access. You’ll follow a structured sequence that minimizes disruption while preserving Historical architecture and Vintage aesthetics.
On arrival, a site supervisor confirms access routes, material staging, and safety controls. Progress follows strict benchmarks, with real-time updates to stakeholders and a documented handoff at completion.
- Access and containment setup: seals, dust barriers, and cavity probes.
- Insulation deployment: blown-in or sprayed materials, monitored heat loss reductions, and fit checks.
- Final inspection: air-tightness test, moisture checks, and clean-up to restore curb appeal.
Expect brief interruptions, steady ventilation, and precise workmanship designed to protect both structure and character.
Common Installation Pitfalls and How to Avoid Them
Despite their energy-saving benefits, cavity wall insulation retrofits can stumble if installers miss key details. You’ll reduce risk by confirming cavity dimensions, ensuring proper material sizing, and maintaining continuous, uniform fill without bridging or gaps.
Common pitfalls include inadequate moisture barriers, poor sealing at reveals, and inadequate ventilation—each can compromise performance and indoor air quality. Pay close attention to material compatibility with existing brickwork and mortar, and avoid over- or under-filling that causes voids or compression.
Monitor for accidental ingress paths, like cracked seals around outlets or poorly sealed junctions, and address them before finishing. In parallel, balance insulation goals with aesthetic considerations—minimize visible texture changes and preserve wall integrity while achieving consistent thermal performance.
Post-Installation Checks for Damp and Cold Spots
After installation, you should perform post-install damp checks to confirm there’s no moisture buildup behind the walls.
Use cold-spot identification techniques to map any remaining heat losses and verify insulation performance across all elevations.
Address findings promptly to prevent long-term damage and guarantee the retrofit meets the intended energy and comfort gains.
Post-Install Damp Checks
- Inspect interior walls for damp stains, condensation, or paint lifting, noting location and severity.
- Check external brickwork and reveals for signs of bridging or mortar gaps that could channel moisture inward.
- Assess ventilation and airtightness, ensuring new seals aren’t trapping humidity or creating stagnant air.
These steps guide remaining adjustments and inform maintenance, helping sustain long‑term thermal performance and occupant comfort.
Cold Spot Identification Techniques
Cold spot identification follows dampness checks by focusing on where insulation performance may lag. You’ll assess interfaces, corners, and junctions where heat transfer can concentrate, signaling potential thermal bridging.
Use a combination of diagnostic tools: infrared thermography to reveal temperature differentials, moisture meters to detect hidden damp, and blower-door or pressure tests to map air leakage patterns that transport moisture inward.
Prioritize areas around electrical boxes, window reveals, and door perimeters, where penetration details create conductive paths.
Compare interior surface temperatures against expected baselines for your wall assembly and retrofitted cavity.
Confirm moisture barriers remain intact, unpunctured, and continuous, particularly behind new insulation layers.
Document anomalies, retest after remediation, and coordinate with installers to re-seal, rebarrier, and optimize thermal performance.
Building Regulations and Warranties: What You Need to Know
Are you clear on the regulatory framework and warranties that govern cavity wall insulation retrofits? You should know that building regulations specify performance and fire safety standards, while warranties cover installation quality and material integrity. Understanding these guarantees ensures compliance and protects you against defects.
To guide you, consider:
- Compliance checks: planning, insulation type approval, and installer competence.
- Warranty scope: duration, covered faults, and duties for maintenance or remediation.
- Compliance documentation: certificates, test results, and records for future property transactions.
Historical architecture and aesthetic considerations matter because retrofits must minimize disruption to façade appearance and historic features. Choose installers with proven expertise in period homes and analyze retrofit options for compatibility with original detailing and materials, ensuring long-term performance without compromising character.
Cost Considerations and Long-Term Savings
Cost considerations for cavity wall insulation retrofits hinge on up-front installation costs, ongoing energy savings, and potential long-term maintenance. You’ll weigh material choices, installation method, and contractor reliability, since these determine performance and durability over decades.
Modern insulation adds thermal resistance without compromising structure, but you must assess airflow, moisture risk, and potential displacement of existing finishes.
Historical accuracy matters, as retrofits should preserve original wall thickness and appearance where feasible, especially in period-accurate interiors.
Interior aesthetics can influence retrofit approach, favoring slimline fills or surface treatments that minimize visual impact.
Long-term savings accrue through reduced heat loss, lower heating demand, and fewer seasonal peaks.
Budget contingencies should cover inspections, air leakage testing, and future refurbishment to sustain comfort and energy efficiency.
Return on Investment: When Insulation Pays Back
You’ll want to understand Payback Timeframe Basics to gauge when upfront insulation costs are recovered.
Compare Insulation Cost vs Savings to estimate annual and cumulative returns, then frame these figures within typical building operating hours and climate factors.
Consider Long-Term Energy Benefits as a core driver of value, not just immediate bill reductions.
Payback Timeframe Basics
Payback timeframes quantify how long it takes for insulation retrofits to pay for themselves through energy savings. You’ll evaluate factors like climate, existing gaps, and thermal mass, translating upfront costs into a clear, timebound expectation.
In practice, you’ll compare annual savings to project costs, then compute the payback period to guide decisions.
1) Estimate local energy prices and typical consumption for your 1960s home, noting how historical architecture and interior design choices influence heat loss.
2) Assess insulation retrofit thickness, material performance, and installation quality to refine savings projections.
3) Use conservative assumptions to build a defensible payback window, recognizing that longer-term benefits include comfort and indoor air quality.
This framework helps you prioritize retrofits that align technical rigor with real-world needs.
Insulation Cost vs Savings
Insulation cost versus savings boils down to a straightforward ROI calculation: compare the up-front installation expense to the annual energy savings the retrofit yields, adjusted for local climate, fuel prices, and system efficiency.
You’ll quantify payback by modeling post Retrofit performance, factoring reduced heat loss through walls and reduced thermal bridging.
Consider cost modifiers like material quality, labor, and any required retrofits to existing cavities.
Savings depend on baseline energy use, insulation thickness, and sating of vapor barriers to control moisture without compromising ventilation.
A well-sealed system lowers heating demand, shortening payback, while poor installation or untreated thermal bridges diminishes ROI.
Long-Term Energy Benefits
- Reduced peak loads during cold snaps, easing boiler cycling and extending equipment life.
- Lower air leakage, enhancing comfort and diminishing drafts around historic architecture.
- Long-term cost recovery through monthly savings that compound with inflation.
Aesthetic considerations matter too; retrofits should respect Historical architecture and align with character-defining features, ensuring performance without compromising style.
Maintenance Tips to Protect Your Retrofit
Regular inspections are essential to keep your retrofit effective over time. To preserve performance, schedule quarterly checks for signs of moisture ingress, gaps, or insulation settling near exterior joints.
Verify that the cavity is ventilated properly and that weather-resistant barriers remain intact behind the cladding. Address any damp spots promptly to prevent timber decay and mold growth, and document findings for future maintenance cycles.
When you perform repairs, use materials compatible with existing insulation to avoid thermal bridging.
Integrate garden landscaping considerations by ensuring plantings don’t trap moisture or abrade walls, and keep roots away from foundations where possible.
If you notice roof repairs are needed, coordinate with waterproofing and insulation work to maintain a continuous, dry envelope.
Regular upkeep protects energy performance and retrofit longevity.
Real-World Case Studies: Savings From 1960S Houses
You’ll see how post-retrofit energy savings translate into real year-on-year reductions for 1960s houses.
We’ll connect these gains to the specific 1960s layout impacts and show how a favorable payback story emerges from actual costs and measured performance.
This sets the stage for comparing real-world returns on investment alongside design-driven factors.
Post‑Retrofit Energy Savings
- Annual heating demand often drops by 15–40%, translating to lower fuel use and emissions.
- Operating costs can fall by a similar margin, with payback periods commonly 5–12 years.
- Comfort improvements, such as reduced draft and more stable indoor temperatures, reinforce energy performance.
Consider color schemes and historical preservation when planning finishes and detailing, ensuring retrofits respect building aesthetics and long-term heritage value.
1960s Layout Impacts
Real-world case studies show how 1960s house layouts influence the savings from cavity wall insulation retrofits. In a brick structure, corridor-first designs tend to channel heat loss through exterior walls, reducing measured gains per retrofit.
You’ll notice that thicker wall cavities and solid brick faces alter airflow patterns, affecting insulation effectiveness and surface temperature distributions. Small, enclosed layouts with single-aspect rooms limit radiant heat exchange, increasing the relative impact of cavity insulation on stored heat.
Conversely, open-plan 1960s layouts allow more balanced temperature stratification, which can modestly dampen savings when ceiling and floor losses dominate.
Real-World Cost Payback
Estimating payback on cavity wall insulation retrofits in 1960s houses requires grounding in real-world cost data and performance metrics. In practice, you’ll compare installed cost, annualized heating savings, and payback years across case cohorts.
Real-world results reveal how historic fabric responds to retrofit; you’ll balance energy efficiency with design impact, noting that Historical architecture and aesthetic considerations influence choices and acceptance.
- Lower bound: retrofit cost versus measured seasonal heating reductions
- Mid range: performance variation by wall type, cladding, and installation quality
- Upper bound: long-term maintenance and potential resale value effects
You won’t just chase numbers; you’ll assess durability, tenant comfort, and architectural integrity, ensuring the retrofit respects historical architecture while delivering measurable savings.
Frequently Asked Questions
Is a Retrofit Suitable for Loft or Wall-Only Upgrades for 1960S Homes?
Yes, a retrofit is suitable for both loft insulation and wall insulation in 1960s homes. You can improve efficiency with loft insulation and wall insulation, reducing heat loss while maintaining safe ventilation, moisture controls, and compliant installation standards.
How Long Does a Typical Cavity Wall Retrofit Take On-Site?
Typically, a cavity wall retrofit takes a couple of days on-site, depending on house size and complexity. You’ll work with insulation materials and Retrofitting techniques, ensuring minimal disruption while you verify airtightness, moisture control, and thermal performance.
Will Insulation Affect Existing Brickwork or Render Damage Risk?
Insulation won’t automatically damage brickwork or render if installed correctly; however, poor detailing can jeopardize brick integrity and render safety. Confirm ventilation, breathable barriers, and cavity clearances, and monitor moisture to protect both brickwork and render.
Which Signs Indicate Retrofit Success Beyond Energy Bills?
You’ll see retrofit success through improved thermal performance and effective moisture management, not just lower bills. Expect steadier indoor temperatures, reduced drafts, fewer condensation issues, and durable wall condition, with intact brickwork or render and stable humidity levels.
Are There Any Hidden Costs to Expect During Installation?
Yes, expect hidden costs like access, scaffolding, and material surprises; perform cost estimation early, and plan for contingencies. You should, consequently, compare bids, and refine contractor selection, ensuring transparency, scope clarity, and unit-based pricing throughout the process.
Conclusion
As you pause at the wall, imagine a quiet room breathing with each season. Cavity insulation locks that breath, turning drafty corridors into steady warmth. You’ll feel the difference as heat stays where it should, water vapor drifts past unseen, and your boiler hums at a healthier rhythm. With the right retrofit, your 1960s home becomes a resilient shell— cheaper to heat, steadier inside, and built to endure. Quality install, measured savings, lasting comfort.