
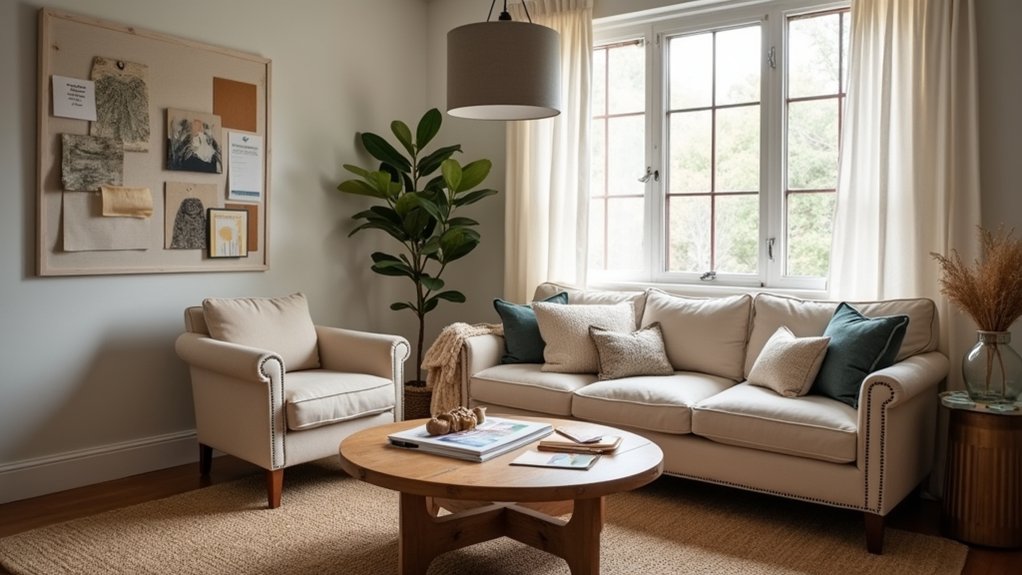

Start by defining your budget upfront and map it room by room. Prioritize essentials and high-impact finishes, then layer upgrades as funds allow. Decide exactly which services you need and set a realistic timeline that matches your money flow. Vet the designer’s track record with budgets and push for fixed quotes and contingency. Collaborate on DIY-friendly portions and focus on lighting to maximize value. If you keep going, you’ll uncover more practical steps to maximize cohesiveness without overspending.
Identify Budget Priorities by Room and Item

When you’re on a tight budget, start by identifying what matters most in each room. You’ll prioritize essentials first, then allocate funds to high-impact items. Use room-specific planning to map needs: lighting, storage, and surfaces in living areas; comfort, durability, and flow in bedrooms; function and ergonomics in kitchens and baths.
Define a clear hierarchy: must-haves, nice-to-haves, and contingency. Seek budget-conscious shopping by comparing prices, quality, and return values across retailers, outlets, and secondhand sources. Don’t overbuy items that don’t support daily use or resale value.
Leverage upgrades that transform a space—paint, hardware, and textiles—before larger purchases. Track every cost against your priorities, revising as needed to stay aligned with your goals and maintain momentum.
Define Clear Design Goals With Your Designer
Start by clarifying your top priorities up front, so your designer can focus on what truly matters.
Align your budget with those goals from the outset, and keep any trade-offs documented.
This shared clarity sets a practical path to achieve your vision without overrun.
Define Priorities Early
To set a realistic budget and keep the project on track, define your design goals up front and share them with your designer. You’ll gain clarity by listing priorities in order of impact on cost and aesthetics.
Start with essential needs: function, durability, and timelines. Then note preferences for color schemes and furniture arrangement that support those needs without overreaching the budget.
Be specific about must-haves vs. nice-to-haves, and flag any fixed constraints like room size or structural limits.
Communicate tolerances for risk, such as allowing substitutions or DIY options.
Use this framework to guide decisions—ask for concrete, itemized proposals that align with your stated priorities.
Regular check-ins prevent scope creep and keep the budget aligned with your goals.
Align Budget With Goals
Clarify your design goals with your designer and align them directly with your budget from day one. You’ll set expectations, then map each goal to a concrete cost. Start with essential must-haves, then identify nice-to-haves that can be delayed or scaled.
Use budget allocation as your framework: allocate funds to structural, functional, and aesthetic priorities, and lock in contingencies for surprises. Communicate how each choice affects long-term value, not just appearance.
Regularly review progress against goal alignment to avoid scope creep. Request itemized proposals and alternatives that meet the same outcome at different price points.
Favor scalable solutions—renting, refurbishing, or swapping pieces—over wholesale replacements when possible. Document decisions, revisit as goals evolve, and maintain a transparent dialogue to protect both budget and vision.
Decide Exactly Which Services You Need
Start by listing the services you truly need and can afford. Prioritize must-haves first, so you can see what you can implement now and what can wait.
This clarity keeps budget overruns from creeping in and sets a practical path forward.
Define Required Services
Before you hire, pin down exactly which services you need from the interior designer. Define the service scope clearly to prevent scope creep and surprise costs. Decide if you want concept development, space planning, material sourcing, procurement, project management, or only design consultation.
Be precise about deliverables: mood boards, floor plans, 3D renderings, supplier lists, and installation oversight. Consider milestones, review points, and how revisions will be handled.
Separate design time from procurement and management fees, and confirm hourly or flat rates. Map your budget against each service, noting what’s essential versus optional.
Establish expectations for communication, response times, and on-site visits. This clarity underpins effective budget negotiation and keeps the project focused and affordable.
Prioritize Must-Haves First
To zero in on value, list the must-haves now and secure only the services that directly impact your goals and timeline. You’ll save time and money by distinguishing essential tasks from nice-to-haves.
Start with a core scope: space planning, material selections, budget oversight, and project scheduling. Demand clear deliverables and milestones, so you can gauge progress and reallocate resources if needed.
Prioritize choices that unlock the most value with the least risk, such as durable finishes, timeless design, and efficient layouts.
Consider Budget gardening and Eco friendly materials as guiding constraints to reduce long-term costs.
Keep communication tight: weekly check-ins, written decisions, and a documented change process. This disciplined approach prevents scope creep and sustains momentum toward your priorities.
Set a Realistic Timeline That Matches Your Funds
If you’re on a tight budget, align your project timeline with what you can realistically fund, not what you wish for. Set milestones that reflect cash flow, not fantasy orders. Prioritize tasks by impact and payment schedule: design refinements first, then sourcing, then installation windows.
Communicate upfront with your designer about lead times, wrap-up buffers, and possible delays. Schedule furniture arrangement planning early so you can see space flow and avoid costly changes later.
Build in buffers for shipping or custom pieces, and avoid rushing decisions under pressure. Use color coordination as a guide for quick wins—paint, fabrics, and accessories can be timed to match funds.
Track progress weekly, adjust milestones, and keep a practical, phased pace.
Select High-Impact, Budget-Friendly Finishes
You can get a bold look without breaking the bank by choosing high-impact finishes and pairing them with budget-smart materials.
Start with practical combos—think durable, visually striking surfaces that tolerate wear and cheap maintenance.
Prioritize finishes that transform a space while keeping long-term costs in check.
Choose High-Impact Finishes
Choosing high-impact, budget-friendly finishes is about smart selection, not costly replacements. You’ll boost perception and durability by prioritizing finish quality over wholesale changes.
Start with architectural details: bold paint on an accent wall, a refined doorway trim, or a statement ceiling can create drama without a full remodel.
Opt for durable, easy-care surfaces in high-traffic areas, like quartz or porcelain in kitchens and baths, rather than costly natural stone.
Layer texture with affordable textiles, rugs, and wall panels to amplify luxury accents without overhauling structure.
Consider eco-friendly options—reclaimed wood, low-VOC paints, and recycled-content tiles—to meet sustainability goals while staying within budget.
Pair these finishes with strategic lighting to enhance perceived value and cohesion.
Budget-Smart Material Pairings
Smart, budget-friendly material pairings combine durability with visual impact by pairing high-appearance finishes with affordable substrates. You’ll maximize punch from small investments by selecting materials that feel premium without the price tag.
Start with Eco friendly materials, such as recycled metal accents or low-VOC paints, to boost sustainability without sacrificing style. Pair these with sturdy, cost-efficient substrates like laminate, engineered stone, or porcelain tile, which resist wear while staying budget-conscious.
Introduce Vintage accents through timeless textures—matte woodgrain laminates, aged brass hardware, or terrazzo-inspired porcelain—that read luxury without overreach.
Prioritize consistency: limit color stories, repeat finishes, and align between countertops, cabinetry, and hardware.
Finally, demand samples, test under lighting, and confirm maintenance needs to avoid costly missteps later.
Choose Midrange Furniture With Statement Anchors
Midrange furniture keeps costs predictable while still delivering style, so aim for solid, timeless pieces—then add visual impact with a few statement anchors. You’ll balance function and flair by choosing well-made basics in neutral tones and clean silhouettes.
Let these anchors guide the room’s personality without overwhelming the space. Place statement pieces where they’ll be foreground focal points, not cluttered corners, to reinforce furniture placement and flow.
Use color psychology to steer mood: a bold sofa can anchor a calm palette, while graphic art or a sculptural lamp adds contrast without a full-room reset. Keep mismatched accents cohesive through shared finishes or metallics.
Prioritize scale and return on investment—curate anchors that breathe, then pair them with versatile midrange foundations for lasting style.
Favor Timeless Finishes That Age Well
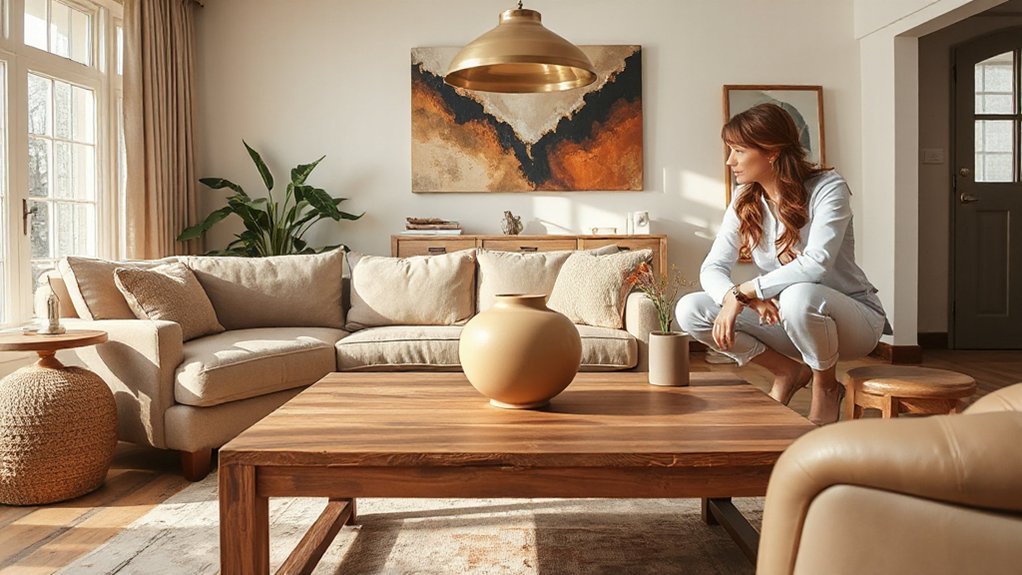
Timeless finishes age gracefully, making your investment feel smarter over time. Favor materials and textures that won’t scream trends, so you can refresh with accessories instead of overhauling. When you choose finishes, prioritize clean lines, durable surfaces, and neutral palettes that adapt as tastes change.
Look for classic options that pair well with modern pieces and occasional vintage accents to keep depth without dated cues. Favor eco-friendly materials that endure, require simple maintenance, and remain stylish across seasons. This approach minimizes future renovations and helps you stay on budget while still achieving a polished result.
- Invest in durable, low-maintenance surfaces
- Pair neutral bases with subtle vintage accents
- Prioritize eco-friendly materials for longevity
- Choose timeless textures over fleeting patterns
Build a Color and Style Guide to Follow
Start by defining your core palette, so every choice feels cohesive and intentional.
Then establish clear style rules—like finish types, room flow, and how accents repeat—to keep projects consistent.
With these standards in place, you’ll simplify decisions and protect your budget as you work with the designer.
Define Core Palette
So, define a core palette that anchors every room by choosing a few reliable neutrals and a small set of accent colors you love. You’ll use this palette as your reference for all decisions, preventing misaligned purchases and inconsistent vibes.
Focus on Color harmony by balancing warm and cool neutrals with two or three accents that repeat across spaces. When it comes to paint selection, pick durable finishes and test swatches in natural light before committing.
- Choose 2 neutrals (one warm, one cool) as your base
- Pick 2–3 accent colors and repeat them in textiles
- Test paint swatches in different lighting
- Document finishes and sheen for consistency
Standardize Style Rules
Now that you’ve established a core palette, it’s time to codify style rules that keep decisions consistent. Create a simple color and finish guide—define allowed combinations, thresholds, and where to use each tone. Specify furniture silhouettes, textures, and材料 (materials) that align with your palette to prevent drift.
Document rule triggers: when a new item risks breaking style, refer back to the guide or skip it. Use consistent notation for patterns, metals, and woods to preserve design harmony. Include a hierarchy for scale and proportion—avoid mixing oversized with delicate pieces.
Publish a quick-reference sheet for everyone involved, and keep it accessible. Regularly review tweaks to maintain style consistency and preserve design harmony across rooms.
Create Mood Boards and Simple Floor Plans
Mood boards and simple floor plans are your quickest path to clarity and cost control. You translate ideas into visuals, set scale, and spot conflicts before you buy. Use color coordination to unify rooms, and note material textures to feel decisions before the first cut list is made.
Create a core palette with 3–5 swatches, then layer with samples of finishes. Draft a simple floor plan that shows essential furniture, traffic flow, and power needs. Keep it lean; only items that serve function or influence mood go on the board.
Refine with the designer, then lock features into a budget-friendly scope.
- Define a core palette and surface textures
- Sketch a scalable floor plan with traffic routes
- Pin down priorities to prevent scope creep
- Attach quick costs or supplier options
Set Up a Clear Communication Plan Up Front
Set clear roles and responsibilities up front so everyone knows who handles briefs, approvals, and decisions.
Establish a preferred communication cadence that fits your schedule, whether daily check-ins or weekly updates.
Outline a milestones and deliverables schedule so both sides track progress and stay aligned throughout the project.
Clear Roles & Responsibilities
To guarantee a smooth project, you should establish clear roles and responsibilities up front and pair them with a concrete communication plan. Define who approves changes, who sources samples, and who tracks budgets. Assign one point person for each area—design concept, procurement, and installation—and set fixed decision windows to stay on track. Clarify expectations for responsiveness and file organization so you both stay aligned.
- Identify decision owners for furniture placement and art selection
- Pin down who coordinates orders, delivery, and installation
- Agree on budget limits and how variances are reported
- Establish preferred communication channels and response times
Preferred Communication Cadence
Clear communication cadence keeps a tight budget from spiraling. Set up a joint plan at the outset: define preferred channels (email for records, quick calls for decisions), response windows, and expected turnaround times.
Agree on a single point of contact for decisions to reduce back-and-forth. Establish a weekly check-in or biweekly call to review progress, decisions, and budget status.
Use a shared brief or mood board to guide color coordination and mood setting, so both sides stay aligned. Document decisions, approved changes, and revised estimates to prevent scope creep.
Be upfront about constraints, trade-offs, and deadlines. This clarity minimizes miscommunication, speeds approvals, and keeps the project on track, ensuring you get the look you want without budget blowouts.
Milestones & Deliverables Schedule
Milestones and deliverables set the rhythm of your budget and approvals from day one. A clear schedule keeps decisions tight, reduces back-and-forth, and protects your color harmony and space optimization goals.
Establish milestones for concept, design development, material selection, and final sign-off, with explicit deliverables and decision deadlines. Tie each milestone to a responsible party, calendar reminders, and a simple approval gate so you’re never guessing what happens next.
Build in buffer for substitutions or delays and document scope changes to avoid budget creep. Communicate expectations up front, so approvals aren’t bottlenecks.
Track progress weekly, adjust as needed, and celebrate small wins to stay motivated and aligned.
- Define milestones, owners, and approval gates
- List deliverables with due dates and acceptance criteria
- Tie decisions to budget and design intents (color harmony, space optimization)
- Schedule regular progress reviews and quick issue resolution
Get a Written Scope of Work and Budget Sheet
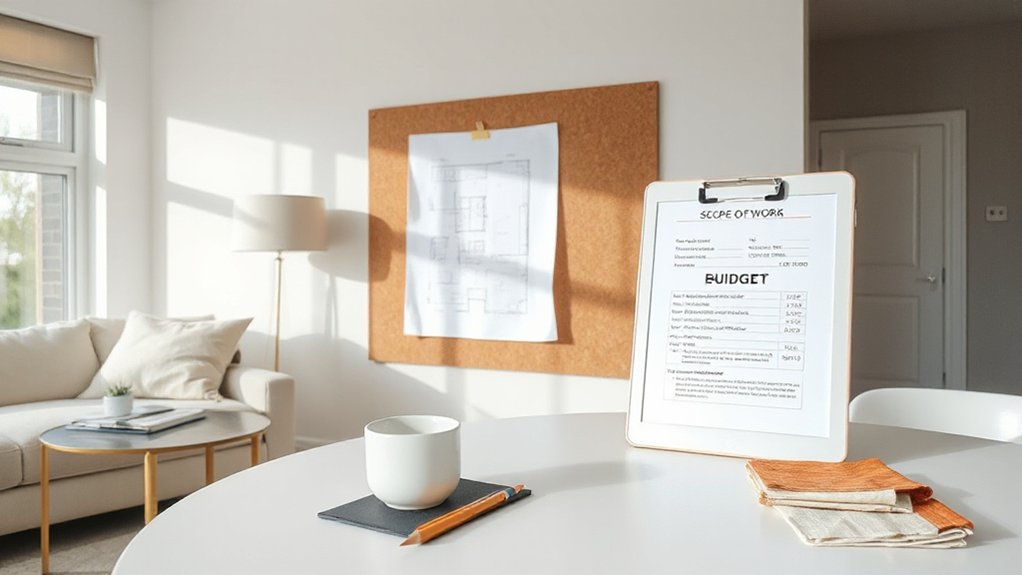
Getting a written scope of work and budget sheet from your designer up front sets clear expectations and protects your budget. A clear document outlines deliverables, milestones, and decision points, so you know what you’re paying for and when.
Include project goals, materials, timelines, and any constraints, plus who approves changes. The budget sheet should itemize costs, contingency, and payment terms, with a total and a line for ongoing tracking.
Use scope clarity to prevent scope creep and guarantee both sides agree on priority items. Confirm how changes are handled, who authorizes them, and how revisions affect costs and timing.
Keep a copy accessible for reference, and update it as decisions are made. This written foundation supports disciplined Budget tracking throughout the project.
Plan a Phased Spending Approach
Start by using the written scope and budget as your anchor, then map spending to project phases so you can prioritize items as funds allow. A phased spending approach keeps you in control and protects design flexibility, so you don’t overspend upfront.
Plan around essential fixes first, then layer upgrades as budgets permit. Track progress against milestones and adjust as needs change, not as emotions rise. Maintain clear communication with your designer about what moves next and why.
Use this framework to evaluate proposals, compare costs, and avoid scope creep. Budget planning becomes a living document you update quarterly, not a fixed decree. You’ll preserve momentum while delivering a cohesive result that matches both taste and finance.
- Prioritize essentials first, then upgrades
- Align phases with milestones and funds
- Monitor, review, and adjust the plan
- Keep design flexibility in mind for choices
Access Trade Resources for Designer Discounts
Accessing trade resources can open meaningful discounts, but you’ll need a plan. Start by identifying reputable supplier programs you can qualify for and ask your designer to confirm eligibility.
Trade discounts hinge on membership, inventory access, and early-season orders, so map out when you’ll buy and which items matter most. Build a concise list of target categories—lighting, textiles, hardware, and finishes—and seek vendors known for consistent savings.
Request private catalogs, dealer-only pricing, or net terms to maximize resource access without tying up cash. Share your budget goals with your designer so they can negotiate on your behalf and time purchases for ideal markdowns.
Keep records of discounts secured, verify terms, and avoid redundant exchanges that waste time or inflate costs.
Seek Cost-Efficient Customizations That Pay Off
Shift from hunting for trade discounts to choosing cost-efficient customizations that deliver real value. You’ll focus on options that boost function and feel without breaking the bank, leveraging the designer’s expertise to pick durable, timeless elements.
Prioritize affordable upgrades that transform rooms over flashy trends, ensuring every dollar adds measurable payoff. Embrace customization options that suit your lifestyle, storage needs, and daily routines, not just aesthetics.
Track long-term cost versus benefit, opting for finishes and fixtures with lower maintenance and longer lifespans. Communicate constraints clearly so your designer targets high-impact changes first.
- Affordable upgrades that improve everyday use
- Customization options aligned with your storage needs
- Durable finishes with low maintenance
- Timeless design elements that avoid rapid obsolescence
Anticipate Hidden Costs and Contingencies
Hidden costs can creep in long after you’ve approved a plan, so you’ll want a clear contingency mindset from the start. You’ll set a realistic budget buffer and label it for “unexpected expenses.” Build this into every phase—design, sourcing, and installation—so you’re not blindsided by surprises.
Practice proactive contingency planning by identifying common overages: changes in materials, delivery delays, and added labor. Get fixed quotes for critical items, then add a 10–20% cushion for contingencies where you can.
Track variances weekly, not monthly, and reallocate funds before they derail progress. Communicate early about potential cost shifts with your designer, so decisions stay aligned with your budget.
This disciplined approach protects momentum and keeps the project financially on track.
Vet the Designer’s Track Record on Budgets
You’ve pegged the risk—now you need a proven track record you can trust. Vet the designer’s budget performance before you sign any agreement. Look for consistent outcomes on projects similar to yours, and demand transparent cost reporting and variance explanations.
A reputable designer should share anchor budgets, itemized line items, and how they handle overruns. Evaluate whether they prioritize value without compromising design goals, and confirm they’ve completed projects on time within budget.
Ask for references you can verify, focusing on Budget considerations and how closely actuals matched estimates. Also assess communication speed and responsiveness during pricing phases, which signals professionalism and Designer reputation.
- Request a budget narrative with vetted line items and contingency handling
- Check recent project references for on-budget delivery
- Compare estimated vs. actual costs and overruns
- Confirm clear invoicing practices and change-order processes
Collaborate on DIY-Friendly Portions of the Project
To make the most of your budget, identify DIY-friendly portions of the project and align them with the designer early on. You’ll benefit by separating tasks you can handle from ones that truly require expertise.
Start with surfaces you can refresh—paint, wallpaper accents, and hardware swaps—and save major structural changes for professional input.
Share DIY inspiration you love so the designer can tailor ideas to your skill set and timelines.
Create a clear budget planning framework: list tasks, estimate costs, mark non-negotiables, and time-frame each step.
Agree on a practical scope, then let the designer propose safe, efficient processes you can execute confidently.
This collaboration keeps costs predictable and preserves momentum while delivering personalized results.
Prioritize Lighting as a Budget-Wise Upgrade
Lighting upgrades offer a high-impact, budget-smart path after you’ve pinned down DIY-friendly tasks. You’ll gain warmth, depth, and function without overhauling walls or furniture. Focus on lighting fixtures that maximize ambient illumination while staying within budget. Choose versatile fixtures, swap shades, and layer light to avoid harsh glare.
Prioritize bulbs with color accuracy and energy efficiency to extend value beyond installation.
- Audit existing sockets and choose compatible fixtures
- Layer ambient, task, and accent lighting for balance
- Opt for dimmable LEDs to stretch versatility
- Reuse or repurpose affordable, stylish shades or pendants
Measure Success by Visual Cohesion, Not Price Tags
Visual cohesion matters more than sticker shock. When you measure progress, look at how pieces relate to each other, not just what they cost.
You’re aiming for visual harmony: how textures, tones, and forms play together across rooms. Prioritize consistency in scale and finish so your design reads as one intentional plan, even if you’re mixing budget finds with a few statement pieces.
Seek aesthetic balance by testing combinations before you buy, using swatches, samples, and layout photos. If an item pulls attention away from the room’s flow, replace it or retune another piece to restore balance.
Track success by how smoothly the space moves from one area to the next, not by individual price tags.
Frequently Asked Questions
How Can I Verify a Designer’s Budget Adherence History?
To verify a designer’s budget adherence history, you track budget performance and review past projects. Check budget tracking records and ask for credentialed designer credentials, references, and verified client outcomes to guarantee consistent cost control.
What Hidden Costs Typically Appear in Contractor Invoices?
You’ll often see hidden costs: 30% of projects overshoot due to material costs and labor charges. Expect markups on materials, delivery fees, and change orders; scrutinize invoices, demand itemized entries, and require fixed-rate estimates where possible.
How Do I Compare Designers’ Value Beyond Hourly Rates?
Compare designers’ value by design style and client communication, not just hourly rates; assess project deliverables, timelines, and decision-making efficiency. You quantify outcomes, request detailed proposals, and track changes, ensuring clear expectations and measurable results.
Can I Negotiate a Fixed-Fee Package With a Designer?
Yes, you can negotiate a fixed-fee package with a designer. Define scope, milestones, and deliverables, then align on Design style and Client communication expectations to avoid scope creep and guarantee practical, transparent budgeting.
What Baseline Metrics Reveal Project Budget Efficiency?
Budget efficiency hinges on these baselines: track material sourcing costs and design timeline adherence, compare against forecasts, monitor change orders, and measure value delivered per dollar. You’ll spot overruns early and keep projects on track.
Conclusion
You’ll shape spaces that feel expensive without emptying pockets. Treat your budget as a compass, not a cage—let priorities glow while trims stay lean. Partner with your designer like a trusted co-pilot, sharing honest milestones and DIY opportunities that light up big results. Think of the room as a story in progress: small, purposeful edits create a cohesive, lived-in vibe. When plans align, budget and beauty sing in sync, and your space finally feels like it was built for you.