
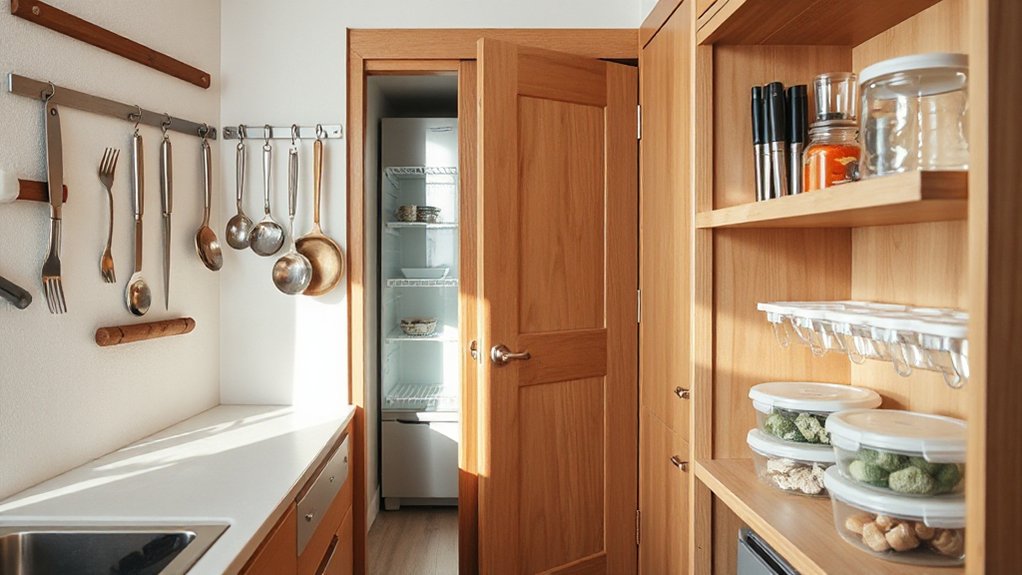

You’ll want to start by mapping your everyday tasks and the items you reach for most. Look up, down, and into every corner for slim shelves, wall rails, and hooks that won’t crowd counters. Pick modular organizers that fit tight gaps and consider multi-purpose appliances to reduce clutter. You’ll gain momentum when small wins add up, but you’ll hit a point where smarter choices matter more than bigger bets—and that moment is just around the corner.
Pinpoint Your Tiny-Kitchen Pain Points

Start with meals: chopping, measuring, reheating, plating, and cleanup.
Track beverage routines, coffee and tea prep, milk rotation, and refrigeration access.
Account for storage needs: dry goods, snacks, and ready-to-heat components.
Note appliance placements that force unnecessary steps, like reaching across counters or hunting for utensils.
Observe countertop use, waste management, and cleaning duties.
From there, design for efficiency with deliberate appliance placement and obvious pantry organization.
Prioritize clear sightlines, reachable heights, and labeled zones to reduce friction and keep essentials in view.
Maximize Vertical Space With Wall-Mounted Solutions
Wall-mounted racks and rails transform vertical space into instantly accessible storage, freeing precious counter real estate without sacrificing style. You’ll maximize every inch by choosing a slim rail system that runs along under cabinets or above the countertop, then add purpose-driven accessories.
Use floating shelves to display lightweight items—creamer, spices, or glassware—keeping them reachable yet out of the way.
Install wall hooks at key heights for mugs, utensils, and aprons, reducing drawer clutter.
Opt for modular components so you can reconfigure as needs shift.
Keep finish and hardware cohesive with your kitchen’s palette to maintain a quiet, design-forward look.
Prioritize sturdy mounting in studs or with appropriate anchors, and label zones to simplify routine tasks.
Regularly declutter to sustain efficiency and visual calm.
Turn Corners Into Clever Storage: Shelves and Racks
Turning awkward corners into usable storage is straightforward with slim shelves and purpose-built racks, so you reclaim lost square footage without crowding the counter. You harness vertical freedom by placing Corner shelving at elbow height, then stagger levels to accommodate tall bottles and shallow jars alike.
Choose shallow depths to avoid protrusion into traffic flow, and finish with a matte neutral to blend with cabinetry. For stability, anchor into studs and use anti-tip brackets on higher units.
Racks installation should prioritize accessibility: rotate out for spices, flip-down spans for mugs, and magnetic rails for metal tins. Keep hardware minimal—hidden screws and clean profiles read as intentional design.
This approach minimizes clutter while maximizing reach, yielding a sharper, more usable kitchen perimeter.
Under-Sink Hacks: Reclaiming Plumbing Nooks
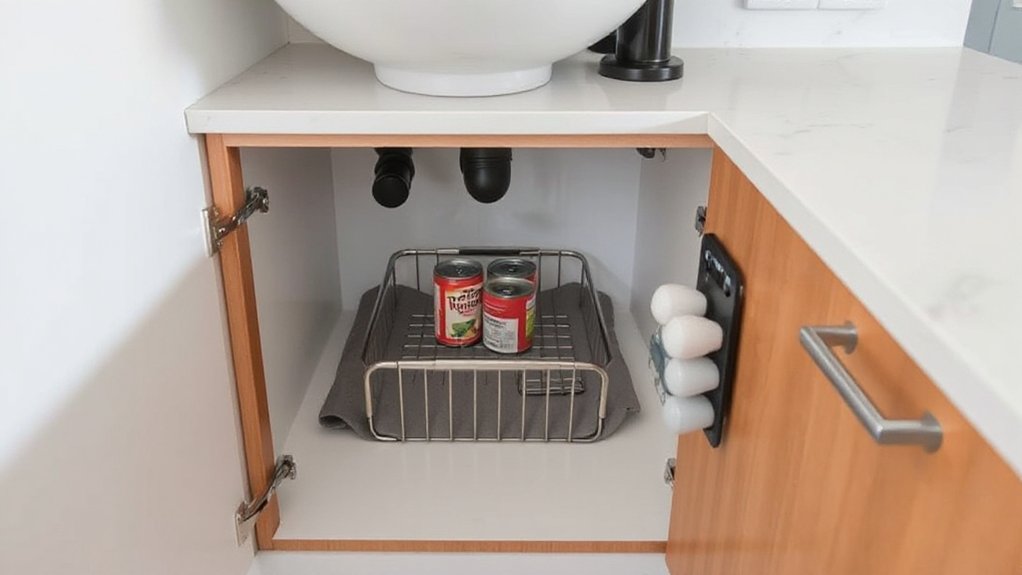
Under-sink space is often the tightest fit in a compact kitchen, but the plumbing shouldn’t trap your storage goals. You’ll reclaim this nook by using slim organizers that wrap around pipes, not block access. Measure clearance first, then choose modular bins and pull-out trays that sit on the cabinet floor or hang from the cabinet wall.
Use stackable containers for cleaners and rags, keeping the most-used items near the front. Install a shallow shelf above the trap for small tools, brushes, and spare fittings.
For longevity, practice plumbing maintenance by checking hose clamps and seals quarterly. Add pipe insulation to exposed copper or PVC to reduce heat transfer and condensation, preventing moisture damage and rust.
Finish with label-contrasted bins for quick retrieval.
Choose Multi-Purpose Appliances to Save Counter Space
Opt for multi‑purpose appliances that do double duty to maximize every inch of counter space. In small kitchens, choose devices that perform two functions without adding bulk, like a toaster that also toasts and warms small dishes, or a blender that purees and multitasks as a food processor.
Prioritize compact footprints and easy access, so you don’t stack units or create countertop clutter. Seek models with integrated storage for cords and accessories to maintain appliance organization.
Favor modular designs that tuck into a corner or align with the edge of your workspace, preserving flow and sightlines. When selecting, compare peak power and versatility to avoid redundant tools.
Fewer, smarter choices keep surfaces clear and your kitchen more efficient.
Drawer and Cabinet Dividers for Quick Access
Drawer and cabinet dividers keep essentials within reach and uncluttered, so you can grab what you need without a hunt. Use slim, adjustable organizers inside drawers to separate utensils, measuring cups, and prep tools, preventing rummaging.
Install stackable or modular dividers for tall items like lids or pans, creating clear tiers that reveal items with a glance. In cabinets, add shelf risers and divided bins to categorize spices, lids, and baking sheets, maximizing vertical space.
Labeling helps you maintain order and speeds access during weekday meals. Choose durable materials that resist moisture and are easy to wipe down.
This approach delivers organizational tools that streamline routines while preserving cabinet depth. The result is consistent access enhancement and a tidier, more efficient kitchen workflow.
Modular Storage Systems That Grow With You
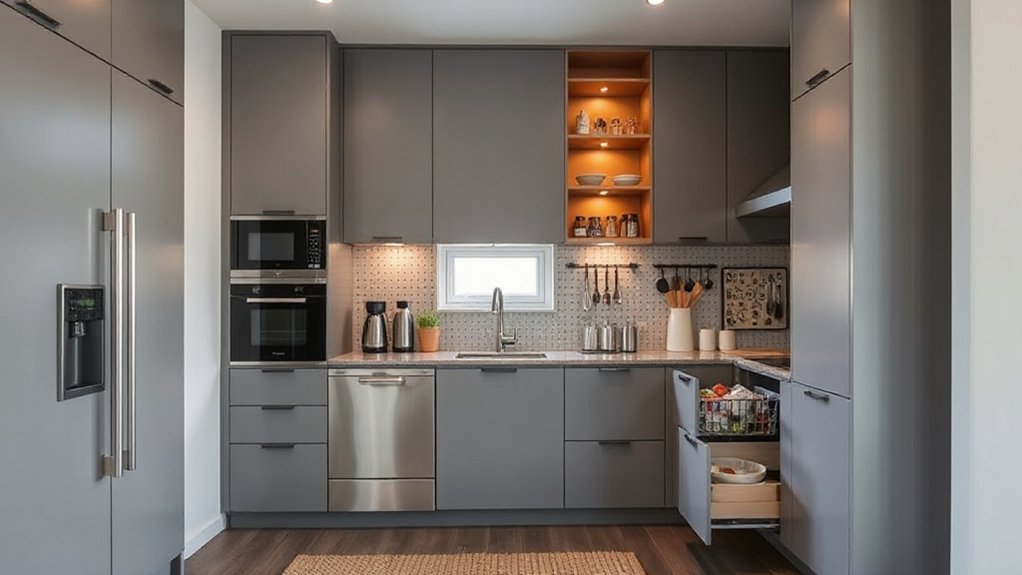
Start with a core profile—compact, sturdy, and easy to reassemble. Choose modular systems that clip or bolt together, so you can add shelves, a pull-out pantry, or slim cabinets without invasive remodeling.
Favor adaptable furniture that doubles as storage—an island with integrated shelving, a fold-down countertop, or a peg-and-hook wall.
Prioritize uniform hardware, simple finishes, and clear labeling for quick reconfiguration.
Design for accessibility: keep frequent items reachable, and reserve higher bays for seasonal or infrequently used gear.
This approach maximizes footprint without compromising flow or style.
Lighting and Color Tricks to Make Storage Feel Bigger
You can make a compact kitchen feel bigger by tuning lighting brightness to wash walls and ceilings, creating an airy sense of space.
Use color perception tricks with light, cool whites or pale neutrals, to push storage areas visually farther back.
Pair these with reflective surfaces to amplify light and subtly expand the perceived volume of every cabinet and shelf.
Lighting Brightness Illusion
Brighter, lighter spaces feel bigger, and you can achieve that without adding square footage. To master Lighting Brightness Illusion, tune your brightness levels for depth and clarity, not just raw lumens. Use layered lighting: ambient, task, and accent, each calibrated to enhance perceived space.
Favor cool or neutral whites to reinforce a crisp, airy mood, boosting lighting ambiance and making stored items read as organized rather than cluttered. Dim corners vanish when you balance reflections with matte and glossy surfaces. Keep fixtures slim and glare-free to prevent hotspot distractions.
- Use under-cabinet LEDs for even task illumination
- Add a ceiling fixture with diffused light for overall brightness
- Incorporate reflective backsplashes or glass fronts
- Dimmer switches subtly boost perceived space when needed
Color Perception Tricks
Color perception emphasizes simplicity: avoid busy fronts, and let depth come from shallow reveals rather than ornament. Use matte finishes to prevent glare that shortens perceived distance, while subtle tonal variation signals zones without breaking cohesion.
Visual illusions arise when hardware stays minimal and aligned, so storage appears continuous. This approach delivers perceived breadth while maintaining function; your compact kitchen gains space without physically enlarging it.
Reflective Surfaces Use
Reflective surfaces amplify light and depth, making storage feel larger without adding bulk. You’ll maximize perceived space by choosing materials that bounce brightness across cabinets, backsplashes, and countertops.
Use glass decor to subtly reveal organized shelves without crowding them, and pair with warm undertones to avoid clinical vibes. Mirror panels behind open storage visually doubles the available area, while polished metals reflect activity and keep lines clean.
Keep clutter off glossy surfaces to prevent glare and faux clutter. Balance is key: select textures that complement the room’s palette and resist fingerprints.
- Glass decor accents that reflect gently without overpowering
- Mirror-backed storage to expand perceived depth
- High-gloss cabinet doors paired with matte surrounds
- Subtle chrome or brushed metal hardware for precision and restraint
Budget-Friendly Upgrades With Big Impact
Small changes can yield big gains in a compact kitchen, and you don’t need a designer’s budget to get there. You’ll upgrade storage with practical, high-impact moves that don’t disrupt flow.
Prioritize verticality: install open pegboards for cookware, magnetic strips for knives, and slim wall shelves above counters.
Reorganize by routine, grouping items by cooking zones to save steps.
Invest in modular, stackable containers to maximize pantry space, label clearly, and keep items visible.
Choose inexpensive, durable materials like wire racks and acrylic bins that resist grime and are easy to wipe down.
Optimize pantry organization by shelving at adjustable heights and using clear fronts.
For cooking techniques, practice mise en place and pre-portion staples to reduce clutter and time at the stove.
Quick Decluttering Routines for Daily Use

To keep a compact kitchen from feeling cluttered, establish quick daily routines that keep surfaces clear and essentials within arm’s reach. You’ll gain efficiency by tiny, repeatable actions that curb buildup and preserve design-forward flow.
- Practice pantry organization every morning: wipe, rotate, and return items to labeled zones.
- Do utensil sorting after cooking: group by use, purge duplicates, and streamline drawer inserts.
- Clear one counter at a time: put away tools, bowls, and packaging before you start the next task.
- End day with a 2-minute reset: wipe spills, straighten magnets, and containerize scraps.
These micro-habits keep sightlines clean, reduce decision fatigue, and support a calm, usable kitchen space.
Measure, Test, and Adapt Your Setup Over Time
Measure how your setup works in real life, then tighten what’s not performing. Track daily use for a week: what you reach for first, what sits idle, and where you stumble on countertop or cabinet access.
Test loading weights, pull strengths, and clearance with typical items. Swap to better-suited organizers, then re-test—notice improvements in speed, accuracy, and comfort.
Document a simple before/after log to reveal gaps and guide substitutions. Prioritize storage optimization by choosing modular, adjustable elements that adapt to changing needs without adding bulk.
Measure outcomes against space maximization goals: reduce wasted motion, reclaim surface area, and keep essentials within reach.
Iterate quarterly, not quarterly, refining margins until your kitchen feels both efficient and visually calm.
Frequently Asked Questions
How Do I Measure for Tiny-Apartment Storage Needs Accurately?
You measure tiny storage needs by listing daily items, then multiply by usage days to estimate volume. Space optimization guides you; use vertical shelving to maximize walls, and precision in depths prevents crowding while keeping everything accessible and tidy.
What Affordable, Hidden Storage Ideas Work Best for Small Kitchens?
Hidden compartments and vertical shelving work best for budget-friendly kitchens; you avoid clutter while gaining space. You’ll access hidden compartments under counters and mount vertical shelving high, keeping essentials reachable yet discreet, practical, design-forward, and visually tidy for small spaces.
How Can I Prevent Jams and Spills With Compact Storage Setups?
To prevent jams and spills, implement pantry organization with labeled bins and clear fronts, and practice spill prevention techniques like sliding shelves and non-slip liners. You’ll streamline access, reduce clutter, and keep your compact storage design-forward and practical.
Which Materials Resist Humidity and Mold in Compact Units?
Satire aside, you want moisture resistant materials and mold proof surfaces. You choose stainless steel, quartz, ceramic, and coated plywood; seal joints, vented shelves, and tight silicone gaps. You’ll prevent humidity, mold, and future redesign headaches. Practical, precise, design-forward.
How Often Should I Reassess My Storage Layout for Changes?
You should reassess your storage layout every 3–6 months, adjusting for life changes and seasonal tweaks. Regular checks guarantee furniture arrangement stays efficient, and seasonal adjustments keep you adapting to clutter, usage shifts, and new items.
Conclusion
You’ll finish with a kitchen that feels bigger because you treated it like a design project, not just a storage chore. Think of your space as a stage for efficiency, where shelves, hooks, and slim organizers choreograph everyday rituals. Like a well-tinished cabinet in a craftsman’s hall, every inch earns its keep, every item earns a place. You’ll move smoothly, see less clutter, and reclaim room for ideas—a quiet, practical elegance that lasts.