
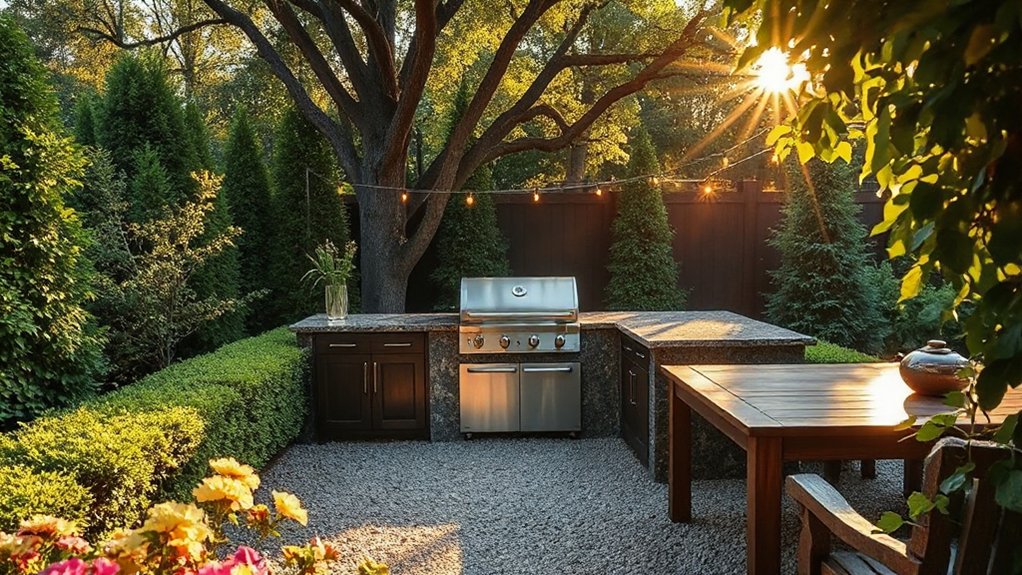

To pick the right spot for your BBQ, you’ll map sun paths, check wind drafts, and test drainage so the flow feels natural from prep to dining. Picture a flat, stable patch with a clear buffer from structures, overhanging branches, and utilities, yet close enough for easy access. Reflect on views, seating, and maintenance angles as you weigh aesthetics against safety. Take a step, weigh the options, and you’ll see how the site shapes your entire setup—but there’s more to consider.
Clarify Your BBQ Goals and Essential Features
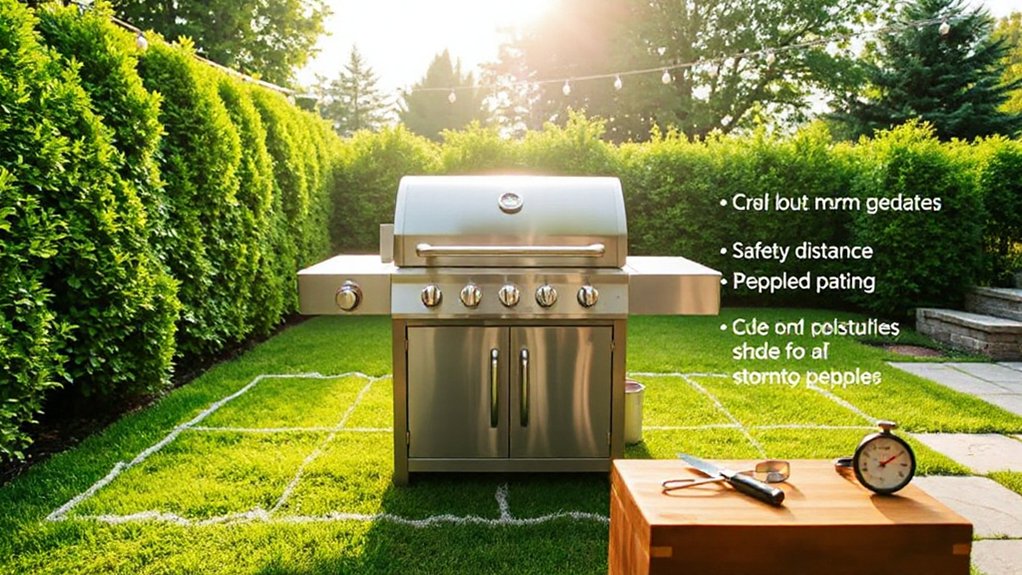
Think about what you want from your BBQ spot and list the essentials that will make it work. You picture how you’ll cook, entertain, and time meals, so set clear goals. Decide how hands-on you’ll be: occasional grill master or weekend pit pro.
Define essential features: counter space for prep, a wind-safe cooking area, and safe distancing from plants or furniture. Consider typical menu items and the rhythms of meals, so your layout supports smooth flow from prep to flame.
Map your space with sightlines to seating, shade, and pathways. Weave in practical needs like ventilation, accessible fuel storage, and heat containment.
Clarify cooking techniques and fuel options guide your choices, ensuring your spot meets safety, functionality, and enjoyability.
Map Sunlight Across the Seasons
Sunlight is your compass: start by tracing how the sun travels across your yard from dawn to dusk, noting where shade shifts with the seasons. You’ll map Sunlight patterns by season, tracking where light lands at sunrise and where it fades at twilight. Use simple markers or a sketch grid to capture height, angles, and duration in each zone.
Pay attention to the hottest late-afternoon spots and the gentler morning rays, then overlay them on your BBQ area plan. This helps you choose a spot with predictable light for cooking and seating.
Seasonal shading. Keep it actionable: test with a DIY sun dial, note how trees, structures, and fences alter exposure, and adjust placements accordingly.
Assess Wind Direction and Airflow
Wind direction is the next critical map to add. You observe how breeze threads across your yard, then place the grill where smoke blows away from seating and paths.
Note wind patterns at different times of day, not just in calm mornings. Stand at grill height, trace where currents funnel and where they stall, then test with a handful of leaves or a small smoke pen to confirm your sense.
Prioritize natural airflow optimization by aligning the cooking area with prevailing winds while keeping guests shielded from gusts. Consider nearby trees or structures that channel or block air, shaping dispersion.
Visualize heat and smoke as you sketch zones, ensuring comfort, safety, and steady airflow for efficient cooking.
Proximity to Structures and Combustibles
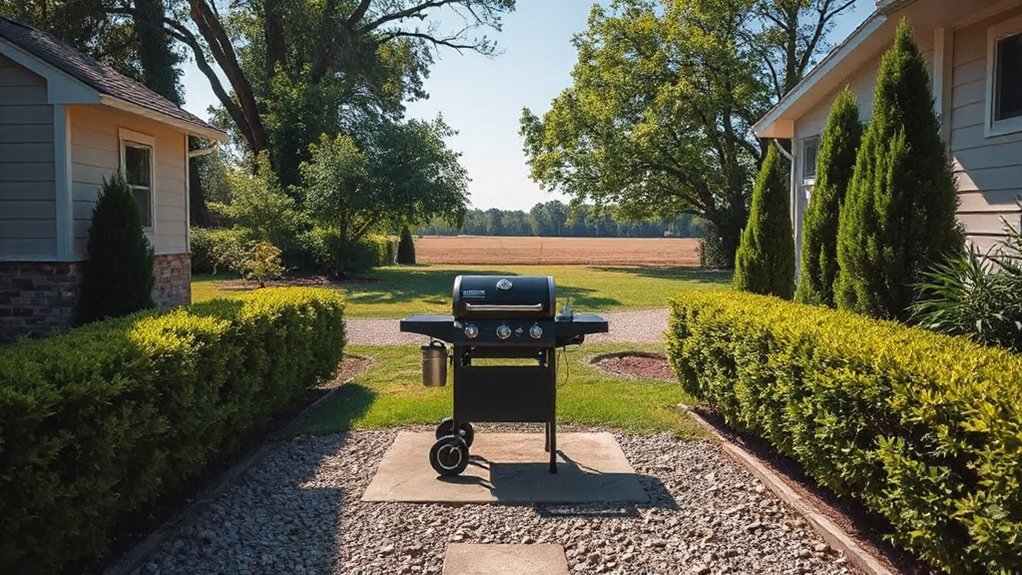
Keep the grill at a safe distance from any building, fence, or overhanging eave so heat and embers can’t reach them.
Picture a clear buffer of noncombustible space around the unit, with a wider zone on dry, sunny days and near any wooden structures.
As you map your site, mark out these safe radii and keep paths and fuel stored away from the grill to prevent accidental ignition.
Nearby Structures Safety
To keep your BBQ build safe, start by mapping out a clear buffer between the grill and any nearby structures or combustibles. You’ll look for walls, fences, sheds, and overhangs that could channel heat or sparks toward flame-prone surfaces.
Visualize sightlines from the grill to every edge of nearby structures, noting any overhanging branches, vents, or attic openings.
Place the grill on a non-combustible pad with fire resistant materials beneath and around, extending at least a hand’s width beyond the unit.
Maintain easy emergency access, leaving room to move quickly if smoke thickens or a flare erupts.
Keep clearance clear of dry mulch or stored lumber, and use weather-safe, heat-tolerant shelving for tools.
Clear Combustible Clearance
Use fire resistant materials for any adjacent surfaces—stone, brick, or packed gravel—so heat won’t seep through or spark embers. Position the grill with ample open space on all sides to allow airflow and prevent heat buildup near siding or sheds.
Plan grill positioning where smoke vents upward rather than toward windows or doors, and keep a clear path for quick access. Avoid clutter that traps heat, and maintain a defined zone to reduce maintenance and fire risk.
Smoke Management and Neighbor Etiquette
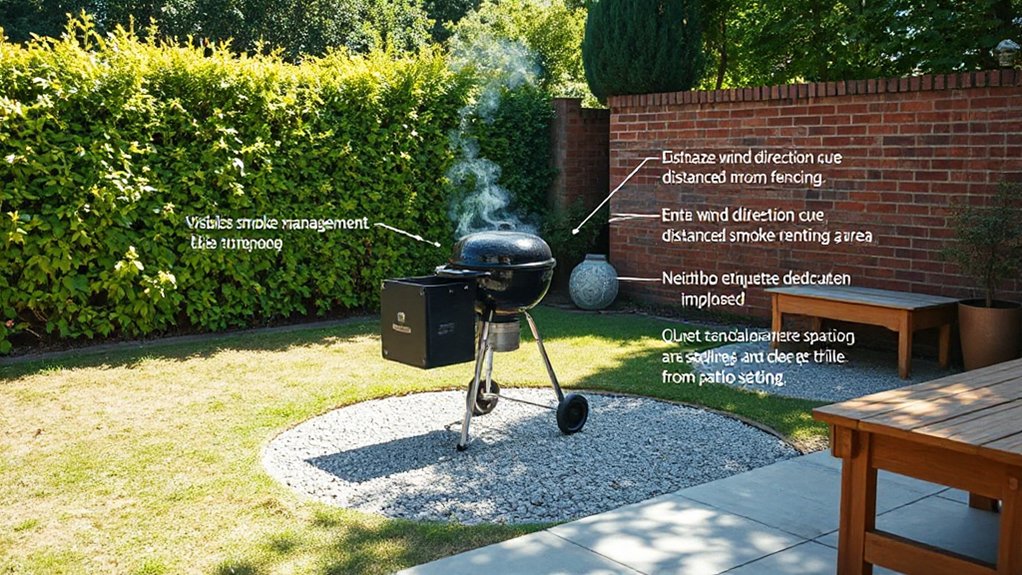
Ever wonder how far smoke should travel before it becomes a nuisance? You measure wind, distance, and shielding as you map the grill’s plume.
Position the BBQ to direct smoke away from windows, patios, and outdoor seating, using a light breeze to carry aroma rather than debris.
Build a simple barrier—cedar screens or hedges—to tame gusts without over-sheltering, which can trap heat.
Practice fire safety by keeping a close eye on embers and extinguishing tools handy.
Talk with neighbors about timing, especially on weekends, and adjust use to minimize disruption, showing regard for neighbor relations.
Communicate clearly if you’re planning events, and document any agreed-upon quiet hours or preferred smoke directions for smoother hosting.
Locate Utilities and Water Access for Grilling
If you’re planning regular grill sessions, start by mapping where your utilities and water sources live so you don’t wrench your layout apart later. Picture the route from the house to your cooking zone, noting buried lines, meters, and access panels. Do a quick utility mapping as you sketch—base, gas, electrical feeds—and confirm clearance from grills, flames, and heat shields.
For water access, locate a nearby hose bib or irrigation line; consider a low-pressure outlet for cleanup and cooling tasks. Prioritize safe distances from vents, outlets, and building openings. Mark slopes and drainage so spills don’t pool near your setup.
Visualize alternate grill positions if rerouting becomes necessary, ensuring smooth, no-trap paths for hoses and cords.
Protect Trees and Garden Beds During Setup
Now that you’ve pinned down utilities and water access, you’ll want to shield trees and garden beds from the grill setup. Start by outlining a clear perimeter with string line or chalk, mapping plenty of space between pins and trunks.
Use boards or mats to create a temporary buffer so hot tools don’t contact roots or soil surfaces. Position the grill on a stable, level pad that’s distant from any tree canopy or fragile perennials, and keep sparks directed away from foliage.
For tree preservation, avoid heavy foot traffic over root zones; route hoses along the outer edge.
For garden bed protection, lay fireproof tiles or metal sheets beneath the cooking zone and cover nearby roots with mulch to reduce heat transfer.
Test Soil and Drainage for a Stable Grill Station
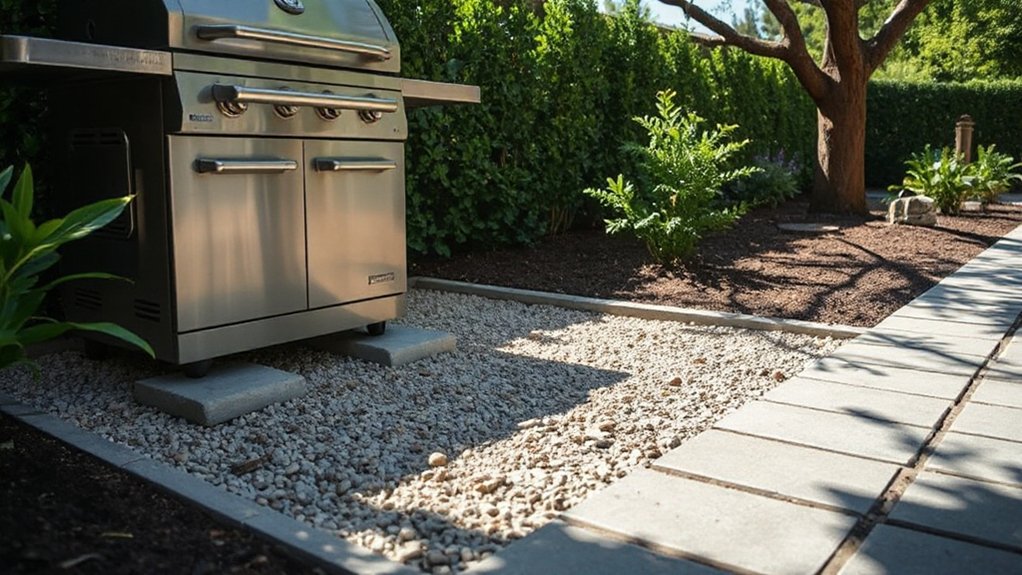
First, you’ll gauge soil stability by noting how firm or clumpy the ground feels underfoot where your grill will sit.
Then, you’ll test drainage by watching for puddles after a light rain or a quick watering, and by checking how quickly water sinks in.
Use clear indicators—level the spot, observe for erosion, and map any damp zones—to guide your setup decision.
Test Soil Stability
Before you lay a grill, check the ground beneath it. You’ll perform a simple soil stability assessment by inspecting surface texture, compaction, and any subsidence that hints at underlying movement.
Stand where the grill will sit and push down with steady pressure, noting how the soil responds and how far it settles. Use a level to confirm a flat, even plane across the planned footprint.
For soil testing, dig a shallow test pit and watch how the walls hold. Clean, crumbly soil that reshapes easily signals good stability; clay or saturated pockets betray weak spots.
Mark any inconsistencies and plan reinforcement or relocation. A stable base keeps heat consistent and risk low while you cook.
Drainage Assessment Methods
A proper drainage assessment starts with mapping how water moves around the planned grill site and how the ground behaves after a rain. You’ll observe patterns across the landscape: pooled areas, dry ridges, and low spots that collect moisture.
Begin by tracking rainwater runoff from nearby slopes toward the future station, noting the path and speed of flow. Use a simple dye or chalk line to visualize movement during a light shower or after irrigation.
Test soil permeability by digging a small hole and filling it with water; measure how fast it drains. Record soil texture, compaction, and root zones, as these shape drainage efficiency.
This data guides placement, soil amendments, and drainage solutions, ensuring a stable, puddle-free grill area.
Sightlines and Views for a Welcoming Overlook
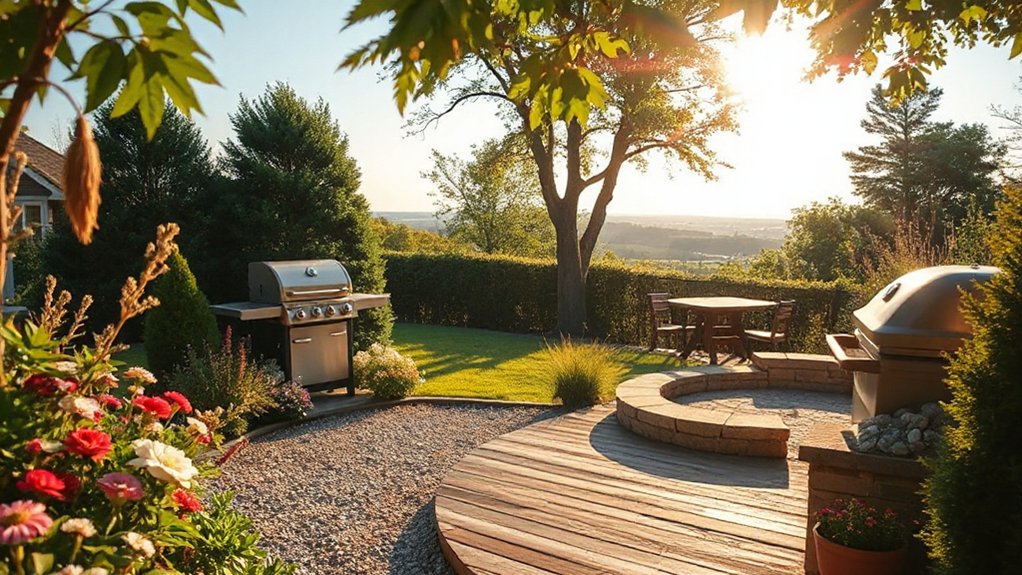
From the vantage of your BBQ zone, plan sightlines that frame inviting views while keeping the cooking area functional and safe. You want a clear line from prep to grill, so align paths with intentional banquettes or seating that invites conversation without blocking access.
Use sightlines to reveal focal points—planters, a garden sculpture, or a flowering backdrop—while maintaining a visual corridor to the yard beyond. Consider plant placement to soften edges, reduce glare, and provide seasonal color without crowding the cooking zone.
Keep heights varied to avoid obstructing views yet create depth. Choose garden aesthetics that harmonize with your structure and materials, ensuring passages feel natural.
Remember: curated sightlines boost social flow and comfort around the BBQ space.
Drainage and Flood Prevention Considerations
To keep your BBQ area safe and usable after rain, plan drainage first: map where water collects and slope the ground away from seating and the grill, so puddles don’t linger on paths or near appliances. Visualize runoff flowing to a low spot or into a gently graded swale, not across stepping stones or under seating.
Keep soil loose to preserve infiltration; avoid compaction that slows drainage. When you design patches, position grill and seating on higher, well-drained soil, with a slight crown to shed water.
Check for standing water after storms and adjust slopes accordingly. Integrate pest control near edges, since damp zones attract insects.
Monitor soil compaction around footpaths and garden beds, preventing harm to airflow and drainage efficiency.
Choose Surface Materials and Footing Options
Choosing surface materials and footing options starts with clear visibility of traffic flow and how the ground will support heat, grills, and seating. You map paths from doors to cooking zones, noting where feet drag and wheels roll.
Surface options matter: choose stable, non-slip, heat-tolerant finishes that resist staining. Think low-maintenance like concrete pavers, compacted gravel, or textured outdoor tiles, ensuring gradual passageways between zones.
For footing choices, assess load, moisture, and frost risk; install a solid base with proper drainage and a uniform thickness. Consider edging to keep materials in place and visually define zones.
Avoid crevices that trap embers; leave space for expansion. Visualize cleaning access and future upgrades, keeping pathways clear and air circulation ample around the grill area.
Set Up Cozy Seating and Dining Zones
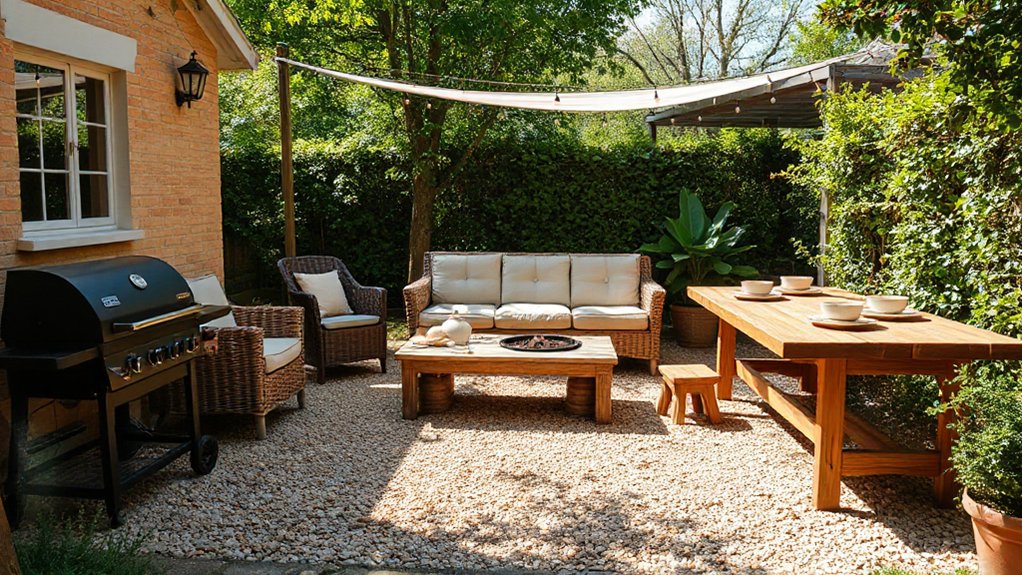
As you map the seating and dining layout, prioritize comfort, sightlines, and easy flow from the cooking zone. Position Cozy seating in conversational clusters that face the grill or prep counter, so conversations stay within earshot and no one blocks traffic paths.
Use dining zones with clearly defined edges—a table for meals, a secondary perch for quick snacks, and a nearby resting spot for drinks.
Build in variety: weatherproof cushions, low-profile chairs, and a couple of bar-height options for social interaction at counter height.
Consider shade, wind protection, and footing that stays steady during gatherings.
Align seating to protect from smoke drift while keeping access to utensils, condiments, and serving trays.
Guarantee pathways remain open and visually connected to the main focal point.
Light It Right: Safety and Ambience
Good lighting does more than just help you see—it’s a safety net and a mood maker around the grill. You’ll want layered, glare-free light that marks pathways, prep zones, and the grill area without casting harsh shadows.
- place low bollards along walkways for gradual illumination
- use warm-toned bulbs to create inviting lighting ambiance
- install a dedicated grill light that stays cool to touch
- keep Lithium battery or solar options for easy, portable spots
- add dimmers to shift mood from cooking to entertaining
This setup reduces flare-ups, clarifies steps, and makes guests feel welcome without glare.
Fire safety hinges on distance, heat barriers, and clear exits, so map routes, keep combustible items away, and maintain clean, dry surfaces.
Create a Cooking Zone With Storage
Set up your cooking zone where everything you reach expects to be: keep utensils, spices, and prep bowls within arm’s reach for fast, clean work.
Choose weather-resistant materials that look good year-round, so counters, doors, and shelves stay sturdy and easy to wipe down.
Plan storage with clear labeling and accessible spacing, so you can grab what you need without stepping away from the grill.
Storage Accessibility
When you map out your BBQ zone, prioritize storage access so everything you need is within arm’s reach—coal, utensils, towels, and spices should sit in a nearby cabinet or drawer.
- Keep a dedicated prep shelf at counter height.
- Add labeled bins for tools and towels.
- Mount a small magnetic strip for spatulas and skewers.
- Integrate a compact spice rack near the grill.
- Place a weatherproof bin for charcoal and starters.
Imagine the flow: you grab what you need without stepping away, reducing trips. Store-outlets should blend with garden decor and plant placement, keeping the space cohesive.
Visualize clear sightlines from seating to storage, so you never hunt for essentials. This setup supports quick, calm grilling sessions and a tidy, inviting cooking zone.
Weather-Resistant Materials
Look for weather protection that handles persistent moisture and UV exposure, and choose corrosion-resistant metals or treated woods that won’t warp after a few storms. In practice, pair a solid base with capped edges to guard against splashes and spills.
Visualize how each piece sits within reach: counter height for chopping, drawers aligned to your grill, shelves tucked under a canopy. Prioritize material durability, so weather changes don’t force you to start over.
This setup keeps your zone tidy, functional, and ready.
Plan for Maintenance and Cleanup Ease
To keep your BBQ area clean and functional over time, plan for maintenance and cleanup from the start by choosing a spot with easy access to tools, water, and waste disposal. You’ll want a layout that guides you to sweep, wipe, and rinse without crossing cooking zones.
Visualize how hoses reach the sink, brushes reach the fire pit, and bins sit within arm’s reach for quick bags of ash or scraps. Plan for garden decor touches that don’t trap grime, and consider pest control so pests don’t linger near food prep.
A simple, centralized station speeds upkeep and extends lifespan.
- Keep a dedicated tool caddy near the grill
- Place a water hose reel within easy reach
- Position waste bins away from seating
- Install a small prep sink or bucket system
- Use removable, cleanable surfaces for easy wipe-down
Understand Permits and Safety Codes for Your Backyard
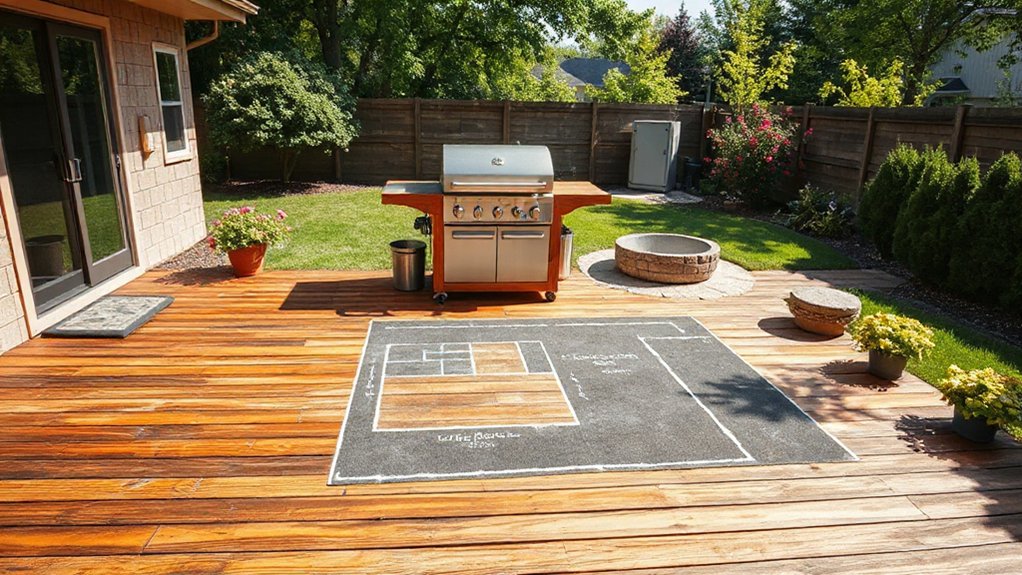
You’ll want a clear map of what permits and safety codes apply to your yard, so start by checking local rules and zoning in your area.
Visualize the space: outline setback distances, fire-rated materials, and ventilation paths before you pull any permits.
Keep safety top of mind with straightforward, code-aligned steps to protect people and property.
Permits and Compliance
Permits and safety codes aren’t optional add-ons—they shape where you can place a grill, how close it sits to fences, and which materials you can use.
You’ll map your yard for compliance, visualizing setbacks, clearances, and ventilation while you plan around garden furniture zones and pest control needs. Avoid guesswork by checking local rules, HOA guidelines, and fire-safety stipulations before you mark positions on the ground.
- Confirm required permits and inspection steps
- Note distance rules from structures, fences, and combustible materials
- Verify approved fuel types and ignition methods
- Plan for safe fuel storage and extinguishing access
- Align with pest control and garden furniture layouts for safe spacing
With permits in hand, you’ll design a safer, smarter cooking nook.
Safety Code Basics
Before you lift a shovel, know the rules that keep you and your family safe: permits, inspections, and the specific safety codes that apply to backyard grills and outdoor kitchens.
You’ll map your space with clear sightlines, noting distances from structures, overhangs, and combustible zones. Check local rules for setback requirements and ventilation, then plan for accessible emergency shutoffs and proper flame containment.
When you draft the layout, imagine each appliance as a distinct zone: cooking techniques at the grill, prep areas nearby, and a clean, unobstructed exit path. Keep a current copy of compliance documents on site.
Stock grill accessories that meet code, like spark arrestors and approved fire-resistant surfaces. This focus helps you grill safely, efficiently, and with peace of mind.
Build a Flexible, Future-Proof Backyard BBQ Setup

A flexible, future-proof backyard BBQ setup starts with a clear, scalable layout that lets you swap in new grills, prep stations, or seating without tearing up your space. You’ll plan zones for cooking, prep, dining, and lounging, with modular pieces that snap together. Choose durable, movable surfaces and hidden wiring so upgrades don’t disrupt flow.
Visual cues like sightlines, shade, and lighting guide you to a cohesive look that enhances garden aesthetics. Think about ventilation, trash corners, and easy cleanups so you stay efficient during gatherings. Outdoor lighting ties everything together and amps security after dark.
- Modular grill stations that adapt to different fuel types
- Removable prep carts and drop-in surfaces
- Woven or tile seating that’s easy to rearrange
- Hidden wiring and outlets for future tech
- Soft, integrated garden lighting to illuminate paths
Finalize a Scalable, Sketch-Driven Plan
To lock in a scalable, sketch-driven plan, start with a clear site map that marks zones for cooking, prep, dining, and lounging, plus adjustable buffers for future gear.
You’ll translate those zones into furniture footprints, clearance, and sightlines, then layer in electrical drops, water access, and shade.
Use grid-like sketches to compare options for flow: from grill to prep to table, with easy detours for kids or pets.
Prioritize Garden aesthetics by aligning materials, colors, and textures with your yard’s existing palette, so the build feels native rather than tacked on.
Plan Plant integration early: position low-growing hedges and planters to soften edges, define zones, and frame views.
Finalize scalable details, measurements, and growth expectations, then review for gaps before ordering.
Frequently Asked Questions
How Much Budget Should I Allocate for a BBQ Build?
You should allocate a flexible budget of 2,000–6,000 dollars, depending on finish quality and features. Budget planning helps you scope materials, while cost estimation keeps you visualizing concrete steps, fixtures, and spatial layout for your BBQ build.
What Is the Ideal Initial Layout for Future Expansion?
For the ideal initial layout, plan a linear, expandable zone with a prep/serving bench, trail access, and cleared sightlines. Prioritize garden aesthetics and vegetation placement so future growth remains visually cohesive and easy to integrate.
Which Materials Best Resist Heat and Weather Indoors Outdoors?
Fire resistant materials top the list: 70% of home fires start indoors, yet you protect more with weatherproof surfaces. You’ll choose durable stone, brick, or treated metal, staying practical, visual, and spatially aware outdoors and indoors.
How Can I Hide Grill Clutter From Guests Effectively?
You can hide grill clutter by using storage solutions like hidden cabinets and a deck box, plus decorative screens to conceal cords and tools, keeping sightlines clean, while you move items behind them when guests arrive.
When Is the Best Time to Start the Project Outdoors?
Seasonal planning says you should start when spring warms the air and soils dry. You’ll feel the sunshine, map winds, and note Climate considerations, then choose a dry, accessible spot you can visualize, navigate, and easily reach.
Conclusion
You’ve laid the map, now let the space breathe. Picture a square of flame and friendship, buffers of air, and a table that rolls with seasons. The sun crawls across your deck, wind waltzes around the grill, and water ghosts away from slick spots. Craft a setup that grows with you—scalable, sturdy, easy to clean. When you finally light that first ember, you’ll taste not just food, but a well-planned conversation sizzling into life.