
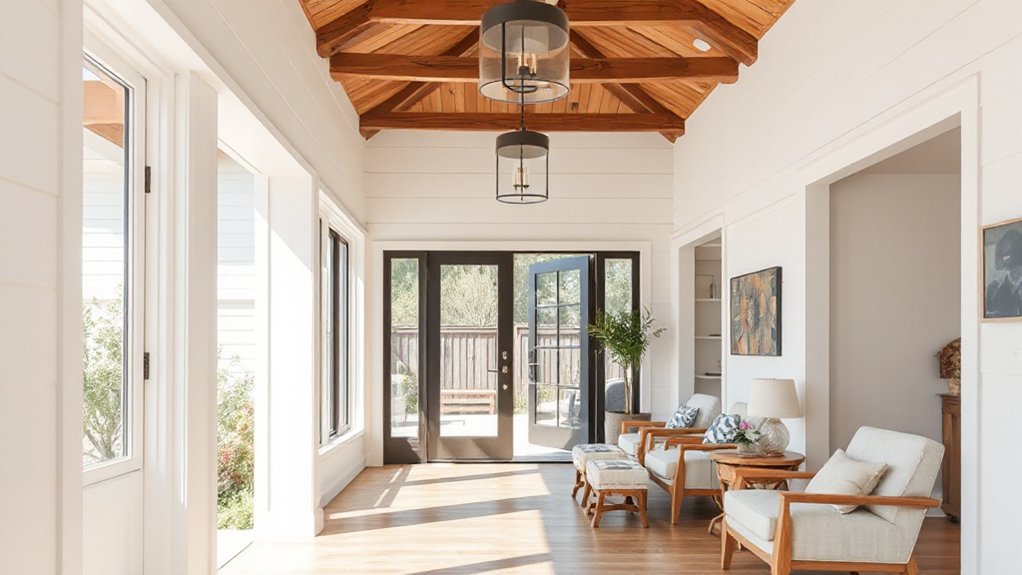

Did you know you can modernize a bungalow without major structural changes by rethinking light, flow, and finishes? You can brighten rooms with targeted window placements, reflective surfaces, and layered LEDs, while updating textures with neutral tones and mixed materials. Practical tweaks—smart storage, flexible furniture layouts, and affordable flooring—keep disruption minimal. Start with clear goals and a flexible budget, then apply quick, high-impact fixes that steadily refresh the look and function, guiding you toward a cohesive, contemporary feel.
Define Your Bungalow Modernization Goals
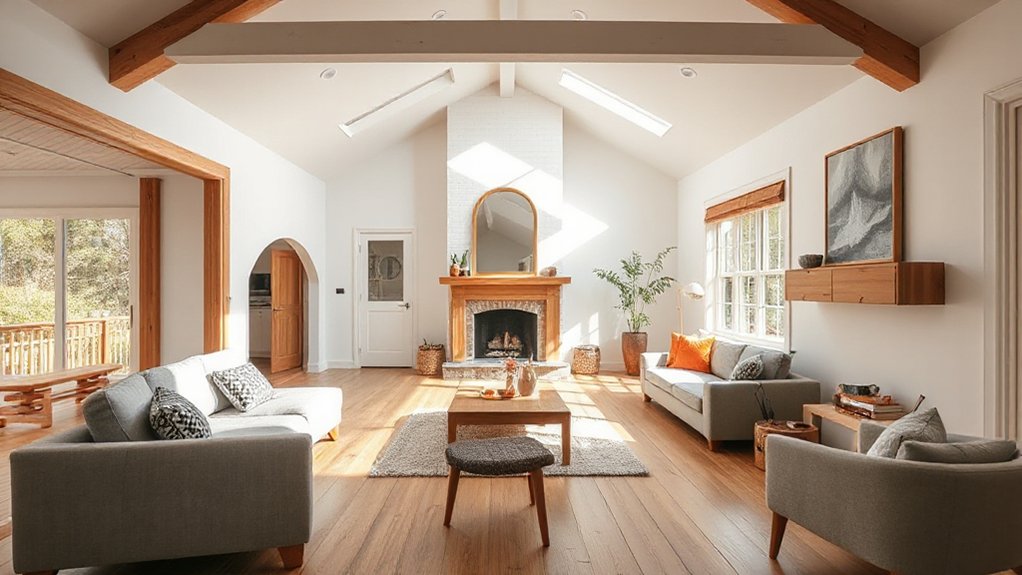
To define your bungalow modernization goals, start by listing what you want to improve and why. You’ll map upgrades to outcomes, not features, so you stay focused on value.
Define measurable targets: energy efficiency, daylighting, storage, and indoor/outdoor flow.
Prioritize changes that don’t require structural work yet still deliver impact. Consider maintenance cost, timeline, and budget constraints to avoid scope creep.
Translate ambitions into actionable steps: select efficient lighting, upgrade fixtures, and optimize room adjacency.
When planning, think about gardening tips that support low-maintenance landscapes and curb appeal, plus how outdoor lighting amplifies safety and ambiance without extensive wiring.
Document success criteria for each goal, then review quarterly to adjust priorities as needed.
Use this framework to keep decisions practical, technical, and aligned with your lifestyle.
Assess Your Bungalow’s Footprint and Flow
Evaluating your bungalow’s footprint and flow means mapping how space is used now and where it constrains daily life. You’ll identify zones that overlap or force you to backtrack, noting door swings, traffic paths, and sight lines that slow movement.
Start with a basic floor plan, mark entry points, rooms, and transitional spaces, then trace habitual routes for morning routines, cooking, and work-from-home activities.
Look for bottlenecks that affect accessibility, especially for one- or two-person households. Consider outdoor access and how landscaping design influences interior flow through sight and movement toward patios or gardens.
Assess energy efficiency by locating heat sources, insulation gaps, and prevailing sun exposure. This baseline informs targeted, low-disruption improvements that preserve structure while improving usability.
Set a Flexible Budget for a Modern Makeover
Set a budget that’s adaptable enough to modify as plans evolve. You’ll anchor the makeover with a core allowance and contingency, then route spending through a disciplined process.
Begin with budget planning that aligns with your priorities, not the allure of trendy finishes. Break out costs into categories: demolition-free carpentry, finishes, fixtures, and contingencies. Assign realistic unit costs, then inflate by a risk margin to cover unknowns.
Track changes in real time, and reallocate only after revalidating goals. Use goal setting to define must-haves versus nice-to-haves, and lock those decisions before purchasing.
Establish suppliers’ price ranges and target timelines, then monitor variances weekly. This approach keeps scope intact, avoids overcommitment, and preserves quality.
Regular reviews prevent scope creep and ensure you stay within your flexible budget.
Brighten Spaces With Color and Natural Light
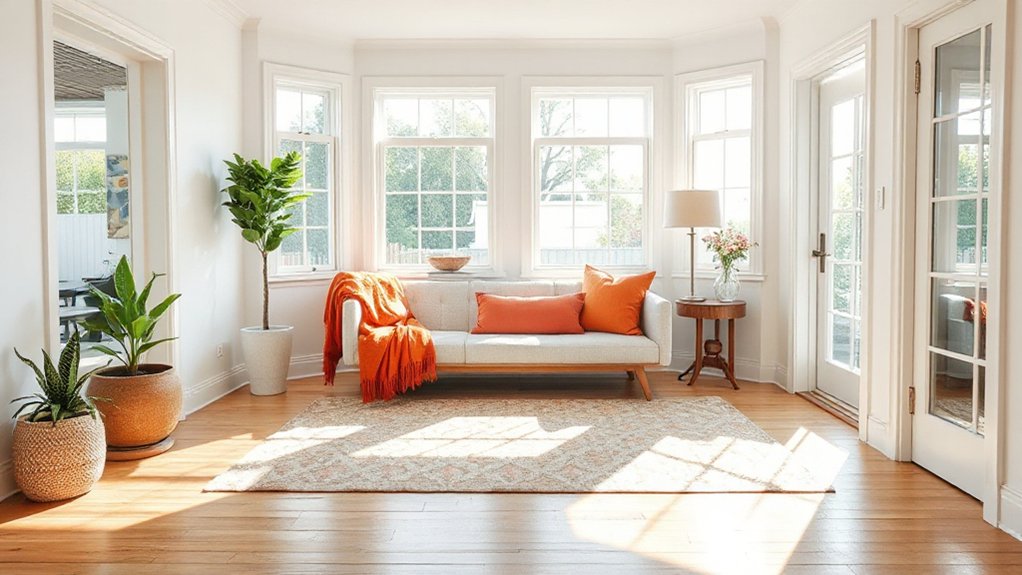
Use natural light to widen the sense of space by choosing window placements and treatments that minimize obstruction.
Pair bright, light-reflecting colors with accent walls or bold art to create visual depth without clutter.
Consider color and lighting as a system—test swatches in different daylight conditions and adjust to maintain balance throughout the day.
Brighten With Light
Sunlight instantly brightens a bungalow, so start by maximizing natural light and light-colored surfaces. Consider window placement, trim, and reflective finishes to make rooms feel larger. You’ll optimize glazing efficiency with low-emissivity panes, wide headers, and minimal obstructions. Use sheer curtains and strategically placed mirrors to bounce daylight deeper into living areas.
Choose pale paints, neutral tiles, and light wood tones to maintain a cohesive luminosity. For layout, orient seating to face windows and leverage skylights where feasible. Supplement daylight with targeted artificial light: layered options, dimmers, and color-balanced LEDs.
Integrate garden landscaping and outdoor lighting planning to blur indoor-outdoor boundaries, extending perceived space. Maintain maintenance access and avoid glare by controlling window shading and reflectivity during peak sun.
Colorful Wall Play
Color can transform a bungalow without structural changes, so start by choosing wall treatments that maximize perceived space and light. You’ll use color strategically to reflect natural daylight and create a sense of openness.
1) Select a vibrant accent wall in a bright hue to draw the eye and define zones without heavy partitions.
2) Pair playful contrasts with neutral backdrops—soft whites, warm grays, or pale ash—to prevent visual fatigue.
3) Apply lighter finishes on ceilings and adjacent walls to amplify height and bounce light around the room.
Prefer matte or eggshell sheens to minimize glare, then test color in multiple lighting conditions.
This approach delivers vibrant accents, strengthens spatial perception, and keeps the look cohesive and modern.
Upgrade Lighting for Mood and Efficiency
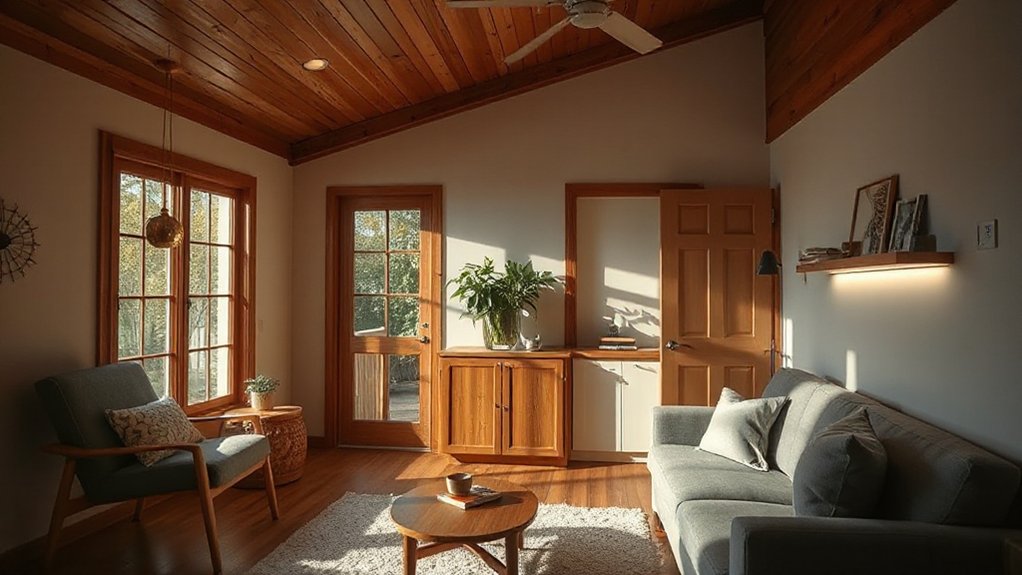
Upgrading lighting in a bungalow doesn’t require major renovations; you can dramatically improve mood and efficiency with strategic choices. Start with a layered approach: ambient, task, and accent lighting guarantee balanced brightness without glare.
Choose dimmable LED fixtures for flexibility and energy savings. Implement smart lighting where you can, using scenes to switch between daily routines and special moments.
Position ceiling fixtures to evenly illuminate rooms, avoiding harsh shadows. Use under-cabinet task lighting in kitchens and desks for clarity without increasing overall luminance.
For mood lighting, select warmer color temperatures in living spaces and cooler tones for work areas, adjusting by time of day. Label controls clearly, and assure compatibility with existing switches.
Regularly review brightness levels to maintain efficiency and comfort. Mood lighting enhances ambience while Smart lighting boosts adaptability.
Refresh Floors and Surfaces on a Budget
You can refresh floors on a budget by choosing durable, easy-to-clean options and planning a concise installation.
Update surfaces for less with cost-conscious materials, simple finishes, and minimal disruption to existing layouts.
We’ll compare practical candidates and share exact steps to maximize impact without major renovations.
Refresh Floors On A Budget
- Refinish or stain existing wood to deepen tone, adding a clear seal for durability.
- Install affordable vinyl plank or laminate that mimics wood or stone without extensive prep.
- Use peel-and-stick tiles for quick updates in high-traffic zones, paired with a cohesive rug to unify the room.
Keep connections seamless, avoid busy patterns, and align colors with plants and outside light for a coherent, lived-in feel.
Update Surfaces For Less
Now that the floors look fresh, you can extend the update to all surfaces without a full remodel. Start with a quick audit of walls, ceilings, trim, and fixtures to identify inexpensive refresh opportunities.
Choose neutral base tones and lock in color by repainting only affected areas, keeping materials consistent for visual cohesion. Upgrade surfaces with affordable options like laminate, vinyl plank, or durable paint for cabinets and countertops.
Emphasize edge detailing to reduce scuffing and improve cleanliness, and re-seal grout lines to refresh tile appearances.
For decor, layer texture with textiles and matte finishes rather than heavy replacements.
Consider gardening tips for planters near entryways and use subtle outdoor lighting to extend curb appeal without adding structural work.
Budget-conscious choices yield lasting impact with minimal disruption.
Minimalist Furniture to Improve Flow
Minimalist furniture streamlines a bungalow’s layout and enhances flow by reducing visual clutter and defining clear pathways. You’ll avoid bulky pieces, choose slim-profile consoles, and prioritize low, open-seating arrangements that keep sightlines uninterrupted. This approach highlights function and creates a sense of airiness, making rooms feel larger without structural changes.
- Select modular seating with exposed legs to maintain openness and easy cleaning.
- Use multi-purpose surfaces, like benches that serve as storage and seating, to reduce furniture count.
- Introduce subtle contrast with vintage charm and artistic accents, keeping color palettes cohesive and restrained.
Practical tips: keep pathways clear, balance weight with scale, and favor quality over quantity. This guarantees flow while preserving personality in a calm, modern bungalow.
Smart Storage Solutions to Curb Clutter
Smart storage starts with clever hidden compartments that tuck away odds and ends without stealing square footage. Use vertical space hacks, like tall shelving and wall-mounted organizers, to free surface areas and keep essentials within reach.
Pair multipurpose furniture stowage with core routines to maintain a tidy, functional flow throughout the bungalow.
Clever Hidden Storage
Need more hidden storage in a bungalow without major renovations? You’ll implement practical, low-impact solutions that maximize space without visible disruption. Focus on robust, discrete designs that blend with existing finishes.
- Hidden compartments: install shallow floor panels or hinged panels in closets and under seating to store seasonal items without altering room layout.
- Concealed drawers: add under‑sofa or bed-frame drawers with full-extension slides for easy access and weight distribution.
- Inset cabinetry: use flush-mounted organizers inside alcoves or alcove desks to maintain clean lines and avoid crowding.
Keep edges tight and finish matches consistent. Choose soft‑close mechanisms to reduce noise and wear. Label access points subtly to prevent misuse. Regularly audit clutter to keep the system efficient and durable.
Vertical Space Hacks
Vertical space is your fastest route to extra storage without expanding the footprint. You’ll leverage vertical storage by installing shelves up to the ceiling in hallways, under stairs, and in laundry nooks. Use adjustable brackets and shallow Compton-style brackets to maximize load capacity while preserving accessibility. Tie-in ceiling enhancements with strong mounting points and lighting to reveal hidden levels and reduce visual clutter.
Install pegboard or slatwall panels high on walls for tool and hobby storage, keeping frequently used items within reach. Add over-door organizers in bedrooms and bathrooms, reclaiming cabinet space below. Choose slimline bins and labeled totes to maintain order without bulk.
Prioritize flush mounting, cables tucked along crown molding, and modular units that can reconfigure as needs evolve. Continuous labeling guarantees quick retrieval.
Multipurpose Furniture Stowage
Multipurpose furniture is the practical answer to curb clutter without expanding your footprint. You deploy smart storage by allocating every piece to a defined function, reducing surface chaos and improving flow. Choose units with concealed compartments, modular components, and integrated charging while avoiding oversized profiles that crowd rooms.
Build a palette that respects vintage accents, so storage feels timeless rather rather than gimmicky. Consider outdoor landscaping-adjacent placements to keep indoor surfaces free, using weatherproof options when possible.
- Select ottomans with hidden trays or lift-top lids for sporadic items.
- Use nesting tables and benches that tuck away when not in use.
- Opt for beds or couches with underframe drawers plus wall-mount shelves for slim vertical gain.
Kitchen Updates That Feel New on a Budget
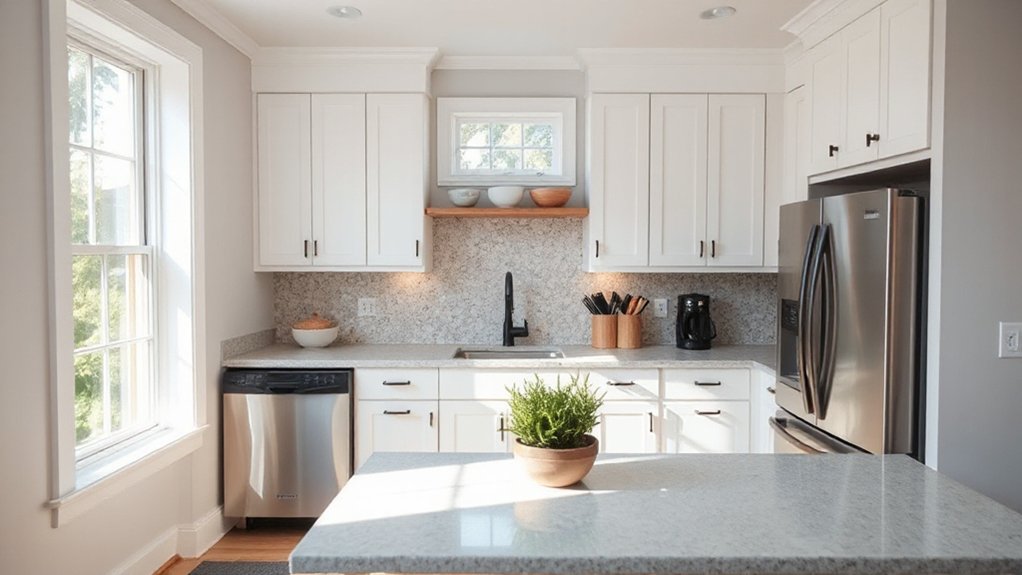
If you want a kitchen that feels fresh without a full renovation, focus on quick, cost-effective upgrades that make a visible impact. You’ll gain new perception with updates that don’t disrupt layout.
Start with hardware: swap handles and knobs to brushed metal or matte black for an instant lift. Refresh cabinetry fronts with peel-and-stick veneer if replacing isn’t feasible.
Upgrade lighting to bright LEDs and add under-cabinet strips for a task-focused glow. Prune clutter and adopt open shelving where practical to display essentials.
Pick a cohesive color quick-win and carry it through backsplashes or partial cabinet repaint. Use durable, easy-clean finishes on counters and surfaces.
Consider vintage charm accents and inexpensive greenery for ambience; tie in outdoor landscaping cues to unify indoor and outdoor spaces.
Bathroom Updates That Look Magazine-Ready
So, when you choose modern tile, pick options that balance texture and size to avoid busy walls while keeping a cohesive look.
Pair that with a luxurious shower upgrade that’s efficient — frameless glass, rain spray, and clean lines deliver a magazine edge without major changes.
Finish with seamless storage solutions that hide clutter and maintain a polished, airy feel.
Modern Tile Choices
- Use large-format porcelain or natural stone-look tiles to reduce grout lines and create a seamless flow across floors and walls.
- Choose neutral bases with bold accents in a damp zone, pairing matte finishes for practicality with glossy trim to catch light.
- Plan installation around existing fixtures, ensuring proper waterproofing, and consider hidden accents like niche shelves for smart tech devices or subtle outdoor landscaping-inspired greenery.
Tip: match tile palette to cabinet tones, and consider under-tile heating for comfort.
Luxurious Shower Upgrades
Upgrading a bathroom shower to look magazine-worthy starts with smart, water-resistant choices that blend function with luxury. You’ll select modern enclosures, frameless glass, and low-profile thresholds to minimize visual bulk while keeping leaks out.
Prioritize durable, high-traction backerboard, proper waterproofing, and a reliable shower valve with pressure balancing.
For Luxurious shower upgrades, pair matte-black or brushed nickel fixtures with recessed niches and LED illumination to reduce clutter and enhance ambience. Consider a rainfall or dual-function showerhead, plus a handheld wand for versatility.
Incorporate spa-inspired bathroom cues—neutral tones, large-format tiles, and linear drains—for a seamless, hotel-like feel.
Finish with a concealed supply line, quiet valve trim, and easy-clean surfaces to maintain that pristine, spa atmosphere.
Seamless Storage Solutions
- Install recessed niches with moisture-resistant backing.
- Mount wall cabinets above eye level for easy reach.
- Select matte finishes and hidden hardware to maintain a magazine-ready look.
Built-Ins and Multifunctional Ideas for Small Rooms
Built-ins make the most of tight spaces by combining storage with daily use. In small rooms, prioritize wall-mounted units that free floor area and reduce clutter. Choose modular systems you can reconfigure as needs shift, letting you scale storage without renovations.
Use a shallow-depth desk or foldaway workstation tucked beside a wardrobe for dual purpose, and pair with a mirror-backed cabinet to visually enlarge the space. Integrate seating with concealed storage—ottomans, bench seats, or window seats—to add function without occupying extra footprint.
Opt for neutral finishes with subtle grain to avoid visual heaviness, and add a pop of vintage charm through hardware accents or a slim, decorative shelf. Plan exterior updates, too, to keep the bungalow cohesive as rooms evolve.
Doors, Trim, and Hardware to Pull the Look Together
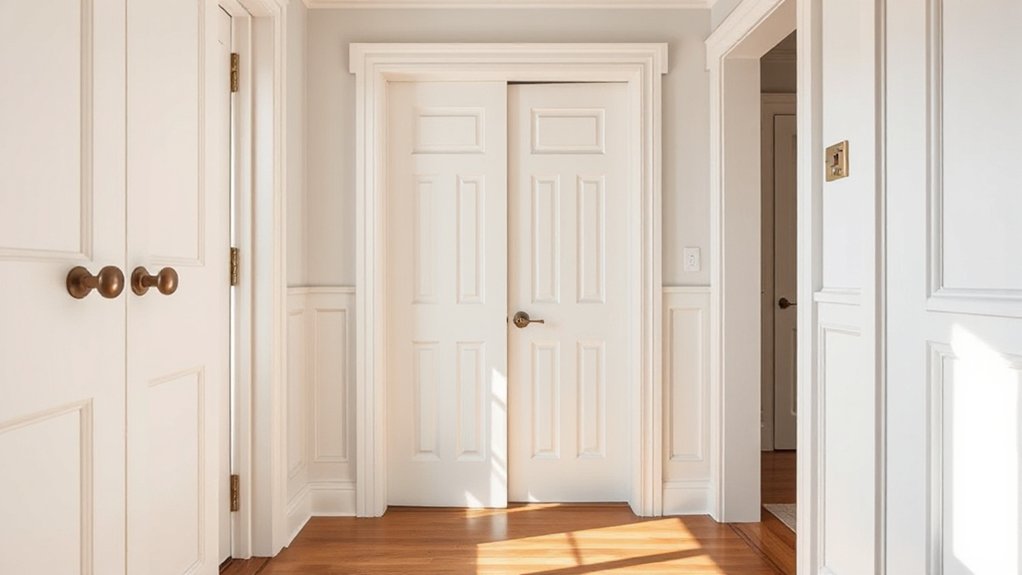
Doors, trim, and hardware are the details that pull a bungalow’s look together, so start with a cohesive material and finish plan. You’ll keep historic preservation goals in mind while selecting components, and avoid heavy overhauls that require structural modifications.
Choose doors with clean lines and period-appropriate profiles, then pair with trim that respects original casing and reveals. Hardware should be cohesive in style and finish, providing a subtle diagonal or vertical rhythm.
- Establish a single material palette for doors, trim, and casing to unify rooms.
- Use compatible finishes that resist wear yet honor era-era details.
- Plan hardware in a consistent set (knobs, hinges, pulls) to minimize visual clutter.
Focus on fit, not size, to maintain proportions and ease of maintenance.
Window Treatments That Widen the View
Window treatments can visually expand a bungalow’s interior by framing light and lines rather than bulky coverage. You’ll prioritize horizontal emphasis to widen perceived space, using slim profiles and minimal hardware.
Choose light, translucent fabrics for the main layer to maintain brightness, with roller or concealed-pleat shades that tuck away when not needed. Mounting height matters: install just above the window frame and extend slightly beyond its width to create an uninterrupted view.
For view enhancement, avoid heavy drapes and busy patterns; opt for solid neutrals or subtle textures that reflect natural light. Layer with a sheer panel plus a roller shade for quick privacy control.
Align hardware finish with doors and trim for cohesion, ensuring the window treatments support open sightlines and functional light management.
Color Palettes That Unify Open Spaces
What color palettes best unify open spaces in a bungalow? You’ll choose hues that create seamless gradual shifts between rooms, emphasizing color harmony across the layout. Begin with a neutral core and layer with complementary accents to guide movement without abrupt shifts. Focus on value, not just color, so lights and darks balance within each zone. Palette selection should limit the number of distinct boards to keep cohesion and reduce visual clutter.
- Use a dominant neutral base across walls and ceilings, with a restrained secondary color for built-ins and textiles.
- Introduce an accent color sparingly to highlight gradual shifts—keep it consistent in surrounding spaces.
- Extend the palette to natural materials and fixtures for cohesive texture and reflection.
Result: open flow feels unified, contemporary, and easy to update.
Texture and Materials to Add Depth
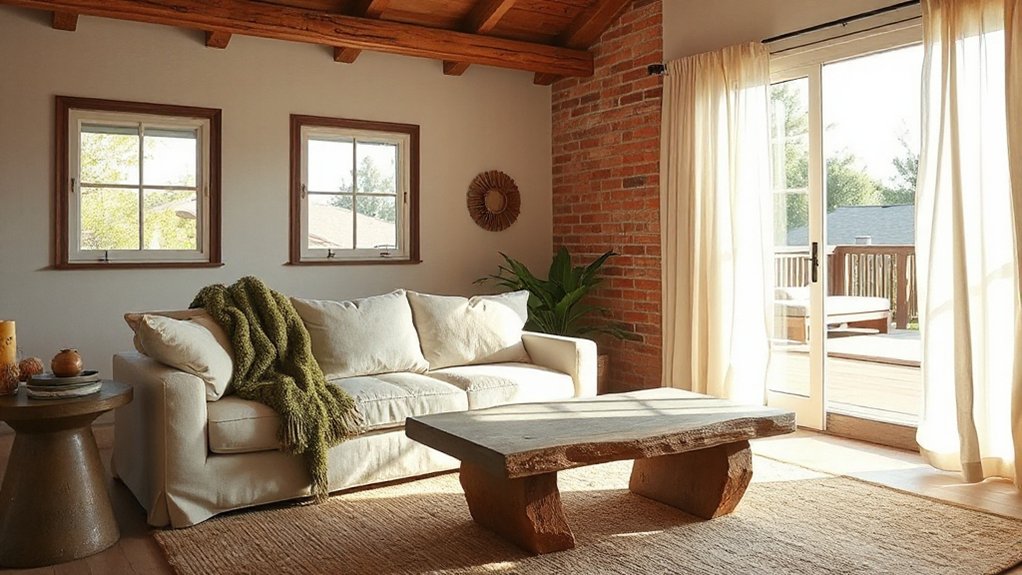
Texture and materials subtly shape depth without heavy remodeling. You can use tactile surfaces to create contrast, guiding eye lines and perceived space size.
Start with restrained textured wall finishes on key walls to anchor rooms without dominating them; choose subtle textures like lime plaster or fine grit plaster for sophistication. Pair these with smooth, low-sheen paint on adjacent areas to maintain balance.
Introduce mixed material accents—a walnut nighstand, a stone-tinish hearth tile, or a metal-framed glass partition—to create focal points without bulk.
Guarantee proportions stay consistent: repeat one texture and one material across rooms to unify the bungalow.
Keep lighting focused on textural details with directional LEDs to enhance shadows.
Finally, select durable, easy-to-clean options for high-traffic zones.
Quick Fixes With Big Visual Impact
1) Paint accents that pull focal points together, pairing vintage charm with modern neutrals for instant cohesion.
2) Swap hardware and lighting to create high-contrast notes that read as intentional design rather than cosmetic tweaks.
3) Re-envision outdoor edges with a garden redesign around key sightlines, adding planters and screening for depth and curb appeal.
This approach keeps budgets modest, minimizes disruption, and yields noticeable results.
End results feel cohesive, contemporary, and effortless.
Maintaining the Look: Long-Term Freshness and Care
To keep the modern bungalow feeling cohesive after the quick-win fixes, commit to a simple, repeatable routine that safeguards finishes and surfaces.
In practice, schedule quarterly inspections of trim, flooring, and paint to catch wear early and plan touch-ups before deterioration.
Use a damp microfiber cloth for routine dusting and avoid abrasive cleaners on sealed surfaces.
Establish a regular cleaning cadence for windows and skylights to preserve light.
For landscape design, choose low-maintenance planting and implement edging to maintain clean sightlines between indoors and outdoors.
Align outdoor lighting with seasonal use; rotate bulbs or fixtures to preserve color temperature and efficiency.
Document color swatches and finish codes, so future updates stay consistent.
Maintain the rhythm, and the look remains deliberate, not dated.
Frequently Asked Questions
How Long Does a Bungalow Modernization Typically Take?
A typical bungalow modernization takes about 2–6 weeks, depending on scope and trades. You’ll prioritize interior decor and landscape design, coordinating permits, fixtures, and finishes. You’ll schedule phased tasks, monitor progress, and adjust for any incidental delays.
What Are Hidden Costs Not Covered in the Budget?
Hidden expenses can surprise you; plan for contingencies to avoid budget overruns. You should track tiny costs, permit delays, and material price shifts, because even minor overruns compound—keep a 10–15% buffer and review invoices weekly.
Can You Modernize Without Any Structural Changes?
Yes, you can modernize without structural changes. Upgrade interior lighting with LEDs, controls, and layered schemes. Integrate vintage furniture for character, then finish with neutral walls, sleek hardware, and smart accents to preserve flow and practicality.
Which Finishes Age Best in Humid Bathrooms and Kitchens?
Ceramic or porcelain tile resists humidity best, you’ll notice tile durability and grout longevity. In kitchens and baths, you should pick low-porosity options and sealed finishes; tile durability and paint longevity influence maintenance, cleaning, and long-term aesthetics.
Do We Need Permits for Cosmetic Updates?
Yes, you usually don’t need permits for cosmetic updates; check local rules first. You’ll qualify for permit exemptions if work stays non-structural, but document changes. Make sure your cosmetic updates remain within existing boundaries to avoid approvals.
Conclusion
You’re right on the edge of a dramatic upgrade without ripping anything apart. By prioritizing natural light, layered LEDs, and neutral textures, you’ll repaint the feel of your bungalow in days, not months. Use smart storage and flexible layouts to keep flow seamless, and mix materials for depth without a full remodel. Stick to durable finishes and a calm palette to preserve the look. Do this, and your home will feel modern—almost instantly, like a miracle.