
Over the past few years you’ve probably seen skirting board covers popping up all over home reno blogs and Insta makeovers, and it’s not just hype – they’re a seriously smart way to upgrade tired old trim without ripping anything out. In this Ultimate Guide To Skirting Board Covers you’ll walk through what they are, how they fit over your existing boards, and why they can save you a ton of mess, time, and money. Because if you’re planning a refresh, you want every detail to actually look finished, right?
Why Skirting Board Covers Matter
A lot of people think skirting board covers are just a quick fix for ugly old boards, but they actually pull way more weight in your home. You get impact protection for your walls, neat routing for cables, and a clean visual line that can make small rooms feel 10-15% larger just by hiding chunky pipework and gaps. Because most covers are moisture-resistant PVC or primed MDF, you also cut down on warping and repainting every couple of years.
What Are Skirting Board Covers Anyway?
You know that moment you peel back a sofa and spot chipped, yellowed skirting staring back at you? Skirting board covers are basically a ready-made shell that slips over your existing boards, usually made from MDF or PVC, sized in standard heights like 120 mm or 145 mm so you don’t have to rip anything out. You keep the old skirting, hide all the sins, and in most cases you just glue the cover in place instead of drilling into your walls.
In practice, you get a new visible profile on top – maybe a simple square edge in your hallway and a chunky 18 mm torus profile in the lounge – while the ugly stuff stays buried. Some ranges even have a 15-20 mm internal void so you can tuck low-voltage cables behind the cover, turning those awkward trailing TV wires into a clean line that looks like it was planned from day one.
How to Choose the Right Skirting Board Covers
Balancing Style, Size and Practical Stuff
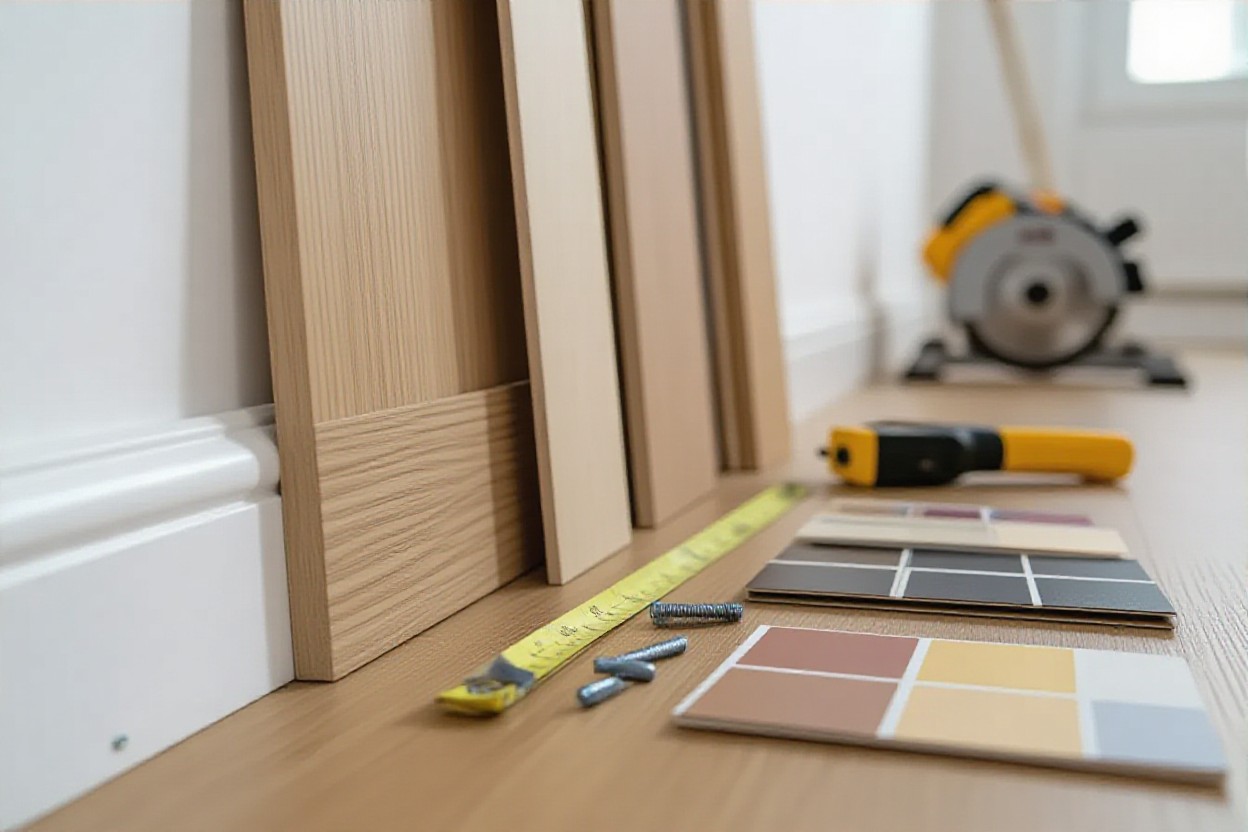
You care about this bit because if you pick the wrong cover, it’ll either look odd or simply not fit over your old boards. Start by measuring height and thickness to the millimetre, then check the internal cavity size on the product spec – a 15 mm existing board won’t sit nicely inside a 12 mm cavity. Think about style too: a plain square edge works in modern flats, while a 70-120 mm ogee or torus profile suits period homes. And if you’ve got pipes, cables or wonky walls, go for deeper profiles or PVC options that forgive those imperfections.
My Take on Installation Tips
You might not expect it, but dry fitting every 2 or 3 covers before reaching for adhesive is what actually speeds you up. I like to mark wall humps with a pencil, then shave 1-2 mm off the back of the cover so it sits flush instead of fighting it. On longer runs over 3 m, you’ll avoid wavy lines by using a spirit level rather than trusting the old skirting. Knowing you’ve test fitted, trimmed, and lined everything up first means the final stick-down is basically stress free.
- Dry fit 2-3 covers at a time before gluing to check joints, corners, and pipe clearances.
- Use a fine-tooth saw and cut with the face up to avoid chipping the visible edge.
- Run a level along any span over 3 m instead of following the existing skirting line.
- Apply adhesive in a zigzag pattern, leaving a 10-15 mm gap at the bottom for airflow.
Seriously, How Do You Maintain Them?
Keeping Skirting Covers Looking Fresh
Think of it less like furniture polish territory and more like how you’d treat a UPVC window frame – quick, light, regular. You just dust them weekly with a soft brush or microfibre cloth, then every month or so run a damp cloth with a tiny bit of mild detergent over the high-traffic bits, especially hallways where shoes scuff. If you went for white MDF covers, a magic eraser takes off 90% of marks in seconds, while PVC covers usually only need a wipe. And if caulk lines crack after a season of heating, you just re-bead a thin line and it’s good as new.
The Real Deal About Cost – Are They Worth It?
You’d be surprised how many people assume skirting board covers are a “cheap shortcut” that ends up costing more, but the numbers usually tell a different story. In most UK homes, you’re looking at roughly £6-£12 per metre for covers, while full skirting replacement (materials, labour, disposal) can hit £20-£35 per metre pretty easily.
So when you run it across a whole 20 m room, you’re talking maybe £120-£240 vs £400-£700+, plus all the mess, ripping out, redecorating… it adds up fast. If your existing boards are straight and solid, you’re basically paying 30-50% of the usual cost for a finish that most visitors won’t even realise is a cover.
Conclusion
From above you might still think skirting board covers are just a quick cheat to hide ugly old boards, but in reality you’re giving your space a proper upgrade without ripping half the room apart. You’ve seen how they protect your walls, tidy up cables, and let you dodge messy plaster work – all while keeping your style on point.
If you plan it right, measure carefully, and pick the finish that actually suits your home, you’ll get a cleaner, sharper look that feels way more high-end than the effort suggests.