


Take a real-world example: you notice an awkward under-stair nook that’s wasted space in your semi-detached home. You can transform it with a slim, push-to-open cabinet and a pullout shoe rack, preserving floor area while adding function. The next step is to map your layout, weigh materials for moisture resistance, and plan lighting that makes the new storage feel integrated rather than tacked on. There’s more to think about before you start.
What Built-In Storage Solves in Semi-Detached Homes
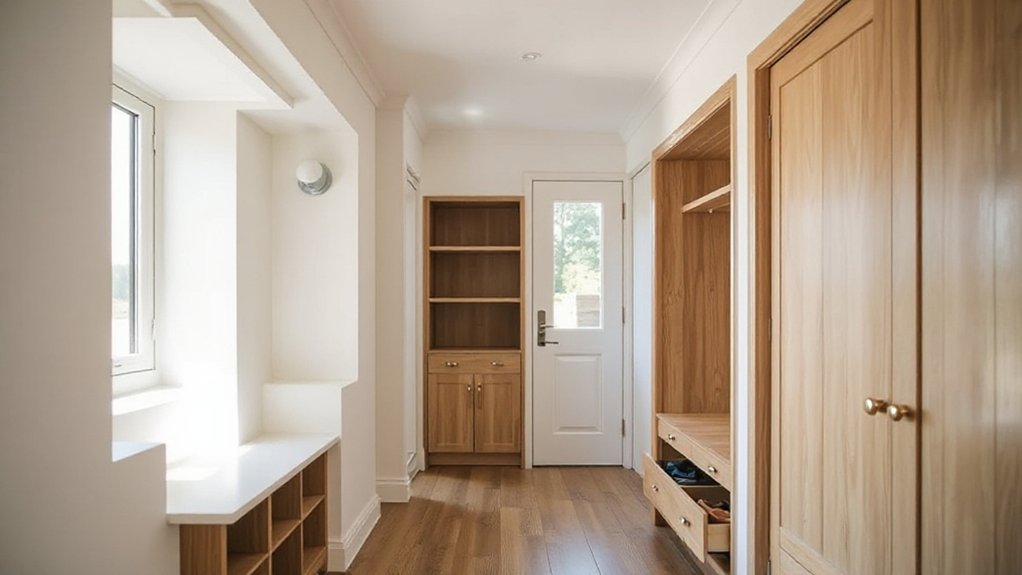
Built-in storage tackles two common semi-detached pain points: cramped rooms and awkward clutter. You’ll gain defined zones that free floor space, making rooms feel larger without expanding the footprint.
By integrating recessed cabinets, you reduce visual disruption while preserving access to corners and radiators. You’ll also eliminate surface buildup from everyday items, which sharpens airflow and light.
In practical terms, this means smarter shelving, pull-out bins, and pocket doors where possible, so you don’t sacrifice usability for aesthetics.
For Garage organization, think vertical racks and ceiling-height solutions that keep tools off the floor.
Outdoor storage becomes part of the overall design, keeping seasonal gear tucked away yet accessible.
The result: a cohesive, efficient home where storage supports movement and function.
Assess Structural Safety for Built-In Storage
When you start adding built-in storage, you must verify the structure can safely carry the added load and endure use over time. Start with a focused load assessment: estimate dead load from shelves, boards, drywall, and cabinetry, then add live load for user interaction and moving items.
Identify primary support, joists, and walls that bear the new weight, and check for signs of weakness such as cracking or deflection. Plan structural reinforcement where necessary, prioritizing stiffening plates, sistered joists, or reinforced studs in load paths.
Consult a structural engineer for critical spans or high loads. Document span lengths, attachment methods, and fastener types to ensure compatibility with the existing framing.
Ensure connections distribute weight evenly to prevent point loads and future failures.
Design a Daylight-Friendly Rear Extension for Storage
Prioritize daylight-focused window placement to maximize passive lighting for the storage area while minimizing heat gain.
Use light transfer through storage walls to share bright, airy ambience between the main house and the extension.
Plan for clear spatial flow in the rear extension so circulation remains straightforward and access to built-in storage feels immediate.
Daylight-Focused Window Placement
To maximize daylight in a rear extension used for storage, place tall, narrow clerestory or side-light windows high on the wall and complement them with a wide, low shelf line for easy access. Position glazing to favor even light distribution across shelves, reducing glare on stored items.
Use light-colored interior finishes and minimal obstructive trim to reflect daylight deeper into the space. Align window spacing with storage zones so you can illuminate each aisle without turning on lights.
Consider exterior shading to prevent overheating during peak sun, preserving energy efficiency. Integrate garden landscaping nearby to frame the extension and blur the boundary between outdoors and storage.
This approach keeps the layout practical, focused, and ready for organized, daylight-aware use.
Light-Transfer Through Storage Walls
Position daylight openings higher on the wall to illuminate shelves while keeping contents shielded. Use a layered approach: a bright external skin, then a translucent core, then a solid back for rigidity.
Confirm hardware is recessed to reduce shadows and maintain a clean daylight line. For storage optimization, couple light channels with shallow-depth units, so you don’t compromise capacity.
Monitor acoustic privacy as doors and panels align with cabinet faces, avoiding gaps that could carry noise. Keep detailing precise and field adjustments minimal for consistent daylight performance.
Rear Extension Spatial Flow
A daylight-friendly rear extension should choreograph circulation, storage access, and daylight capture in a single, continuous flow. You’ll design a clear path from entry to storage zones, with sightlines that minimize detours and maximize natural light penetration.
Place shallow, built‑in units along the core wall to avoid interrupting the corridor and to keep usable floor area intact. Align rooflights or skylights over primary storage targets to guarantee consistent daylight without glare.
Use glass doors to visually extend the room while preserving thermal breaks. Consider outdoor landscaping at the rear to frame natural light and soften progressions between interior and exterior.
Prioritize energy efficiency by aligning storage alcoves with wall insulation, reducing cold spots and heat loss during access. Fine‑tune junctions between extensions and existing walls for seamless, durable performance.
Hidden Wardrobes and Alcove Shelving Ideas

Hidden Wardrobe Innovations streamline your space without sacrificing room flow, using slim profiles, push-to-open doors, and hidden hardware.
Alcove Shelving Systems optimize awkward recesses with modular heights and adjustable shelves, maximizing storage while keeping a clean sightline.
Explore Space-Saving Nook Designs that tuck away essentials in corners and under eaves, turning tight spots into functional gear hubs.
Hidden Wardrobe Innovations
Hidden wardrobe solutions can transform tight spaces into organized, accessible storage. You’ll explore clever concealments that stay practical without shouting for attention.
Hidden compartments tuck away seasonal gear, slim ties, and out‑of‑season outfits behind floor‑to‑ceiling panels, preserving clean lines. Choose ergonomic drawer depths and full‑extension slides to keep items reachable from a standing position.
For flexibility, embrace Modular systems that adapt as your wardrobe evolves, swapping rails, shelves, and hanging heights with minimal disruption. Integrate shallow pullouts for jewelry, belts, or compact accessories, maintaining a tidy silhouette.
Consider door solutions that disappear into the wall when not in use, amplifying perceived space. Finally, balance material tones and hardware to maintain a cohesive, modern look.
Alcove Shelving Systems
Implement hidden wardrobe elements with hanging rails tucked behind doors that blend into the wall finish, preserving clean sightlines. For a cohesive look, select options in vintage decor-inspired hardware and rustic finishes—think aged brass pulls or matte oak veneers—that deepen character without clashing with modern lines.
Use adjustable lighting or LED strips to highlight textures and prevent dark pockets. Finish with mute tones and consistent grain to maintain calm, practical storage that complements the room’s architecture.
Space-Saving Nook Designs
Space-saving nooks transform small spaces into functional storage without intruding on room flow. You’ll implement hidden wardrobes and alcove shelving with clean lines and tight tolerances, so doors skim the wall rather than interrupt it.
Choose a vertical pull or pocket-door system to keep the footprint minimal, and align shelves with standard stud spacing for sturdy, swap-ready storage. Color contrast between wall color and shelving edges enhances legibility, guiding the eye to organized zones.
Integrate lighting fixtures that illuminate each shelf without creating glare; LEDs under lip lighting or recessed strips highlight contents and add depth. Use shallow, full-extension drawers for accessories, and stagger compartments to accommodate odd shapes.
Prioritize simplicity, accessibility, and seamless integration with adjacent furnishings.
Under-Stair Storage That Feels Spacious
Under-stair storage can feel surprisingly roomy when you use the vertical shaft effectively and keep the footprint simple. You’ll optimize depth with modular shelves, slim drawers, and tall bins that glide smoothly.
Prioritize a light, breathable interior so you don’t crowd the space, and choose materials with lasting durability.
Integrate creative lighting that highlights every inch without glare, and keep wiring tucked away for tidy maintenance.
Use a consistent color and finish to visually extend the shaft, making it feel larger while remaining practical.
- Use modular, labeled compartments to reduce clutter and improve reach
- Install concealed lighting along the sides for even illumination and depth
- Select sturdy materials and hidden tracks to maximize lifespan and ease of use
Integrated Stair Storage: Treads, Risers, and Pull-Outs
Integrate storage directly into your stair treads for compact, accessible space. Pair it with pull-out riser solutions to keep hidden utility close at hand.
Aim for precise fit and easy mechanical access, choosing materials and hardware that survive foot traffic and daily use.
This quick-start approach sets the framework for a crisp, design-focused discussion on how tread storage and pull-out risers maximize function without sacrificing style.
Treads Storage Integration
Integrated stair storage uses the space under and around the treads to create usable compartments without changing the house’s exterior. You’ll design tread storage that hides hinges and trim, so the look remains clean while you gain cubic feet. Choose sturdy storage materials and precision-fit components to prevent sagging or misalignment, and plan access points that minimize trips and noise.
Custom shelving within each tread cavity supports varied items, from tools to seasonal decor, without crowding the stair well. Use continuous lip supports and moisture-resistant finishes to sustain durability. Focus on clean lines, tight joints, and easy maintainability to keep the system practical and visually cohesive.
- Defines clear compartments with rigid dividers for organized access
- Selects durable storage materials and finishes that resist wear
- Integrates with existing aesthetics through matching trim and hardware
Pull-Out Riser Solutions
Could you gain extra storage without enlarging the footprint by adding pull-out risers? Yes. Pull-out risers convert unused stair volumes into functional drawers, compartments, or hidden cubbies integrated into treads and risers.
Practically, design hinges on consistent clearance, smooth slides, and reliable catch mechanisms so you don’t compromise safety or stair usability. Position pull-outs where they won’t collide with nosings or handrails, and align interiors with your furniture placement strategy for a cohesive look.
Choose shallow depths for high-frequency items and deeper bays for seasonal storage. Finish and paint to match your color schemes, or use contrasting edges to highlight architectural detail. Seal interiors to resist dust and moisture.
This approach delivers tidy, accessible storage without visual clutter.
Multi-Purpose Furniture That Doubles as Storage
Multi-purpose furniture is a smart way to add built-in storage without sacrificing floor space. When you choose pieces, think about how they’ll integrate with your furniture arrangement and daily routines. Opt for clean lines, soft-close mechanisms, and hidden compartments to reduce visual clutter while boosting storage organization.
Prioritize modular designs that can reconfigure as needs shift, and use height to your advantage without crowding rooms. Confirm materials and finishes match existing surfaces for a cohesive look. Measure clearance for doors and seating, keeping traffic flow smooth.
Label labeled interiors or transparent bins help you locate items quickly, maintaining efficiency.
- Choose modular, stackable units that adapt as your space changes
- Use concealed storage within coffee tables and ottomans for clutter control
- Align finishes and hardware to reinforce a cohesive storage-focused design
Built-In Wardrobes That Follow Wall Contours
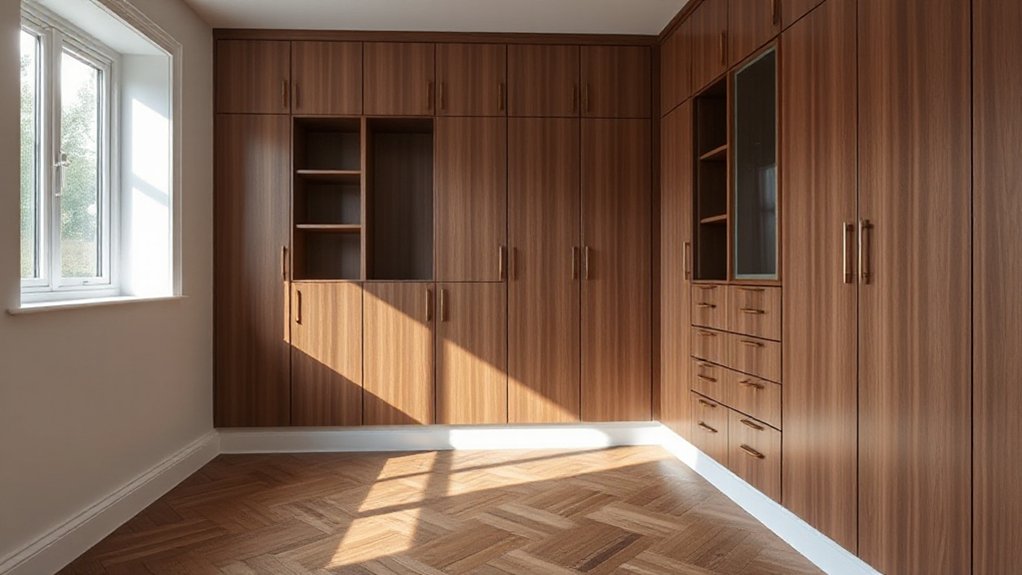
You’ll design built-in wardrobes that trace wall contours, creating a seamless, space-maximizing silhouette. Focus on wall-conform closet design and how it shapes access, light, and movement through integrated nook storage flow.
This approach keeps wardrobes practical, visually tight, and aligned with the room’s architectural lines.
Wall-Conform Closet Design
- Optimize wardrobe alignment with wall angles to preserve open pathways
- Use lighting and hardware finishing to reinforce the design language
- Integrate shelving and drawers for clutter-free, durable storage
Integrated Nook Storage Flow
Measure wall recesses precisely, then tailor shelves, rods, and drawers to align with existing profiles, avoiding protrusions that interrupt spatial rhythm. Use a consistent depth to maintain a seamless silhouette that follows wall curvature and corners.
Choose materials and finishes that reflect the room’s palette, ensuring the nook reads as a deliberate feature, not a cosmetic add-on. Plan lighting to emphasize depth, with concealed LEDs that highlight storage without glare.
This approach sustains integrated nook storage and preserves spatial flow throughout the adjacent living areas.
Materials That Age Well in Semi-Detached Homes
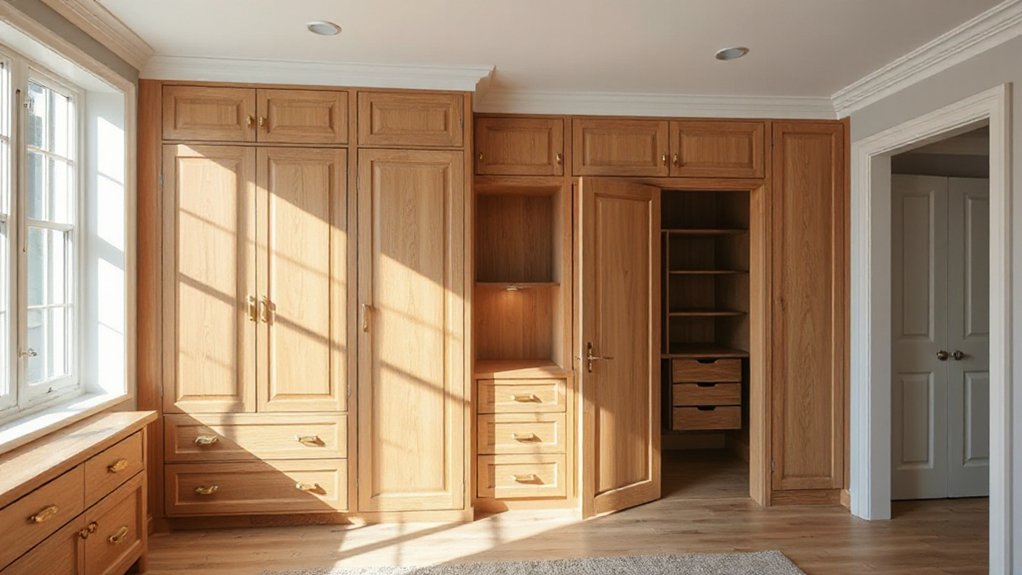
Compared to trendy finishes, durable materials save time and money in semi-detached homes, where shared walls expose interiors to temperature swings and moisture. You’ll prioritize composition over fad, selecting materials that age gracefully and maintain form. Focus on long‑grain solids, sealed substrates, and moisture‑resistant backing to sustain built‑ins through seasons.
Consider historical preservation values and choose options that honor heritage while delivering modern performance. Material durability becomes your design parameter, guiding joinery, finishes, and hardware choices that resist warping, cracking, and staining. With careful detailing, your storage walls stay stable and visually coherent for years.
- Interlock solid wood or plywood cores with edge-band protection and rot‑resistant framing
- Use ceramic or engineered stone countertops paired with water‑sealed backsplashes
- Favor matte, UV‑stable finishes that minimize patina loss and maintain clarity
Color and Lighting Tricks to Make Built-Ins Feel Roomy
Color and lighting are your quickest tools to make built-ins read as roomy in a semi-detached shell. You’ll improve perception by choosing light, desaturated colors and keeping surfaces uniform.
Color psychology guides how hues influence space; opt for cool or neutral tones on cabinetry and shelves to reduce visual weight, while reserving a brighter accent for a focal display to avoid clutter.
Lighting placement matters more than you think: situate fixtures above or inside shelves to eliminate dark corners, and use continuous runs to blur panel lines.
Select shallow storage with concealed edges to maintain sightlines.
Avoid heavy contrast near openings; mirror nearby walls with gloss or matte equivalents to bounce light.
Test color blocks at scale before committing.
Budgeting for Built-In Projects: A Practical Guide
Budgeting for built-in projects starts with a clear scope and a realistic price map you can actually follow. You’ll translate goals into measurable tasks, assign costs, and set a contingency buffer to absorb surprises without derailing the schedule.
Prioritize components by impact on daily use and aesthetics, then test fit with precise dimensions and materials. Track energy efficiency options early, so you know if upgrades fit your budget and long‑term savings.
Include garden landscaping considerations where built-ins interact with outdoor space, and prefer modular systems that can adapt over time.
Finally, log decisions in a single, accessible budget sheet, update it weekly, and review variance against plan before authorizing purchases.
- Define scope, costs, and contingency with measurable milestones
- Evaluate energy efficiency and outdoor integration upfront
- Use a modular, trackable budget sheet for transparency
Shared-Wall Considerations and Planning Permissions
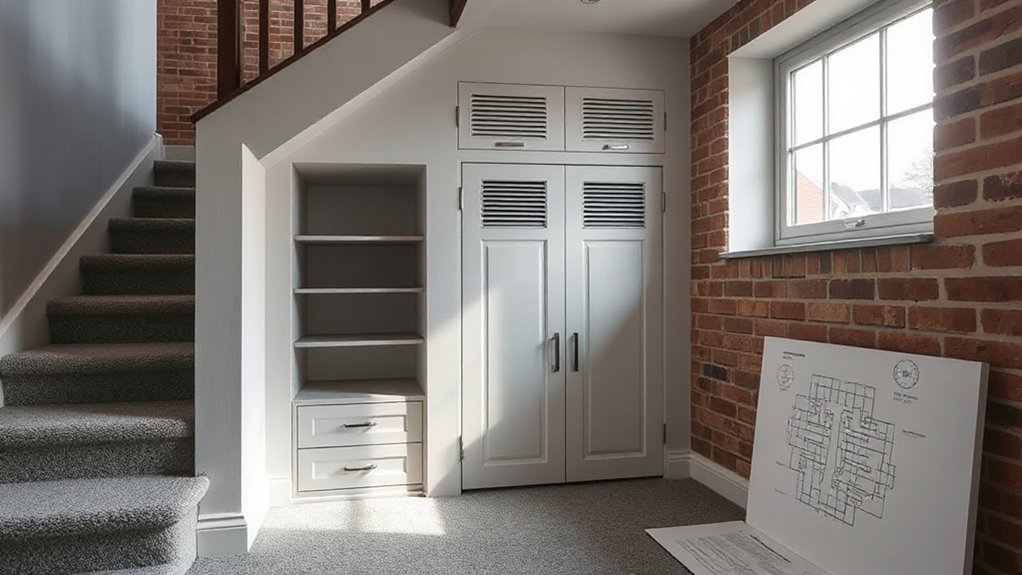
Shared-wall projects require early coordination with your neighbor and local authorities to prevent conflicts and delays.
Before drafting storage layouts, map the shared boundary and assess load paths, fire resistance, and insulation needs to protect both homes.
Check your local planning permissions rules for demolitions, extensions, or structural work near party walls, and confirm any required notices, consents, or party-wall agreements.
Document intended changes with clear drawings, elevations, and material specs to simplify approvals.
You’ll want to align finishes and ventilation with neighboring spaces to minimize disputes.
Seek pre-application advice if offered, and identify any setback or height limits that could affect built-in cabinetry.
In all steps, prioritize quiet, reversible modifications that respect the shared wall and preserve access for future maintenance.
Shared wall considerations guide compliant, durable storage design.
Case Studies: Semi-Detached Homes With Built-Ins
Case studies of semi-detached homes with built-ins illustrate how thoughtful design responds to shared-wall constraints while maximizing storage. You’ll see compact, modular wardrobes that tuck beside stairs, hiding clutter while keeping run walls uninterrupted.
Built-ins in living areas demonstrate flexible furniture for entertaining and daily tasks, aligning with lighting and traffic flow.
In garages, organizers optimize vertical space and conceal tools behind doors, reducing transit hazards.
Outdoor storage solutions use weatherproof materials to preserve access and curb appeal without compromising adjacent units.
- Emphasize vertical stacking in tight footprints to free floor space
- Integrate weatherproof outdoor storage that blends with exterior finishes
- Prioritize easy-access garage organization that supports daily routines
Step-by-Step: From Sketch to Finished Install
From the initial sketch to the finished install, you’ll map every step with precision, starting with clear dimensioning and a practical layout that respects the shared wall while maximizing storage.
Begin with a clear footprint, mark wall studs, and note any obstructions. Draft a proportionate furniture arrangement that leaves traffic flow uninterrupted and access points unobstructed.
Choose shallow-depth modules in high-visibility areas to avoid crowding, and reserve deeper units for casework against the external wall.
Plan adjustable shelves and modular panels to adapt to changing needs.
Select color schemes that light-reflective finishes for small rooms and cohesive tones across zones.
Confirm hardware choices early, then stage components for efficient on-site assembly.
Finish with precise caulking, trim alignment, and a clean, unified appearance.
Maintenance Tips to Keep Built-Ins Looking New
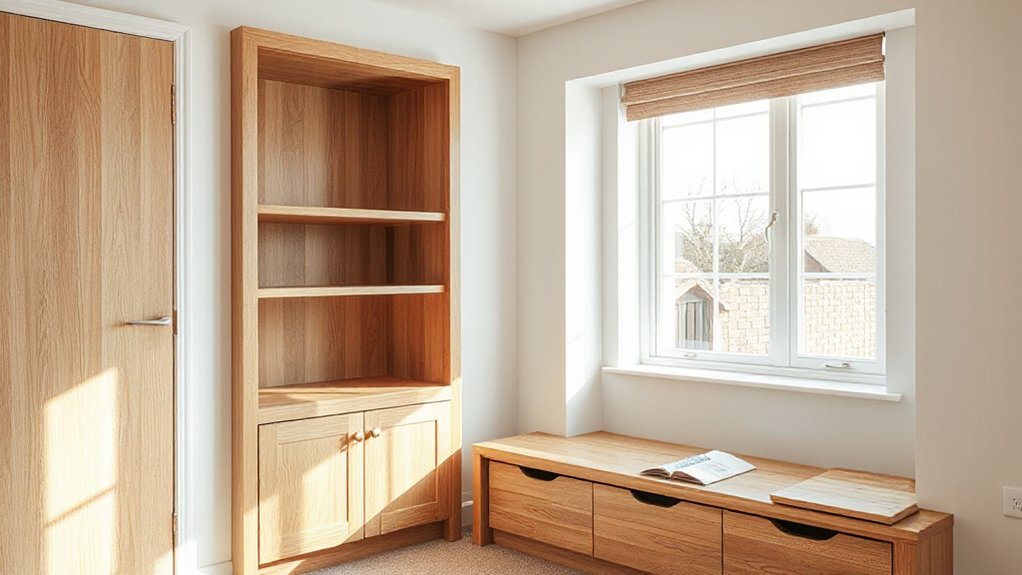
Maintenance is about proactive care that preserves finish, alignment, and accessibility over time. You’ll extend life and preserve the design intent by treating built-ins as mechanical and aesthetic systems. Focus on material maintenance, choosing finishes and hardware that resist wear. Clean with non-abrasive solutions, wipe spills promptly, and avoid harsh solvents that dull textures.
Inspect hinges, slides, and doors quarterly, adjusting as needed to prevent sagging. Schedule seal refreshes and touch-ups to stop micro‑scratches from becoming visible. Use felt pads under countertops and legs to protect floors and reduce noise. When alternatives exist, prefer integrated, low‑profile organizers to maintain seamless lines.
- Prioritize routine cleaning and inspection to catch issues early
- Rotate or reseal high‑use zones for consistency
- Select durable, compatible finishes for long‑term cohesion
Quick Wins: Budget-Friendly Ideas You Can Implement This Weekend
Weekend-ready fixes don’t require a big budget—start with quick wins that boost usability and a cohesive look. You can implement this weekend by prioritizing simple, high-impact changes.
Choose modular storage components that fit existing niches, then tailor colors and hardware for a seamless flow with the room’s palette. Clear the clutter first, then reserve wall space for slim shelves or a magnetic strip to keep surfaces free.
Focus on energy efficiency by choosing LED lighting and draft-catching seals around closets and doors.
For exterior impact, consider garden landscaping touches—compact planters near entry to soften the facade and guide traffic.
Keep materials durable and easy to maintain, so finishes stay sharp. These small shifts deliver instant organization without overwhelming your space.
Frequently Asked Questions
How Long Do Built-Ins Typically Take to Install in Semi-Detached Homes?
Built-ins in semi-detached homes typically take a few days to a week, depending on scope. You’ll streamline with custom cabinetry, focusing on space optimization, precise measurements, and coordinated finishes for a clean, integrated look.
What Are Common Hidden Costs in Built-In Projects?
Did you know 30% of remodels uncover hidden costs? Hidden costs can sneak up, including permits, customization, and hardware. You’ll face project delays if scope isn’t precise, budgets aren’t tracked, or design drawings change mid‑stream. Plan thoroughly.
Can Built-Ins Affect Sound Insulation Between Semi-Detached Houses?
Yes, built-ins can affect sound insulation; you’ll want careful detailing. Use soundproofing techniques like staggered studs and mass-loaded vinyl, plus resilient channels. Prioritize air-tight joints and door seals; implement noise reduction strategies in shared-wall assemblies.
Which Materials Are Best for Humid or Damp Rear Extensions?
Sure—use moisture-resistant materials like treated timber, cement board, brick, and fiber cement for damp rear extensions. Prioritize material durability, tight joints, and proper ventilation; you’ll prevent warping and mold while keeping a precise, design-focused finish.
How to Retrofit Energy-Efficient Lighting With Built-Ins?
You can retrofit energy-efficient lighting by planning LED upgrades and wiring upgrades carefully, upgrading fixtures, dimmers, and controls, and routing concealed cables. You’ll minimize disruption, maximize light quality, and integrate with built-ins for a cohesive, practical design.
Conclusion
You’ve got the tools to turn awkward nooks into smart storage. Start with a tight plan, choose moisture-resistant materials, and harness light colors with integrated lighting to keep spaces airy. Use sliding doors to preserve footprint, and tuck units around stairs or under eaves for max gain. For example, a recent semi-detached retrofit added recessed wardrobes and an under-stair cabinet, boosting storage by 40% without expanding footprint. Keep finishes simple, and maintain hinges and tracks for long-lasting polish.