
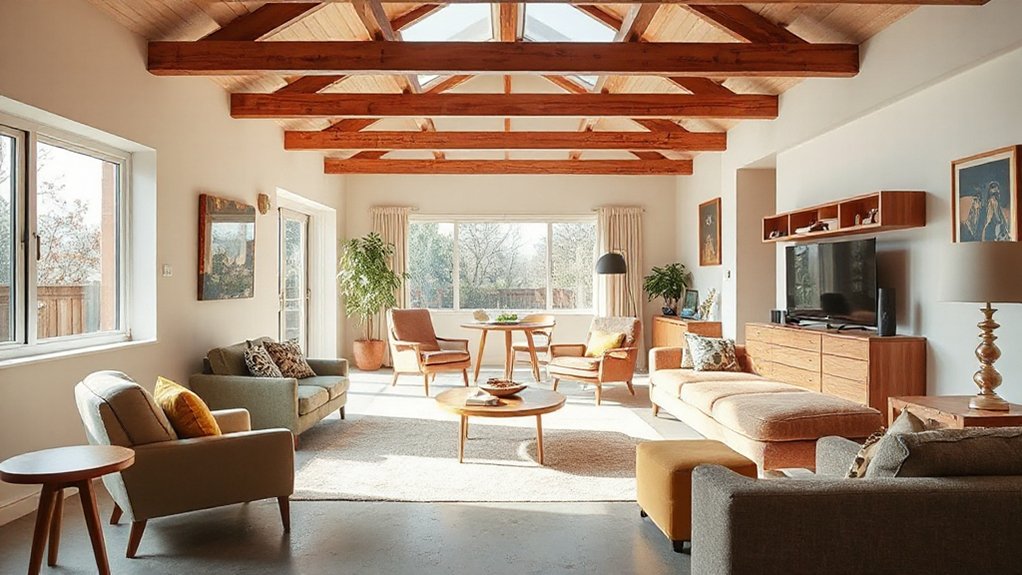

Did you know that updating lighting and color can deliver 80% of a home’s perceived refresh without major renovations? You can start by prioritizing budget-friendly tweaks that preserve your 1960s character, then layer in warm fixtures, muted wall tones, and flexible spaces. There’s practical choice here—moveable partitions, durable surfaces, and subtle art—so you’ll see how small changes add up. Curious which project to tackle first to balance charm with modern comfort? Let’s map it out.
Assess Your 1960s Home: What to Modernize Without Losing Its Character

You can modernize a 1960s home without erasing its charm by prioritizing updates that improve function and efficiency while preserving original character. Begin with a quick assessment of layout and structure, noting load paths, openings, and windows that define the era’s feel.
Focus on high-impact updates that don’t require major rebuilds: lighting, insulation, and smart controls. Preserve architectural cues like a sunken living room, paneled walls, or formed ceilings where feasible, integrating Mid century motifs through subtle details rather than wholesale changes.
Choose Retro color schemes sparingly—accent walls, cabinetry, and hardware—so you still glimpse the period vibe. Document everything, set a priority list, and test each change for comfort, flow, and daylight.
This approach keeps modernization purposeful and character intact.
Prioritize Budget-Friendly Structural Upgrades
To start, focus on budget-smart structural upgrades that reliably boost safety and value without overhauling the whole house. Prioritize practical, quiet renovation tweaks—things like reinforcing joists, updating aging supports, and sealing gaps—that minimize disruption while keeping costs under control.
You’ll build a solid foundation for broader updates by choosing low-dust, efficient fixes that preserve the home’s character.
Budget-Smart Structural Upgrades
Upgrading a 1960s home on a budget means prioritizing structural tweaks that deliver the most value without breaking the bank. You’ll boost safety and livability while preserving Vintage charm and reinforcing structural integrity.
1) Add affordable sister walls or braces to stiffen framing without full拆改.
2) Seal and insulate accessible attic and crawlspace areas to prevent heat loss and moisture rise.
3) Update quick-win load paths by securing joists and beams with proper hangers and steel plates.
4) Address essential foundation indicators, like cracks or uneven floors, with targeted, cost-conscious repairs.
This approach keeps costs predictable, minimizes disruption, and yields solid returns. Focus on improvements that protect the home’s core structure while maintaining the era’s character.
Practical, Quiet Renovation Tweaks
Even with a vintage vibe, practical, quiet tweaks can boost structure without noticeable disruption or cost spirals. You’ll focus on small, meaningful upgrades that don’t require major remodels.
Start with doors and seals: replace worn weatherstripping and install door sweeps to cut drafts and noise. Add lightweight, removable partitions to reconfigure spaces without gutting walls.
Prioritize framing fixes in crawl spaces or attic areas to reduce movement and squeaks; fix loose joists and secure ductwork to minimize rattles.
Consider soundproof windows to limit street noise without expanding openings. Install acoustic wall panels in high-echo rooms to improve clarity and reduce reverberation.
Choose materials that balance budget and performance, ensuring upgrades stay discreet, durable, and minimally invasive.
Upgrade Lighting for Modern Warmth
If you want a warmer, more inviting feel in a 1960s home, start by layering lighting: ambient light for overall brightness, task light where you need it, and soft accent glow to highlight architectural features.
- Choose vintage lighting fixtures that pair with modern fixtures for cohesion.
- Install dimmers on main rooms to adjust mood without changing fixtures.
- Use warm-colored bulbs (2700K–3000K) to keep tones intimate and practical.
- Layer sources: ceiling, table, floor, and wall lights to avoid harsh shadows.
This approach keeps efficiency high while adding character.
Remember, focus on balance between old and new to preserve authenticity, yet enjoy contemporary comfort.
Practical wiring, proper spacing, and energy efficiency should guide every upgrade.
Refresh Walls With Timeless, 1960s–Like Colors
Refresh walls with colors that nod to the era while staying timeless. You’ll choose color schemes that echo 1960s palettes without dating the room.
Start with a neutral base—warm beige, grey, or off-white—to anchor furniture and lighting.
Add accent tones like retro teals, olives, or mustard on feature walls or built-ins, keeping limits to one or two punch colors.
Use paint techniques that enhance depth: soft rolls for flat walls, a light glaze to create subtle sheen, or a washable matte for practicality.
Test samples on large patches to confirm undertones in your lighting.
Apply clean edges with painter’s tape and seal with a low-sheen topcoat for durability.
Balance bold hues with airy spaces to preserve timeless appeal.
Open Shelving and Hidden Storage Solutions

- Install floating shelves at eye level to display beloved vintage pieces without crowding surfaces.
- Pair glass-front cabinets with shallow depth for visual openness and easy access.
- Integrate pull-out organizers inside pantries and cabinets to maximize every inch.
- Conceal bulk items behind paneled doors or wardrobes, maintaining clean lines.
Keep finishes cohesive—warm woods or painted neutrals read authentic and timeless. Label baskets and clear containers for quick retrieval, preserving the room’s calm.
This approach delivers functional elegance without sacrificing period character.
Energy-Saving Upgrades That Fit a 1960s Home
Smart energy upgrades suit a 1960s home without erasing its character. You can tighten energy use without sacrificing style by focusing on sealing gaps, upgrading to efficient windows, and selecting compact fluorescent or LED lighting.
Start with a basic blower-door test or simple drafts, then caulk and weather-strip doors and attic hatches to cut cooling and heating loss.
Choose mid-century-appropriate, energy-efficient windows that preserve the exterior silhouette while improving insulation.
Swap old appliances for ENERGY STAR models and install smart thermostats to optimize comfort and runtime.
Insulation upgrades in the attic and walls deliver real gains with minimal visual impact.
These steps enhance energy efficiency while preserving vintage charm, keeping utility costs down and performance steady.
Durable Surfaces and Outdoor-Indoor Transitions
Choose durable materials that withstand weather and daily wear, prioritizing slip resistance and easy maintenance for high-traffic zones.
Plan seamless handoffs between indoors and outdoors with shared textures and color schemes that resist moisture and fading.
Consider practical layouts and fast-install options that keep your 1960s home feeling cohesive without sacrificing function.
Durable Materials Choices
When choosing durable surfaces and planning outdoor-indoor shifts, prioritize materials that withstand high traffic, moisture, and temperature swings. You’ll get longevity without sacrificing style, pairing resilience with character. Focus on low-maintenance options that resist staining and fading, while nodding to Vintage charm and retro accents.
- Install porcelain or ceramic tile with anti-slip finishes in entryways and patios.
- Choose quartz or solid-surface counters for kitchens and baths to resist heat and wear.
- Opt for reclaimed wood or high-grade composite decking for warmth with durability.
- Use metal or ceramic for trim, edging, and hardware to endure weather and use.
These choices keep spaces practical, precise, and cohesive, bridging eras without heavy upkeep.
Seamless Indoor-Outdoor Transitions
Seamless shifts between indoors and outdoors are about continuity: same materials, same color tones, and a consistent rhythm that makes the space feel larger and more connected.
You’ll prioritize durable surfaces that endure foot traffic and weather, choosing materials with slip resistance and low maintenance. Think wide-plank decking, porcelain pavers, and composite trims that resist fading.
Align thresholds and same-height progressions to reduce visual breaks, and use integrated drainage to prevent pooling.
A unified palette ties exterior seating, planters, and interior textiles together, boosting landscape integration.
Install retractable or weatherproofed doors to create fluid apertures during entertaining, preserving sightlines and airflow.
For outdoor entertainment, consider covered zones that extend usability year-round while maintaining stylistic cohesion with the interior.
Functional, Vintage-Inspired Kitchen Improvements
To modernize a 1960s kitchen without losing its charm, focus on practical, vintage-inspired upgrades that boost function while preserving character. You’ll blend form and function with deliberate, durable choices.
- Upgrade storage with shallow rollouts and peg systems to maintain a compact, organized footprint.
- Choose energy-efficient kitchen appliances that mimic retro styling, balancing performance with authenticity.
- Install task lighting and under-cabinet LEDs to brighten work zones without overpowering vintage aesthetics.
- Replace faucets and hardware with period-appropriate finishes for cohesive, easy-to-clean details.
This approach preserves Vintage charm while delivering modern reliability.
Prioritize quiet, reliable appliances, and use intact cabinets where possible to maintain authentic lines and resale appeal.
Create Flexible Living Areas With Moveable Zones
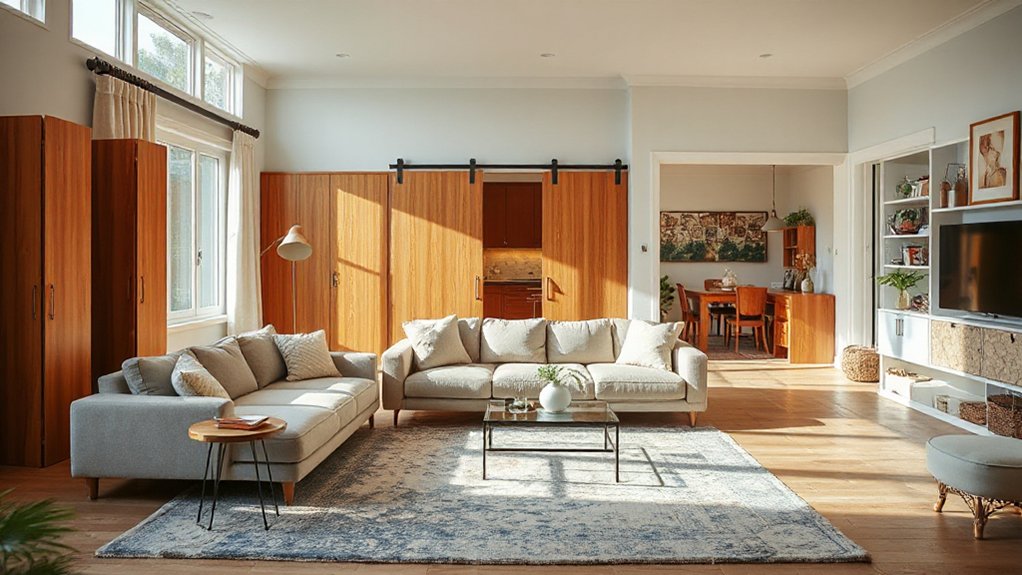
Flexible living spaces hinge on smart, movable zones that adapt to how you use rooms day to day. You create versatility with flexible furniture that can reconfigure layouts in minutes, letting a living area become a dining space or a study nook without walls.
Use movable partitions to define zones instead of building new walls, preserving openness while reducing noise transfer. Choose lightweight, sturdy screens or bookcases on casters that double as storage.
Plan sightlines so traffic flows smoothly when zones shift. Install ceiling tracks or wall-mounted rails for easy panel movement.
Keep a simple inventory of preferred configurations and labels for quick setup. This approach minimizes construction and maximizes daily adaptability, supporting a family-friendly, low-clutter environment.
Accessorize With Character: Textiles, Art, and Plants
Textures add depth you can feel, while artful wall accents and lush greenery bring life to each room. Start by layering textiles for contrast.
Then pick statement pieces for walls and plants that echo your color palette. Keep it focused and practical: choose a few bold textiles, one or two wall pieces, and a trio of plants to tie the space together.
Textiles For Texture
Textiles add instant texture and warmth, so start with a few well-chosen pieces: a chunky throw, a mix of woven cushions, and a tactile rug to anchor each space.
- Choose textile patterns that echo architectural lines—pinstripes, chevrons, or subtle damask to avoid visual overload.
- Layer fabric textures, combining boucle, velvet, and linen for depth without bulk.
- Coordinate colors across rooms, using a restrained palette and a single accent hue for cohesion.
- Rotate textiles seasonally, swapping cushions or throws to refresh mood without major overhauls.
Understanding these choices helps you design with textiles for texture, creating character-rich rooms. Keep the focus on comfort, durability, and clean lines, so textiles enhance rather than overpower.
Artful Wall Accents
Wall mounted sculptures add sculpture-style interest without floor space intrusion, so position them at eye level above seating or entryways. Mix textiles subtly by pairing a small woven tapestry with a framed print, keeping textures in the same tonal family to preserve cohesion.
Nail placement matters: use proper anchors for heavier pieces, and stagger heights for visual rhythm. Keep cords hidden and lighting directed to accent focal objects, ensuring items serve as conversation starters, not distractions.
Lush Greenery Touches
Lush greenery brings life to a 1960s home without clutter if you choose plants that fit your space and routine. To accessorize with character, mix textiles, art, and foliage for a cohesive vignette that echoes vintage charm and retro accents.
- Select compact varieties that thrive indoors and suit low-maintenance schedules.
- Place trailing plants on shelves to soften sharp lines and add depth.
- Integrate printed textiles with botanical motifs to reinforce the theme.
- Use artwork featuring nature-inspired hues to anchor the arrangement.
Choose planters that echo mid-century shapes—pots with teak or brass accents work well. Prune regularly, rotate specimens seasonally, and group by light needs. This approach keeps spaces fresh, practical, and stylish while preserving vintage charm.
Frequently Asked Questions
How Can I Preserve Original Beams During Updates?
To preserve original beams, wrap or isolate them before updates, use breathing vents, and choose non-invasive fasteners. Inspect for rot, treat, and seal. Incorporate vintage fixtures and retro decor around beams, not over them, for authenticity.
What Are Cost-Effective Eco-Friendly Insulating Options?
Earth-friendly options shine: use sustainable materials like cellulose and mineral wool, and embrace recycling techniques to cost-effectively insulate. You’ll save energy, stay comfy, and cut bills, while keeping the project practical, precise, and environmentally responsible.
Which Era-Accurate Appliances Balance Modern Use?
You’ll want era-accurate appliances that balance modern use with charm: pick compact, energy-efficient models, and pair them with vintage finishes and antique fixtures to keep authenticity while ensuring practical daily performance.
How to Hide Cables Without Drilling Walls?
Did you know 40% of homes hide cables poorly? You can achieve wire concealment with cable management tricks like under-desk channels, adhesive clips, and cord covers—no walls drilled, neat results, and easy future rerouting.
What Small-Scale Changes Boost Curb Appeal Fast?
Install affordable landscape lighting along pathways and entries, and update door hardware for instant curb appeal. You’ll create welcoming focal points, improve safety, and boost perceived value with precise, practical tweaks you can complete in a weekend.
Conclusion
As you implement these tweaks, you might notice the same sunbeam glint off a vintage chair that first warmed the room years ago, a quiet reminder of where you started. A new pendant catches it just right, a plant unfurls in exactly the spot you tested yesterday. Coincidence, or design—either way, your 1960s home breathes easier, more you: warmer light, calmer walls, and spaces you can move through with ease, time and again.