
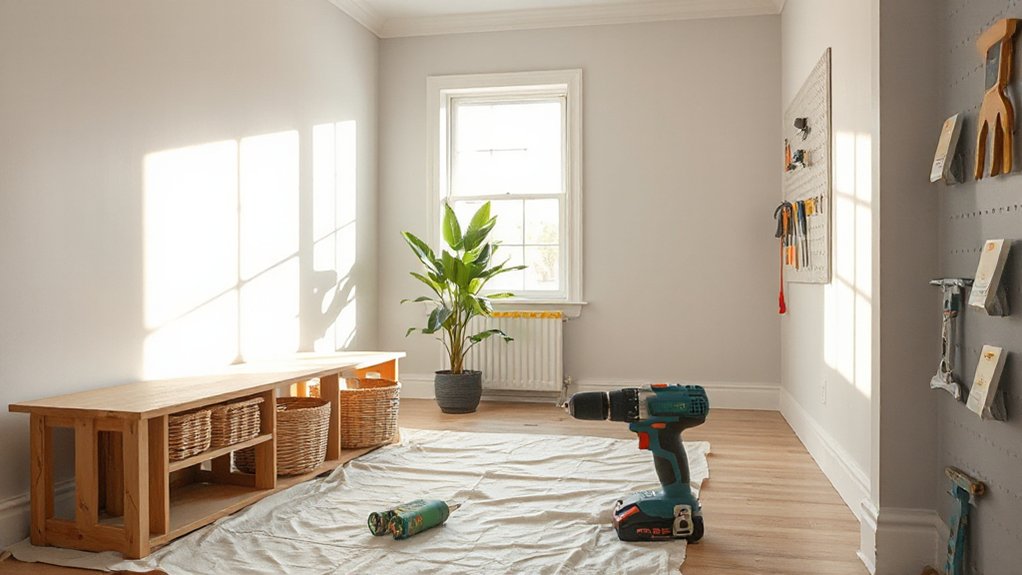

Did you know a few well-chosen weekend tweaks can dramatically boost a home’s function without a full remodel? You’ll want practical steps that fit into two days, minimize back-and-forth trips to the store, and still look polished. Start with quick wins like fresh paint, smart organization, and simple hardware swaps, then map a 2-day plan to tackle high-impact tasks first. Curious how to balance cost, time, and result to keep momentum without overwhelming yourself?
How to Choose Weekend Projects for Impact
When choosing weekend projects that make the biggest impact, start by identifying what’ll improve daily living most quickly. You’ll maximize results by focusing on high-use areas first—kitchens, entryways, baths, and living spaces you touch daily.
Map pain points: poor lighting, drafty doors, clutter, uneven surfaces. Prioritize tasks that solve multiple issues at once, like updating lighting fixtures and outlets or sealing gaps while invigorating paint.
Use decor planning to visualize flow and function before you buy, ensuring color, texture, and scale support daily routines.
Set a realistic project budget and stick to it, noting material costs and any needed tools. Budget awareness keeps momentum intact and prevents early stalls.
This approach keeps progress tangible and reps practical, not overwhelming.
Quick Wins to Brighten Any Room
Want an instant lift with minimal effort? A quick color refresh and small lighting tweaks can brighten any room without a full redo.
Start with one fresh paint shade on an accent wall and swap in brighter bulbs or a dimmer switch to transform the mood in minutes.
Quick Color Refresh
Paint finish matters: use eggshell or satin for walls to balance sheen with durability, and semi-gloss for trim to create clean, crisp edges. Before painting, wash walls and patch nail holes for a smooth result.
Test paint in small swatches under natural light, then commit to a shade. Remember color psychology: cooler tones feel calmer, while warmer shades energize.
Keep doors and ceilings neutral to maximize brightness and cohesion.
Easy Lighting Updates
If you want brighter rooms without a full redo, start with simple lighting tweaks that pack a punch. Begin by layering ambient lighting using a floor lamp and a couple of well-placed table lamps to fill dark corners.
Swap out old bulbs for energy efficient bulbs that match your space’s color temperature, aiming for a warm, inviting vibe. Add dimmers to living areas and bedrooms to tune brightness without swapping fixtures.
Rethink ceiling light placement; center fixtures or use two smaller lamps in larger rooms to diffuse shadows. Consolidate controls with a smart plug so you can adjust setups without fumbling for switches.
Finish by using lampshades that soften glare and highlight architectural features for a brighter, more cohesive feel.
Budget-Friendly Organization Hacks
Small changes can add up fast, and budget-friendly organization hacks prove it. You’ll start by maximizing vertical space with inexpensive shelves or peg boards, letting you store frequently used items within arm’s reach.
Embrace creative storage ideas, like labeled bins for mail, tools, and cords, so you see what you have and where it goes.
Next, tackle surfaces: clear clutter to create task spaces that actually work. Practice decluttering tips by sorting into keep, donate, and recycle piles, then assign a home for each category.
Use multi-purpose furniture, such as ottomans with hidden compartments, to reduce surface chaos.
Group similar items together, then label everything.
Finally, schedule 10-minute resets daily to maintain momentum and prevent buildup.
Fresh Paint Tricks for Small Rooms
Fresh paint can do wonders in tight spaces, so start with a plan that makes every inch count. Pick light, neutral base colors to maximize perceived space, then add a single bold accent wall to create depth without clutter.
Before you open cans, map your workflow: protect floors, tape edges, and organize brushes, rollers, and trays with painting tools within arm’s reach. Use low-VOC paints to reduce fumes and speed up cleanup.
Color psychology says cool hues can widen a room visually, while warm accents invite coziness; balance accordingly.
Cut in along ceilings first, then roll in even, overlapping passes to avoid patchiness. Allow proper drying time between coats, and recheck edges with a fresh coat if needed.
Finish with a satin or eggshell sheen for easy cleaning and subtle shine.
Simple Flooring Tweaks Without Remodeling
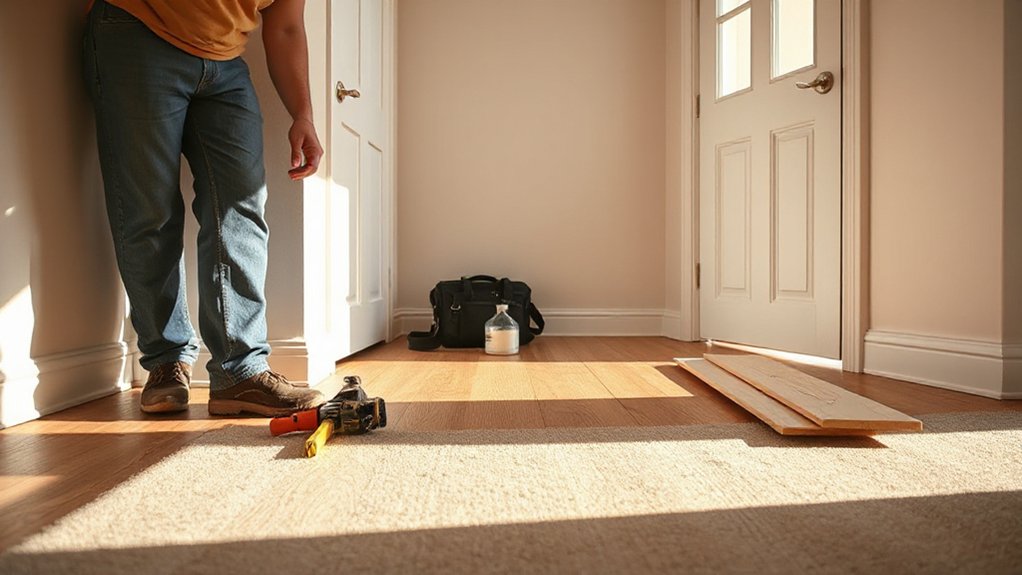
A few simple flooring tweaks can refresh a space without a full remodel. Start with bold, easy wins: swap rugs to define zones and hide worn carpet edges. If you have hardwood or laminate, consider changing the run direction to alter perceived room size.
Next, focus on underlay options, which can improve comfort and sound without tearing up floors. A thin, anti-fatigue underlay works well in kitchens and entryways, while a moisture barrier underlay protects in humidity-prone areas.
For vinyl or laminate, snap-together planks over existing flooring can mask scuffs and reduce noise. If you’re matching patterns, choose flooring patterns that elongate or widen the room and stick to a cohesive palette.
Test small samples first, then install with clean, straight lines for a polished result.
Outdoor Curb Appeal You Can Finish This Weekend
Even if you’re short on time, you can boost your home’s curb appeal this weekend with quick, tackle-now projects. Start with a simple refresh of garden landscaping: trim edges, weed beds, and add a fresh layer of mulch. Choose two focal plants in contrasting colors to create structure without overhauling the yard.
Paint or stain your front door in a fresh, durable shade that compliments your siding. Update lighting with low-cost solar lamps along walkways for safety and ambiance.
Bring in outdoor furniture that doubles as seating and décor—a compact bench or a pair of chairs plus an accent table can anchor the space. Swap in seasonal accents like a seasonal wreath or potted mums for immediate impact.
Clean, prune, and declutter to finish polished.
Weekend Tool Safety Checklist
Start your weekend project by checking your Personal Protective Gear—gloves, eye protection, and a dust mask—so you’re ready for anything that comes up.
Set clear Tool Usage Rules, like never bypassing guards, unplugging to adjust a tool, and asking for help when a task feels off.
Finish with a Post-Project Safety Check to store tools properly, clean up, and note any repairs or replacements for next time.
Personal Protective Gear
Protecting yourself is non-negotiable when you’re tackling weekend projects. You’ll stay safer by prioritizing personal protective gear and safety equipment at every step, from prep to finish. Inspect gear before use and replace worn items immediately to maintain reliable protection.
- Eye protection: safety glasses or a face shield to guard against dust, chips, and splashes.
- Hearing protection: earmuffs or plugs to prevent long-term damage in loud or confined spaces.
- Respiratory protection: mask or respirator for dust, fumes, or vapors in enclosed areas.
- Gloves and footwear: sturdy gloves for grip and cut resistance; boots with reinforced toes for foot protection.
Follow this checklist, store gear properly, and replace damaged items promptly to keep weekends productive and safe.
Tool Usage Rules
Use the right bit or blade for the task, and secure stock with clamps; never hold material with fingers alone. Keep a consistent stance, and cut or drill with controlled, steady pressure to avoid kickback.
Maintain power tool safety by unplugging when changing accessories and storing tools in dry, organized spaces.
For hand tool maintenance, wipe blades clean after use, tighten loose parts, and oil moving joints to prevent rust.
Respect limits; don’t push tools beyond their designed scope or your experience.
Post-Project Safety Check
After finishing a weekend project, take a moment to run through a quick safety recap before putting tools away. A short check helps prevent accidents and preserves your gear for next time. You’ll also reinforce home security by securing tools and perimeters before sunset. Use these steps:
- Inspect tools for damage; unplug or power down before setting down.
- Clean work areas, store hazardous items, and reassemble safety guards.
- Tidy cords and hoses; coil cables to prevent trips and setbacks.
- Review post-project landscaping tips: reseed, mulch, and secure edging to deter pests and protect your spaces.
Following this routine keeps your workspace neat, protects loved ones, and reinforces safe habits for future DIY sessions.
Lighting Upgrades for Ambience and Value
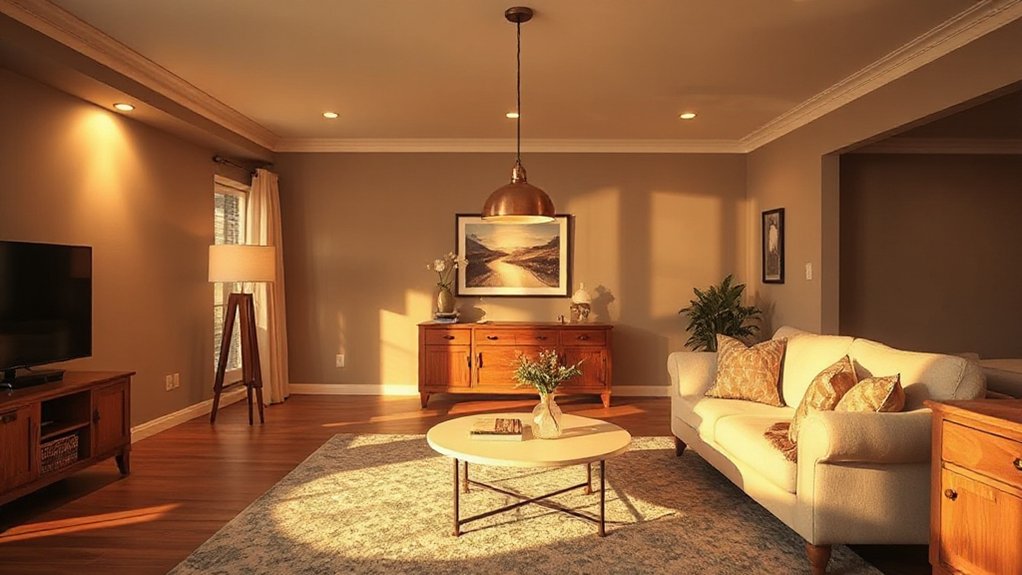
Upgrading your lighting can boost both mood and home value, so start with a plan and a few practical changes you can handle this weekend.
First, map rooms by function: brighter, cooler light for task areas and softer, warmer tones for living zones. Choose smart lighting basics—dimmable fixtures, color temperatures around 2700–3000K for warmth, and 4000K for task areas.
Install single-pole dimmers in key rooms to reduce glare and energy use. Replace harsh bulbs with LEDs labeled for long life.
Create layers: ambient, task, and accent lighting, using floor lamps and under-cabinet options where needed. Use smart lighting scenes for mood enhancement—set a cozy evening scene with timers.
Finally, label switches and keep a simple budget to track savings.
Seal or Refresh Kitchen and Bath Grout
Sealing or rejuvenating kitchen and bath grout is a cleanup-and-protect project you can do this weekend. You’ll improve stain resistance and cleanliness with focused steps, not guesswork, so you stay efficient.
Begin with Grout cleaning to remove soap scum and mildew, then dry thoroughly.
Next, choose a Sealant application compatible with your grout type and tiles. Apply evenly, wipe excess, and allow proper cure time before use.
To keep it simple, follow a steady four-step approach:
- Inspect grout for cracks and missing grout; repair as needed
- Clean joints with a grout-safe cleaner; rinse and dry completely
- Apply sealant in thin, even coats
- Reassess after cure, re-seal high-traffic areas if necessary
Smart Storage for Entryways and Closets
Smart storage in entryways and closets starts with a simple plan: measure, declutter, and zone. You’ll create immediate impact by prioritizing high-traffic areas and converting underused corners into functional spaces.
Start with a compact entryway setup: a slim console, a basket for mail, hooks for coats, and a small bench with storage.
In closets, install a two-tier hanging rod, add a shelf above, and use divider bins for accessories. Label boxes so you can find things fast, and keep daily essentials at arm’s reach.
Use vertical space: wall-mounted racks, peg boards, and slim wardrobes. Regularly reassess and purge seasonal items.
This approach delivers smart storage, minimizes clutter, and strengthens entryway organization, making your home feel orderly and welcoming every day.
Simple Molding and Hardware Updates
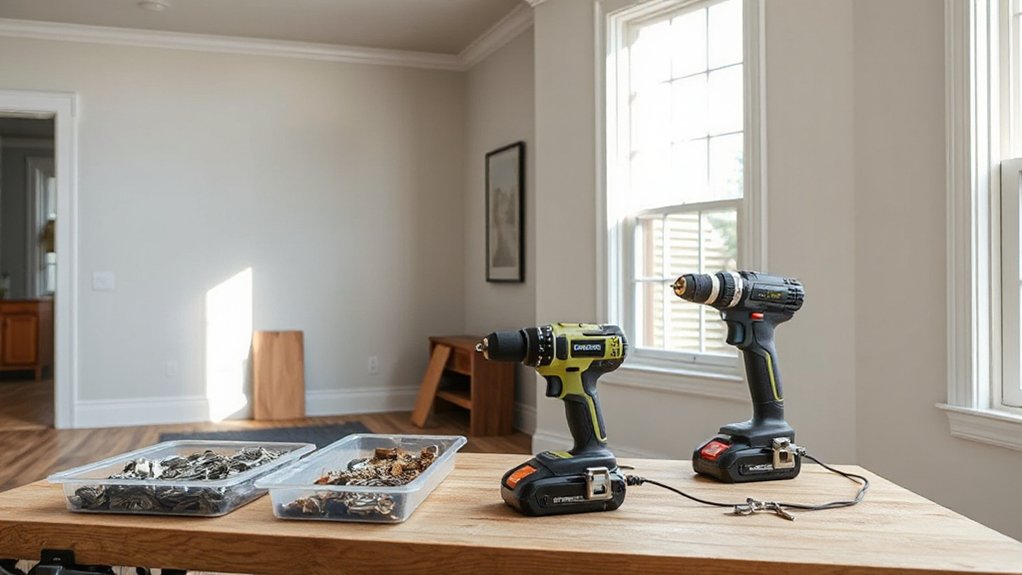
Upgrading your space is quicker than you think: start with an easy crown molding update and a simple hardware refresh to punch up character. You’ll measure, cut, and install with basic tools.
Swap out knobs, pulls, or hinges for an instant modern feel. Let’s outline a practical plan, pick durable finishes, and tackle one room this weekend.
Easy Crown Molding Update
If you’ve ever wanted a quick, affordable upgrade, start with simple crown molding and hardware updates that make a big impact. This easy crown molding update focuses on practical, DIY-ready steps you can pull off this weekend.
You’ll blend style with function by choosing a profile you love and refining cuts for a clean fit, practicing crown molding installation without drama. Use decorative trim techniques to add subtle character—think layered profiles or a contrasting paint line.
- Pick a lightweight profile and pre-cut segments
- Miter joints precisely for a seamless look
- Seal gaps with caulk, then touch-up paint
- Add a simple decorative lip or bead for emphasis
Hardware Refresh Ideas
Even small hardware swaps can refresh a space quickly and affordably. Start with simple molding updates: swap out cabinet knobs and drawer pulls for a cohesive metal or matte-black look, then replace light switch plates to match. Choose finishes that tie metal hardware to fixtures elsewhere in the room.
Keep a short list of essentials to prevent overbuying: screws, spacers, and a basic assortment of sizes. Do the install in sequence to limit mistakes and reuse old screws where possible.
Schedule a quick hardware maintenance check—lubricate hinges, tighten loose screws, and fill minor gaps with colored caulk. Stay organized with a dedicated tote for tiny parts, and practice tool organization: label bins, separate bits, and store in a labeled drawer. This saves time on future projects.
A 2-Day Plan to Prioritize Projects
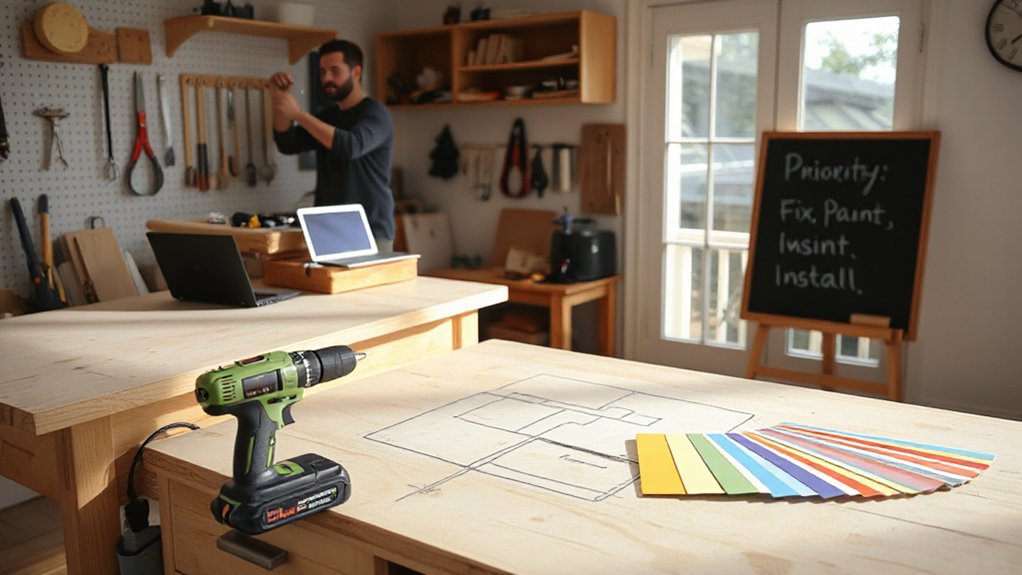
To get a clear, doable plan, start by listing every project you’ve noticed since moving in, then sort them by urgency and impact. Use this two‑day approach to turn chaos into a focused action list.
- Day 1: categorize, then rank projects by cost, time, and risk. Prioritization strategies hinge on quick wins that unlock value without derailing other tasks.
- Day 1: allocate realistic time blocks; estimate materials and permits if needed.
- Day 2: sequence tasks logically, grouping nearby projects to maximize efficiency.
- Day 2: set milestones and a lightweight checklist to track progress and adjust as you go.
Practical project planning keeps weekends focused, minimizes rework, and accelerates your home’s improvement.
Troubleshooting Weekend DIY Snags
When a weekend project stalls, a quick, calm diagnostic can save hours and keep momentum intact. You’ll troubleshoot by narrowing the issue to a single symptom, then test assumptions.
Start with DIY safety: power off, wear eye protection, and reassess hazards before continuing.
Next, verify project planning: confirm measurements, materials, and tool readiness match the task. If a step fails, pause and recheck instructions or a supplier’s tips; avoid forcing progress.
Document what’s not working and adjust the plan with a simple workaround or alternate method. Allocate time for small, reversible changes to prevent bigger fixes later.
If progress stalls again, walk away for a short reset, then resume with fresh eyes. Revisit safety and planning before proceeding to prevent recurring snags.
Frequently Asked Questions
What’s the Best Safe Beginner Tool Set for Weekends?
A good safe beginner tool set for weekends includes a versatile drill driver, hammer, tape measure, level, assortment of screwdrivers, pliers, utility knife, speed square, and basic safety gear. Emphasize Tool safety and start with simple Beginner projects.
How to Price DIY Projects for Resale Value?
Pricing your DIY projects for resale value: set a clear budget plan, track costs, and build in a margin. Like a compass, budget planning guides you. Source materials smartly, compare prices, and document every expense for accurate pricing.
How to Handle Permit Requirements for Small Fixes?
You’ll start by researching permit processes and local regulations before beginning any fix. Check your city’s portal, apply early, and budget for fees. Keep permits on-site, document changes, and schedule inspections to avoid penalties.
What Warranties Cover DIY Home Improvements?
Worries spark when you DIY, but home warranty coverage options vary; you’ll usually get systems and appliances protected, plus optional add-ons. Check policy specifics: what’s covered, limits, claim process, and whether your improvements qualify for coverage.
How to Estimate Paint Quantity and Avoid Waste?
To estimate paint quantity, do a paint calculation by measuring walls, doors, and trim, then add 10% for waste reduction. Buy generous sample pots first, test coverage, and round up to avoid mid-project shortages.
Conclusion
You’ve got this. By weekend’s end, your home will feel brighter, more organized, and somehow more you. Picture a sunlit entry, neat shelves catching every tag and key, a fresh scent from new paint, and a floor that looks twice its value. You’ll know exactly what to tackle next because the results glow with practical progress. Stay steady, celebrate small wins, and let each brushed stroke or tightened screw nudge you toward the next, bigger improvement.