
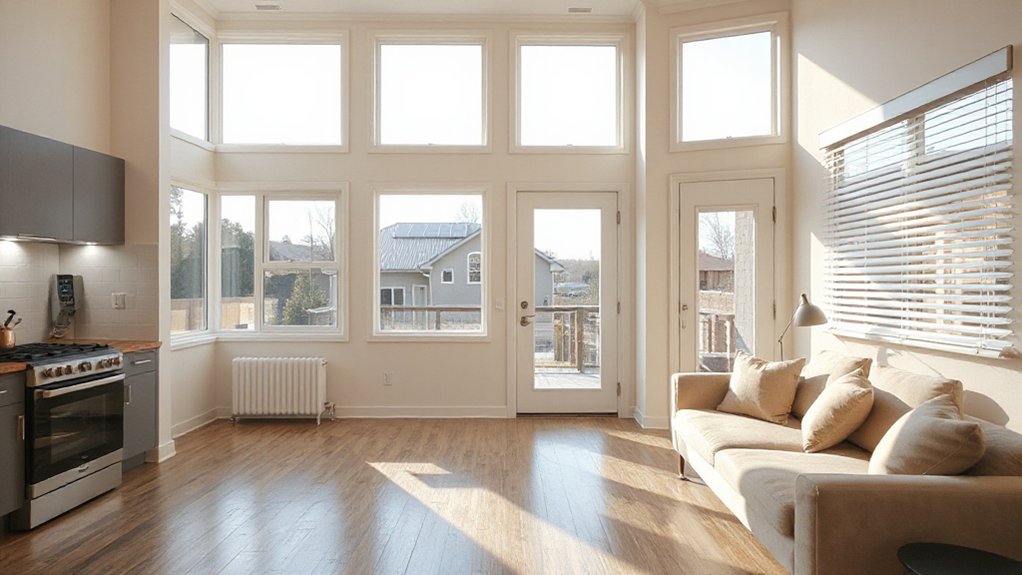

Last spring, you noticed a drafty living room and a chilly attic, but fixing those now could make your home much more appealing to buyers. You’ll want practical, high-impact upgrades—air-sealing leaks, upgrading to a programmable thermostat, and insulating key areas—paired with a quick assessment to target the biggest savings. As you tackle each step, you’ll see how these changes translate into features buyers notice and a smoother listing process that awaits your next move.
Why Energy Efficiency Matters When Listing Your Home
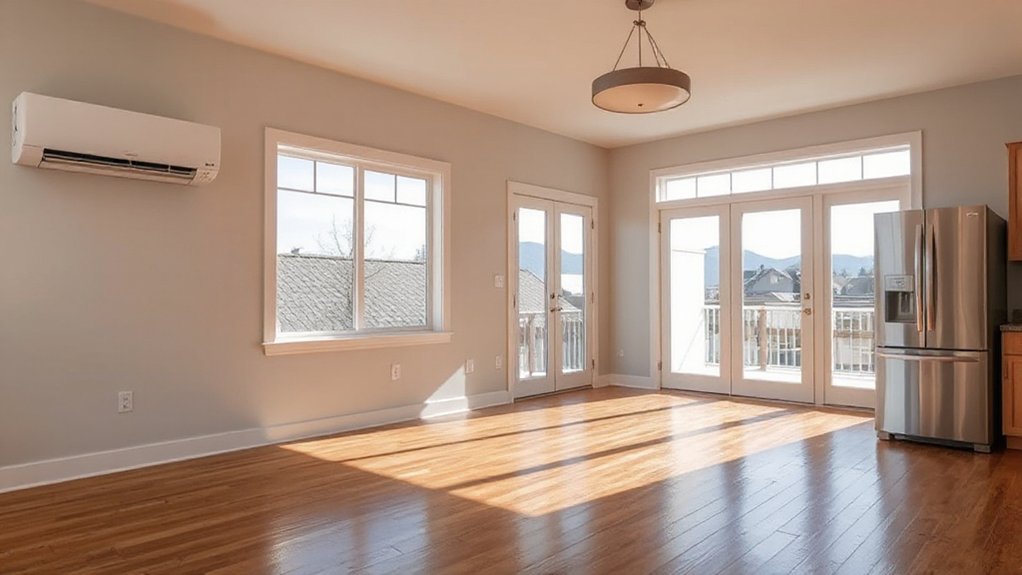
Energy efficiency matters when you list your home because it directly affects buyer interest, perceived value, and ongoing costs. When buyers compare homes, efficiency signals lower monthly bills and fewer future upgrades, making your property more competitive.
You’ll save time and reduce negotiation friction if you can quantify energy features, like insulation quality or efficient systems. Include honest, verifiable details, such as recent energy audits or qualified improvements, to back claims.
Highlight renewable resources used on-site, such as solar panels or heat pumps, and note any certifications. An independent energy audit boosts credibility and shows you’ve addressed potential concerns proactively.
Quick Wins That Pay for Themselves Before Listing
If you’re aiming for quick, value-adding improvements, start with small changes that deliver a big payoff: seal air leaks, boost insulation where it matters, and optimize systems you’ll already use daily. These quick wins pay back fast and don’t disrupt living space.
Begin with door sweeps, outlets, and attic access; a simple sealant kit blocks drafts and lowers phantom heat loss. Upgrade to programmable thermostats and set schedules that align with occupancy, trimming wasted energy.
Schedule a professional energy audit to identify hidden inefficiencies and prioritize repairs that yield the steepest returns. Consider on-site renewable resources, like solar-ready tweaks, to extend savings.
Track progress with utility bills to validate value. Energy audits frame opportunities; renewable resources amplify long-term value, especially before listing.
Optimize Heating and Cooling for Comfort and Cost
To keep your home comfortable while cutting costs, optimize your heating and cooling by targeting the biggest energy drains first. Start with your thermostat and common zones: setbacks during empty rooms, and lower temperature differences between indoor and outdoor climates. Seal ducts, upgrade to efficient SEER-rated equipment if needed, and service systems twice yearly to prevent energy waste.
Use programmable or smart thermostats to automate daily schedules, and align cooling and heating to occupancy patterns. Prioritize air leaks, flues, and attic access doors; reduce heat loss through windows with tight-fitting drapes at night.
Leverage renewable resources where feasible, such as heat pumps or solar-assisted systems, to lower ongoing costs. Regularly review usage data to refine settings and maximize savings.
Insulation Upgrades Buyers Notice and Value
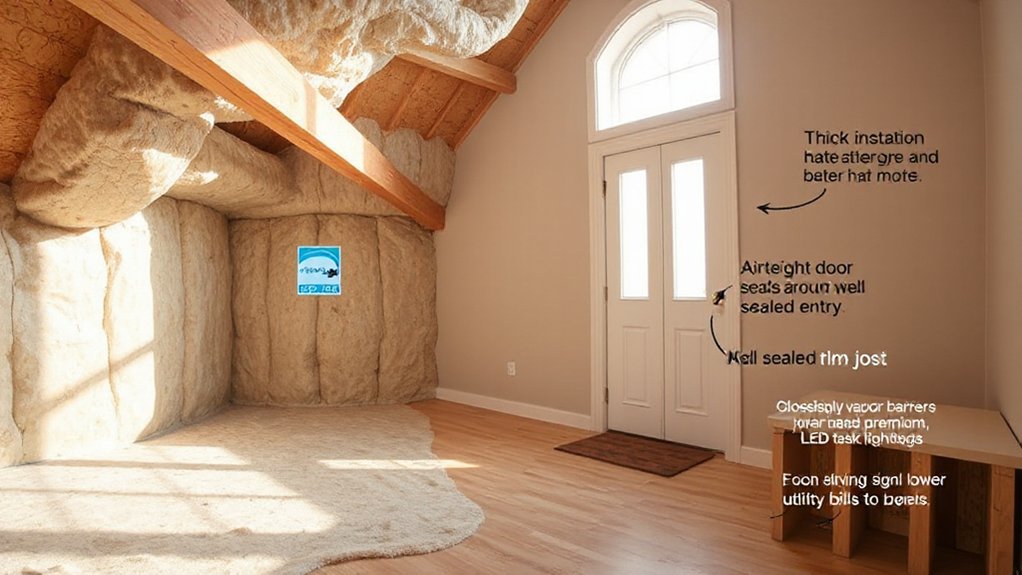
Upgrading insulation directly impacts what buyers notice and value, especially when it comes to overall warmth and lower energy bills.
You’ll see brighter appeal in rooms that stay comfortable longer into the season, even with colder outdoor temperatures.
Focus on higher quality materials and proper installation to maximize both cold-weather efficiency gains and long-term savings.
Insulation Quality Boost
Insulation upgrades pay off fast because a well-sealed home stays warmer in winter and cooler in summer, cutting utility bills and boosting comfort.
You’ll boost insulation quality by targeting gaps and drafts around doors, vents, outlets, and junctions, then upgrading or adding batt, blown, or spray foams where needed.
Prioritize minimizing thermal bridging with continuous cavity fills and properly sealed seams, so heat doesn’t shortcut through framing.
Check attic and basement envelopes, ensuring adequate R-values and proper ventilation.
Install or reinforce vapor barriers where moisture risk is high to prevent condensation and mold.
You’ll notice steadier indoor temperatures, quieter rooms, and potential resale advantages, as buyers value persistent comfort and efficiency.
Document upgrades with specs, inspections, and airflow tests to reinforce perceived quality.
Cold-Weather Efficiency Gains
Cold-weather efficiency starts with targeted insulation upgrades that buyers will notice immediately. You’ll see calmer drafts and steadier temperatures when you seal gaps around doors and windows, add attic and crawlspace insulation, and address rim joists.
Prioritize cold weather insulation improvements that yield quick, tangible comfort gains, then verify results with simple checks like a blower door or infrared scan. Conduct energy audits or hire a pro to pinpoint heat loss paths, so you invest where it matters most.
Don’t overlook basement and garage junctions, which often leak more than expected. Document upgrades, materials, and R-values for buyers, highlighting monthly savings.
Clear, verifiable quality signals—new insulation, weatherstripping, and proven efficiency—increase perceived value and shorten listing time.
Windows and Doors: Sealing for Value and Comfort

Have you ever noticed drafts or chilly spots around windows and doors? You can seal for value and comfort with practical steps.
Inspect weatherstripping and replace worn rubber or foam to block gaps. Check the frame for cracks and reseal with caulk where needed, especially around sills and headers.
Add weatherstripping to operable windows and exterior doors to reduce air leakage. Consider upgrading door hardware to a tighter latch and improved sealing, which enhances both efficiency and security.
Choose simple, effective window treatments like heavy curtains or insulating blinds to cut heat loss without sacrificing natural light. For doors, install a door sweep to prevent drafts at the threshold.
These measures are affordable, low-disruption, and noticeably improve comfort and energy bills.
Air Sealing and Drafts: Where to Start
If you’re tackling drafts, start with the big hitters first: entry doors, exterior walls around outlets and switches, and gaps around the chimney or attic access.
Then move to windows, attic hatches, and basement cavities, patching with affordable weatherstripping, caulk, and foam where appropriate. You’ll seal gaps that drain heat in winter and bleed it in summer, which improves comfort and listing appeal.
Use a blower door test if you can, or a simple candle test to spot leaks around recessed lighting and electrical boxes; seal as you find them.
Indoor plants and smart lighting design can reinforce efficiency by reducing heat load and optimizing comfort without adding drafts.
Keep notes, retest, and re-seal as needed for consistent performance.
Tankless vs High-Efficiency Water Heaters: What to Choose
Tankless and high-efficiency water heaters both cut energy use, but they suit different needs. You’ll want a water heater comparison that matches your home’s hot-water demand, installation space, and budget.
Tankless models heat water on demand, saving space and reducing standby losses, but they can struggle with simultaneous taps in busy households and often require higher upfront costs and larger gas line or electrical upgrades.
High-efficiency storage tanks minimize heat loss with better insulation and more predictable recovery rates, usually delivering steady hot water for multiple outlets at a lower initial price.
Consider home size, peak usage, and retrofit feasibility. If you aim for quick payoff and simple maintenance, prioritize energy saving devices with clear efficiency ratings and warranty terms.
Energy-Efficient Lighting and Appliances That Boost Appeal
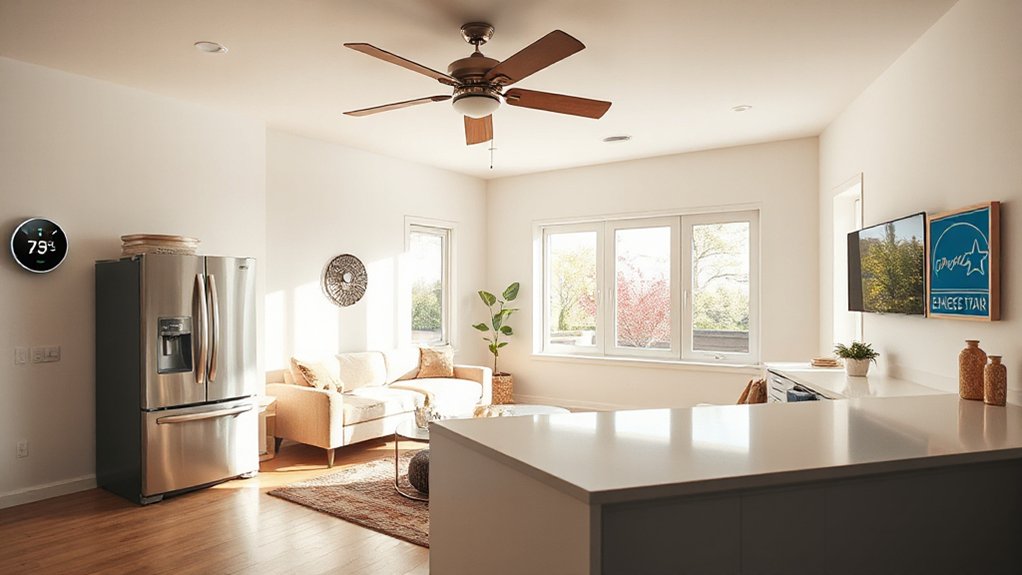
Energy-efficient lighting and appliances not only cut bills but also boost home appeal for buyers. You’ll want bright, consistent light sources: swap to LED bulbs, use dimmers, and make certain daylighting is effective so rooms feel spacious.
Replace aging appliances with ENERGY STAR models and pretest kitchens and laundry areas for quiet operation and reliable performance. Highlight smart-home basics, like programmable thermostats and energy monitors, so buyers see ongoing savings.
If you’ve installed a solar panel or a geothermal system, mention them prominently, with simple visuals or spec notes, since these can justify a higher perceived value.
Keep meters visible but tidy, and provide a simple one-page summary of expected annual energy costs. Present concrete before/after efficiency gains to reinforce appeal.
Should You Add Solar Before Listing? Factors to Consider
Considering solar before listing comes down to ROI and timing. You’ll want a quick read on how soon you’ll recoup the investment and whether installation aligns with your listing timeline.
Weigh the potential energy savings against costs and the market’s interest, then decide if now is the right moment to install.
Assess Solar ROI
Evaluating solar ROI starts with a clear tally of costs and benefits. When you assess solar ROI, you perform a focused solar assessment that weighs upfront purchase or lease price, installation, permits, and potential maintenance against long-term energy savings and any available tax incentives.
Consider how your local utility’s rates, sun exposure, and expected system life affect ROI analysis. Include any potential increases in home value and the likelihood of resale appeal to buyers who prioritize efficiency.
Don’t overlook non-financial gains, like reduced grid dependency and quieter operation.
Compare multiple scenarios: with and without solar, different system sizes, and various financing options. Use conservative assumptions to avoid overestimating savings, and document findings for transparency.
Timing For Installation
If you’re weighing solar installation before listing, timing matters as much as the panels themselves. Start with timing considerations: installation speed, permitting timelines, and any holdbacks from your HOA or utility. Map out a realistic schedule that aligns with closing dates, not just sunny days.
Consider seasonal planning — winter delays or summer demand can push back projects, so build buffers. If you need tax credits or incentives, complete the process before the listing to reflect value on the appraisal.
Confirm energy savings start early enough to influence buyer interest, but avoid rushing substandard work. Get bids from reputable installers who can commit to a firm timeline and provide milestone updates.
Finally, weigh potential market advantages against costs, and decide whether the timing aligns with your listing strategy.
Smart Home Tech That Highlights Energy Savings
Smart home tech can clearly spotlight energy savings to buyers, so start with devices that provide real, easy-to-verify data. You’ll want smart thermostats that adapt to your routines, display usage trends, and let buyers verify comfort costs without guessing.
Pair them with energy monitoring equipment that shows real-time consumption by appliance and system, plus historical peaks and savings. Choose scalable options that report by room or zone, so viewers see where efficiency happens, not just totals.
Keep data accessible in a single dashboard, with clear graphs and monthly comparisons. Make sure installation and app access are straightforward, and warranties are in place.
Highlight automatic schedules, vacation modes, and remote control, tying each feature to tangible savings buyers can validate during a tour.
Auditing Your Home: DIY Methods vs. Professional Options
Auditing your home is the next step after showcasing energy-saving tech, because real-world performance matters as much as features. You weigh DIY methods against professional audits by considering scope, accuracy, and cost.
DIY checks let you verify obvious heat losses with simple tools, like door sweeps, attic access, and insulation checks, while also testing basic appliance efficiency.
For deeper insight, a pro audit uses thermal imaging, blower door tests, and calibrated equipment to pinpoint leaks and performance gaps.
If you already have home automation, extend it to monitoring patterns and identify stubborn hotspots, then target updates accordingly.
Where renewable energy fits, a pro audit can assess solar potential and system integration.
If you pursue renewables, balance upfront costs with long-term savings and reliability.
Documenting Energy Gains for Your Listing: Data, Photos, and Testimonials

You’ll start by collecting Data-Driven Gains that quantify your energy improvements and translate them into memorable talking points for buyers.
Pair those numbers with clear Visuals and Testimonials that verify performance and show real-world impact.
Together, these records create a credible narrative that strengthens your listing and sets expectations from day one.
Data-Driven Gains Showcased
Data-driven gains make a listing stand out: quantify improvements with clear metrics, photos, and firsthand stories. You’ll present before-and-after energy data, showing monthly utility bills, HVAC run hours, and the corresponding percentage reductions.
Include a concise table or bullet points that translate numbers into cost savings and comfort gains. Photos should capture upgrades such as upgraded insulation materials, sealed ducts, and new thermostats, then paired with the exact figures to reinforce credibility.
Provide testimonials from residents or contractors who can corroborate performance shifts. Highlight investments tied to renewable resources where applicable, noting payback timelines.
Keep descriptions precise: specify insulation R-values, equipment efficiency ratings, and monitoring methods used. This approach strengthens trust without overstating impact while guiding buyers on expected returns.
Visuals And Testimonials Recorded
Visuals and testimonials bring your quantified energy gains to life, linking numbers to real experiences. You’ll pair data with clear visuals that highlight improvements like lower utility bills, reduced consumption, and tighter envelopes.
Use before-and-after photos showing upgrades, meter readings, and test results, so viewers grasp the scale at a glance. Caption each image with concise context: what changed, why it mattered, and the resulting impact on comfort.
Include short, authentic quotes from residents to illustrate day-to-day benefits, emphasizing the testimonial impact.
Create a simple, consistent visual grammar: labeled charts, color-coding, and a logical flow from problem to solution to result. This visual storytelling approach strengthens your listing’s narrative and helps buyers connect with energy savings.
Budgeting for Upgrades: Typical Costs and ROI
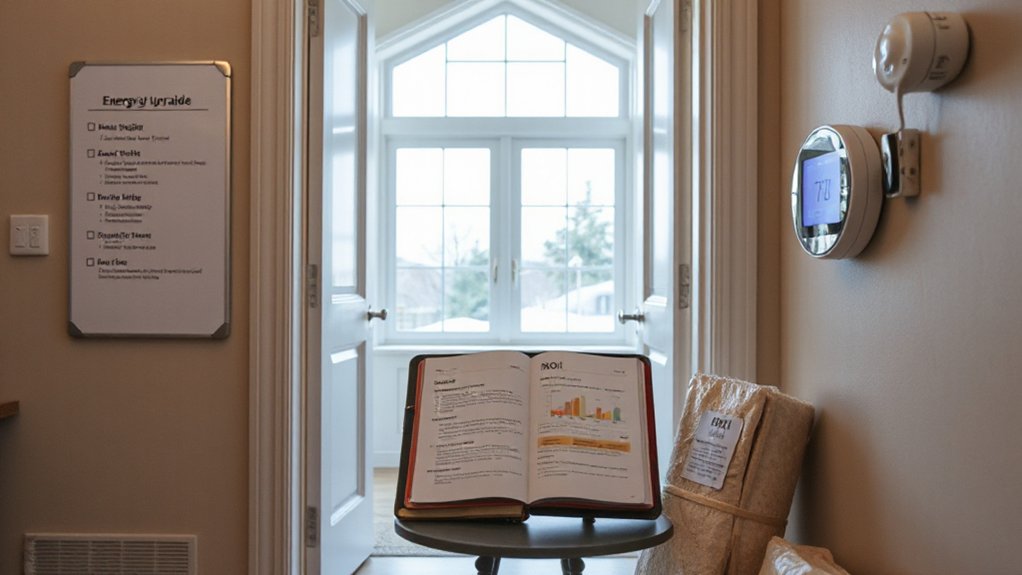
When budgeting for upgrades to boost energy efficiency before listing, start with a clear cost range for each project and the expected payoff in utility savings or resale value. You’ll want a tight cost analysis that highlights the most impactful returns, so you know where to allocate resources for maximum ROI.
Use realistic ranges, not square numbers, and include maintenance after the payoff period. The goal is to establish a factual plan you can present to buyers and lenders with confidence.
1) Insulation upgrade: $1,500–$5,000; ROI: 5–15% annual utility savings
2) Energy-efficient windows: $5,000–$15,000; ROI: 4–12%
3) High-efficiency HVAC: $4,000–$12,000; ROI: 8–20%
4) LED lighting and smart controls: $200–$2,000; ROI: 10–40%
Timeline Planning: When to Schedule Each Improvement
To plan a realistic timeline, start by mapping each improvement to a target sale window and your current project load, then sequence them by impact and feasibility. You’ll want quick wins that show value—like smart thermostats and LED retrofits—before tackling deeper tasks.
Schedule Energy audits early to identify non-obvious gains and align them with your budget and deadlines. Group related efforts to minimize disruption: weatherproofing with insulation work, then HVAC upgrades.
Build in buffer for contractor availability and permits, especially for licensed work. Use Home automation to centralize controls and test systems before listing.
Track milestones in a simple calendar, with weekly check-ins and a backup plan if a vendor delays. Prioritize tasks that improve comfort, cost savings, and buyer appeal without overextending timelines.
Prioritize Upgrades by Home Type: Condo, Townhome, Single-Family
Condo, townhome, and single-family homes each have distinct upgrade priorities that reflect space, shared walls, and resale expectations. You’ll tailor energy improvements to fit volume, noise, and exterior impact, not one-size-fits-all fixes.
- Condo: focus on airtight upgrades, compact HVAC zoning, and low-impact insulation to respect shared structures.
- Townhome: optimize window upgrades for daylight and thermal breaks, plus door seals that minimize drafts between units.
- Single-Family: invest in roof, attic, and whole-house sealing; emphasize landscaping design to reduce heat gain and improve curb appeal.
- General: align home decor and exterior greenery to boost perceived energy savings without overhauling existing footprints.
Common Mistakes to Avoid Before Listing Energy Upgrades

Common mistakes can derail energy-upgrade value before listing, so you’ll want a clear checklist of what to avoid. Watch for hidden efficiency pitfalls like overestimating payback or choosing quick fixes that don’t reduce utility use, and skip quick-fix missteps that don’t boost overall performance.
Start with a concise plan: identify high-impact upgrades, confirm proper installation, and document results to back up claims to buyers.
Common Mistake Overview
Common mistakes can derail energy-upgrade progress before listing, so it’s essential to spot them early and act fast. You’ll save time and money by recognizing patterns that stall momentum and focusing on practical fixes. Avoid letting hype or assumptions guide choices—stick to proven methods that actually boost value.
- Relying on energy myths over data-driven results
- Implementing costly upgrades without ROI checks
- Skipping a professional assessment or proper permits
- Choosing outdated practices that waste time and funds
Stay disciplined: document goals, compare improvements with realistic energy savings, and verify assumptions with measurements.
Hidden Efficiency Pitfalls
Hidden efficiency mistakes slip in even when you’ve mapped out the big upgrades. You’ll overlook small gaps that bleed energy and inflate bills after listing.
Start with air leaks: seal doors, windows, and electrical gaps; add weather stripping where drafts persist. Check insulation in attic and walls—under-insulated spaces waste energy and comfort.
Don’t ignore lighting; switch to LEDs and use smart controls to avoid phantom loads.
In the kitchen and laundry, embrace energy conservation by upgrading to efficient appliances, but beware of oversized replacements that won’t run at their best on your climate or usage.
Practice regular appliance maintenance: clean filters, defrost coils, and schedule professional checks.
Finally, test HVAC efficiency with a simple thermostat strategy, coordinating cycles to minimize waste while preserving comfort.
Quick Fixes Missteps
Quick fixes can be tempting, but rushed changes often backfire when you list your home. You want upgrades that add value, not short-term sparkle. Focus on durable gains and honest communication about what works.
- Don’t swap in oversized or flashy gear to chase quick gains; it can fail energy testing and waste money.
- Avoid overestimating savings from cosmetic tweaks—they won’t fix underlying inefficiencies or fix Energy myths you’ve heard.
- Don’t neglect appliance lifespan; mismatched upgrades can shorten performance and lead to costly repairs.
- Don’t skip professional assessments; a quick audit prevents missteps and pinpoints cost-effective, verifiable improvements.
Aim for transparent, verifiable results. Document performance with before/after data and keep expectations realistic.
Presenting Energy Gains in Photos and Listing Copy
When you present energy gains, show buyers concrete, easy-to-see benefits through both photos and listing copy. Use visuals that capture steady performance, like a before/after energy score, a graph of reduced usage, and a photo of an efficient thermostat or fresh insulation.
In copy, quantify savings with monthly ranges and year-over-year improvements. Highlight how upgrades affect utility bills, emphasizing predictable costs rather than guesses. Mention renewable resources where relevant—solar panels, heat pumps, or high-efficiency appliances—to position efficiency as a practical asset.
Keep captions succinct and informative: note completion dates, warranty details, and available credits. Guarantee consistency between photos and numbers to avoid misinterpretation, and present the improvements as tangible value buyers can verify with disclosures and utility data.
Frequently Asked Questions
Do Energy Upgrades Significantly Boost Sale Price Estimates?
Yes, upgrades can raise value, though effects vary. You’ll attract buyers with renewable energy features and a smart home, potentially shortening days on market while boosting perceived efficiency and utility savings during negotiations.
Which Upgrades Yield the Fastest ROI Before Listing?
Solar panels and smart thermostats yield fast ROI before listing. You’ll see energy savings quickly, plus appealing upgrades for buyers. Install, optimize settings, and highlight utility bills in disclosures to maximize your home’s perceived value and appeal.
How Do Energy Improvements Impact Appraisal Values?
You’ll see appraisal bumps when energy improvements align with market demand, like renewable sources and smart technology; they increase perceived value and efficiency, boosting resale appeal as you invest smartly, cutting ongoing costs and signaling responsible stewardship.
Can I Deduct Costs of Energy Upgrades on Taxes?
You can deduct certain costs via tax credits and government incentives; you may qualify for energy-related credits. Verify eligibility, keep receipts, and file with the appropriate forms, because deductions depend on current programs and your income.
Should I Disclose Energy Savings to Buyers Upfront?
Yes, you should disclose energy savings upfront; it shapes buyer perception and can reveal disclosure benefits. Lead with specifics, show measured results, compare to similar homes, and anticipate questions, creating trust and momentum that boosts your listing appeal.
Conclusion
Sealing gaps costs little, but the payoff can be huge; a draft-free home feels instantly calmer. You might install a smart thermostat, yet nothing beats a warm, well-insulated attic in winter. The contrast is striking: flashy upgrades grab attention, but quiet efficiency seals the deal. Quick wins prove sustainable shine beats cosmetic gloss. You’ll present clear data, then let buyers notice the difference in comfort and bills—proof that smart planning translates to real, tangible value.