
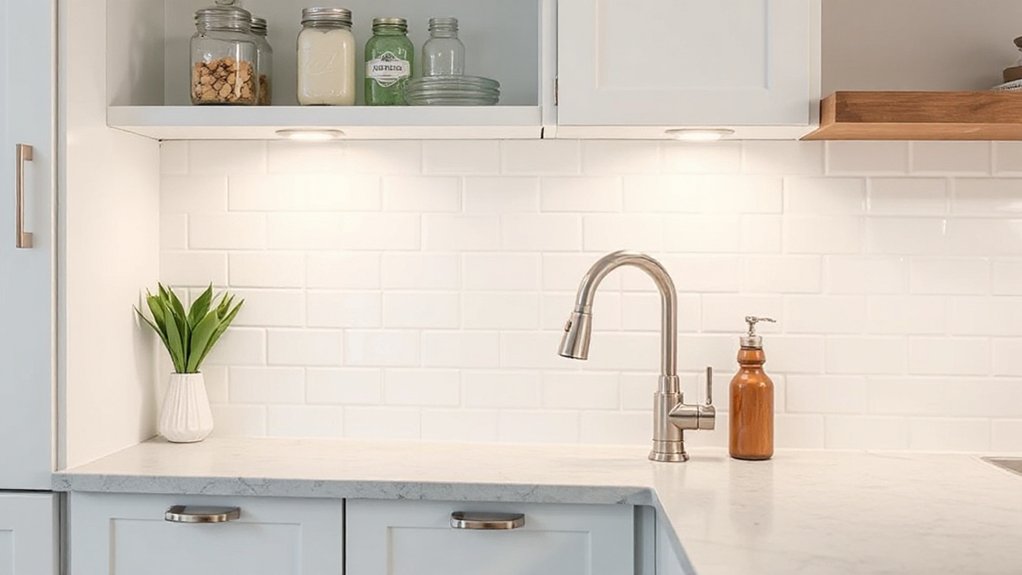

You can upgrade your kitchen without a full remodel by prioritizing small, high-impact tweaks that fit a realistic budget. Focus on practical moves like repainting cabinets, swapping hardware, and adding smart storage, then layer in affordable accents such as peel-and-stick backsplashes and energy-efficient LEDs. Plan a tight sequence to avoid scope creep, track costs, and compare finishes before you commit. The path you choose now sets the tone for a refreshed, functional space—and the best part comes when you see the results emerge.
Set Your Kitchen Budget: A Practical Framework
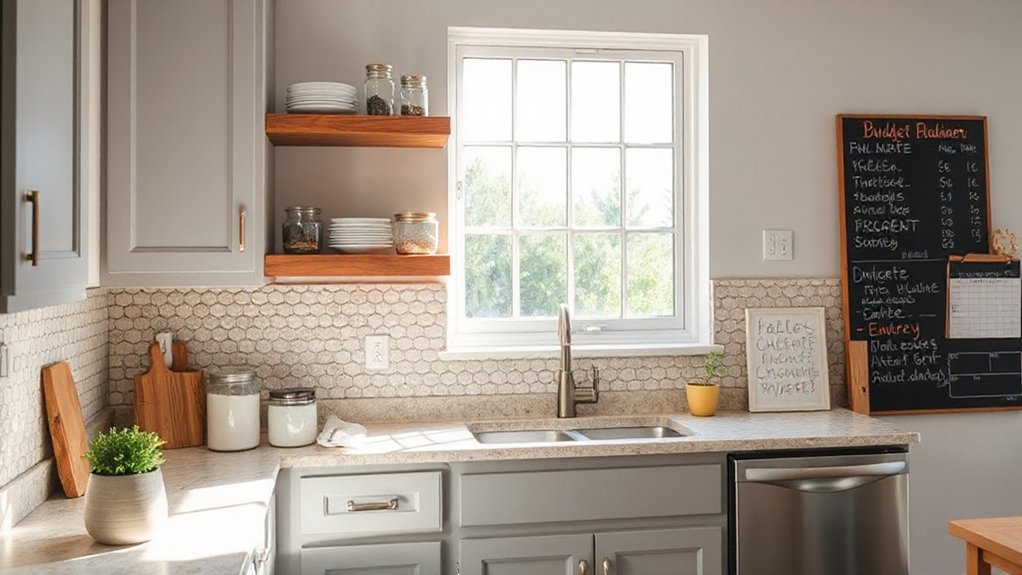
Setting a kitchen budget isn’t guesswork; it’s a concrete plan you can follow. You’ll define total spend, allocate by zone, and set hard limits for each category. Begin with a needs-versus-wants list, prioritizing essential improvements before upgrades. Establish a contingency fund of 10–15% to cover surprises.
When calculating costs, research current market prices for labor, materials, and permits, and factor into your timeline. Align decisions with your overall home goals, not impulse purchases.
Consider Kitchen layout implications: ensure safe traffic flow, efficient work triangles, and easy access to primary zones. For appliance selection, compare energy ratings, warranties, and installation fees; buy only what you’ll use regularly.
Revisit the budget monthly, adjusting for price changes and scope shifts to stay on track.
Cosmetic Cabinet Refresh: Paint, Stain, and Hardware Options
If you’ve pinned down your kitchen budget, a cosmetic cabinet refresh is a smart way to make a big visual impact without a full overhaul. You’ll start with cabinet painting for a durable, uniform finish or choose stain to highlight natural wood grain.
Surface prep is nonnegotiable: clean, sand, and prime to prevent peeling. Decide between a solid color for modern cohesion or a two-tone scheme to add contrast.
Hardware selection matters: swap pulls and hinges to change the vibe without major construction, selecting finishes that complement existing lighting and countertops. Consider semi-gloss for easy wipe-downs and durability in high-traffic areas.
If storage feels crowded, reconfigure drawers or add organizers before sealing the project. Plan a phased approach to maintain workflow and budget control.
Budget Backsplashes: Cost-Savvy Design Ideas
Backsplash budgeting doesn’t mean skipping style—it means choosing smart materials and installs that deliver impact without dripping into cost overruns. You’ll start by pairing durable, affordable options with smart installation methods.
Consider peel-and-stick tiles for a quick upgrade in a pinch, then upgrade to porcelain or ceramic for long-term resilience. Look for eco-friendly materials like recycled glass or stone composites that mimic higher-end looks without the premium price.
If you crave character, lean into vintage-inspired designs—metro patterns, beveled edges, or gingham motifs—that read timeless without a chunky price tag. Plan a tight color story to avoid overstocking; a single, cohesive grout color keeps the look polished.
Finally, compare DIY install versus professional quotes, choosing the option that hits your budget without compromising durability or style.
Lighting for Function and Ambiance: Layered and Efficient
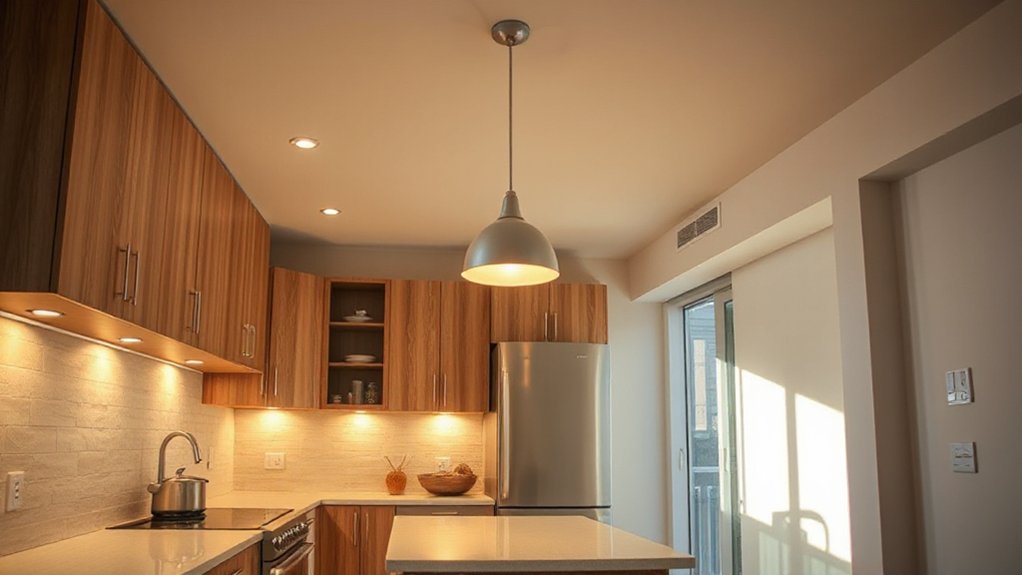
Lighting can elevate your whole project by pairing function with mood, so you get usable space that also feels inviting. Start with layered fixtures: install under-cabinet task lighting to illuminate prep surfaces, then add ceiling or track lighting for general visibility, and finish with accent mood lighting to soften corners.
Choose color temperatures around 2700–3000K for warmth, or 3500K for a brighter, work-ready feel. Use dimmers on primary zones so you can shift from high-output tasks to relaxed dining.
Plan spacing so every area has a dedicated light layer without glare or shadows. Opt energy-efficient LEDs and swap out outdated fixtures for a cohesive look.
Label wiring and keep switches intuitive, so adjustments stay fast and precise.
Smart Storage Tricks: Organize Now, Then Plan
Smart storage starts with a clear plan: assess what you actually use, measure every space, and map zones for quick access. You’ll then translate needs into practical storage solutions that reduce friction and wasted time.
- Visualize flow: group similar items and keep daily essentials within arm’s reach.
- Layer by usage: place heavy or seldom-used items higher, lighter items lower.
- Shallow for short-stay items: trays and bins prevent clutter in cabinets.
- Label everything: color cues and tags speed returns and inventories.
With smart organization in mind, implement adjustable shelves, roll-out drawers, and modular bins to tailor a kitchen you can maintain.
Plan first, then deploy; your organized workspace will save minutes, not hours.
Fixtures and Hardware With Instant Impact
Upgrading your cabinets with updated knobs can instantly refresh the look, so choose styles that match your existing hardware and color scheme.
A faucet upgrade not only boosts water flow and efficiency but also impacts daily tasks, so pick a finish and angle that suits your sink and usage.
Consider pairing modern knobs with a cohesive faucet finish for a coordinated, high-impact update.
Updated Cabinet Knobs
If you want an instant refresh, updating cabinet knobs is one of the most practical moves you can make. You’ll reshape the kitchen’s feel with minimal effort and cost, while choosing hardware that aligns with your style. Plan around these options:
- Decorative cabinet pulls in a satin finish for a modern, cohesive look.
- Budget-friendly round knobs that preserve cabinet silhouette and function.
- Vintage hardware options to inject character without a full remodel.
- Brushed metal mixes to pair with stainless appliances and open shelving.
Tips: measure hole spacing, double-check screw length, and group by function (drawers vs. doors).
Install level, then step back to confirm balance. These details deliver a polished, durable upgrade.
Faucet Upgrade Tips
When you’re upgrading fixtures, start with the faucet, since it’s both highly visible and functionally impactful. Choose a mid-range model with a durable finish and a reliable cartridge to minimize maintenance.
Prioritize water efficiency by selecting an aerated or low-flow faucet that meets your local standards without sacrificing pressure.
Plan the installation around your sink’s configuration: single-hole or three-hole setups may require an adapter plate or a deck plate.
Check for a standard 1/2-inch connection and ensure supply lines are clean and undamaged.
Consider a pull-down or pull-out spray for versatility in cleaning and filling.
Document faucet installation steps for future reference, and test for leaks after mounting.
This keeps upgrades economical and reduces long-term water usage.
Budget-Friendly Energy Upgrades: Save Now, Save Later
Smart homeowners start small with energy upgrades that pay off quickly: prioritize low-cost improvements that cut bills now while setting the stage for bigger savings later. You’ll gain momentum by focusing on efficiency essentials you can implement this month, then scale up as you save.
- Swap to energy efficient appliances to slash daily use without sacrificing performance.
- Seal leaks around doors and windows, then add insulation where heat escapes.
- Install programmable thermostats to tailor temperature and curb waste.
- Explore solar panels as a long-term fix, leveraging sunny days to reduce grid reliance.
With these moves, you lower current costs and create a foundation for bigger investments, like solar panels, while maintaining kitchen functionality.
DIY Accent Walls: Color Stories That Shine on a Budget

Start by picking color combinations that pop, so you establish a focal point without overwhelming the room.
Use budget-friendly wall techniques like painted panels, stenciling, or an accent stripe to maximize impact with minimal cost.
Plan your palette with a simple three-color scheme and map out where each shade will live to keep the look cohesive and intentional.
Color Combinations That Pop
Choosing color combos that pop starts with a plan: pick two to three hues that create contrast and harmony, then test them in small swatches on the wall to see how they read in your lighting. You’ll craft a cohesive backdrop that doesn’t overwhelm the space.
Use bold, vibrant color schemes for kitchen niches and keep the main walls lighter to balance energy with practicality.
- Pair a saturated accent with a soft base to highlight architectural angles.
- Introduce a mid-tone connector to unify two extremes and prevent clash.
- Apply one contrasting accent for focal points like a backsplash edge or cabinet ends.
- Test at different times of day to confirm the mood stays consistent.
Vibrant color schemes, contrasting accents—your space reads intentional, lively, and affordable.
Budget-Friendly Wall Techniques
Texture matters: mix a lightly stippled or ragged-textured finish on a feature wall to add depth without costly materials. Experiment with painter’s tape to create clean geometric shapes, then fill with contrasting hues for a high-energy focal point.
If you lack confidence with freehand, use stencils or wallpaper borders to simulate texture. Finish with strategic lighting to emphasize shadows and color shifts, ensuring the wall enhances your kitchen’s workflow and mood.
Weekend Makeover Roadmap: A Step-by-Step Timeline
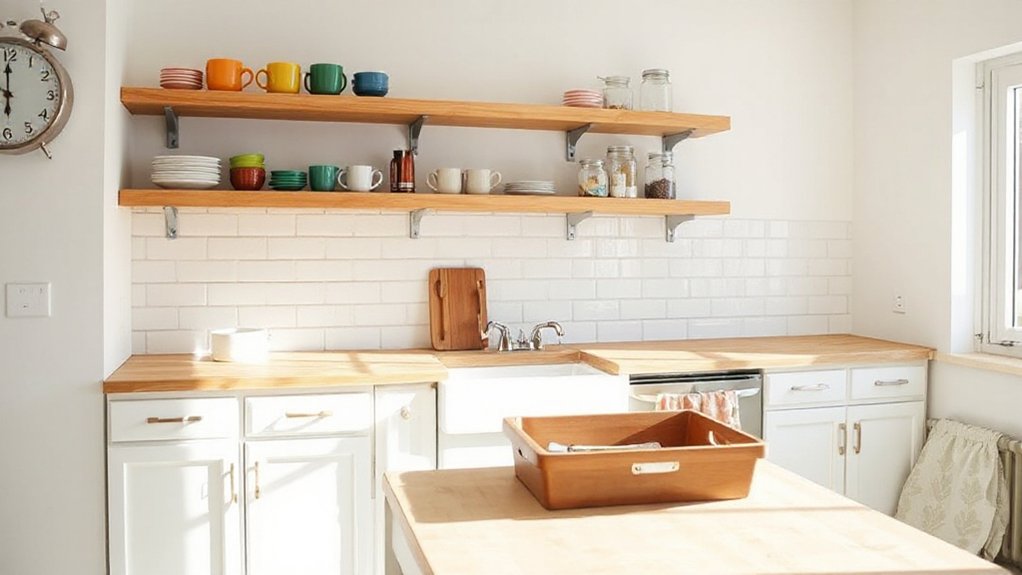
If you want a weekend makeover that sticks, map out a tight, step-by-step plan that fits a single Saturday or Sunday and aligns with your goals, tools, and space. You’ll tackle two core tasks—Outdoor landscaping and Kitchen cleaning—without overloading your schedule. Follow this roadmap to stay focused and efficient.
- Assess and prep: clear clutter, measure spaces, and pull needed supplies.
- Execute, in blocks: dedicate morning to landscaping tweaks, afternoon to kitchen cleanup and layout tweaks.
- Install or refresh: swap hardware, seals, or lighting, keeping a tight budget in mind.
- Review and document: photograph progress, adjust timelines, and create a maintenance plan.
Frequently Asked Questions
How to Prioritize Improvements for Maximum ROI on a Budget?
Prioritize high-ROI updates first, like cost effective appliances and durable cabinetry, then allocate funds to budget friendly backsplash options. You’ll maximize value by upgrading critical systems, measuring costs, and choosing scalable improvements that blend durability and style.
What Are the Best Affordable Countertop Options?
Countertop durability guides you toward choosing quartz or ceramic, and you discover eco friendly materials like bamboo. You weigh cost vs. wear, install options, and maintenance, then pick practical, strategic surfaces that resist heat, scratches, and daily kitchen demands.
Which Paint Colors Hide Flaws Best in Small Kitchens?
You should choose light, cool neutrals paired with subtle undertones to maximize space and minimize shadows, focusing on color schemes that reflect light for flaw concealment, while avoiding busy patterns that draw attention to imperfections.
How Can I Refresh Lighting Without a Full Electrician?
You can refresh lighting without an electrician by swapping in lighting fixtures with built-in LEDs and installing dimmer switches. Measure space first, turn off power, use basic tools, and follow fixture instructions for safe, strategic, cost-friendly upgrades.
Are DIY Upgrades Guarantee-Safe for Renters?
Yes, some DIY upgrades can be renter-friendly, but you must follow DIY safety tips and check your lease. You’ll prioritize low-permanence changes, plan system-free projects, and document approvals to protect you and your deposit.
Conclusion
You’ve mapped a practical path where small, smart moves compound into real transformation. Like a painter’s first stroke revealing the room’s character, these budget-friendly tweaks—painted cabinets, clever hardware, and layered lighting—unlock space, flow, and mood. Think of your kitchen as a blank page with a few intentional notes: organize first, upgrade last, and savor the process as you layer texture, color, and charm. By planning well, you’ll finish stronger than you started.