
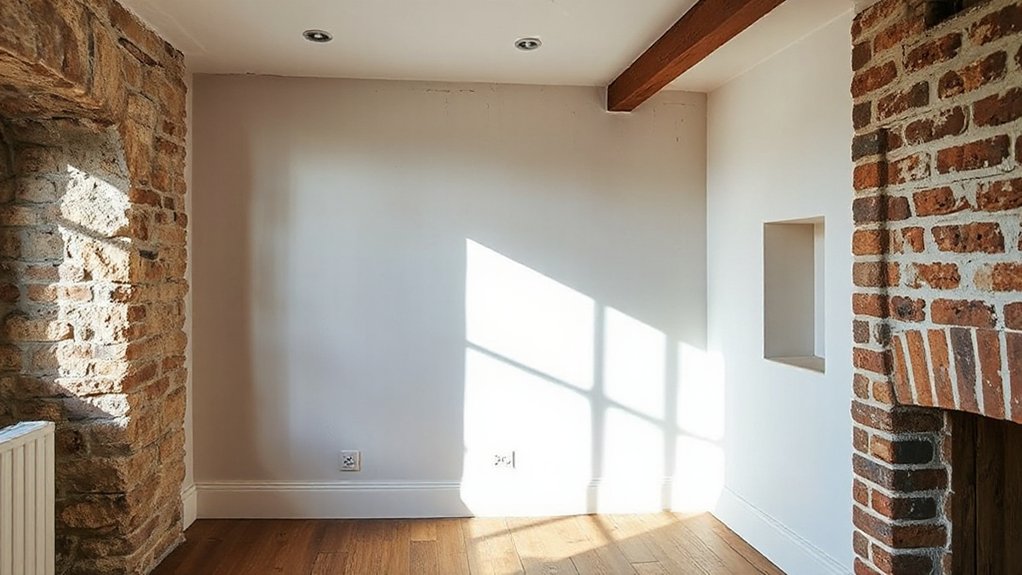

Damp will ruin your walls in an instant—unless you act with precision. You’ll diagnose breathability, select lime-based mortars, and decide when modern damp-proofing is appropriate, all while preserving fabric. You’ll install compatible damp-proof membranes and exterior drainage, monitor changes, and maintain surfaces with breathable finishes. If you don’t balance moisture control with heritage compatibility, failures loom—and the next step will depend on what you uncover. So what approach best fits your period home’s fabric and history?
What Damp Looks Like in UK Period Homes?

Damp in UK period homes often appears as damp patches on walls, mold growth, and a musty odor, but recognizing the signs requires more than a cursory glance. You observe diverse patterns: high moisture at baseboards, efflorescence on brickwork, and surface flaking paint near joins.
In historical architecture, materials like lime plaster and limewash respond to moisture differently than modern substrates, producing distinctive halos and color changes.
Interior decoration often reveals subtle indicators—softened plaster, wallpaper peeling in vertical bands, and tacky or cold-feeling walls.
You should document locations, note whether damp is localized or widespread, and correlate with seasonality. This practitioner approach supports accurate assessment without speculation, enabling targeted intervention later.
Accurate recognition relies on consistent observation, precise descriptions, and an understanding of how historical architecture and interior decoration interact with moisture.
Diagnose Breathability and Lime Plaster Needs
Evaluating breathability and lime plaster needs starts with a systematic test of moisture movement and substrate compatibility. You assess wall hygrometry to gauge moisture gradients, permeability, and capillary rise, then compare plaster porosity with the substrate profile.
Use a calibrated moisture meter to map surfaces, noting cold spots and damp signatures that suggest trapped moisture. In practice, you determine whether breathable finishes will vent moisture effectively without risk of trapping salts or promoting condensation.
You consider natural ventilation as a companion strategy to balance interior moisture loads. Confirm substrate compatibility by verifying that plaster strength and elasticity suit the wall’s movement and historic fabric.
Plan for interior insulation only where it preserves breathability and doesn’t impede moisture egress.
Breathable Lime Materials: Lime, Putty, and Mortars
Breathable lime materials form the backbone of compatible wall systems in UK period homes, where moisture management and fabric compatibility dictate long-term performance. You’ll work with lime, putty, and mortars chosen for vapor permeability, capillary action control, and compatibility with lime plaster.
Lime putty provides workable binders that set slowly, reducing suction-driven cracks, while hydraulic lime offers strength without compromising breathability. Mortars should be lime-based with appropriate aggregate sizing to avoid efflorescence and to maintain texture, density, and historic look.
Use lime-putty pointing to accommodate movement and regulate moisture transfer between the wall and surface. Consider historic paint compatibility opportunities and timber preservation needs; select materials that avoid moisture trapping near timber elements, supporting durable fabric preservation and reduced invasive treatments.
When to Use Breathable Options vs. Modern Damps

Breathable methods suit damp risks tied to moisture migration and capillary action, while modern damp treatments target internal humidity and condensate issues.
You should start by evaluating moisture sources—air leakage, condensation, or rising damp—to decide whether breathable materials or mechanical barriers are appropriate.
This discussion balances moisture sources, breathability requirements, and long-term performance to guide appropriate choice.
Breathable vs Modern Methods
In UK period homes, choosing between breathable systems and modern damp-proofing hinges on wall construction, moisture sources, and historical finishes. You should assess moisture movement, capillary rise, and the long-term impact on fabric before deciding.
Breathable methods permit directional drying and maintain porosity where mortar joints and lime plasters are traditional, reducing moisture stagnation in fabric.
Modern damp-proofing, when wall assemblies are denser or contain non-lime substrates, can create short-term moisture barriers but risks trap causing condensation or salt risk if misapplied.
Consider material compatibility with existing finishes, including historical preservation priorities, and guarantee detailing avoids hidden traps.
Choose an approach that preserves wall health, supports longevity, and aligns with structural limits and ongoing maintenance requirements.
When Breathability Is Key
When moisture sources are persistent and the wall fabric favors porosity, breathable options guard long-term health by enabling directional drying and maintaining lime-based finishes.
You should select breathable systems when diagnostic signs point to high capillary rise, salt-rich deposits, and a historic fabric that relies on vapor permeability. In practice, this means lime putties, lime-putty based plasters, and lime-wash coatings that accommodate moisture movement without creating trapped humidity.
Use breathable membranes only where they don’t obstruct porosity or compromise decorative elements. Consider the impact on finishes like Vintage wallpapers and Decorative plaster, ensuring substrates remain compatible with lime-based treatment.
In contrast, non-breathable interventions are reserved for transient damp events or non-porous surfaces where moisture is actively controlled by drainage and ventilation.
Assessing Moisture Sources Properly
To determine whether to deploy breathable systems or modern damp interventions, start by identifying the moisture source(s) and their behavior within the wall assembly. You’ll assess whether moisture is penetrating from exterior rain, penetrating vapour, or arising from interior activities.
Map migration paths, seasonal cycles, and accumulation zones, noting temperature gradients and air movement. Distinguish capillary rise from bulk water ingress, and quantify relative humidity around damp pockets.
Use diagnostic tools: surface moisture meters, infrared thermography, and simple moisture checks behind finishes.
Decide if the priority is limiting transfer with breathable materials or interrupting water ingress with targeted damp interventions. Consider ongoing maintenance implications for interior renovations and the role of modern insulation in long-term performance.
Align choice with retrofit goals, planning permissions, and historical fabric constraints.
Lime‑Based Damp Proofing Methods for Heritage
Lime-based damp proofing offers a breathable, compatibly engineered alternative for heritage walls, preserving historic fabric while mitigating rising damp. You apply lime finishes that balance vapor permeability with moisture control, preventing condensation damage and salt transport issues typical of cementitious systems.
The technique relies on lime putty or hydraulic lime mixes matched to wall construction, ensuring compatibility with historic substrates and flexible moisture response. For effective results, you guarantee correct plastering keys, thorough curing, and compatible paints, avoiding Portland cement incompatibilities that impede breathability.
Historical preservation requires careful material selection, while modern adaptations permit improved water management and decorative options without sacrificing heritage value.
- Assess lime type accuracy and substrate compatibility for each wall
- Implement controlled curing regimes to avoid microcracking
- Integrate breathable finishes aligned with historic aesthetics
Wall and Groundwork Improvements to Control Moisture
Effective wall moisture control begins with diagnosing capillary rise and surface dampness, then selecting targeted remedies for walls and junctions.
Groundwork damp barriers should be installed to interrupt moisture ingress at the source, using proven membranes and proper overlaps to guarantee continuity.
You’ll evaluate wall coatings, ventilation, and drainage integration to maintain lasting moisture balance in period homes.
Wall Moisture Control
- Assess moisture sources with non-destructive testing, then select breathable, compatible materials that balance vapor transmission and thermal performance.
- Install damp-proofing where appropriate, ensuring integration with existing structures and interior finishes without masking airflow or triggering condensation.
- Plan detailing for penetrations, joints, and finishes that maintain aesthetic integrity, support clean lines, and enable ongoing maintenance.
This approach supports interior decor goals and leverages modern insulation concepts to improve long‑term stability and comfort.
Groundwork Damp Barriers
In practice, you inspect ground levels, remove debris, and verify continuity beneath masonry to prevent seepage paths. Use continuous damp-proof membranes where feasible, and consider trench backfill with inert material to reduce capillary draw.
Coordinate with interior decoration plans to avoid prematurely compromising the barrier, and schedule penetrations as tight as possible to preserve performance.
For pest control, guarantee voids remain sealed and accessible for routine inspection. Document maintenance intervals and monitor radial damp indicators for ongoing effectiveness.
Gentle Modern Alternatives That Stay Heritage‑Friendly
1) Use modern insulation behind historic plaster to reduce thermal bridging while preserving finishes.
2) Apply breathable, low-impact interior painting and coatings that don’t seal moisture paths or hide original textures.
3) Integrate passive moisture management with non-invasive, reverse-capillary damp treatments that won’t alter historic fabric.
These approaches deliver measurable gains in comfort and moisture control without heavy alteration. They align with interior painting workflows and avoid abrupt material changes, keeping your period home’s character intact.
Exterior Damp Strategies: Drainage, Flashing, and Breathable Coatings

Exterior damp is best tackled by a coordinated strategy of drainage, flashing, and breathable coatings that work with the building rather than against it. You implement precise site drainage to shed water away from foundations, using a layered system that directs moisture to designated outlets.
Flashings should be continuous, with smooth progressions at joints, sills, and wall penetrations, sealed to prevent capillary rise. Breathable coatings must balance permeability with water repellence, allowing moisture vapor to escape without wetting the substrate.
Integrate interior insulation carefully to avoid creating damp traps; choose materials that don’t obstruct breathability. Complement with targeted ventilation strategies inside to remove interior moisture.
Regular inspections of gullies, terminations, and debris buildup sustain performance over time.
Noninvasive Monitoring to Protect Historic Fabric
Noninvasive monitoring techniques protect historic fabric by detecting moisture, temperature, and deterioration without disturbing delicate materials. You deploy sensors and dataloggers to track relative humidity, surface moisture, and wall temperature gradients, enabling early intervention before damage progresses.
Data-driven insights guide maintenance priorities, minimizing invasive investigations and preserving original features. You integrate monitoring with preventative measures, aligning with modern insulation practices to reduce thermal bridges without compromising fabric breathability.
The approach supports damp prevention while validating performance of existing substrates and coatings. You monitor seasonal cycles to distinguish transient from persistent conditions, enabling targeted mitigation.
The system remains unobtrusive, scalable, and adaptable to varied wall assemblies and historic details, ensuring continuous protection with minimal disruption.
- Sensor placement and baseline establishment
- Continuous data review and alert thresholds
- Post-intervention verification and long-term trend analysis
Budgeting and Decision Criteria for Period Homes
You’ll map repairs to budget cycles, prioritizing tasks by urgency, impact on fabric, and disruption to living space.
Consider long‑term value by weighing maintenance costs, energy efficiency gains, and potential grant or tax incentives against upfront spend.
Define decision criteria that balance risk, reversibility, and historic integrity to guide choices under budget constraints.
Budgeting For Repairs
Planning repairs for a period UK home requires a clear budget and solid criteria to decide what gets done first. You’ll prioritise work that protects structure, sustains historic fabric, and minimises future costs. Use transparent cost baselines and risk scoring to guide choices, with decisions documented for future review.
- Establish contingency ranges for each project, including potential hidden costs tied to historic materials and access limitations.
- Align repair sequences with critical building envelope risks, prioritising fixes that stop moisture ingress and protect interiors, such as interior paint prep disciplines and ventilation system upgrades.
- Track performance metrics after each task to verify moisture reduction, material compatibility, and long-term maintenance needs.
Long-Term Value Considerations
Historical paint considerations inform timber preservation choices, since finishes influence moisture control, substrate stability, and rework frequency. When budgeting, quantify risk exposure from rising repair complexity or hidden decay, and assign contingency aligned with project scale.
Document performance metrics for each approach—labored ventilation, breathable barriers, and timber treatments—so decisions reflect real-world outcomes. Base selections on measurable lifecycle costs rather than immediate gains, avoiding premature optimization that undermines long-term stability and heritage integrity.
Decision-Mrior Criteria
Decision criteria for budgeting and choosing solutions in period homes must be explicit, measurable, and aligned with asset longevity. You should quantify costs, performance, and maintenance intervals to compare options objectively.
Prioritise decisions that protect historic fabric while delivering effective moisture control, using interior insulation where appropriate and compatible with decorative finishes.
Establish acceptance metrics for thermal performance, moisture risk reduction, and ease of repairs, then document tolerances and review points.
Align funding with lifecycle estimates, not just upfront price.
Communications with stakeholders must be clear, with traceable baselines and milestones.
Consider retrofit compatibility, reversibility, and impact on listed features.
A disciplined decision process reduces risk and preserves value over time.
- Define quantified cost ranges, payback, and maintenance cycles
- Measure performance against agreed thresholds for interior insulation and moisture control
- Validate effects on decorative finishes and historical fabric longevity
Maintenance Routines for Dryness Without Harm
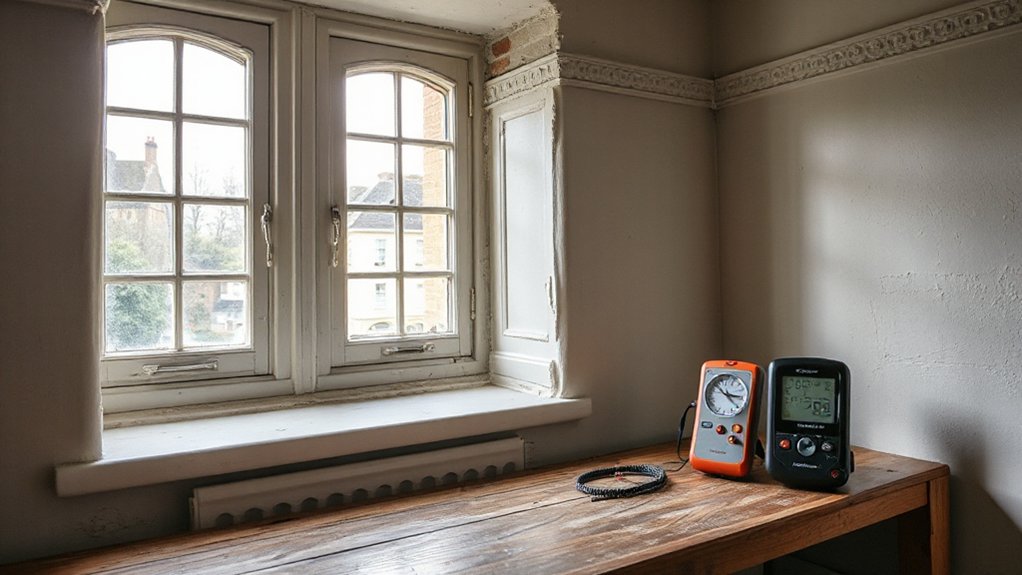
To maintain dryness without harming historic fabric, implement a structured routine that prioritizes regular inspection, immediate minor repairs, and controlled moisture management.
You’ll schedule quarterly wall and ceiling checks for efflorescence, staining, and damp patches, documenting moisture readings and environmental conditions.
Address hairline cracks, degraded plaster, and compromised sealants promptly to prevent moisture ingress.
Use non-invasive methods for monitoring humidity, and avoid over-drying timber or plaster.
Apply targeted ventilation when needed, balancing moisture removal with fabric warmth.
Integrate modern insulation where appropriate, ensuring it doesn’t disrupt historic detailing.
Emphasize interior ventilation during occupancy to prevent stagnant air.
Maintain a perceptible drying cycle after any cleaning or plaster work, and reseal joints with breathable compounds.
This disciplined approach preserves fabric while sustaining dryness.
Case Studies: Successful Damp-Proofing in UK Period Houses
Case studies show how targeted damp-proofing strategies can protect UK period houses without compromising historic fabric. You’ll see real-world solutions that balance performance with preservation, applied by skilled trades in authentic contexts.
Each case demonstrates careful assessment, material selection, and monitoring, delivering durable outcomes without invasive interventions. Historical paint and decorative finishes guide compatibility decisions, ensuring aesthetics stay intact while moisture is controlled.
Roofing materials are evaluated for penetration points, ventilation, and drainage, preventing recurring damp issues at rooflines and eaves. You’ll learn how to sequence interventions to minimize disruption and maintain historic integrity.
The following examples highlight adaptable approaches, from moisture barriers to partial repointing, emphasizing documentation, maintenance planning, and measurable improvements over time.
- Historic paint compatibility and repainting strategy
- Selective roofing-material detailing and sealing
- Monitoring-driven, phased damp-proofing implementation
Frequently Asked Questions
Are Damp Issues in Period Homes Often Overdiagnosed?
Yes, sometimes damp issues are overdiagnosed. You should assess structural moisture patterns, ensuring Historical accuracy guides diagnosis, while distinguishing Modern interventions from traditional methods to avoid unnecessary treatments, maintaining ventilation, drainage, and fabric integrity in your period home.
Can Lime Plaster Repair Itself After Moisture Issues?
Lime plaster can self-regulate moisture absorption, but it won’t fully repair structural moisture damage. You’ll see limited recovery; about 20–30% improvement in capillary rise. It requires proper ventilation and controlled moisture to solidify correctly.
Is There a One-Size-Fits-All Damp Solution for Heritage?
No, there isn’t a one-size-fits-all damp solution for heritage. You’ll need site-specific assessment, then combine heritage preservation with Traditional methods, breathable systems, and tolerable moisture targets to balance durability and historic fabric integrity.
Do Damp-Proofing Measures Affect Listed Status or Approvals?
Yes, damp-proofing measures can affect listed status or approvals. You must follow historic preservation principles and Building regulations, ensuring compatibility with fabric and reversible methods. Coordinate with conservation officers, provide documentation, and document changes to avoid compromising status.
How Long Do Breathable Treatments Take to Prove Effective?
Breathability timeline varies, but you’ll typically see treatment efficacy within 4–12 weeks as moisture moves through treated walls. You should monitor humidity and capillary rise, documenting changes to validate Breathability timeline and confirm treatment efficacy.
Conclusion
Damp-proofing UK period homes isn’t about chasing a dry factory ideal; it’s about respecting breathability and heritage. Use lime-based materials, compatible damp membranes, and exterior drainage only where appropriate, with noninvasive monitoring to protect fabric. In practice, prioritize ventilation, ground barriers, and targeted repairs over sealing. A single historic wall can shed moisture like a centuries-old tree rings—slow, telling, and instructive. When chosen wisely, maintenance becomes a routine, not a crisis, preserving authenticity for future generations.