


Did you know simple, low-cost changes can dramatically reduce fall risks in a UK home? You can start with a quick safety check, then prioritize upgrades that matter most—lighting, non-slip surfaces, grab rails—without draining your budget. You’ll learn practical, staged steps and budget tools that keep you in control as needs evolve. Ready to map out a cost-conscious plan that grows with you and your home?
What Ageing in Place Means for UK Homes

Ageing in place means designing homes so you can live independently in your familiar surroundings as you age. In UK homes, this means practical renovations that extend usability without breaking the bank. You’ll prioritize wide doorways, step-free access, and lightweight doors to ease mobility and prevent falls.
Consider non-slip flooring and brighter lighting to reduce hazards without dramatic overhauls. For daily living, arrange essential spaces on one level where possible, with accessible storage at reachable heights.
Budget-minded tips include modular Grab Bars, adjustable-height counters, and lever taps for ease of use. Focus on Home decoration and Interior design to subtly blend safety upgrades with your personal style, avoiding expensive upgrades that don’t improve function.
The result is a sustainable, comfortable, age-friendly home you’ll enjoy long-term.
Quick Safety Audit: Spot Risks on a Budget
A quick safety audit helps you spot risks on a budget, so you can make targeted changes that protect you without overspending. You start at the most-used rooms and test lighting, floor surfaces, and doorway widths for easy navigation. Note loose cords, slippery mats, and clutter that could trip you up, then prioritize fixes that are inexpensive yet impactful.
Look for hazards like uneven thresholds and hard-to-reach switches, and plan simple upgrades such as non-slip strips, brighter bulbs, and remote-controlled lamps. Consider basic home automation if it fits your budget: automatic night lights and simple motion sensors reduce delays during emergencies.
Build your emergency preparedness by listing contacts, a small grab-and-go kit, and a planned escape route. Reassess periodically to keep risks low and costs predictable.
Prioritize Safety Upgrades First
After your quick safety audit, you’ll get the most value by prioritizing upgrades that deliver the biggest safety impact for the least cost. Start with essentials that prevent injury, then layer on practical tweaks. Focus on accessible lighting, secure doors, non-slip floors, and stable furniture layouts.
Protect stairs with clear lighting and simple, sturdy mats. Tackle high-use areas first, avoiding fancy upgrades that don’t improve safety. Use affordable, durable fixes that stay within budget. Remember to balance function with home décor so improvements feel natural.
Include gardening safety practices during outdoor tasks, like non-slip shoes and tool storage. Prioritize items you’ll use daily, reserving funds for future improvements.
- Improve lighting at entrances and stairs
- Install non-slip mats and floor trim
- Secure handrails and sturdy furniture
- Reorganize to reduce trip hazards
- Safely store tools and chemicals
Grab Rails and Toilet Aids on a Budget
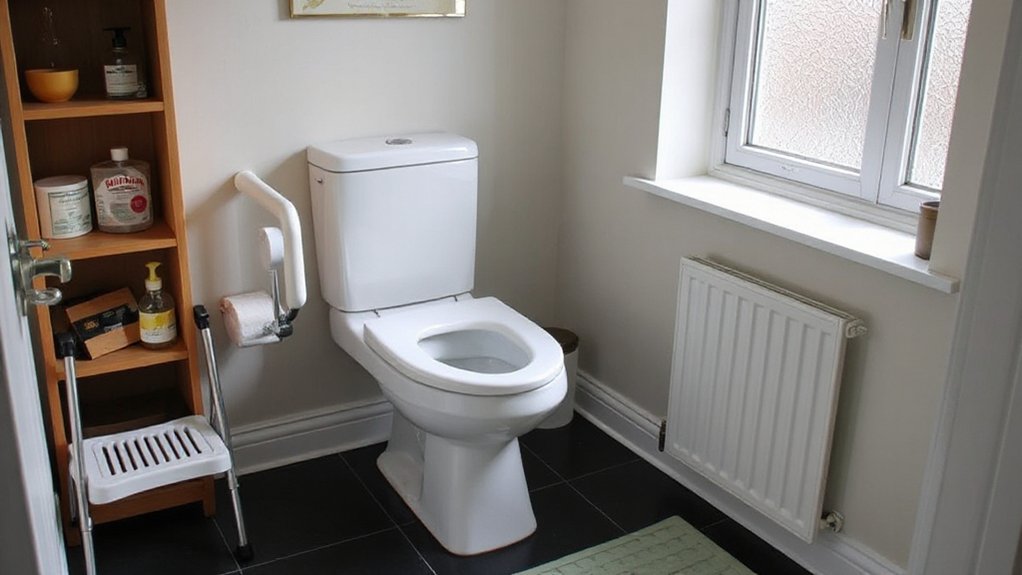
Think through budget grab rail options, focusing on secure mount points, standard fittings, and compatible wall types to avoid extra costs.
We’ll cover essential toilet aids and where to find affordable, reliable choices that fit UK sizing, plus simple, safe installation tips you can do yourself.
Budget Grab Rail Options
Budget grab rails and toilet aids can make daily tasks safer without breaking the bank. You’ll find affordable options that install easily, require minimal tools, and suit tight budgets.
- Choose a budget friendly grab bar with stainless or powder-coated finishes for durability.
- Opt for wall-mounted models rated for weight support and simple installation.
- Look for corrosion-resistant hardware and textured grips for secure handling.
- Consider modular systems that let you add sections as needs shift.
- Compare universal designs that fit multiple rooms, minimizing extra purchases.
For best value, measure spaces precisely, use a stud finder, and follow manufacturer instructions.
Prioritize secure mounts over aesthetics, and replace worn grips promptly to maintain grip integrity and safety.
Toilet Aids Essentials
Toilet aids on a budget still deliver safety and independence when you need them most. You’ll find affordable grab rails that mount securely to walls, with non-slip bases and splash-proof finishes for wet floors. Choose adjustable, corrosion-resistant models to fit different heights, preventing slips and reducing joint strain.
A compact raised toilet seat eases sitting and standing, while a fold-down rail preserves space in tight bathrooms. Pair rails with simple, low-cost grips and textured surfaces to enhance grip, especially when hands are damp.
Prioritize toilet maintenance by checking screws, anchors, and rail alignment monthly; tighten as needed. To save water, install a dual-flush mechanism and inspect seals for leaks, supporting water conservation without compromising safety.
Easy Install Tips
Getting grab rails and toilet aids set up on a budget can be straightforward and safe. You’ll plan placement, choose compliant products, and install with simple tools to avoid extra trades.
Start by selecting adjustable rails and modular toilet aids that fit multiple layouts. Check weight ratings, finish durability, and non-slip grips to prevent slips.
Mark drill points, use wall studs, and apply proper anchors if walls are plaster or tile.
Test each item before full use, and keep receipts for budget tracking.
Consider DIY installation to save costs, but don’t force complicated routes if it compromises safety.
Remember garden maintenance and interior decorating—keep grab rails unobtrusive and choose colors that blend with walls and cabinets.
- Plan placement and compatibility
- Check ratings, finishes, grips
- Mark points, drill, anchor properly
- Test before use, keep receipts
- Choose discreet, cohesive colors
Non-Slip and Adaptive Flooring Options
Non-slip and adaptive flooring is a practical first line of defense for safe aging at home; choosing the right surface now saves costly retrofits later. You’ll prioritize textures that grip wet shoes and minimize trip hazards, such as micro-grip finishes and seamless progressions between rooms. Look for flooring with a low slip rating and consistent wear across high-traffic areas.
Consider materials with built-in durability, reduced maintenance, and simple cleaning routines to prevent slick buildup. For kitchens and bathrooms, choose water-resistant options that still feel comfortable underfoot. Balance flooring aesthetics with material durability to avoid frequent upgrades.
Budget-conscious choices include vinyl composite tiles, laminate with textured surfaces, and high-quality LVT—each offering resilient performance at a reasonable cost. Plan for underlayment that supports stability and sound dampening.
Doorways and Thresholds That Save Costs
You can save costs by spotting narrow doorway adaptations that fit your space without major rebuilds. Consider door widening or hinge-bore adjustments.
Plus threshold gap solutions that keep heat in and trips out. We’ll compare affordable options and install tips so you choose options that balance access and budget.
Narrow Doorway Adaptations
Narrow doorways don’t have to break the bank when you’re aging in place. You can reshape access without a full remodel by choosing targeted, budget-friendly options that preserve space and safety. Focus on lightweight, reversible changes that maximize clearance and minimize disruption. Smart technology and mobility solutions help you monitor and move with confidence, while keeping costs predictable.
- Use hinge-side widening with reversible chamfered hinges
- Install swing-clear hinges on problematic doors
- Replace handles with lever knobs for easier reach
- Add low-profile door thresholds or threshold ramps
- Apply peel-and-stick continuous edge protectors for soft collisions
These tweaks streamline traffic, support transfers, and keep rooms functional, affordable, and comfortable.
Threshold Gap Solutions
Threshold gaps can spell big budget trouble when aging in place, but simple fixes save you money and hassle. You’ll focus on practical, low-cost threshold gap solutions that maintain access without sacrificing safety.
Start by measuring each doorway to spot height differences and uneven thresholds. Then choose adjustable or bevel-edged doorsets to reduce tripping risks.
Threshold adaptations should prioritize smooth crossings, especially between rooms you use daily. For permanent solutions, install ramped approaches with removable sections where possible, so you can adapt as needs change.
Use safety barriers where pets or children share spaces, yet keep clear sightlines for walkers. Prioritize durable, wipe-clean materials and secure fastenings to prevent loosening over time.
Maintain consistent floor finishes to minimize friction and improve mobility.
Lighting Upgrades for Better Visibility
Good lighting is essential for safe aging at home, and small, strategic upgrades can make a big difference without breaking the budget. You’ll improve visibility by focusing on rooms you use most and swapping to brighter, steadier options. Consider smart lighting to tailor brightness by room and time, and install motion sensors for automatic safety cues.
- Upgrade to warm, glare-free bulbs in living areas
- Add dimmable fixtures in corridors and bathrooms
- Install smart switches for simple control
- Use motion sensors at entryways and hallways
- Choose high-CRI lighting for true color perception
With these steps, you gain easier navigation, quicker recognition of hazards, and better overall comfort, all while keeping costs predictable and contained.
Stairs and Access: Affordable Solutions
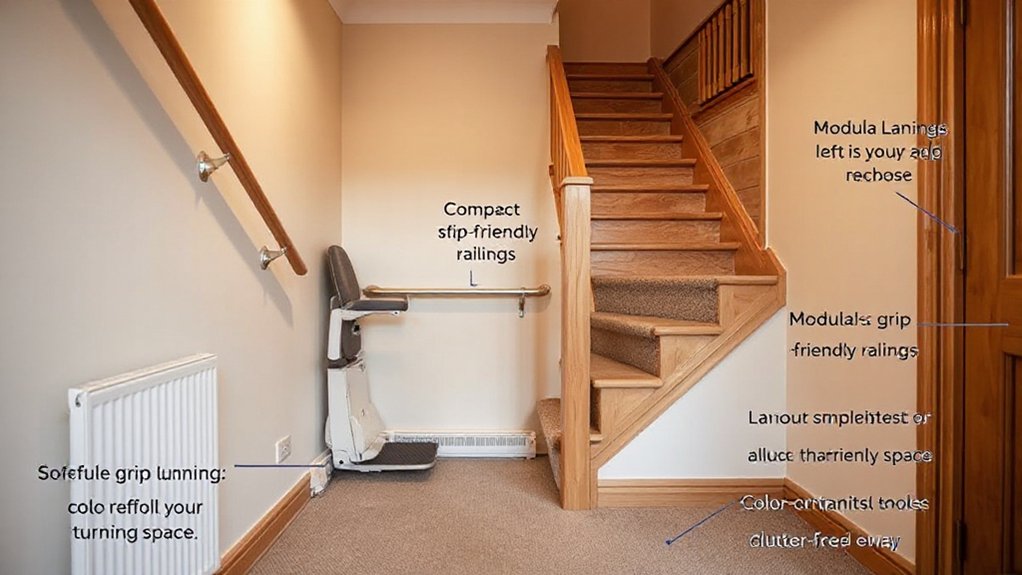
How can you make stairs safer and easier to use on a budget? Start with simple upgrades that pack a safety punch. Install sturdy handrails on both sides at a comfortable height, using non-slip mounting and contrasting edges for visibility. Fit tread mats or anti-slip strips to reduce slips, and consider stair nosing for improved grip.
Improve lighting with motion-activated LEDs to prevent dark-handed missteps. Keep stairs clutter-free; use a dedicated storage bin at the base to deter trip hazards. If space allows, add a compact stair lift or portable chair lift for intermittent use, prioritizing stairwell clearance.
Plan for gardening safety and emergency preparedness by keeping a weatherproof toolkit and first aid kit nearby. Ensure exits remain accessible during power outages.
Bathroom Safety Improvements for Independence
To make bathrooms safer and more usable on a budget, start with practical, affordable upgrades that cut fall risks and boost independence.
- Install a non-slip floor mat and textured grip strips for safety without breaking the bank.
- Fit grab rails near the shower, toilet, and tub edge for confidence on every step.
- Choose a low-threshold shower and a handheld, adjustable shower head for easier access.
- Update lighting and install a simple, motion-activated switch to reduce shadows.
- Consider cost-conscious plumbing upgrades like a leak-free faucet and water-efficient fixtures.
These steps balance Bathroom aesthetics with function, while sensible Plumbing upgrades prevent costly access issues and support continued independence.
Prioritize durable materials, easy maintenance, and simple installation to maximize value.
Kitchen Tweaks for Safer, Simpler Use
Start by choosing accessible handles and drawers so you can open items without fuss. Keep frequently used staples within easy reach to cut bending and reaching.
Plan low-threshold workspaces that let you stand securely while prepping meals. Mirror this approach with bright, non-slip surfaces to prevent slips on spills.
We’ll discuss budget-friendly tweaks that combine safety, simplicity, and cost efficiency across these three points.
Accessible Handles And Drawers
- install wide-grip handles on cabinets
- add push-to-open or magnetic latches
- replace small knobs with larger, easier grips
- use shallow, clearly labeled drawer dividers
- choose durable, budget-friendly finishes for easy cleaning
This approach suits a custom kitchen mindset, with garden accessibility in mind when you reconfigure storage and access points.
Low-Threshold Workspaces
Low-threshold work surfaces keep the kitchen safe and usable by minimizing the need to lift or step over obstacles. You’ll gain easier access for chopping, washing, and moving items, especially when carrying dishes or groceries. Choose 40–90 cm heights that suit you and a stable, skid-resistant mat underfoot to reduce slips.
Keep frequently used tools within arm’s reach on open plan counters and install rounded, none protruding edges to prevent catching clothing or sleeves.
For remote working while meals prep, designate a compact, distraction-free zone with a mobile rack for documents and a small charger station.
Use lightweight, stackable containers to reduce lifting. Prioritize simple, budget-friendly tweaks over major remodels, and document changes for easy future adjustments.
Bright, Non-Slip Surfaces
Bright, non-slip kitchen surfaces are essential for safer, more usable spaces, especially when you’re juggling ingredients, hot pans, and wet floors. You’ll improve grip and reduce slips by choosing textured laminates or vinyls, and by applying anti-slip coatings where tiles feel slick.
Pair surfaces with bright lighting and clearly marked zones to cut missteps.
- Bright lighting that eliminates shadows on worktops
- Non-slip mats at sinks and fridge doors
- Textured, easy-clean countertop finishes
- Seamless progression between zones to minimize trips
- Clearly labeled step stools and storage areas
Commit to practical upgrades that fit budget limits, reusing existing fixtures where possible. Inspect regularly for worn coatings, replace promptly, and maintain with simple cleaners to keep safety and usability high.
Smart Buying: Reliable Suppliers and Tradespeople
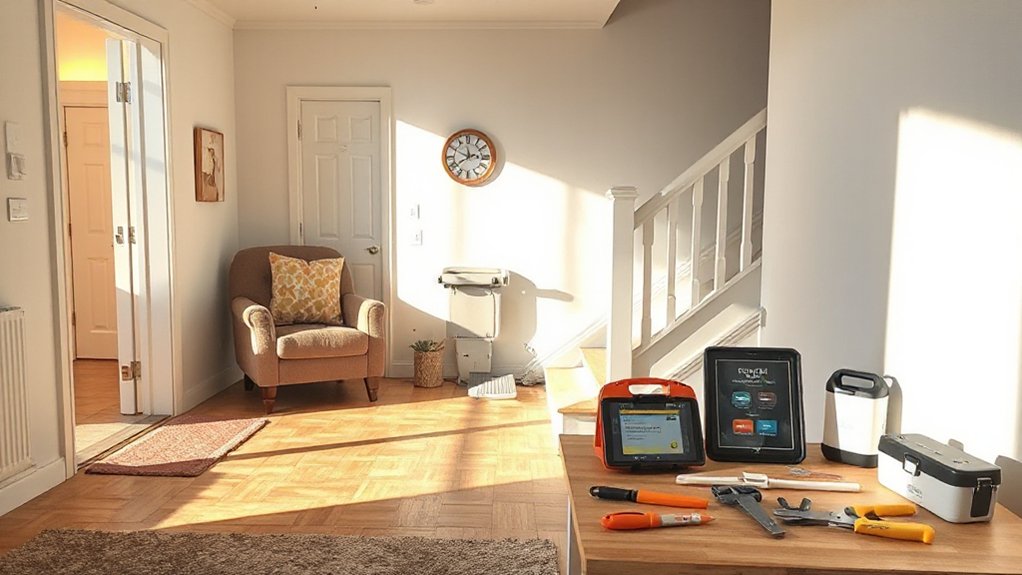
Are you sure you’re getting solid value from the trades and suppliers you hire? Start with clear criteria: written quotes, itemized components, and a realistic timeline.
Check two things up front: licenses and insurance, plus guarantee terms that cover workmanship and materials.
Use supplier reviews to gauge reliability, responsiveness, and aftercare.
Don’t just chase the lowest price—weight quality and durability, especially for age-friendly upgrades.
Request references and recent project photos, then verify with a quick call.
For smart buying, compare compatible products and compatible installers, ensuring tools and devices work with your home layout.
Ask for detailed warranties and maintenance plans, and keep receipts organized for future budgeting.
Prioritize proven-track records, and document decisions to avoid scope creep.
Energy Fixes That Boost Safety and Comfort
Upgrading your home’s energy setup not only cuts bills but also reduces hazards, so start with practical, cost-aware fixes that pay you back quickly. You’ll improve safety and comfort by focusing on efficiency, reliable power, and quick wins that lower risk.
- Seal drafts with weatherstripping and door sweeps to reduce heat loss
- Fit LED lighting and smart controls for steady, predictable illumination
- Install a programmable thermostat to stabilize temperatures
- Add surge protection and smoke/CO alarms integrated with Home automation
- Prepare for outages with a small, tested emergency preparedness kit and inverter backup
These steps save money, curb energy waste, and create safer, calmer living spaces during temperature swings and outages.
DIY Fixes vs. When to Hire Pros
You’ll weigh simple fixes you can do safely against tasks that truly benefit from a pro, like electrical work or gas fittings.
Start with a cost-and-risk check: can you complete it with the right tools, clear instructions, and zero safety compromises, or does the job demand a licensed tradesperson and permits?
We’ll outline clear limits for DIY versus when to hire to protect safety and budget.
When To Hire Pros
Knowing when to tackle a fix yourself and when to hire a pro saves you time and money, so start with a quick cost-and-risk check: simple, visible tasks that don’t affect safety or major systems are often DIY, while anything involving electrical, plumbing, structural work, or moisture issues should be handed off to a licensed professional.
- Weigh material costs against labor, and don’t forget guarantees.
- Inspect for hidden hazards: rewiring, water leaks, or weak structural elements require expertise.
- Consider timelines: pro work often minimizes disruption and rewarranty issues.
- Compare quotes and check licenses, insurance, and references.
- Plan for long-term value: options like Outdoor gardening and Smart home technology can benefit from professional setup and safety considerations.
DIY vs Professional Limits
Sometimes a quick DIY fix is fine, but you should draw the line where safety, specialized skills, or costly mistakes are on the line. You’ll save money by handling simple tasks, but know when to call in pro help to avoid damaged wiring, plumbing leaks, or structural risks.
Prioritize tasks that affect fall prevention, electrical safety, and mobility access. Use low-cost, reversible upgrades first, then escalate to professional installations for anything load-bearing, major electrical work, or critical controls.
When in doubt, schedule a brief assessment to gauge risk and scope. Consider remote monitoring and Smart technology for ongoing safety without full tradesmen visits, but guarantee devices are correctly installed, insured, and compliant with UK standards.
Documentation and warranties matter for long-term reliability and peace of mind.
Budgeting Worksheet: Estimating True Costs
To estimate true costs, start with a practical budgeting worksheet that captures every expense—from upfront purchases to ongoing maintenance. You’ll map initial investments, backup equipment, and safety upgrades, then forecast monthly outlays, repairs, and replacement cycles. Include contingencies for unexpected items to prevent scope creep.
Use Budget planning as your guiding framework to assign realistic prices and timelines, and apply Risk assessment to flag high‑cost risk areas early. Track depreciation where relevant to future budgeting, and review quarterly to adjust for price changes.
Keep the sheet simple enough to update but detailed enough to inform decisions.
- Upfront purchases and delivery
- Daily operating costs and utilities
- Maintenance, repairs, and replacements
- Accessibility improvements and aids
- Contingency and depreciation buffers
Financing Options and Funding for UK Homeowners
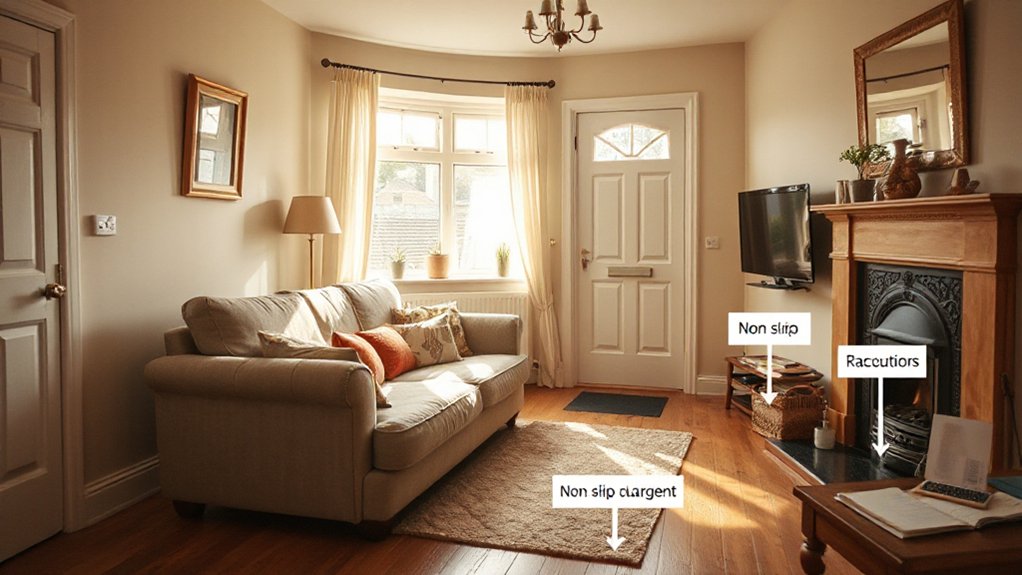
There are several practical, cost-aware ways to fund safety upgrades for UK homes, from government grants and loans to private financing options. You’ll find tailored schemes like retrofit grants, local authority support, and equity-release products, but compare terms carefully to avoid penalties.
Prioritize free or low-cost assessments, then allocate funds for essential fixes first—threshold ramps, non-slip floors, and even improved lighting. If you’re eligible for tax relief or disabled-person allowances, claim them to stretch your budget.
Consider green loans tied to energy efficiency gains, and explore crowdfunding or DIY savings plans to reduce upfront costs. For home decor and garden improvements, plan efficiency first, using affordable, durable upgrades.
Gardening tips can complement safety upgrades by improving visibility and path contrast without escalating costs.
Reputable Safety Brands and Equipment You Can Trust
Choosing reputable safety brands and equipment you can trust starts with clear criteria: proven performance, strong warranty, and transparent cost. You’ll compare labels, read reviews, and verify accessibility for ongoing parts and service.
Prioritize products that fit UK standards and your daily life needs, then weigh total ownership costs, not just sticker price. Look for brands with clear historical reliability in home safety, mobility aids, and low-maintenance setups.
Consider how each item integrates with your space, including home decor and gardening tips that support safe aging in place without clutter.
- Brand reliability and warranty clarity
- Local service and spare parts availability
- Clear in-use cost estimates and maintenance
- Compatibility with existing decor and layout
- Practical, garden-friendly safety accessories and tips
Building a Rolling, Scalable Plan for Future Needs
Planning a rolling, scalable plan means you start with a clear baseline and build in steps you can afford and adapt to later. You assess current needs, identify potential future risks, and set a prioritised timetable for upgrades.
Create modular steps: first fix essential safety gaps, then schedule comfort improvements, then plan for accessibility tweaks as you age.
Budget by phasing purchases and labor, locking in estimates, and leaving contingency funds for unexpected changes.
Document each milestone, cost, and supplier, so you can reuse or repurpose materials.
Align upgrades with your home decor to preserve style and value, avoiding costly revamps later.
For outdoors, map outdoor landscaping changes that support mobility and maintenance.
Maintain ongoing reviews quarterly to adjust timelines, costs, and priorities.
Frequently Asked Questions
Can I Adapt My Home Gradually on a Budget?
Yes, you can adapt gradually on a budget. Start small, upgrade smart technology in stages, and leverage community support for cheap labor or advice, then expand improvements as funds allow while tracking costs and staying practical.
How to Assess Hidden Safety Risks Cheaply?
Identify hidden safety risks cheaply by inspecting stairs, rugs, and lighting; test smoke alarms, plan escapes, and store emergency kits. Prioritize fire safety, install grab bars where needed, and practice routes regularly to boost emergency preparedness on a budget.
What Grants or Subsidies Cover Home Safety Upgrades?
Grants and subsidies vary, but you can access assists like home improvement loans and social fund grants; check local councils, NHS, and housing associations. Tap assistive technology and community resources to lower costs and maximize funding opportunities.
Which DIY Fixes Are Safest for Older Homes?
First, you should do only the safest DIY fixes: avoid major structural work; keep furniture rearrangements clear of exits; use low-cost, tested DIY lighting with cord safeties. Furniture rearrangements and DIY lighting can reduce risks on a budget.
How to Budget for Aging-In-Place Over Time?
You should budget gradually by tracking annual costs, prioritizing essential upgrades first, then stacking affordable improvements. Use smart technology for safety and energy savings, and lean on community support for maintenance help and shared resources to keep costs predictable.
Conclusion
You’ll plan, budget, and implement with clarity. You’ll assess risks, you’ll prioritize safety, you’ll install rails, mats, and brighter lighting. You’ll compare products, you’ll shop sales, you’ll reuse DIY fixes, you’ll phase upgrades, you’ll track costs. You’ll leverage grants, you’ll ask for help, you’ll measure outcomes, you’ll adjust as needed. You’ll create a safer home, you’ll extend independence, you’ll age in place confidently, you’ll save money, you’ll sleep easier.