
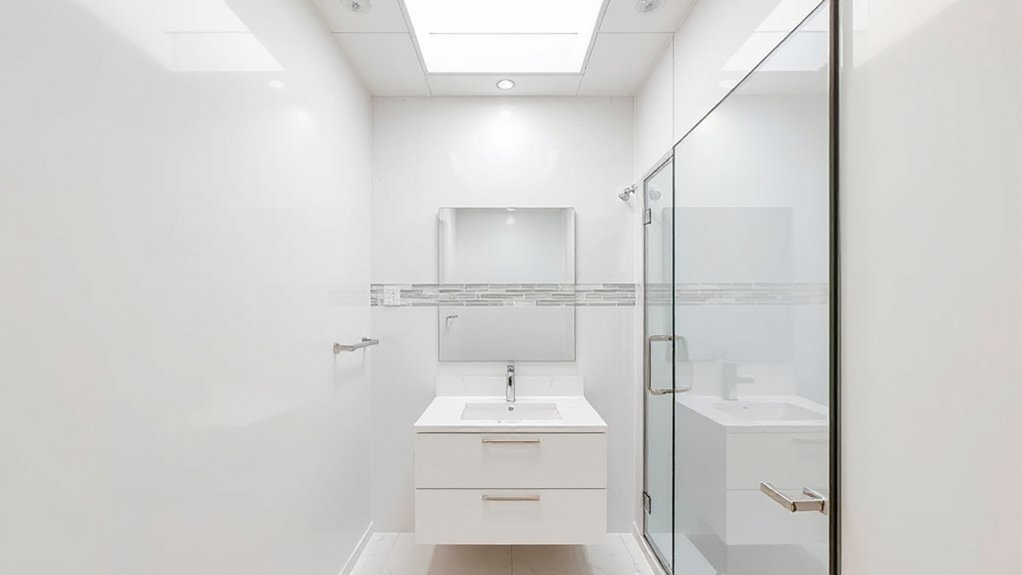

In a recent flip, a 5×7 bathroom felt cramped until we swapped in a wall-mounted sink, a large rectangular mirror, and bright neutrals, and you can replicate this effect with similar, budget-smart choices to open up space. You’ll want a consistent finish scheme, strategic lighting, and hidden storage to cut clutter while boosting perceived size. The method isn’t about a full remodel; it’s about precise swaps that attract buyers—so keep following for practical, fast moves you can apply.
Why a Small Bathroom Can Feel Cramped: And How to Fix It Fast
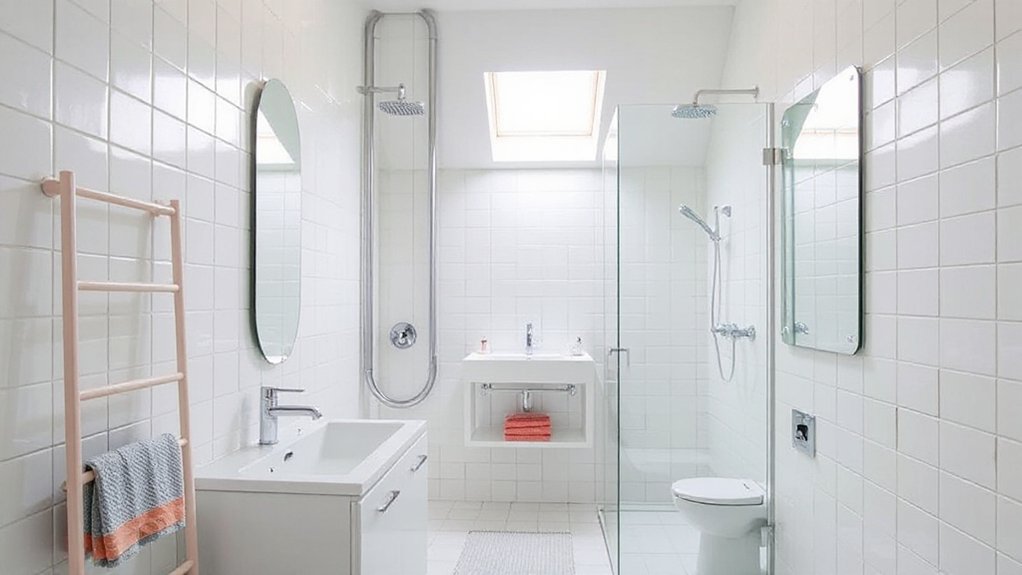
When a bathroom feels cramped, the main culprits are visual clutter, poor lighting, and mismatched scale. You can fix this fast by prioritizing clear sightlines, integrated storage, and proportional fixtures.
Start with a compact vanity and floating shelves to reduce bulk, then choose a mirror with built-in LED lighting to brighten without adding shadows. Use uniform tile or flooring to create one continuous plane, minimizing depth cues that shrink space.
Improve air quality with proper bathroom ventilation to deter dampness and keep surfaces feeling open. Clean, breathable materials help avoid visual heaviness.
Address mold prevention by sealing joints and checking for leaks regularly. Implement these steps in stages, measuring impact after each change to confirm you’re maximizing perceived space efficiently.
Set a Lightweight, Budget-Conscious Design Goal to Visually Expand Space
Set a lightweight, budget-conscious design goal that prioritizes visual expansion over high-cost fixes.
Focus on simple, cost-friendly choices—light colors, reflective surfaces, and smart-scale storage—to subtly widen perceived space.
This strategy keeps projects practical, measurable, and aimed at maximizing impact without overspending.
Lightweight, Budget-Friendly Goals
To visually expand a small bathroom on a budget, set a lightweight design goal focused on easy, repeatable changes that create openness without heavy investments. You’ll prioritize portability, minimal disruption, and quick wins that don’t require permits or major remodeling.
Aim for a three-step plan: reduce clutter, maximize light, and enhance perception with color and texture. Choose lightweight decor that can be swapped seasonally, and integrate storage that hides but doesn’t overwhelm.
Leverage budget-friendly accessories to frame space—mirrors, slim shelves, and framed panels—keeping depths shallow to avoid crowding. Select neutral tones with bright accents to reflect more light.
Document results with before-and-after photos to validate the approach and guide future updates, reinforcing a practical, measurable path to a bigger feel.
Visually Expanding Space Strategy
A lightweight, budget-conscious approach to visually expanding space starts with a clear, repeatable plan you can implement quickly. You’ll set a practical goal and measure progress with simple, repeatable steps that don’t blow your budget. Focus on how color, light, and texture interact to trick the eye.
- Use color contrast strategically to delineate zones (lighter ceilings, mid-tone walls, darker accents) for depth.
- Layer textures lightly (matte tile, subtle grout, smooth fixtures) to add tactile variation without clutter.
- Maximize perceived height and width with vertically oriented mirrors and slim, unobtrusive storage.
This plan keeps changes affordable, actionable, and visually impactful, delivering a bigger feel without a full renovation.
Use a Bright Base Color to Enlarge a Small Bathroom
Color can make a cramped bath feel open, so start with a bright base color on walls and ceilings to reflect more light. You’ll choose pale neutrals or soft whites to create an airy backdrop that visually enlarges the space.
The base color sets the room’s temperature, so rely on color psychology to evoke freshness and cleanliness, which buyers notice first. Pair the base with consistent, cool-toned accents to prevent depth loss and to maintain a cohesive flow from doorway to shower.
Use high-quality matte or satin finishes to reduce glare while maximizing light distribution. Apply lighting techniques—even, shadow-minimizing fixtures—to enhance the base color’s brightness.
This approach sharpens perceived space without costly remodels, boosting appeal and perceived value.
Mirror Magic: Reflect Light and Multiply Perceived Space
Mirror light is your quickest upgrade: position mirrors to bounce daylight across the room and visually double the space. Use mirrors to create a subtle vertical or horizontal expansion, aligning edges with lighting to enhance brightness without glare.
This approach leverages space illusion tricks and the Mirror Light Boost to make the bathroom feel larger and more buyers’ appealing.
Mirror Light Boost
Mirrors don’t just reflect; they amplify light and visually expand a tight bathroom. To maximize this effect, tune your mirror lighting for glow enhancement without glare. You’ll create a brighter, perceivably larger space by selecting color temperatures around 2700–3000K for a warm, flattering glow and pairing them with shadow-free fixtures.
- Install a dimmable backlit mirror or side-lit LEDs to evenly bathe the face and sink area.
- Use frosted or diffused covers to soften hotspots while maintaining brightness.
- Position lighting so it intersects with the mirror’s surface, avoiding direct glare into eyes.
This approach boosts echo-free, practical illumination, elevating perceived room size and buyer appeal through precise mirror lighting and glow enhancement.
Space Illusion Tricks
Strategic reflections can make a tight bathroom feel twice its size. Space Illusion Tricks use reflective surfaces and deliberate color play to multiply perceived space. You’ll purposefully mirror light sources across walls and countertops, creating continuous sightlines that reduce visual clutter.
Choose a dominant light color for walls and a slightly darker tone for accents to sharpen depth without breaking harmony. Mirror placement matters: position to bounce light around corners and elongate the room’s core axis.
Introduce texture variety with ceramic subway tiles, a matte vanity finish, and a glossy shower enclosure to catch and redirect reflections. Balance color contrast to delineate zones without interrupting flow.
These techniques deliver measurable impact while staying budget-friendly and visually cohesive.
Layered Lighting: Ambient, Task, and Accent for a Bigger Feel
Layered lighting matters because it shapes how spacious a bathroom feels in real time. You’ll combine ambient, task, and accent layers to amplify perceived size, not just brightness.
In practice, choose a soft ambient layer to wash walls, a focused task layer for shaving or makeup, and an accent glow to carve depth along mirrors and shelves. This trio guides visual perception, making the room read larger than its footprint.
1) Ambient ceiling fixtures plus cove or wall washes for even, shadow-free light
2) Task lighting around mirrors at a comfortable height to reduce glare
3) Subtle accent highlights on architectural features or glass to extend depth
Smart Storage Hacks to Declutter in Days
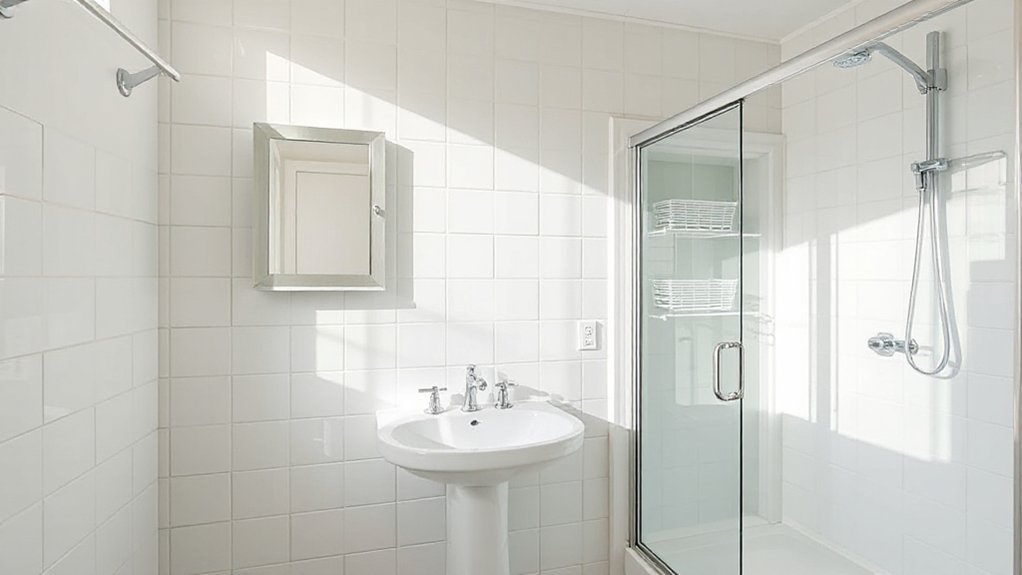
You’ll start with Smart Storage Essentials to reclaim countertop real estate and create obvious first impressions.
Use Declutter Fast Hacks to prune unused items quickly, then implement Space-Saving Solutions that fit into narrow drawers and corners.
Together, these steps set a practical, buyer-focused framework that makes the bathroom feel bigger in days.
Smart Storage Essentials
Smart storage isn’t about adding more stuff; it’s about using what you have smarter. You’ll maximize space with purposeful systems that stay invisible until you need them. Start with a compact, modular plan that adapts to your sink and shower footprint.
- smart shelving that holds daily essentials at eye level, freeing countertop clutter
- hidden compartments integrated into vanity and walls for seldom-used items
- vertical stacking and pull-out bins to transform narrow gaps into usable zones
Implementing these essentials keeps surfaces clear and the room feeling larger. Use lightweight, moisture-resistant materials and label bins for quick access.
Declutter Fast Hacks
If you want fast results, start with a tight, no-nonsense decluttering plan that fits your bathroom’s layout and daily routine. Begin with a 10-minute blitz: remove everything not used weekly, then categorize items into keep, donate, or discard piles.
Prioritize vertical storage and shallow shelving to reduce visual clutter and speed retrieval. Implement minimalist decor by choosing a single neutral base and limited accent pieces, so shelves read clean and expansive.
Use clear, labeled bins for cosmetics and toiletries, and stack containers to maximize wall space without crowding. Color accents should be intentional—one bold towel or small plant can anchor the palette without overwhelming.
Schedule a 15-minute weekly reset to maintain momentum and prevent backsliding.
Space-Saving Solutions
To maximize space quickly, adopt a tight, purpose-driven storage plan that fits your bathroom’s layout and daily habits. You’ll blend smart zones, modular units, and hidden compartments to minimize visual clutter while maximizing accessibility. Focus on color contrast and textural variety to guide the eye and feel organized, not cramped.
1) Install wall-mounted shelves and a compact medicine cabinet with mirrored doors to free floor space while reflecting light.
2) Use stackable containers, drawer organizers, and a tiered shower caddy to separate items without piling up.
3) Choose fixtures in high-contrast finishes paired with matte textures to create depth, making small areas read larger and cleaner.
This approach delivers rapid decluttering, practical use, and a technical sense of room expansion.
Space-Saving Fixtures That Feel Premium
A few well-chosen space-saving fixtures can dramatically elevate a small bathroom without sacrificing luxury. You’ll prioritize compact forms that don’t shout but perform.
Choose wall-mounted basins and toilets to free floor space, then pair with a slim, recessed cabinet for concealed storage. Opt for floating vanities with soft-close drawers to reduce perceived bulk while maintaining premium finishes.
Install corner shelves and programmable LED lighting to create depth without adding clutter. Vintage fixtures can add character if scaled properly and kept in a cohesive palette, while statement accessories should remain purposeful—one or two high-impact pieces max.
Materials matter: go with matte metals, gloss white surfaces, and tempered glass to reflect light. Finally, guarantee seamless installation gaps and sturdy mounting to preserve a high-end feel.
Create Depth With Vertical Lines and Tall Patterns
Vertical lines visually elongate your space, making the bathroom feel taller with less effort.
Pair tall patterns with strategically placed tiles or wallpaper to add depth without crowding the room.
This approach stays practical and measured, guiding buyers to notice height and dimension at a glance.
Vertical Lines Elevate Space
When you use vertical lines and tall patterns, you create an illusion of height that makes a small bathroom feel less cramped. Vertical lines guide the eye upward, while color contrast defines edges for a sharper sense of space.
Use these practical steps to elevate the room without remodeling.
- Install vertical tiles or wallpaper with a narrow repeating motif, kept in a cooler light shade to push the ceiling visually higher.
- Choose towels and accessories in a high-contrast color against the walls to emphasize vertical edges.
- Position mirrors and cabinetry with tall, slim profiles to reflect light upward and extend the perceived height.
This approach delivers measurable impact: greater perceived space, easier cleaning, and a buyer-friendly feel.
Tall Patterns Create Depth
Tall patterns add depth by pairing vertical lines with bold repeats that draw the eye into the room and keep it moving. You leverage tall elements to stretch perceived height, guiding the gaze upward while anchoring the space below.
Use pattern layering to combine a dominant vertical motif with secondary, repeating details for a cohesive rhythm that reads as taller and more expansive. This technique creates depth without crowding because contrasts stay intentional and proportional.
Texture contrast matters: pair smooth, reflective surfaces with matte finishes to emphasize vertical rhythm and add tactile interest.
Keep scale consistent—skewed or oversized patterns can overwhelm a small bath.
Glass Doors or Shower Curtains: What Really Opens the Space?
Glass doors will generally make a small bathroom feel larger than shower curtains, because they reflect light and create an uninterrupted line of sight. You gain openness without visual clutter, while showers feel more spacious and clean.
To decide, weigh these practical points:
1) Light transfer: Glass doors maximize daylight and reduce shadowed corners.
2) Maintenance: Frameless options look sleek but require regular cleaning to prevent streaks; curtains trap moisture and mold risk.
3) Perceived value: Glass signals high-end scope, curtains can imply retrofit.
Bottom line: choose glass if you want a quick big-room illusion with easy maintenance; opt for curtains if you need cost control or flexibility.
Use glass doors or shower curtains to tailor the space and buyer perception.
White Grout and Tile Sizing to Magnify a Small Bath
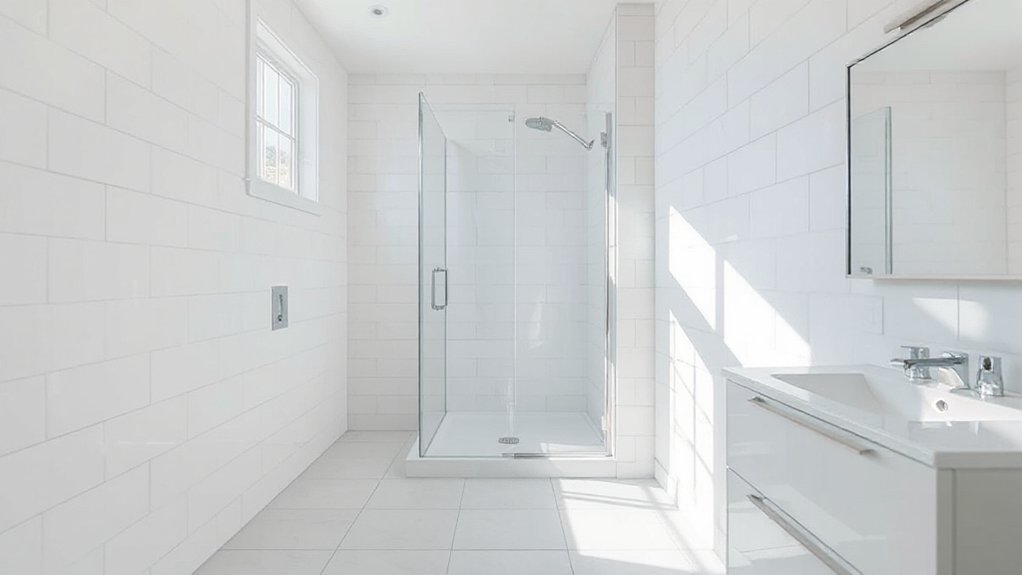
White grout and tile sizing can dramatically affect a small bathroom’s perceived size, so choose finishes that maximize continuity and minimize visual breaks. You should pick large-format tiles in light tones to reduce grout lines, which visually expands walls and floor.
Use a consistent grout color, matching tile shade to blur seams and create an uninterrupted plane. When possible, install surfaces in the same material across walls and wet areas to extend sightlines and minimize clutter.
If you can’t, select a uniform tile grid with minimal, near-invisible joints. Consider vintage fixtures as focal accents against plain backdrops, avoiding busy patterns that fight the sense of space.
Add texture with textured walls in restrained, strategic spots, not competing with tile brightness.
Accessible Tweaks That Keep the Room Looking Open
Accessible tweaks keep a small bathroom feeling open by prioritizing sightlines, maneuverability, and surface contrast. You’ll find that a few targeted changes can yield big openness without compromising function.
- Color contrast
- Furniture placement
- Clear pathways
You choose high-contrast fixtures against light walls to define zones, making the space read as larger. Keep furniture low-profile and slender, positioned to maximize floor visibility and reduce visual clutter. Mount mirrors to extend sightlines along the room’s length, reflecting light and creating depth.
Use open shelving instead of enclosed cabinets to maintain airiness while preserving storage. Finally, guarantee door swing and towel racks don’t encroach on walk paths.
These tweaks deliver practical openness with a clean, buyer-friendly aesthetic that reads as bigger, brighter, and more accessible.
Cohesive Hardware and Accents to Frame the Bath
Cohesive hardware and accents tie the bath together by reinforcing a single design language that reads as calm, functional, and buyer-friendly. You choose fixtures, pulls, and mounts in a consistent finish—brushed nickel, matte black, or polished chrome—to minimize visual noise and maximize perceived space.
Align towel bars, robe hooks, and cabinet hardware with the same profile and spacing so flows feel deliberate, not arbitrary. Decorative accessories should echo the main finish and style without competing tones; limit metals to one or two tones to preserve color harmony.
Mirrors, sconces, and faucet shapes should share proportional dimensions to avoid clutter. Prioritize unobtrusive storage and subtle texture via controlled décor.
When done, buyers notice an intentional, cohesive frame rather than individual, disjointed elements.
Color Blocking and Zoning to Enhance Perceived Space
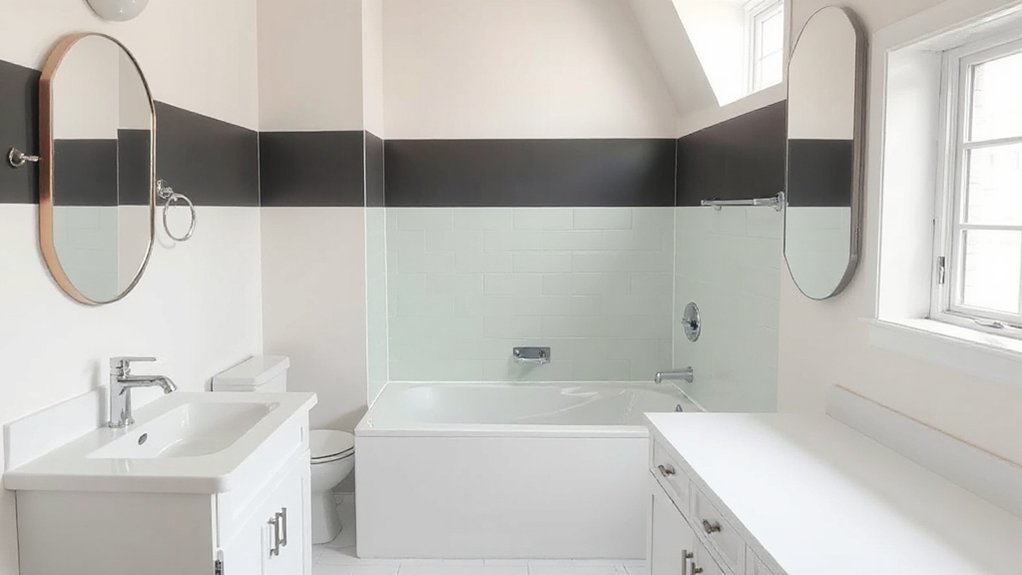
Color blocking and zoning quickly transform a small bathroom by guiding the eye and defining function without adding bulk. You’ll use color psychology and clear zones to make each task area feel distinct, which expands perceived space. Implement precise contrasts and rhythm to direct attention toward the sink and shower, not clutter.
- Define zones with color shifts: lighter tones near the vanity, slightly darker hues near wet areas to push depth.
- Pair accent walls with purposeful fixtures to highlight focal points while maintaining cohesion.
- Use consistent grout and trim to unify blocks and reinforce flow, avoiding visual noise.
Zoning techniques reduce visual chaos and emphasize storage efficiency, making movement intuitive and spaces feel larger.
Practical Floor-Plan Tweaks That Avoid Major Renovations
If you’re aiming to keep costs down while still maximizing space, small, practical floor-plan tweaks can make a big impact without a full renovation. You optimize flow by repositioning fixtures to create clear sightlines and a perceived broader footprint.
Prioritize corner storage, shallow shelves, and magnetic organizers to free floor area without removing existing units. Use a single, continuous vanity or wall-mounted options to visually extend the room and reduce clutter.
Introduce contrast with a light, durable floor treatment that runs uninterrupted from doorway to shower, enhancing perceived length. Incorporate vintage fixtures for character without replacing major plumbing, and apply textured wallpaper to an accent wall behind the vanity to add depth.
These tweaks deliver tangible gains while avoiding costly, disruptive changes.
Weekend-Ready Swaps With Big Value Impact
Weekend-ready swaps deliver immediate value by upgrading fixtures, finishes, and storage in a matter of hours. You’ll notice the payoff in cleaner air, lower water use, and a tidier footprint that reads larger on listing photos. Execute these high-impact changes quickly:
- Replace a dated exhaust fan with a compact, quiet model and seal ducts for improved Bathroom ventilation.
- Swap shower head, faucet, and toilet with water-saving fixtures that maintain pressure while cutting consumption.
- Install streamlined cabinetry or a wall-mount shelf system to maximize vertical storage without crowding space.
These moves create a fresher feel, reduce ongoing utility costs, and boost buyer confidence without downtime. Practical, tight execution wins big when speed and value matter.
Budget-Smart Upgrades That Raise Resale Value
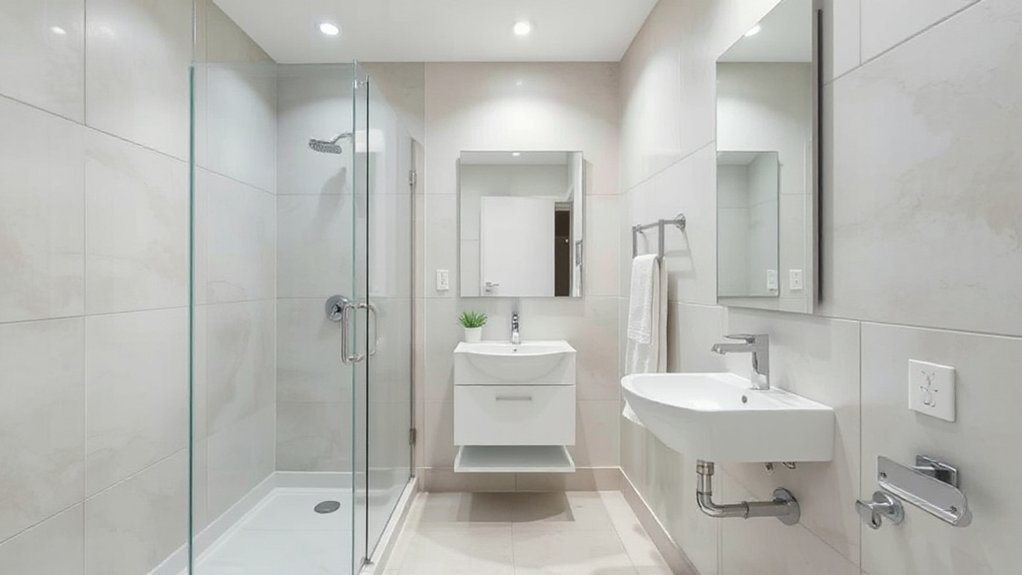
To raise resale value on a small bathroom, target budget-smart upgrades that deliver noticeable impact without breaking the bank. You’ll gain maximum effect by prioritizing quick, measurable wins: replace dated fixtures, update finishes, and optimize storage without a full remodel.
Begin with Bathroom accessories that coordinate in metal or matte finishes to unify the space and visually extend the shower line. Choose efficient, low-flow faucets and a compact vanity with ample internal storage to reduce clutter.
Focus on Plumbing upgrades that prevent leaks and boost reliability, such as a modern valve, pressure-balanced shower, and a durable toilet system.
Add bright LED lighting, aligned with task areas, to enhance perceived space.
These moves preserve value, speed, and cost-effectiveness for buyers.
Staging a Small Bathroom for Buyer Photos and Tours
- Prioritize luxury fixtures in focal areas, like a polished faucet and sleek showerhead, to convey quality without clutter.
- Use decorative accents sparingly—one well-chosen plant, a simple framed print, and coordinated hardware create cohesion.
- Optimize lighting with a bright, neutral bulb mix and dimmable options to tailor mood for tours and photos.
Keep surfaces spotless, minimize personal items, and stage with a cohesive color palette.
This approach makes the room feel pristine, spacious, and buyer-ready.
Frequently Asked Questions
How Can I Maximize Perceived Space Without Structural Changes?
Use lighting techniques like layered brightness and mirrors to visually expand space, and install smart storage solutions that tuck away essentials; keep surfaces uncluttered, choose light colors, and guarantee airflow. This approach maximizes perceived space efficiently, noninvasively.
Do Color Choices Affect Buyer Perception of Size?
Yes, color choices affect buyer perception of size. You leverage color psychology to align with buyer preferences, using light, cool tones to widen spaces, while neutrals and strategic accents guide perceived scale and cleanliness in practical, persuasive terms.
What Affordable Fixtures Create a Premium Feel Fast?
You should install affordable Luxury accessories and Modern lighting to create a premium feel fast. Choose sleek fixtures, brushed metals, and dimmable LEDs. This practical, persuasive setup elevates perceived quality, boosts appeal, and enhances bathroom usability without breaking your budget.
Can Mirrors Alone Make a Bathroom Feel Larger?
Yes, mirrors alone won’t dramatically enlarge space, but they trick the eye. You’ll boost impact with decorative lighting and wall art, using reflective surfaces and scale to amplify perceived size while staying practical, budget-friendly, and technically effective.
How Should I Stage a Small Bath for Photos?
You should stage a small bath by elevating lighting techniques and selecting decor accessories that reflect light. Position vertical frames, avoid clutter, and use a bright, neutral palette; this practical setup persuades buyers and photographs well.
Conclusion
You can make a small bathroom feel expansive with simple, budget-conscious choices. Start light, keep surfaces uncluttered, and use mirrors to bounce light. Layered lighting and wall-mounted fixtures maximize perceived space without major renos. If buyers worry it’s too tight, show a staged before-and-after with bright neutrals and hidden storage—proof that small can feel open. With a few weekend swaps, you’ll boost perception of space, flow, and value, turning a tight bath into a selling point.