

Like a blank canvas awaiting a familiar brushstroke, your kitchen can feel new without ripping out cabinets. You’ll assess what’s worth revitalizing, pick a cohesive color path, and swap hardware for instant impact, all while keeping disruption to a minimum. Start with a realistic budget, then test finishes on a sample panel before committing. The steps you choose next will shape the room’s glow, and a few smart tweaks could reveal a surprisingly fresh, cohesive space—if you’re willing to plan carefully.
Assess Cabinets: What’s Worth Refreshing and What Isn’t
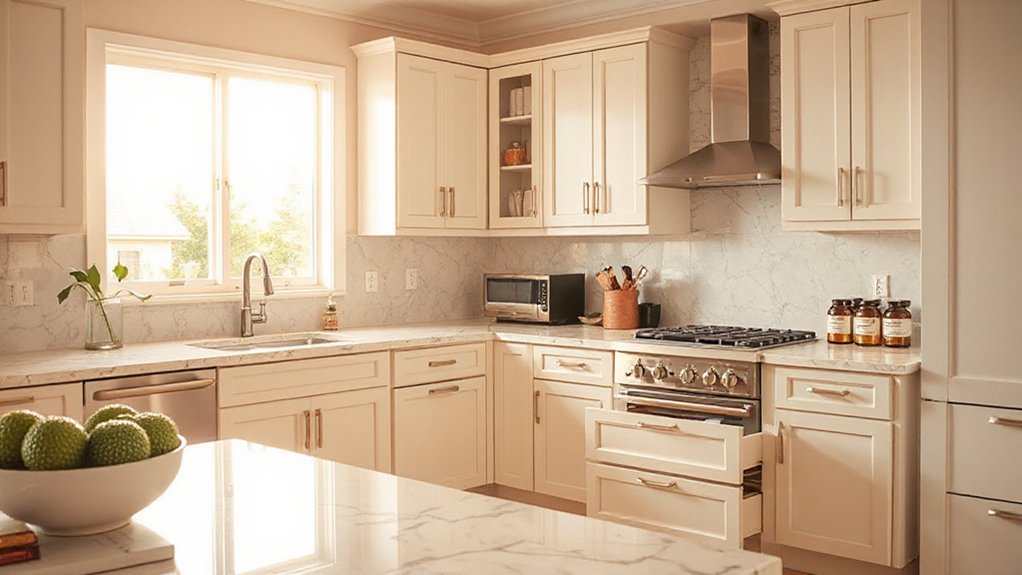
When deciding what to refresh, start by evaluating the cabinet boxes and doors themselves. You’ll decide fast what’s worth saving and what isn’t, based on condition, function, and cost. Inspect for warping, delamination, and deep dents that compromise structure or seal.
If boxes are solid but doors show surface wear, you can refresh with paint or veneer rather than full replacement. Consider cabinet material and how it aged with humidity, heat, and cleaning solvents.
Hardware compatibility matters too: new pulls or hinges should fit existing holes and openings to avoid re-drilling.
For cosmetic updates, primer, stain, or specialty coatings can extend life without major spend. Prioritize areas that affect daily use, like drawers and doors, to maximize impact per dollar.
Choose a Cohesive Kitchen Color Path
Choosing a cohesive color path starts with the basics: pick a dominant cabinet color and pick two accents that can carry through countertops, hardware, and textiles.
1) Establish color harmony by selecting a dominant hue for cabinets and two accents that echo it across surfaces and textiles.
2) Guarantee palette contrast with a lighter countertop or backsplash to prevent flatness and add subtle depth.
3) Balance warmth and coolness by pairing warm woods or brass with cool neutrals for a timeless feel.
4) Test in natural light at different times of day, and adjust with affordable swatches before committing to finishes.
Upgrade Hardware for Instant Impact
Swapping out cabinet hardware is one of the quickest, most affordable ways to refresh your kitchen’s look. You’ll gain instant impact with smart hardware upgrades that suit your style and budget.
Start by surveying existing cabinet handles and pulls, noting sizes, mounting holes, and finish types. Choose midrange materials—brushed nickel, matte black, or aged bronze—that resist fingerprints and celebrate contrast.
Measure hole spacing and depth to avoid mismatched hardware. When shopping, compare price per pair and consider sets that include multiple configurations for consistency.
Install with a bit driver, using level lines to keep handles aligned. Prefer cohesive finishes across drawers and doors to unify the space.
Budget-conscious tip: refinish or clean existing hardware first for extra savings before upgrading.
Paint Techniques That Minimize Disruption
If you want a refreshed kitchen without the mess of major renovation, paint can do the heavy lifting with minimal disruption. You’ll lean on practical steps that protect surfaces, cut spills, and save time. Focus on techniques that deliver big changes with small dust. Plan around prime, seal, and finish in stages to keep traffic smooth. Use color and texture to mimic new looks, not heavy labor.
1) Furniture refinishing on select pieces to update style without cabinet replacements
2) Wall treatments like washable paints, glaze accents, or subtle chalk finishes for depth
3) Prep hacks that minimize cleanup, such as sealed drop cloths and edge shields
4) Rolling, not dragging, tools to reduce mess and save time
This approach stays budget-conscious and precise.
Finishes and Veneers That Make Cabinets Look Brand New
Even with zero full cabinet replacement, you can evoke a brand-new look by choosing the right finishes and veneers. Start with cabinet veneers for a uniform grain and clean edges, choosing real wood or high-quality ply for durability without the price tag of solid wood.
Pair veneers with surface finishes that suit your space: wipe-on poly for minimal brush marks, water-based poly for lower odor, or lacquer for a showroom shine. Consider a satin or semi-gloss sheen to balance reflections and maintenance.
Color strategy matters: a lighter veneer with a darker trim enhances depth, while a bold stain transforms dated boxes into contemporary elements. Seal all exposed edges and test finishes on a hidden area to guarantee color accuracy before full application.
Light and Layout Tweaks to Brighten the Kitchen
You can brighten the space by strengthening how you move through it and choosing lighting that lifts every corner. Add bright, evenly distributed fixtures.
Swap in a lighter, reflective backsplash or walls to boost perceived space. Use simple color pops as accents to wake the room without overspending.
Light-Strengthen Room Flow
A simple way to brighten the kitchen is by strengthening the room flow with smarter light and layout tweaks. You’ll feel the difference when light travels naturally, avoids shadows, and your work zones stay clearly defined. Use practical upgrades that don’t break the bank, focusing on efficiency and visibility.
1) Optimize task zones with a single-line lighting plan and under-cabinet LEDs to reduce dark spots.
2) Add ambient ceiling layers with diffused lighting and consider affordable ceiling treatments to reflect light without major remodeling.
3) Choose flexible fixtures that align with workflow, ensuring clean sightlines for prep, cooking, and cleanup.
4) Reposition mirrors or bright surfaces to bounce light toward the fridge and pantry, enhancing overall brightness.
Brighten With Color Accents
Color accents are a quick, affordable way to brighten a kitchen without replacing cabinets. You’ll pick a few bold or warm tones and apply them where the eye lands first—backsplash edges, a doorway frame, or shelves—without repainting everything.
Start with an accent wall in a low-commitment shade, like a soft terracotta or sunny lemon. Then balance with lighter neutrals on cabinets to preserve space.
Choose decorative accessories—vases, towels, small appliances—in the chosen hues to tie the room together. Rotate these pieces seasonally so you don’t overspend or clutter.
Use metallics sparingly for contrast, such as brushed brass cabinet pulls or a glass pendant. Measure budgets, compare prices, and swap items when you update trends.
Smart Storage Hacks to Expand Your Kitchen
Smart storage is the backbone of a kitchen refresh on a budget, so start by maximizing vertical space and underused nooks. You’ll gain instant organization by pairing simple tweaks with durable materials. Focus on fast wins: accessible zones, labeled bins, and modular solutions that grow with your needs. Custom shelving and Drawer organizers help you maximize every inch and keep items visible at a glance.
- Install slim, adjustable shelves in cabinets to create tiers for plates, bowls, and mugs.
- Use pegboard or slim racks on walls for frequently used tools and spices.
- Invest in Drawer organizers that separate utensils, lids, and small gadgets.
- Add pull-out baskets or bins under sinks or in corners for bulk items.
These tactics deliver order without a full remodel.
Budgeting and A/B Testing Your Refresh Plan
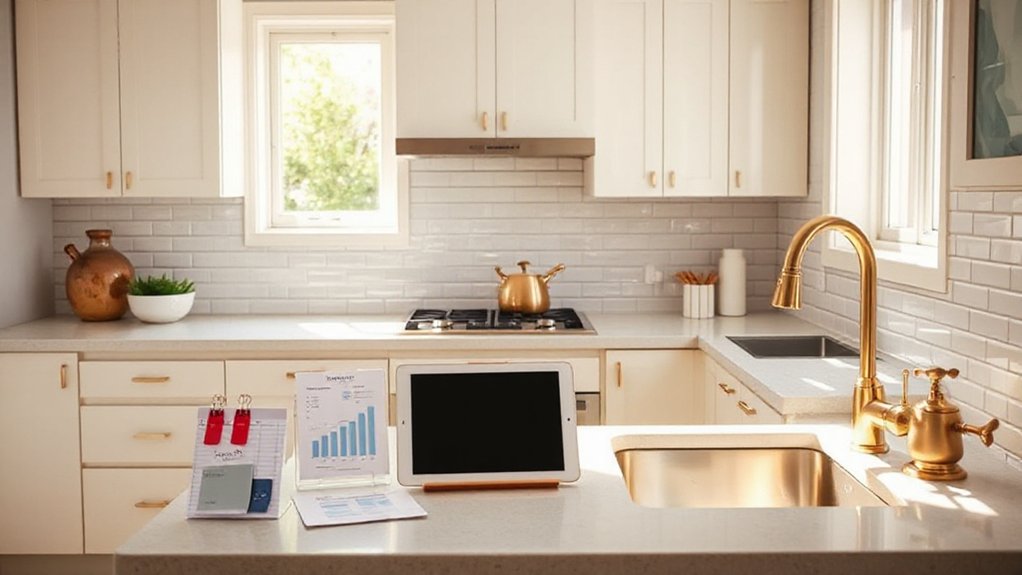
You’ve laid out smart storage wins, now you’ll map a budget and test ideas to keep the refresh affordable and measurable.
Start with a clear cost analysis: list every item, from paint to knobs, and assign realistic prices plus installation time.
Prioritize high-impact updates that don’t require big investments, like hardware finishes or shelf liners, and group them by phase to spread costs.
Do market research by comparing local retailers, online deals, and contractor quotes to spot pennies-saving patterns.
Build a simple test plan: implement one small change at a time, track costs, and measure impact on function and mood.
Use a feedback loop: if a change underwhelms, pivot before you overspend.
Document results to guide future decisions.
Frequently Asked Questions
Can I Refresh Cabinets Without Hiring a Pro?
Yes, you can. You’ll swap cabinet hardware, add decorative accents, and update lighting, caulk gaps, and touch up paint. Budget-smart steps include measured pulls, under-cabinet LED strips, and planning delivery to avoid delays.
How Long Does a Cabinet Refresh Typically Take?
A cabinet refresh usually takes 1–3 days, depending on prep and drying time. You’ll swap cabinet hardware, add decorative accents, and finish surfaces. Plan for quick touch-ups, budget-friendly materials, and clear coats between steps to avoid delays.
Will Paint Ruin Existing Cabinet Warranties?
Yes, paint may affect warranties, but it’s usually allowed if you use proper prep and non-destructive methods. With cabinet paint, check your warranty terms; Warranty concerns arise if finishes damage fixtures, and you follow approved products and vendors. Budget-minded? Plan carefully.
What Costs Should I Expect for a Budget Refresh?
You’ll likely spend $300–$2,000 for a budget refresh, depending on finishes and surfaces. Start with a cohesive color palette, then swap hardware options for a refreshed look, keeping labor minimal and costs transparent to avoid surprises.
Which Finishes Resist Fingerprints and Wear Best?
Fingerprint resistant finishes and wear resistant coatings last longest for busy kitchens; choose satin or matte sheens, vinyl-wrapped doors, or powder-coated hardware. You’ll budget wisely by prioritizing durable surfaces and easy-clean options, avoiding high-maintenance textures and glazes.
Conclusion
You’ve got a proven plan to refresh without ripping out cabinets. Assess what actually needs work, pick a cohesive color path, and swap hardware for an instant lift. Use paint techniques and veneers to disguise wear, brighten with better lighting, and rework layout for flow. Add smart storage, light backsplashes, and budget-minded tweaks. Track results like a thrifty scientist—A/B test colors and finishes. It’s your kitchen, upgraded on a shoestring—no need for a full demolition, even in a sci‑fi era.