
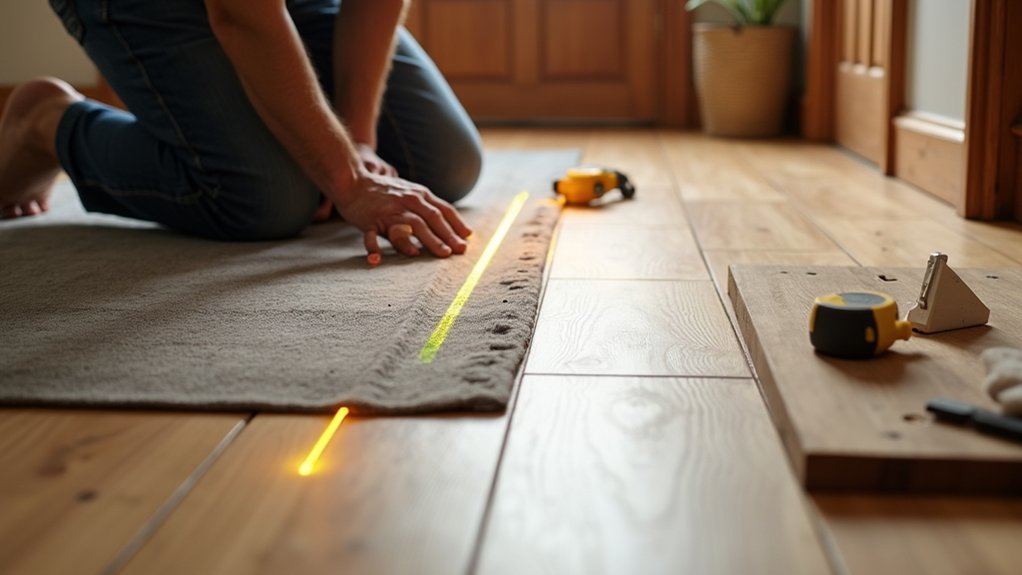

To fix a squeaky floor, start by locating the noisy spot at joints or seams with quiet pressure and a listen. Tighten loose boards or screws, insert shims where edges sag, and re-nail or re-screw as needed. For subfloor gaps, apply adhesive and secure with angled fasteners. Consider moisture and subfloor condition; add underlayment or sound-damping materials if necessary. Regularly inspect fasteners and boards to keep noises down. Master these steps and you’ll uncover more proven tips ahead.
Understand Why Floors Squeak and How to Assess Severity
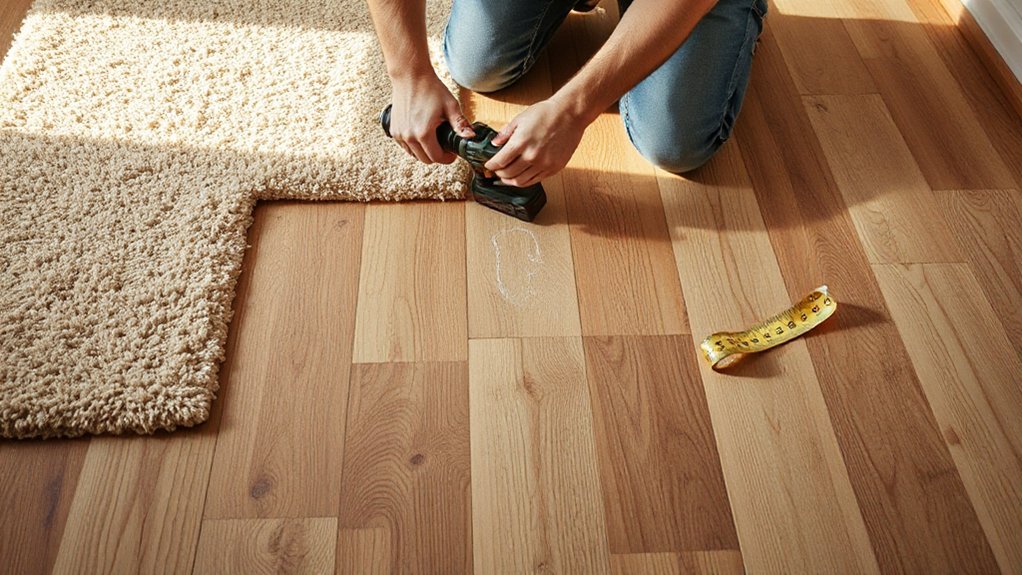
Squeaks happen when a floorboard or joist rubs against another surface as you walk, settle, or expand with temperature and humidity. You’ll assess severity by locating squeaks across the space, noting frequency, and identifying whether the noise follows movement or is fixed to a specific joint.
Start by lifting a suspect board or probing for loose fasteners along girders, paying attention to gaps between wood and nails. Distinguish loose boards from structural shifts that affect noise insulation and comfort.
If you hear creaks with light pressure, the issue is likely a fastening or lubrication concern, not a core failure. Document patterns, then prioritize fixes that preserve structural integrity while restoring quiet.
Accurate assessment guides effective repair and protects long-term performance of your floor system.
The Weekend Toolkit: Essential Tools and Safety Basics
You’ll start with essential hand tools you can trust for quick squeak fixes: a hammer, pry bar, tape measure, square, and a screwdriver set.
Safety first steps mean wearing eye protection, securing the work area, and unplugging power tools when not in use.
Keep the toolkit organized and know the basic function of each tool to avoid delays and mistakes.
Essential Hand Tools
A solid weekend toolkit starts with essential hand tools you can trust for quick, reliable fixes. You’ll reach for reliability over gusto, choosing tools that resist wear and deliver consistent results. Keep these core items handy to tackle common floor squeaks without frustration:
- Claw hammer for precise adjustments and gentle persuasion.
- Utility knife and tape measure to size, trim, and plan routes.
- Patterned screwdrivers and a drill bit set to fasten boards securely and reduce movement.
With the right grip and control, you can address decorative inlays and inspect floor insulation gaps as you work. This focused toolkit minimizes drama, speeds repairs, and preserves flooring integrity, ensuring quiet, long-lasting performance.
Carry a compact level for alignment and a utility pouch for easy access during the project.
Safety First Steps
Before you pick up any tool, set a clear plan and protect yourself with essential safety basics: wear non-slip footwear, safety glasses, and hearing protection, and unplug power at the source before inspecting or removing boards.
You’ll assess the area for structural integrity, identify squeaks, and determine which fasteners or subfloor joints require attention.
Keep a tidy workspace to prevent trips, and use proper lighting to spot hidden hazards.
Use minimal force; loose boards can splinter or loosen other components.
When cutting or scraping, maintain a stable stance and steady motions.
Remember flooring trends influence material choices, but safety remains nonnegotiable.
Plan color coordination for cosmetic repairs only after structural issues are resolved, ensuring the repair won’t compromise stability.
Prioritize ventilation when working with dust or volatile compounds.
Decide Your Approach: Repair vs. Replace Based on Floor Type
You’ll assess your floor type first, since each construction calls for a different approach.
If it’s a solid-wood or subfloor you can access, repair can be quick and practical.
Otherwise, replacing may be the wiser path.
Based on the floor type, decide whether to repair or replace and outline the minimal steps needed for one clean, lasting fix.
Assess Floor Type
Decide whether to repair or replace based on your floor type, because different materials respond to fixes in distinct ways. Understanding your floor helps you choose a precise approach and prevents wasted effort.
Start by identifying structure, finish, and substrate, then consider how each element affects squeaks. You’ll also weigh moisture barriers and floor insulation, which influence long‑term performance.
- Identify material: wood, engineered wood, laminate, or concrete, and note typical squeak sources.
- Assess underlayment and joist condition to decide if tightening, rubbing, or replacement is needed.
- Evaluate moisture and insulation: verify barriers are intact to minimize future movement.
This assessment guides safe, durable fixes now while avoiding moisture‑related failures later.
Repair Or Replace
Choose the repair or replacement approach based on your floor type and the source of the squeak: solid wood, engineered wood, laminate, or concrete. Your decision hinges on structural stability, finish integrity, and long-term maintenance.
For solid wood, weigh minor fixes like shims or screw tightening against refinishing costs; if the boards are loose or cupped, replacement may be wiser to preserve floor aesthetics.
Engineered wood often tolerates fixes, but thick coatings or veneer damage can limit results, favoring targeted repair or partial board replacement.
Laminate floors respond best to subfloor issues and fastener checks rather than board removal, making replacement sensible when wear is extensive.
Concrete requires lightweight concrete lifts or epoxy injections for lasting quiet.
Always consider decorative finishes that affect appearance and longevity, and protect floor aesthetics during any intervention.
Locate Squeaks in Floorboards Without Removing Them
Squeaks often reveal themselves at floorboard joints and under loose nails rather than in the visible planks. You can locate them without removing boards by listening at joints, pressing quietly along the seams, and noting definite squeaks as you walk.
This method targets hidden trouble areas and guides targeted fixes later.
- Listen along each seam to identify the exact squeak location.
- Press and test high-traffic zones to confirm patterns, then mark with a pencil.
- Compare adjacent boards for consistency in sound and density, informing your approach.
Using flooring patterns knowledge helps you spot irregularities, while soundproofing techniques reveal whether a squeak is moisture-related or a fastener issue.
Maintain calm, deliberate steps to avoid damage and guarantee accurate pinpointing.
Fix Loose Floorboards With Shims and Screws
If you’ve pinpointed loose boards, the fastest, most reliable fix is to shim and fasten them back to the subfloor. Start by locating the hollow spots, then insert thin shims between the joist and the board at the sagging edge. Tap gently until the board sits flush with its neighbors.
Secure with screws driven at a slight downward angle to pull the board tight without splitting. Use finishing nails only if you counter-sink and fill later. Check adjacent boards for movement; add shims as needed.
After tightening, sweep and inspect for any debris that could interfere with flooring insulation or screw seating. Finally, perform a light floor cleaning to reveal any high spots needing minor adjustment. Maintain even pressure across the area to prevent future squeaks.
Quiet Squeaks From Subfloor Gaps With Construction Adhesive

When subfloor gaps cause persistent squeaks, construction adhesive offers a quick, sturdy fix that doesn’t require heavy fastening. You’ll apply adhesive carefully into the gaps to bond the subfloor to the joists, reducing movement and eliminating noise.
Use the right adhesive for your flooring materials and press down to seat panels fully. After curing, test by walking the area; add more adhesive if you still hear slight creaks. This approach also boosts acoustic insulation by sealing gaps that let air and sound travel.
1) Choose an adhesive compatible with your floor material and subfloor type.
2) Apply in a thin, continuous bead along each gap, then clamp until set.
3) Recheck panels and add a second pass if needed for quiet, durable results.
Squeaks From Joists: When to Sister or Reinforce
When you’re addressing floor squeaks from joists, assess whether you need to size reinforcement or simply sister existing members.
If joists show consistent movement or gaps, sister the joists with full-length lumber or add blocking to stiffen the frame.
Decide on reinforcement size based on joist depth and span, using additional framing to transfer load and reduce flex.
Sizing For Reinforcement
Determining when to sister or reinforce joists starts with evaluating the span, load, and existing framing. You’ll base sizing on joist depth, spacing, and whether the floor above uses subflooring that transfers load efficiently.
When uncertain, err on the side of conservative reinforcement to prevent future squeaks and deflection.
- Confirm joist grade and actual span, then adjust reinforce length to extend past midspan for better stiffness.
- Pair sistering with adequate fasteners and compatible lumber, ensuring continuous load transfer to the main framing.
- Plan for integrated floor insulation and, where feasible, soundproofing materials to reduce future noise and thermal loss.
Use this approach to balance structural needs with comfort, avoiding excess mass while maintaining stiffness and occupant quiet.
When To Sister Joists
Squeaks from joists typically point to joint movement or insufficient load transfer, so you should decide to sister or reinforce based on span, spacing, and existing connection quality.
You should consider joist reinforcement when gaps exceed a quarter inch at connections, or when multiple adjacent joists exhibit movement under load. If a joist is cracked, bowed, or fasteners loosened, sistering provides immediate stiffness, especially for spans under 14 feet with 2x8s or larger.
Use full-length sistering, aligning edges, and toenail or screw through both members to capture them. In critical spans, add metal connectors or blocking to transfer load to the sistered pair.
Prioritize tight fits, proper fasteners, and continuous support to maintain structural integrity and reduce future squeaks.
Squeaks Over Concrete Slabs: Addressing Slab-On-Grade Floors
Concrete-slab floors can develop squeaks when wood framing settles or subfloor fasteners loosen, so you’ll need a practical approach that targets the root causes.
On slab-on-grade, movement often stems from loose fasteners, gap openings, or a shifting concrete edge. You’ll fix this by securing fasteners, re-supporting edges, and adding adhesive to joiners before refinishing.
To minimize future noise, address vibration paths and surface isolates after installation.
- Tighten or replace loose screws and nails at joist hangers and panel joints.
- Drive appropriate screws along seams and at perimeter edges, sealing gaps with panel adhesive.
- Consider underlayment or a thin flexible slip sheet to buffer movement and reduce amplified squeaks.
Decorative finishes and acoustic treatments help decouple sound without masking the fix.
Remedies for Squeaky Tongue-and-Groove Floors
Tongue-and-groove flooring can squeak when boards rub or nails loosen as wood expands and contracts, so you’ll want targeted fixes that address movement and fastener integrity. You’ll start by locating the source: press down on the boards, listen along the seam lines, and identify loose nails or gaps.
For loose nails, drive finishing nails at an angle and countersink flush. If boards separate, insert shims between subfloor and tongue using a thin shim at the joist gap, then re-nail.
Apply construction adhesive in persistent creaks where access allows. For high-traffic areas, consider replacing damaged boards to restore uniformity.
After repairs, sand and refinish only if needed to preserve decorative finishes and Floor aesthetics, ensuring a seamless, quiet result. Regular inspection keeps the system stable.
Dealing With Stair Squeaks: Steps to a Quiet Ascent
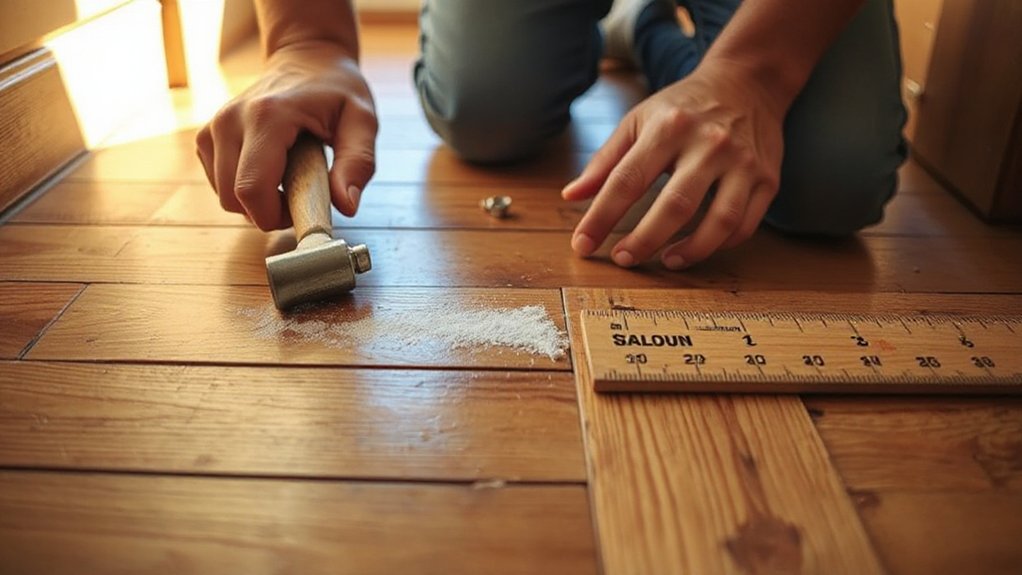
Stair squeaks usually come from flexing stringers, loose treads, or failing fasteners, so you’ll pinpoint the exact source before acting. To quiet the ascent, follow a focused plan that targets movement and moisture.
- Inspect stringers and risers for gaps; tighten screws or add shims as needed.
- Apply carpenter’s glue at joints and drive self-tapping screws through the tread into the riser for solid seating.
- Treat surrounding area with floor insulation and moisture control measures to prevent future movement and warping.
Prioritize solid contact between components, then seal edges to minimize flex. Keep moisture in check and maintain proper ventilation under the stairs to sustain quiet, durable operation.
Hidden Fixes for Floating or Engineered Floors
Floating and engineered floors require different fixes than solid wood, so start by locating movement at seams, panels, or shifts and address it directly. You’ll inspect for hidden damage under the floating layer, noting any squeaks that travel across panels.
If you find gaps, use a thin molding wedge or filler to press panels tighter, then reattach loose boards with appropriate fasteners for floating systems.
Moisture issues demand action: measure for elevated humidity, seal moisture ingress, and correct subfloor leaks before reseating panels.
Check underlayment for compression, lift, or moisture; replace damp sections to restore stability.
For persistent squeaks, apply targeted lubrication at seams from above using non-staining, flooring-safe products.
Document findings and monitor moisture trends to prevent future movement and nagging creaks.
When to Use Woodworking Screws vs. Finish Nails
Woodworking screws and finish nails serve different anchoring roles, so utilize them where their strengths match the job. You’ll choose screws for secure, heavy connections where removal may be needed, and nails for quick, flexible hold that won’t split delicate flooring materials. Consider how decorative finishes interact with the fasteners and the need to preserve the look of the floor.
- Use screws when joining dissimilar materials or when you require pull-out resistance for flooring materials prone to movement.
- Use finish nails for shallow fixes, edge-fastening, or when you want minimal visibility and less risk of splitting.
- Pre-drill to prevent cracking and ensure consistent seating, especially with decorative finishes.
Choose fasteners to match the job, not the trend, and test in inconspicuous areas first.
Subfloor Repair Options for Water Damage and Warping
Water damage and warping compromise a subfloor fast, so start by evaluating extent and separating sections that are truly beyond repair from those you can salvage. You’ll inspect for soft spots, cupping, and visible mold, then mark affected areas for replacement.
For minor warping, you may plane or sand only the high spots after securing the area, but this is limited to non-structural deformation. When water damage is localized, remove damaged boards and thoroughly dry the joists and cavity to prevent further rot.
Replace with identical thickness plywood or oriented strand board, fastened securely with corrosion-resistant screws. Reconfirm fastener spacing, then reinstall underlayment and finish.
If warping persists after drying, expect structural replacement of subfloor sections. Prioritize safety, moisture control, and proper fastening to stabilize the floor. Water damage, warping issues addressed methodically reduce squeaks.
Sound-Dampening Options Beyond Repair: Mats and Underlayment
If you’ve already stabilized the subfloor after water damage and warping, you can further mute residual squeaks with sound-dampening mats and underlayment. These products reduce flex underfoot and dampen impact noise, creating a firmer, quieter base for finishing.
1) Choose thin, rigid underlayment for high-traffic rooms to minimize height changes and squeaks.
2) Install sound-dampening mats beneath laminate, vinyl, or engineered wood to decouple movement and absorb energy.
3) Combine with surface treatments like soundproof curtains and acoustic panels in adjoining spaces to lower reverberation and cut overall noise transfer.
Tools quick-tip: align seams, tape edges, and roll with steady pressure. Maintain consistency with manufacturer guidelines for best results.
DIY vs. Professional Help: Deciding What to Tackle Yourself
Weigh your options: assess whether the DIY route fits your skill level, tools, and time, or if hiring a pro saves you risk and frustration.
List tasks you can safely tackle, and flag those that demand professional expertise or special equipment.
Start by comparing cost, downtime, and potential warranty implications to decide what you tackle yourself.
DIY Or Hire: Weighing Options
Deciding whether to tackle a squeaky floor yourself or hire a pro comes down to scope, skill, and budget. You’ll weigh outcomes, timelines, and risk before choosing.
DIY can save money if the issue is isolated and you’re comfortable with basic repairs; otherwise, a pro guarantees long-term results and warranties.
Consider these factors:
1) Scope: detect whether joists, subfloor, or fasteners cause the squeak, and decide if a fix is feasible.
2) Budget: compare tool and material costs against hourly rates or project quotes.
3) Risk: evaluate potential damage to flooring aesthetics and material durability if misapplied.
If you proceed yourself, target noninvasive fixes first, reserving professional help for persistent or complex cases to preserve flooring aesthetics and durability.
Skill Level And Tools Needed
Choosing the right skill level and tools starts with honesty about your abilities and the job’s demands. You’ll decide if this squeaky-floor project fits your scope or requires a pro.
For minor creaks, you can tackle foothold tightens and loose boards with a basic set: screwdriver, drill, moisture meter, and a few wood screws.
If you uncover structural shifts, water damage, or exposed framing, step back and call a carpenter.
Always assess subfloor health before proceeding; compromised wood can worsen with DIY mistakes.
Tools matter: precision is essential, so use a vibration pad, a weighted hammer, and a stud finder to locate joists.
Consider floor insulation prospects and future accessibility, and plan for hardwood cleaning after repairs to prevent recurrence.
Maintenance Tips to Prevent Future Floor Squeaks
To prevent future floor squeaks, start with solid subfloor support and stable fasteners. You’ll maintain stability by addressing joists, plywood, and vibration paths before issues creep in. Regular inspection helps you catch loosened nails, warped boards, or dry rot early, saving time and expense.
Use proper adhesive, screws, and category-appropriate fasteners to ensure lasting contact and reduce movement.
- Schedule seasonal checks for loose boards and squeaks, tightening or replacing components as needed.
- Opt for eco friendly materials and sound-absorbent underlay to reduce movement and improve comfort.
- Track flooring trends to select durable, compatible products that minimize future squeaks.
Quick-Start Checklist to Finish a Weekend Repair Confidently
If you want to finish a weekend floor repair confidently, start with a tight, prioritized plan. Begin with a clear scope: identify squeaks, list materials, and allocate time blocks. Gather essential tools, fasteners, shims, and wood glue so you’re not interrupted mid-work.
Triage tasks by impact: fix the worst squeaks first, then address lingering creaks from joists or tongue-and-groove seams. Mark each repair on a simple checklist to track progress and avoid backtracking.
Maintain a clean workspace to protect floor decor and reduce errors. Use precise measurements, test fixes in small areas, and document outcomes for future reference.
Finally, reassess aesthetics, ensuring repairs don’t compromise aesthetic appeal or floor finish during reassembly.
Frequently Asked Questions
Are Squeaks Caused by Moisture or Structural Movement?
Squeaks happen from both causes: moisture expansion and structural shifts. You’ll notice boards gap or pinch as humidity changes and as joists move. You assess moisture and structural movement, then address both to quiet the squeak efficiently.
Can I Diagnose Squeaks Without Removing Flooring?
Yes, you can diagnose squeaks without removing flooring by checking subfloor movement and floor joists, listening for creaks, and testing with a screwdriver. Consider flooring materials and soundproofing techniques to pinpoint friction and isolate hotspots accurately.
What Tools Speed up Temporary Squeak Fixes?
Like a quick spark, you’ll grab a pry bar and utility knife. You’ll use flooring adhesives and wooden shims to temporarily fix squeaks, then fasten with a cordless drill for immediate, sturdy results.
Do All Squeaks Require Joist Reinforcement?
No, not all squeaks require joist reinforcement. You should check for flooring insulation gaps and subfloor damage, then tighten fasteners or apply shims where needed, ensuring the structural integrity before considering any joist reinforcement.
How Long Do DIY Fixes Last Before Replacement?
You’ll get about as long as the DIY fix stays solid—months to a few years, depending on use and materials. Flooring materials and acoustic insulation quality determine longevity; expect periodic checks and re-torqueing before performance declines.
Conclusion
You’ve got the know-how to silence those squeaks, start-to-finish, this weekend. Follow the steps with confidence: identify, assess, repair, and test your results. Keep your toolkit ready, and don’t rush the shims or screws—precision matters. When you’ve reassembled the floor, walk it slowly and listen for any lingering creaks. This is your moment to get smooth, quiet floors, no drama, just results—you’ve earned a job well done, and you’re back on solid ground.