


When you tackle home improvement, the right set of tools isn’t optional—it’s foundational. You’ll want sturdy basics, handy hand tools, accurate measuring gear, and a few dependable power tools to cover most jobs. Pair that with safety gear and smart storage, and you’ll minimize guesswork and downtime. But which tools should you prioritize first to keep projects moving smoothly and safely? Let’s map out your essential toolkit.
Start Here: Core Tools Every Homeowner Needs
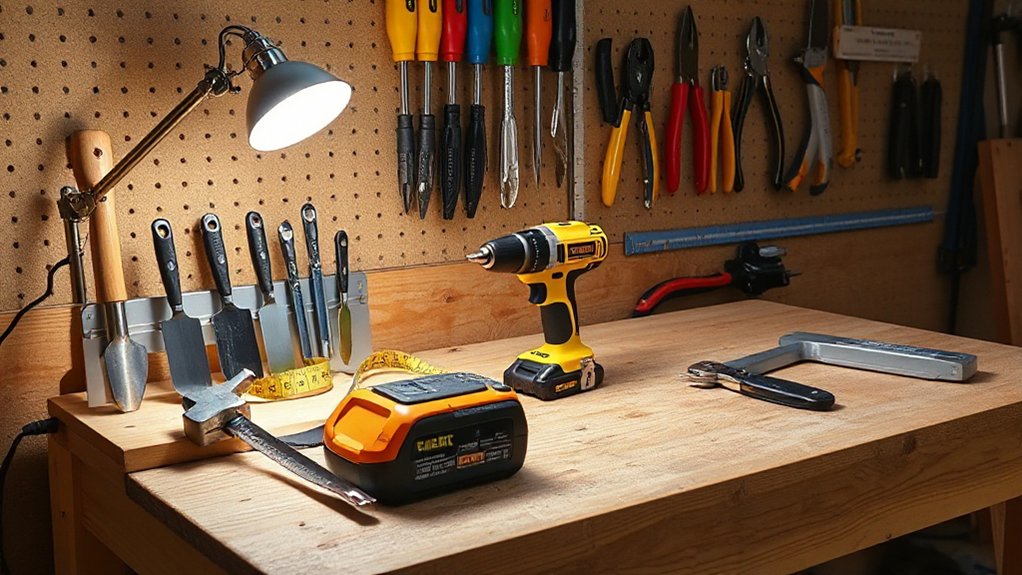
Getting a solid starter toolkit is the smartest move you can make for any home project. You’ll want core tools that cover quick fixes, reliable measurements, and steady performance.
Prioritize a durable drill, a practical level, a sharp utility knife, and a versatile screwdriver set for consistent results. A tape measure with clear markings helps you plan every cut and fit, while a stud finder reduces guesswork in wall projects.
Choose tools with solid ergonomics and proven tool durability to withstand regular use. For home renovation, invest in dependable blades, bits, and a compact tray to keep things organized.
Keep calibration checks simple, and upgrade progressively as projects demand. Focus on quality basics, then scale up as needed.
Essential Hand Tools for Quick Fixes
Having a reliable set of handheld tools on hand makes quick fixes fast and clean. You keep a compact assortment of pliers, a dependable screwdriver set, a utility knife, a tape measure, and a level close at hand for immediate tasks.
Focus on quality over quantity so you don’t waste time chasing replacements. Prioritize Basic safety: cut away from yourself, clamp before drilling, and wear eye protection when needed.
Ergonomic grips matter, reducing fatigue on longer jobs and ensuring steadier control in tight spaces. Choose tools that feel balanced and comfortable, with non-slip handles and well-placed pivot points.
Keep blades sharp, bits organized, and surfaces protected to prevent scratches. With this core kit, you cover most quick fixes efficiently and confidently.
Measuring and Layout Tools You Can Trust
When you trust your measurements, your projects stay on the mark from start to finish.
Start with an accurate tape measure and verify with precision layout tools to map out every cut and line.
This combo keeps your work consistent, reduces waste, and supports faster, more reliable results.
Accurate Tape Measures
When you pull a tape, verify the numbers align cleanly at the edge, and that the hook is loose enough to measure inside and outside dimensions. Routine tape measure calibration keeps readings trustworthy, especially after drops or heavy use.
Check for straight tape, readable font, and a sturdy locking mechanism that holds firm without sticking. Remember metric and imperial marks in one glance, so conversions don’t slow you down.
With a dependable tape, you’ll finish faster and with fewer re-cuts, minimizing waste and frustration.
Precision Layout Tools
Invest in a quality combo square, a sharp marking knife, and a reliable laser level for quick reference checks. When you calibrate and verify, layout accuracy becomes a habit, not a gamble.
Use baseline marks and consistent zero points to minimize drift over time. Remember to guard against surface imperfections, rechecking after drastic temperature changes or heavy workloads.
Choose tools with clear scales and durable finishes so you can trust them daily. In short, consistent precision measurement and disciplined layout practices keep projects clean and predictable.
Power Tools That Cover 80% of Projects
You’ll focus on the essential power tools that cover 80% of your projects, so you’re not overbuying or under-achieving.
These core tools—drill/driver, saw, and impact—let you handle most tasks with speed and accuracy.
Let’s discuss how to match them to your projects and keep a lean, capable setup.
Essential Power Tools
If you’re tackling most home projects, you’ll want a core set of power tools that cover about 80% of tasks: a drill/driver, a circular saw, a jigsaw, a reciprocating saw, and a compact impact driver. These tools form a practical backbone for quick upgrades and durable builds without overinvesting.
Prioritize cordless, brushless motors for longer runtime and fewer replacements, plus common battery platforms to simplify charging. Use the drill/driver for fastener control, the circular saw for straight cuts, the jigsaw for curves, and the reciprocating saw for demolition. The compact impact driver speeds fastening with reduced cam-out.
Consider accessories like high-quality blades and dust collection. In line with current trends, focus on eco-friendly materials and how your setup supports home automation-ready workflows.
Core Projects Coverage
To cover about 80% of home projects, you’ll want a core toolkit that centers on cordless, brushless power tools and a shared battery platform. You’ll experience fewer switches, quicker swaps, and less downtime as you move between tasks.
A compact drill/driver, a versatile impact driver, and a compact rotary tool handle most fastenings, while a cordless saw tackles framing, trim, and small demolition without cords tugging you off course.
Pair these with a reliable cutting tool and a lightweight dust extractor for clean-up.
Stay trend-aware with ergonomic designs and brushless motors that extend runtime.
For DIY decor, gardening tools, and spacier spaces, this platform scales to add a sander, a compact heat gun, or a mini wood planer as needed.
Safety Gear You’ll Actually Wear on Site
Choosing the right safety gear isn’t about checking boxes; it’s about staying productive on site. You’ll wear what you actually use, not what looks good in a catalog.
Prioritize protective clothing that fits well, breathes, and layers easily for temperature swings.
Durable gloves, with grip and tactile feel, protect hands without slowing you down.
Eye protection should stay clear and comfortable, not fog up mid-task.
Footwear earns its keep with slip resistance and support; laces stay secure, midsoles keep you upright.
Hearing protection stays handy for noisy work, yet easy to remove for quick checks.
Follow safety protocols without overthinking, and upgrade gear as tasks demand.
The goal is consistency: gear you forget you’re wearing because it works.
Quick-Access Tool Organization Systems

Quick-access tool racks and systematic drawer organization let you grab the right tool in moments, keeping your workflow smooth and predictable.
Start by selecting racks that place your most-used items within arm’s reach and design drawers that group related tools for fast retrieval.
This setup minimizes search time and scales as your projects grow, keeping your workspace efficient and trend-conscious.
Quick-Access Tool Racks
Are you tired of digging through a cluttered toolbox for the right bit or screwdriver? Quick-Access Tool Racks streamline your workflow with fast, reliable retrieval.
Wall mounted designs keep frequently used bits, drivers, and small tools within arm’s reach, while freeing bench space for tougher tasks. Consider portable racks for temporary setups or job sites, so you’re not tethered to one location.
Choose adjustable dividers to fit standard hex bits, sockets, and a compact drill bit collection, and prioritize secure fasteners that snap into place without rattling.
Materials should resist impact and corrosion, with a low-profile profile that doesn’t crowd your workspace.
A thoughtful rack system reduces search time, boosts accuracy, and supports consistent, efficient project pacing.
Systematic Drawer Organization
Keep frequently used items at the front for quick access and reserve the back for backups. Label each section with clear organization labels so you know what lives where at a glance, even after a busy session.
Choose modular dividers that adjust as your toolkit grows, enabling fine-tuned separation without clutter. Maintain consistency by aligning edges, wiping dust before you close the drawer, and reviewing quarterly.
This approach reduces search time, minimizes misplacement, and supports persistent, scalable organization.
Drilling and Driving Essentials: Bits, Drivers, and Anchors
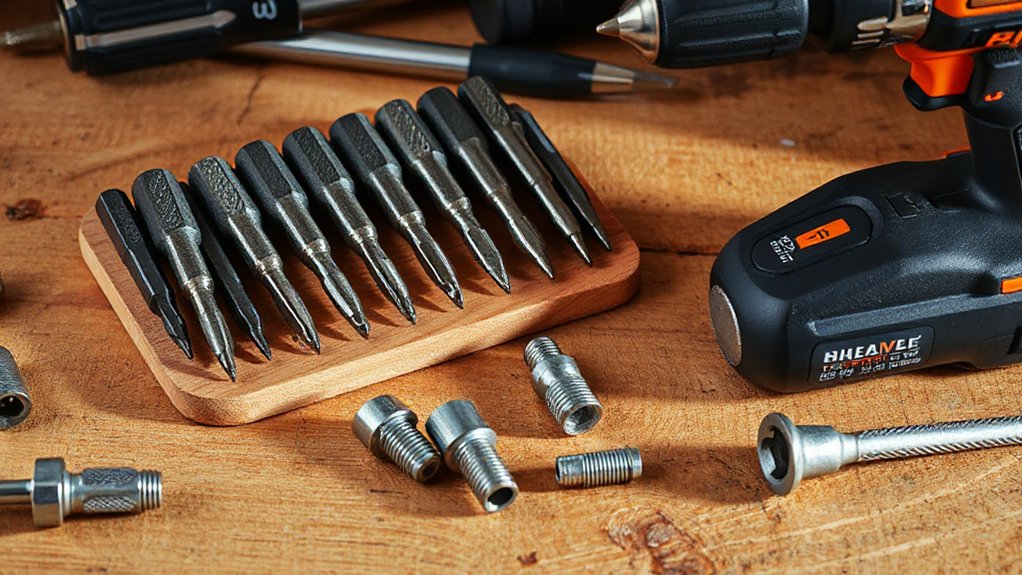
For any home project, the right bits, drivers, and anchors make all the difference: they determine success, speed, and durability. You’ll optimize outcomes by matching bits and drivers to material and fastener type, then choosing solid anchors for load and vibration control.
1) drill bit selection matters: pick high-quality carbide or cobalt bits for metals, tempered steel, or masonry, and switch to HSS for wood.
2) drivers and bits: use magnetic, quick-change bits, and bevel-ready drivers to speed setup while minimizing cam-out.
3) anchor types: choose toggle, sleeve, or plastic anchors based on wall material and load.
4) compatibility and durability: confirm bit-shank size, driver drive type, and anchor ratings before proceeding.
Cutting Tools for Clean, Precise Results
Cutting tools matter for clean, precise results, and choosing the right tool sets the tone for your project. You’ll improve accuracy by selecting blades matched to material, then pursue smooth, controlled cuts with steady hands and a stable work surface.
Prioritize high-quality blades and sharp edges, because dullness sabotages both finish and safety. Maintain a consistent feed rate, avoid twisting through kerfs, and pause to inspect alignment before long cuts.
Blade maintenance matters: keep blades clean, tighten hardware, and replace worn teeth to prevent wander. Remember Cutting safety: wear eye protection, secure your workpiece, and use clamps rather than your hands.
With disciplined technique and the right blades, you’ll achieve cleaner joints and a professional feel without excess effort.
Fasteners and Adhesives: Picking the Right One
Choosing the right fasteners and adhesives hinges on material, load, and environment. You’ll choose fastener types that match thickness, coating, and corrosion resistance, then pair them with adhesives that deliver consistent adhesive strength under expected stresses. Your goal is secure joins without overkill or damage, so precision matters.
- Assess substrate and load, then select fastener types that minimize splitting and pull-out.
- Match material compatibility, surface prep, and adhesive strength to prevent failure in moisture or temperature shifts.
- Consider accessibility and future disassembly when choosing short- vs. long-term bonds.
- Verify cure time and cure conditions, factoring impact resistance and field performance.
This approach keeps projects durable, efficient, and aligned with current tool trends.
Leveling, Marking, and Alignment Basics

Leveling, marking, and alignment are the accuracy gates that keep your project from wobbling or gaps. You’ll rely on simple, repeatable steps to lock in true references before any cut or mount.
Begin with leveling accuracy using a reliable spirit level or laser level, checking both horizontal and vertical planes and compensating for rough surfaces.
Marking should be precise, using pencils, marking knives, or a scratch awl to laid-out lines, centers, and reference points without over-penetrating surfaces.
Alignment techniques demand consistent geometry: compare spacings, plumb lines, and perpendiculars with quick checks along joints and edges.
Practice deliberate measurements, record offsets, and verify twice. These habits minimize adjustments later, ensuring clean interfaces and stable assemblies throughout your project.
Saws and Blades: Choosing the Right Cut
Saws and blades aren’t one-size-fits-all tools; picking the right combination depends on material, thickness, and the cut you want. This isn’t guesswork—it’s about matching blade types to your task and staying safe. Consider efficiency, precision, and dust control as you decide.
- Choose blade types by material to minimize tear-out and maximize clean edges.
- Match tooth count to cut speed and finish—finer teeth for plywood, coarser for hardwood.
- Factor thickness and saw type to maintain stability and reduce pinching for safer, straighter cuts.
- Prioritize saw safety with guards, secure work, and sharp blades to prevent kickback and accidents.
Electrical Basics: Simple Testers, Outlets, and Protection
Ever wondered how a simple tester can keep your home safe and projects on track? You’ll use basic testers to verify outlets, cords, and switches before you power up. A quick voltage check helps prevent shorts and shocks, and it guides circuit troubleshooting with confidence rather than guesswork.
When you test, note polarity, grounding, and GFCI status; replace nonfunctional outlets or miswired devices promptly. Use outlets with built-in protection to reduce overload risk, and install tamper-resistant receptacles where kids are present.
Keep testers compact, durable, and clearly labeled for fast checks during renovations. Prioritize electrical safety by testing after any remodeling or plugging in new fixtures.
With disciplined testing, you protect equipment, people, and timelines, delivering reliable results every time.
Plumbing Essentials for Basic Repairs

Plumbing basics save time and money on a remodel or quick repair, so you’ll want a tight setup: know your pipes, shutoff valves, and common tools before you start. You’ll approach basic repairs with a practical mindset, using the right plumbing fixtures and pipe fittings to seal leaks and restore flow quickly.
- Identify shutoffs and their type, so you can isolate the problem without flooding the room.
- Choose adjustable wrenches, channel locks, and pliers for versatility on fittings.
- Stock a few pipe fittings (elbows, couplings, adapters) to match standard sizes.
- Add a compact flashlight and silicone sealant for visibility and reliability.
Finishing Touches: Sanding and Finishing Supplies
After you’ve wrapped up basic plumbing fixes, it’s time to refine the visible surfaces with sanding and finishing supplies. You’ll choose tools that deliver consistent results without overworking the material.
Start with sanding supplies: discs or sheets, grits from rough to fine, and a compatible pad or block for even pressure. If you’re refinishing wood, natural bristle brushes and high-quality satin or matte finishes keep grain depth intact.
For drywall, use fine-grit paper and a sanding block to minimize gouges. Don’t overlook dust control; a shop vac hooked to your sander keeps cleanup manageable.
When you finish, test for smoothness and color一致 under proper lighting. Finishing touches matter: even, uniform sheen and clean edges elevate the project.
Maintenance Mindset: Caring for Your Tools
Maintaining your toolkit starts with consistent Tool Care Routines so you can rely on your gear when it matters most. Keep Storage And Organization streamlined and accessible to reduce misplacement and damage, with labeled bins and a clear wipe-down habit after use.
Schedule Regular Maintenance Checks to spot wear early, replace worn parts, and keep performance sharp.
Tool Care Routines
1) Wipe and wipe-down after use to remove dust, grit, and moisture, supporting rust prevention and tool longevity.
2) Lubricate moving parts and cutting surfaces with proper oils or sprays, minimizing friction and wear.
3) Inspect for wear or damage, replacing worn blades, bits, or batteries before failures slow you down.
4) Store in a clean, dry area, with proper cases or organizers to preserve calibration and accuracy.
Practical, trend-aware care keeps results consistent and your toolkit reliable.
Storage And Organization
Ever wonder how a tidy setup boosts every project? When you pair tool care with smart storage, you cut search time and safeguard your assets. Put frequently used items within arm’s reach, and group by function to minimize mix-ups.
Creative storage solutions—stackable bins, pegboards, labeled drawers—make your workspace scalable without overhauling the room. Implement a simple taxonomy: power tools, hand tools, fasteners, and consumables, then color-code or tag everything for instant recognition.
Regularly audit for wear and surplus, discarding duplicates or damaged pieces. Organizational hacks like clear jars for small parts and magnetic strips for metal tools keep essentials visible.
Maintain the system with quick daily resets, so your space stays efficient, predictable, and ready for the next project.
Regular Maintenance Checks
How often does a tool check save you time on every project? Regular maintenance checks keep your toolkit reliable and ready. You’ll spot wear, calibrate accuracy, and prevent breakdowns before they derail schedules.
A simple home inspection mindset means treating each tool like a resource, not a guess. Do a seasonal check to align blades, cords, and fasteners with current tasks, and stash away rust-prone items to extend lifespan.
Stay ahead of corrosion, lubrication needs, and battery health to avoid costly delays.
- Inspect for wear and replace promptly
- Calibrate where needed and test performance
- Clean, lubricate, and organize after use
- Schedule seasonal checks to sustain readiness
Budget-Smart Tool Picks Without Sacrificing Quality
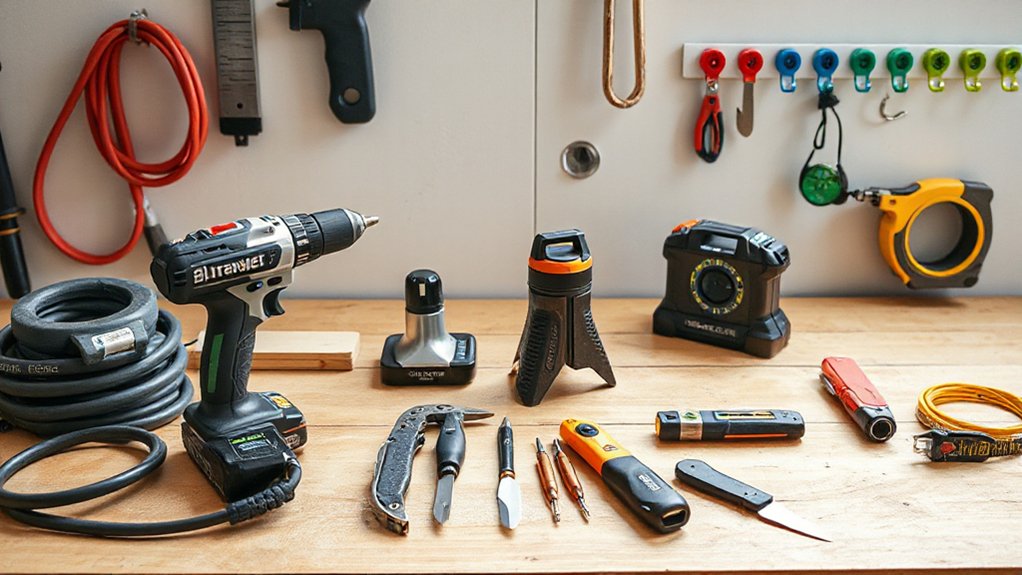
Smart budgeting doesn’t mean you have to settle for low-quality tools; with the right picks, you can get durable performance at a fair price. You’ll prioritize tools that balance reliability with cost, focusing on core performance rather than bells and whistles.
Look for brands with solid warranties and responsive service, since aftercare matters as much as upfront price. Budget friendly alternatives exist that don’t sacrifice durability when you read reviews, compare specs, and vet build quality.
Seek interchangeable components and modular sets to extend life and reduce waste. Remember Quality versus affordability isn’t a binary; you can optimize for both by choosing reputable mid-range options and avoiding flashy, overrated gear.
This approach keeps projects efficient, economical, and consistently productive.
Setting up for Safe, Efficient Projects From Day One
Setting up a safe, efficient project starts before you touch a tool bench. You set the tone with clear safety planning and deliberate preparation, so you stay on track as you work.
Prioritize ergonomics from day one to reduce fatigue and injuries, choosing comfortable grips, balanced tools, and proper posture. Establish a streamlined workflow, so every step supports steady progress rather than reactive scrambles.
1) Define space layout for access, visibility, and movement.
2) Verify lighting, ventilation, and clutter control to prevent hazards.
3) Select tools with ergonomic handles and balanced weight distribution.
4) Schedule brief safety checkpoints and task-specific risk assessments.
This approach keeps momentum, minimizes downtime, and aligns with current best practices in home improvement.
Getting the Right Tool for Your Specific Project
Choosing the right tool starts with your project’s requirements and your material, not just your wishlist; match tool capabilities to the job at hand to avoid overkill or underperformance. Tool selection isn’t guesswork—it’s a disciplined step in project customization.
Start by listing tasks, materials, and tolerance needs, then map each task to a tool class that delivers the right balance of power, control, and safety. Consider ergonomics, availability of attachments, and dust management to sustain momentum.
Budget for one multi-purpose tool if it covers most tasks, but reserve specialty tools for critical operations only. Keep up with trends like cordless options and battery ecosystems to reduce setup friction.
Prioritize compatibility with safety gear and accessories, and document your choices to streamline future projects.
Frequently Asked Questions
How Many Tools Are Essential for a Starter Set?
The essential starter set includes about five to seven tools. You’ll want power drills and measuring tapes prominently, plus a hammer, screwdrivers, adjustable wrench, and a utility knife to cover common tasks efficiently.
Which Tools Cover Most DIY Home Projects?
You’ll cover most DIY home projects with a versatile power drill, adjustable wrench, tape measure, utility knife, and level. Practice power tool safety, and organize with smart tool storage solutions to stay efficient and trend-aware.
How to Choose Tools for Small Apartments?
You should choose tools that maximize space saving storage and prioritize multi purpose tools, because in small apartments every inch matters; pick compact, versatile options, assess wall-mounted storage, and plan for modular, trend-aware setups you’ll actually use.
What Is the Best Budget-Proof Brand Strategy?
Yes, the best budget-proof brand strategy is cost effective branding with sharp, consistent messaging that builds brand loyalty; you should prioritize clear value, audience insight, and scalable tactics, adapting trends without breaking your budget.
How to Maintain Tools for Long-Term Use?
To maintain tools for long-term use, you follow a maintenance schedule and prioritize tool safety; clean, oil, and store them properly, inspect cords and blades regularly, and replace worn parts promptly to minimize downtime and guarantee reliable performance.
Conclusion
You’ve got the framework: core tools, smart measurements, and safety that actually sticks. Stay practical, invest in versatile gear, and keep maintenance routine so your setup stays reliable project after project. With organized storage and budget-smart picks, you’ll move faster and safer. Ready to tackle a new project with confidence? Remember, the right tools don’t just help you work harder—they help you work smarter, cleaner, and with fewer headaches. Why wait to level up your toolkit today?