
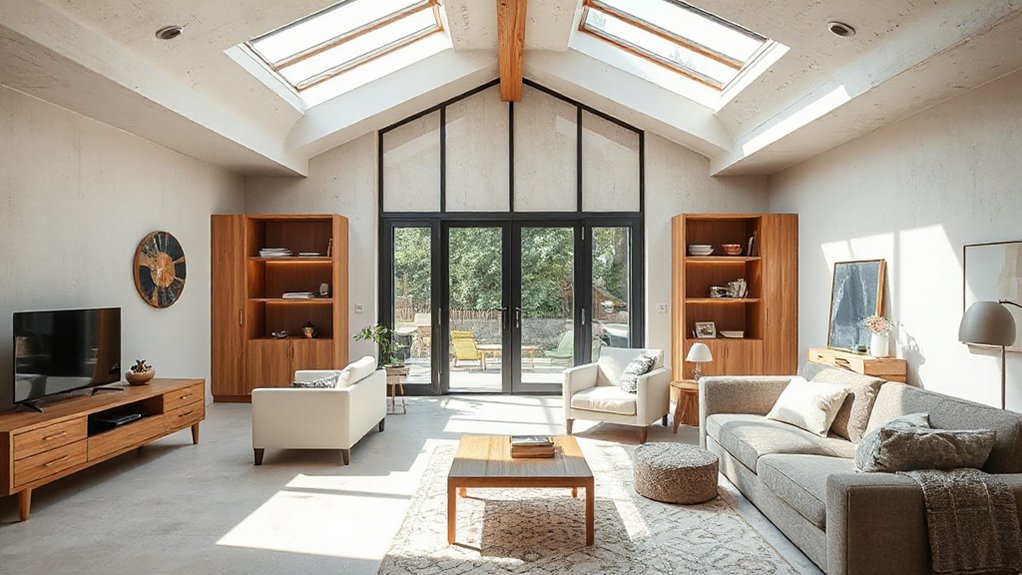

Like a well-balanced bridge, your back‑to‑back layout needs precise spans to feel open. You’ll map rooms, corridors, and structure early, then design flow that breathes with light and mirrors. Keep zones flexible, choose compact storage, and blend open plans with subtle boundaries. Practical choices—reflective finishes, light colors, and multi‑use furniture—will stretch space without crowding. Start with a clear plan and phased steps, and you’ll see how small changes reveal how much space you can reclaim.
Analyze Your Back-to-Back Layout for Maximum Space
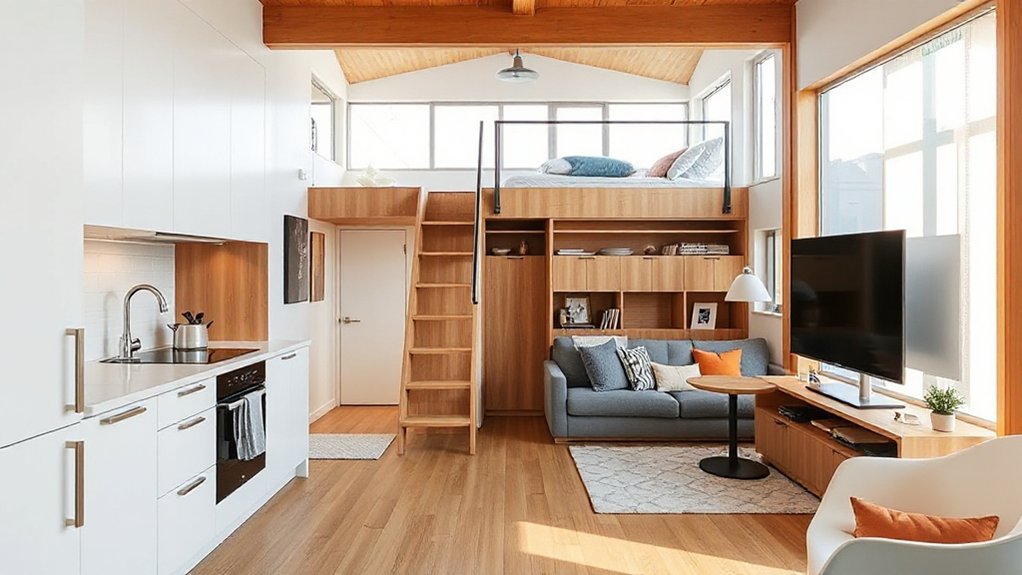
Start by mapping the layout you have. You’ll carefully outline rooms, corridors, and openings to see where space tightens or breathes. Identify architectural features that drive flow, like stair placements, load-bearing walls, and window alignments, so you can work with, not against, existing constraints.
Note entrances and service cores, then mark zones for traffic, storage, and functions. Assess structural considerations early: beam spans, foundations, and potential culverts or chases that might limit reconfiguration.
Prioritize areas that currently feel narrow or wasted, and test swap options on paper before any demolition. Document measurements, door swings, and column locations, so you can compare scenarios objectively.
Your goal: reveal efficient pathways, daylight opportunities, and flexible spaces without compromising safety or stability.
Maximize Light in Narrow Back-to-Back Homes
How can you coax more daylight into a narrow back-to-back home? Focus on glazing and layout to maximize light without sacrificing privacy. Prioritize tall, slim windows on party walls and skylights where possible, pairing them with light-reflecting interior finishes.
Use open sightlines by removing unnecessary partitions that block corridors or rooms; keep a continuous ceiling line to guide daylight deeper. Exterior facade choices can boost daylight through neutral, reflective materials and well-placed eaves that don’t shade interior zones.
Landscaping design matters too: position trees and shrubs to illuminate, not darken, windows, and select ground-level reflectors to bounce light inward. Consider light wells or narrow sun tunnels in central areas to capture sunlight from above, preserving space efficiency without crowding rooms.
Zoning Strategies: Flexible Open-Plan Without Crowding
To create flexible open-plan zones that feel expansive without crowdedness, start with a clear core that anchors traffic flow and defines private versus public spaces. In practice, segment areas with deliberate furniture placement that signals function without walls.
Use sightlines and subtle changes in ceiling or floor level to suggest boundaries instead of barriers. Prioritize acoustic treatment to prevent noise spill between zones; soft textiles, rugs, and panels keep chatter contained while preserving openness.
Align furniture to maintain continuous pathways, avoiding clutters that visually shrink rooms. Elevate storage to the walls or recesses so surfaces stay clean and legible.
Select scale-appropriate pieces that breathe rather than dominate, and swap rigid layouts for adaptable layouts, enabling you to reconfigure for activities without losing cohesion.
Storage Solutions That Don’t Eat Square Footage
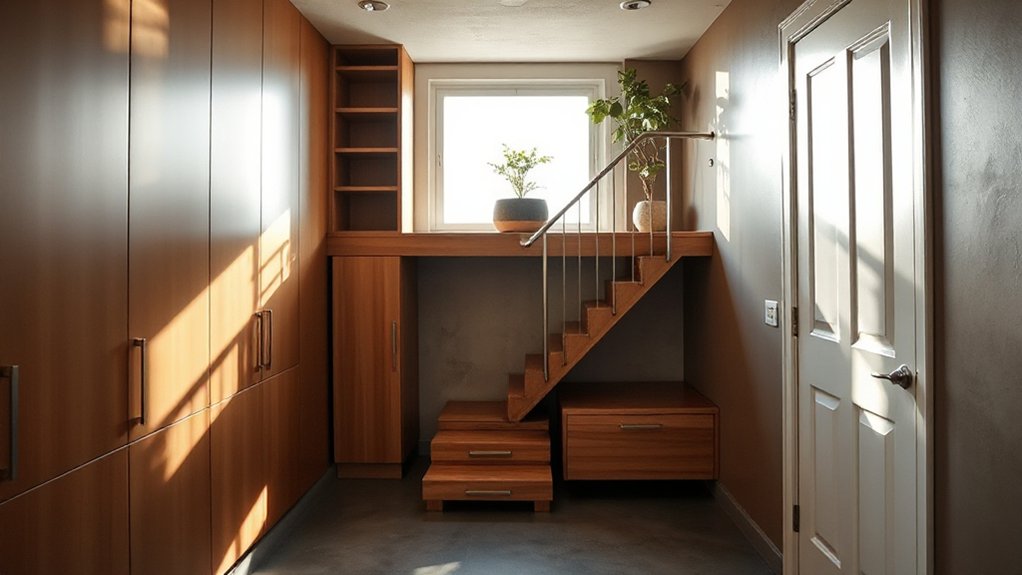
Maximize storage without consuming square footage by harnessing vertical space, hidden niches, and multi-use furniture. You’ll reclaim floor area with tall bookcases, wall-mounted consoles, and floating cabinets that blend into your aesthetic. Think built‑in wardrobes under stairs and alcove shelving that doubles as display and storage.
Use sliding panels or pocket doors to conceal clutter without sacrificing openness, and opt for furniture that serves dual purposes—ottomans with lift lids, beds with drawers, and desks that convert to vanity.
Keep decluttering deliberate: assign a single spot for every item and seasonally rotate essentials. Furniture placement matters: group storage near daily routines for seamless access, not eyesores.
Window treatments should be slim, stately, and reversible to preserve sightlines and light.
Space-Saving Kitchen and Bath Upgrades
When renovating a back‑to‑back kitchen and bath, prioritize compact layouts that don’t sacrifice function. You’ll gain space by choosing galley or corridor footprints, pocket doors, and double-duty surfaces that tuck away clutter.
In the kitchen, opt for shallow-depth cabinets, pull-out organizers, and a single‑row appliance setup to keep traffic clear. Use corner solutions and magnetic strips for knives and tools to reduce counter clutter.
For the bath, install wall‑hung vanities and a recessed medicine cabinet to maximize floor area. Choose compact, high‑efficiency fixtures and a single faucet style to unify the room’s look.
Incorporate vintage fixtures sparingly as accents, and favor eco friendly materials for durable, pristine surfaces that resist wear.
Maintain clean lines, cohesive finishes, and intentional lighting to enhance perceived space.
Create Nooks and Alcoves That Feel Spacious
You can carve out hidden corners and built-in nooks to reclaim floor space without sacrificing style. Use recessed shelves, hidden storage, and slim seating to create depth where it’s needed.
This approach keeps rooms feeling open by blending function with clean, unobtrusive lines.
Create Hidden Corners
Hidden corners can dramatically expand perceived space without stealing square footage. You’ll carve angles, recesses, and the crisp edge of a wall to create pockets that read as open rather than boxed.
Use shallow niches in hallways for display or storage, then pair them with lighting that draws the eye inward. Build in secret compartments behind a picture rail, sofa arm, or cabinetry edge so storage remains invisible until needed.
Choose matching materials and clean profiles to keep lines uninterrupted, avoiding clutter that narrows perception. Opt for concealed hinges and push-latch hardware to maintain seamless fronts.
Maintain a restrained palette and consistent trim to enhance depth. Hidden corners become practical focal points, balancing function with a sense of spaciousness.
Integrate Built-In Nooks
Built-in nooks and alcoves are a smart way to expand perceived space without stealing square footage. You’ll design tight, purposeful recesses that benignly anchor rooms and storage without crowding traffic.
Opt for built-in shelving that runs floor to ceiling in stairwells or under windows to maximize vertical storage while keeping surfaces uncluttered. Use decorative niches to frame art, lighting, or greenery, adding depth without bulk.
Choose shallow depths (6–12 inches) for seating, benches, or display ledges to preserve walkways. Choose materials and finishes that echo the room’s palette to keep the look cohesive.
Plan for electrical and lighting needs inside every niche, so illumination feels integrated, not gimmicky. Finally, maintain clean lines, hidden hardware, and a restrained color scheme for a spacious effect.
Materials and Colors That Expand Perceived Space
Light reflects space best when you keep surfaces light and uncluttered, so choose brighter finishes and strategic mirrors.
A cooler, consistent color palette helps rooms read as larger, while uninterrupted sightlines make ceilings feel higher.
Use minimal textures and gloss where possible, so reflections do the work without adding visual noise.
Light Reflects Space
Natural light is your ally in making a back-to-back layout feel bigger, so choose finishes that bounce it around instead of soaking it up. You’ll maximize space by selecting reflective materials, white or pale neutrals, and glass or high-gloss surfaces that mirror illumination. Pair these with strategic lighting and clean lines to maintain a cohesive flow.
Also consider how finishes affect acoustics and ventilation: lighter tones can brighten ceilings, while smooth panels reduce visual clutter and echoes. Remember to balance form with function; resilient, easy-to-clean surfaces help daily use without sacrificing style. Natural ventilation and acoustic insulation should guide your material choices and layout decisions.
- Reflective ceilings and walls amplify daylight
- Light floors brighten shadows and widen paths
- Minimal hardware preserves clean sightlines
- Durable, washable materials for high-traffic zones
Color Way Perception
Color choices can make a small back-to-back feel larger by tricking the eye with depth and contrast. You’ll use Color psychology to guide mood and space, pairing cool neutrals with warm accents to create focal points without crowding walls.
Keep paint psychology in mind: lighter walls push back, darker trim brings structure, and subtle contrast defines zones without breaking flow. Choose a cohesive palette that echoes adjacent rooms, expanding sightlines rather than cluttering them.
Elevate ceilings with an off‑white ceiling and slightly brighter walls to lift perceived height. Reflective finishes—matte on walls, satin surfaces on cabinetry—reduce glare while preserving depth.
Test color samples in multiple lights, observe at different times of day, and select hues that feel calm, spacious, and purposeful.
A Budget-Friendly Renovation Roadmap and Timeline
Planning a budget-friendly renovation doesn’t have to be overwhelming: start with a clear roadmap and a realistic timeline, then lock in milestones you can actually hit. You’ll maximize space by prioritizing high-impact, low-cost changes first, and you’ll track progress against a simple schedule.
Set a cap on total spend and reserve a contingency fund for unexpected fixes. Focus on energy efficiency upgrades that pay back quickly, like insulation and efficient lighting.
For outdoor landscaping, plan hardscape first to define zones, then add adaptable greenery that won’t require heavy maintenance. Use a phased approach: demo and rebuild, finish work, then final touches.
Stay flexible, document decisions, and review weekly.
- Define priorities and budget caps
- Schedule milestones with buffer
- Target Energy efficiency gains
- Plan Outdoor landscaping strategically
Frequently Asked Questions
How to Avoid Losing Privacy With Open-Plan Changes?
You’ll minimize privacy issues by zoning zones, adding smart partitions, and using tactile materials. Address privacy concerns and open plan challenges with sound-absorbing screens, ceiling coffers, and subtle sightlines, ensuring you preserve intimate spaces while enjoying open, functional design.
Can Small Renovations Improve Resale Value Significantly?
Small renovations can raise resale value considerably, you’ll notice faster buyer interest as interiors glow with better interior lighting and curb appeal improves via landscaping enhancements, like a well-lit doorway and refreshed facade guiding buyers toward value and practicality.
What Hidden Costs Often Break Renovation Budgets?
Hidden costs often break budgets: you’ll face underestimated scope, permits, and material overruns. Practice precise cost estimation, double-check contingencies, and plan for delays. During contractor selection, vet timelines, warranties, and change orders to protect your budget.
Which Building Codes Affect Back-To-Back Extensions?
You’ll need to know Building regulations and Structural safety, which govern back-to-back extensions. You must check local planning rules, fire safety, party-wall acts, and load-bearing limits, ensuring structural stability, sound insulation, and safe egress for future occupants.
How to Ensure Acoustic Comfort Across Rooms?
You should implement soundproofing measures and acoustic treatments to guarantee quiet across rooms. Use dense partitions, resilient channels, toe-kick insulation, and floating floors; seal gaps thoroughly, choose performers-friendly materials, and test acoustics for consistent comfort throughout.
Conclusion
You’ve mapped every inch, like light stitching that sews rooms together. As you reimagine corridors, think of air flowing through a cathedral of shelves and mirrors, alluding to open-air gazebos and sunlit atriums. With compact nooks and hidden storage, your back-to-back becomes a well-orchestrated stage where function leads beauty. Stay precise, budget-smart, and ready to phase tasks—your home grows without crowding, each choice echoing space gained and value earned.