
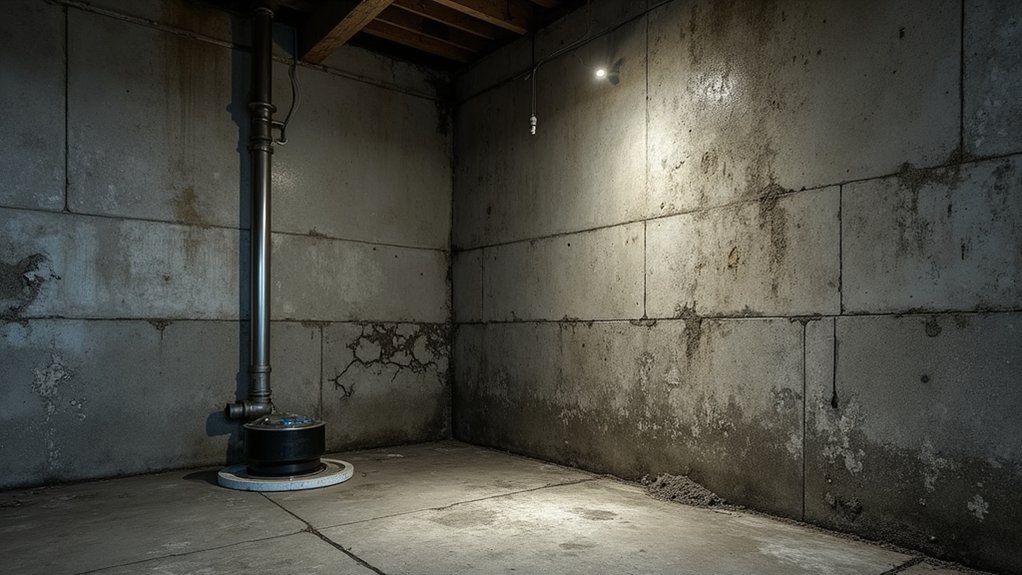

Basement damp proofing protects your home’s structure, health, and value by stopping moisture before it leads to mold, rot, and costly damage. It reduces humidity, improves indoor air quality, and supports energy efficiency. By directing water away from your foundation and controlling dampness, you prevent cracks, deterioration, and pest issues. Proper moisture management also lowers long-term maintenance costs and preserves resale value. If you keep reading, you’ll gain practical steps and contractor tips to get this right.
What Basement Damp Proofing Protects You From
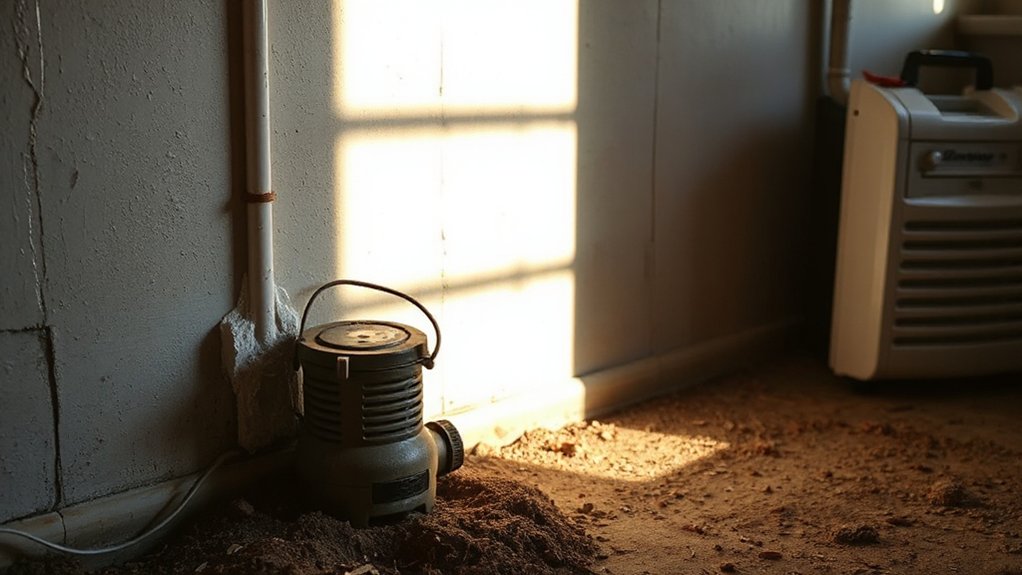
Basement damp proofing protects your home from moisture intrusion that can damage structure, health, and value. You prevent mold growth, rot, and corrosion by blocking water paths and controlling humidity levels.
Proper installation supports a stable foundation, reducing shifting risks and costly repairs. You gain improved indoor air quality when moisture is kept in check, lowering allergy and respiratory concerns tied to damp environments.
By integrating Basement insulation, you maintain steady temperatures, enhancing comfort and energy efficiency without overworking heating or cooling systems.
Ventilation systems play a critical role, exchanging air to remove damp air and odors while preserving warmth.
In short, damp proofing safeguards structural integrity, preserves material life, and protects your family’s well-being and home investment.
Signs Your Basement Needs Damp Proofing
You’ll notice visible water marks, a sure sign the space isn’t sealed against moisture.
A musty odor is another alert that dampness is affecting air quality and surfaces.
Cold, damp walls often accompany moisture intrusion and signal you may need damp proofing sooner rather than later.
Visible Water Marks
You should assess the pattern: irregular patches suggest ongoing leaks; linear rings may reflect previous seepage. Prioritize documenting locations and sources of damp, then implement moisture control measures to halt progression.
Use proper lighting to inspect high-risk areas and check for peeling paint or efflorescence, which reinforce the moisture narrative. Color contrast can help you identify fresh versus old staining, guiding repair urgency.
Address drainage, sealing, and ventilation promptly to protect structural integrity and indoor air quality.
Musty Odor Signals
Musty odors are a telltale sign that damp conditions exist beyond what you can see. When you notice a persistent, stale, or earthy smell in your basement, take it as a warning you need damp proofing now. Effective steps below help you assess and respond without delay.
- Inspect for sources of moisture and improve airflow to reduce stagnation.
- Prioritize basement ventilation to circulate fresh air and slow mold growth.
- Use a dehumidifier to maintain low humidity levels consistently.
- Schedule a professional assessment to verify structural integrity and start Mold prevention strategies.
Cold, Damp Walls
These signs point to ongoing water intrusion rather than porosity alone. Assess exterior drainage, grading, and foundation cracks, then check interior barriers like vapor barriers and sealants.
Poor basement insulation worsens condensation, increasing indoor humidity and elevating mold risk. Address airflow issues that trap moist air, and guarantee proper sump pump operation if present.
Implement a sealed, high-quality basement insulation strategy to minimize heat loss and condensation. Track humidity levels, aiming for stable indoor humidity, and schedule a professional damp proofing evaluation if problems persist.
Damp Proofing vs. Waterproofing: What’s the Difference?
Damp proofing and waterproofing are often confused, but they serve different purposes in protecting a basement. You’ll want to understand where each applies to guard your space effectively, from walls to floors, without overcommitting on techniques.
- Distinguish goals: damp proofing blocks minor moisture; waterproofing blocks significant inflow.
- Assess damage: identify leaks, puddling, or persistent dampness before choosing solutions.
- Consider materials: coatings differ from membranes and drainage systems; select compatible options.
- Align with aesthetics: basement aesthetics and paint selection matter once moisture is controlled, impacting finish and longevity.
Use this guidance to plan a precise approach, then consult pros for the right combination. Your goal is a dry, durable space where paint holds color and integrity remains intact.
Key Damp-Proofing Methods for Basements

Now that you understand damp-proofing versus waterproofing, you can select targeted methods that block moisture effectively. Key damp-proofing methods for basements emphasize prevention, not overwhelmed remediation.
Begin with proper drainage: guarantee gutters and downspouts direct water away, and install exterior grading to reduce hydrostatic pressure.
Seal cracks in walls and floors with compatible coatings, then apply a vapor barrier to limit moisture migration.
Basement insulation improves thermal efficiency and lowers condensation risk, but choose materials suited to damp environments.
Consider interior wall and floor coatings that resist moisture, while maintaining breathable joints where appropriate.
Keep decorative finishes protected with appropriate seals after damp-proofing steps.
Prioritize durable, non-toxic products and professional assessments for lasting performance.
Interior Sealants for Basements: Pros, Cons, and When to Use Them
Interior sealants can be a practical, cost-effective option for basements when moisture intrusion is intermittent or localized, but they aren’t a universal fix. You’ll weigh benefits like quick application and minimal disruption against limits such as hidden growth and long-term durability. In practice, use them alongside other measures, not as a sole solution.
- Assess moisture source: sealants address minor leaks but won’t stop major floods.
- Choose compatible products: elastomeric or epoxy formulations suit concrete walls and reduce vapor transfer.
- Prepare surfaces: clean, dry, and primed substrates ensure better adhesion and performance.
- Plan for safety: consider Basement insulation needs and Radon mitigation strategies where relevant.
Sealants can help, but verify overall moisture control and ventilation to protect health and structure.
Exterior Drainage Solutions That Really Work
Effective exterior drainage starts with solid planning, so you map runoff paths and set clear grading goals before any work begins.
You’ll guarantee downspouts, extensions, and drainage outlets move water away from the foundation, with grading that directs flow at least 5–6 feet from walls.
Use and maintain a streamlined downspout system to prevent pooling and maximize efficiency.
Exterior Drainage Planning
- Assess site drainage, identifying low spots and directing runoff away from walls.
- Install perimeters and swales to channel water toward designed outlets.
- Add sub-surface drains connected to a sump or discharge, minimizing hydrostatic pressure.
- Choose durable, weather-resistant materials and seal penetrations to sustain performance.
Focus on long-term effectiveness with Basement insulation and Moisture barriers as part of the system.
Maintain inspections after heavy rain, and upgrade gaps promptly to prevent hidden dampness.
A precise plan today cuts costly repairs tomorrow.
Proper Grading Techniques
Proper grading is the foundation of exterior drainage that lasts. You shape the surface to direct water away from your foundation, preventing pooling near walls and doors.
Start by evaluating existing slopes: the soil should fall away at least 5 percent, roughly six inches per ten feet, from the structure. Regrade areas where water tends to collect, and compact the soil to resist erosion.
Use clean fill and verify with a level to maintain consistent drainage paths. Install soil-free zones around foundation walls, free of mulch that can trap moisture.
Plan for long-term performance by addressing harsh shifts and adding swales or French drains where needed. Remember: foundation cracks often worsen with poor grading, and pest infestations follow moisture—prioritize correct grading now.
Downspout System Efficiency
- Inspect every downspout and elbow for leaks or cracks quarterly.
- Extend spouts at least 3–4 feet away from the foundation edge.
- Install debris screens and secure hangers to prevent clogs.
- Grade and direct drainage to a cohesive exterior system that integrates with landscaping.
Sub-Slab Barriers and Vapor Barriers: Do They Help?
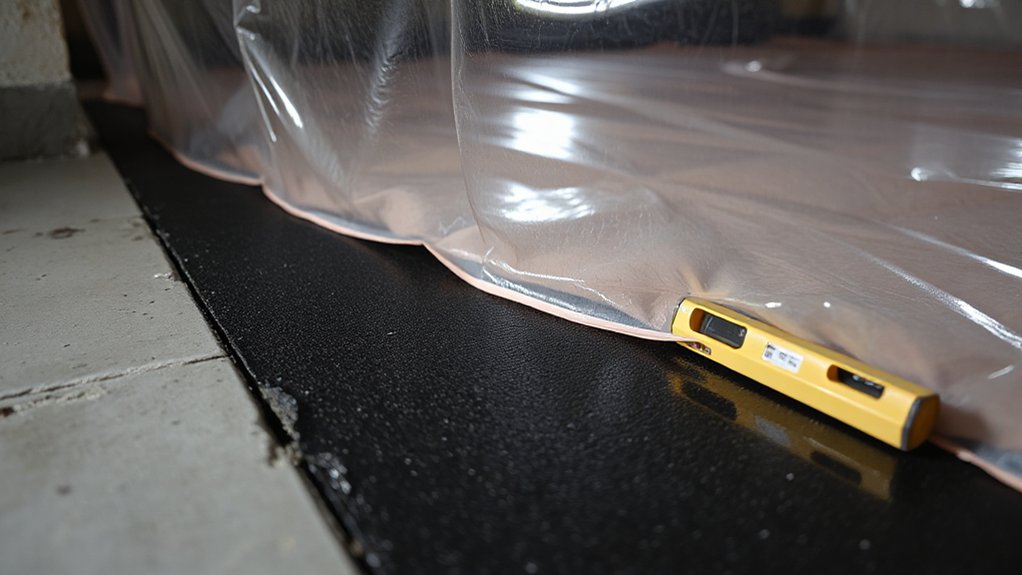
Are sub-slab barriers and vapor barriers worth it for basement damp proofing? In short, yes, but with caveats.
Sub-slab barriers primarily block moisture from migrating through concrete, while vapor barriers limit vapor transmission into living spaces. Together, they reduce humidity levels, support better indoor air quality, and help preserve finishes and basement integrity.
You’ll want under-slab materials that meet local codes and are compatible with the soil and drainage plan. Installation must be precise: a continuous, sealed layer, properly overlapped seams, and full coverage around structural penetrations.
Don’t overlook potential trade-offs; barriers can complicate footing inspections and may impact future access. Use them as part of a holistic approach to maintain basement aesthetics and structural support, not as a standalone fix.
Fixed vs. Flexible Solutions for Hidden Moisture
Fixed options limit where moisture travels, while flexible solutions accommodate shifting soil and concrete movements; both aim to curb hidden damp, but they differ in durability, installation, and adaptiveness.
- Historical trends show a shift from rigid barriers to adaptable systems as soils and loads change over time.
- Material durability matters: rigid setups may crack; flexible membranes absorb stress and re-seal.
- Installation complexity influences choice: fixed methods are often quicker to deploy, flexible options require ongoing inspection.
- Long-term performance depends on environment: moisture pressure, temperature cycles, and movement dictate effectiveness.
Choose based on soil condition, load, and maintenance capability. If you expect movement, prioritize flexible solutions to sustain damp control and durability.
Mold, Health, and Indoor Air Quality in Damp Basements
Mold growth can threaten your health, especially in poorly ventilated or consistently damp spaces.
In damp basements, even small moisture issues can elevate indoor air contaminants and trigger allergies or respiratory symptoms.
Understanding mold risks and how it affects air quality helps you target prevention and remediation effectively.
Mold Growth Risks
Mold growth in damp basements poses immediate health risks and steadily degrades indoor air quality if left unchecked. You’ll see subtle signs that point to broader damage, including staining, odors, and compromised walls. By understanding risks now, you protect your family and property.
- Identify moisture sources early, since ongoing dampness fuels spores and can affect Basement color over time.
- Inspect walls and insulation, noting any gaps in Wall insulation that invite condensation and mold niches.
- Maintain proper ventilation to limit humidity spikes and reduce mold proliferation.
- Act quickly with remediation plans to prevent structural and health consequences, preserving usable space.
Take action today, keep surfaces dry, and monitor for hidden damp pockets to safeguard occupants and value.
Indoor Air Quality Impact
Damp basements directly influence indoor air quality by increasing mold spores, endotoxins, and volatile organic compounds that can irritate lungs and trigger allergies. You’ll notice health effects when moisture persists: persistent coughs, wheeze, and eye or throat irritation become more common.
Basement mold thrives in damp environments, releasing spores that circulate through living spaces and settle on surfaces. Indoor humidity levels play a vital role; high humidity sustains fungal growth and elevates allergen load.
Reducing moisture not only protects the structure but also improves air quality, reducing irritants and potential infections. Prioritize ventilation, dehumidification, and prompt repair of leaks to limit exposure.
How Damp Basements Impact Energy Efficiency
Basements with moisture problems waste energy by increasing heat loss and reducing insulation effectiveness. When dampness persists, you lose thermal performance, forcing your heating system to work harder and consume more energy.
You can protect efficiency by addressing two key elements: Basement insulation and Moisture barriers. Properly installed barriers prevent water intrusion from compromising insulation, while high-quality insulation reduces heat transfer across walls and floors.
Focused actions will yield measurable gains:
1) Seal against air leaks near foundations
2) Upgrade insulation with moisture-compatible materials
3) Install vapor barriers to control humidity
4) Maintain interior humidity to minimize condensation risk
These steps preserve R-values, lower bills, and improve comfort. By prioritizing moisture control, you sustain energy performance without overhauling your system.
Budgeting Damp-Proofing Projects: Costs and What Drives Them
Budgeting damp-proofing projects hinges on two questions: what work needs to be done and how much it will cost to do it right. You’ll weigh material choices, labor hours, and timeline impacts against your goals for long-term dryness.
Costs vary with the scope: addressing minor cracks is far cheaper than installing a full foundation membrane, interior drainage, or sump system. You should account for site conditions, wall type, and existing moisture levels, then add contingency for unforeseen issues.
Key drivers include required moisture barriers, repair priorities, and code-compliant installations. Foundation vents, when present, influence a cost delta by affecting ventilation strategies and potential retrofit needs.
Plan for warranties, permitting, and post-work testing to ensure lasting effectiveness and predictable budgeting.
DIY Risks vs. When to Hire Pros
DIY projects can save money, but they come with real risks that can escalate quickly if you’re not prepared or misjudge moisture issues. You’ll want to assess whether the problem is surface damp or a systemic water intrusion, because that determines the approach and safety implications.
In many cases, professional input prevents costly mistakes and later remediation.
1) Structural risk: improper sealing can worsen cracking and mold growth.
2) Electrical hazard: hidden moisture near outlets and wiring demands professional handling.
3) Incomplete assessment: unseen leaks require specialized tooling and tests.
4) Aesthetic impact: DIY fixes may undermine basement aesthetics and resale value.
When in doubt, hire pros to preserve safety, function, and long-term DIY decoration quality.
How to Choose the Right Damp-Proofing Contractor
When you choose a damp-proofing contractor, start with credentials verification to confirm proper licenses, insurance, and relevant certifications.
Clarify the project scope in writing—expected methods, materials, timelines, and cost breakdown—to avoid scope creep.
Ask about warranties and maintenance—what they cover, duration, and your post-installation responsibilities.
Contractor Credentials Verification
To verify a damp-proofing contractor’s credentials, start with licenses and certifications required in your area, then confirm their active status and any specialty endorsements. You want proof of legitimate authority and ongoing education, plus demonstrated experience with damp-proofing systems.
Use this checklist to compare candidates:
- Licenses and certifications (valid, current)
- Insurance coverage (general liability and workers’ comp)
- Past project references (in similar settings)
- Historical architecture and eco friendly materials awareness (fit with your home)
Ask about material selection, warranties, and documentation of adherence to local codes. Vet digital reviews and request written scope, timelines, and pricing.
Verify association memberships and any disciplinary history. A credentialed contractor delivers precise, durable results aligned with heritage aesthetics and eco-conscious choices.
Project Scope Clarity
A clear project scope is your map to a successful damp-proofing job. You need a precise definition of what to install, test, and verify, so expectations align with results. Start by detailing required outcomes: reduction of moisture, mold controls, and structural safety.
Specify methods and materials for basement insulation and drainage, and define performance criteria for ventilation systems. Include site conditions, timeline milestones, and acceptance criteria for each phase.
Clarify responsibilities, access needs, and safety protocols to avoid delays. Request detailed contractor plans, including diagrams, product data sheets, and warranty terms. Require a written change order process to handle scope shifts without disputes.
Guarantee bid comparisons reflect equal baselines, with transparent pricing and lead times. A well-scoped project minimizes risk and accelerates successful damp-proofing.
Warranty And Maintenance
Choosing the right damp-proofing contractor hinges on solid warranty and maintenance terms. You’ll want clear coverage that lasts beyond installation, with defined remedies for failures. Look for written assurances on air quality and moisture control performance, plus periodic inspection schedules.
- Require a transferable warranty with specified start and end dates.
- Confirm service intervals, documented moisture readings, and remediation steps.
- Ensure predictable costs for maintenance visits and potential repairs.
- Verify manufacturer warranties and the contractor’s responsibility for collateral work.
Additional tips: request a detailed maintenance plan, emergency contact options, and a clear path for dispute resolution.
A solid warranty protects you if damp issues recur and supports ongoing air quality improvements, while moisture control remains the project’s measured standard from day one.
Long-Term Maintenance for a Dry Basement
Routine, proactive maintenance keeps a dry basement over the long term. To sustain dryness, perform seasonal inspections of sump pumps, drainage, and exterior grading.
Clean gutters and downspouts regularly, guaranteeing water directs away from foundation. Test seals on windows, doors, and utility penetrations, resealing where needed.
Monitor humidity levels and address active moisture sources promptly to prevent mold. Schedule professional inspections at least annually to verify drainage efficiency and foundation integrity.
Keep climate control consistent; use dehumidifiers in damp months and ensure adequate ventilation to reduce condensation.
Prioritize basement aesthetics by maintaining clean, dry surfaces and low-odor air—without compromising performance. Implement ventilation solutions that balance airflow with moisture control, avoiding drafts.
Document maintenance actions to support long-term reliability.
Case Studies: Real-World Basements That Stayed Dry
Here are real-world examples showing how smart drainage, precise sealing, and proactive maintenance keep basements dry. You’ll see how these case studies translate into durable results for your space, with attention to Basement aesthetics and ventilation improvement.
- A perimeter drain retrofit halted condensation, preserving walls and floor finish.
- Epoxy sealing paired with a sump pump upgrade prevented water intrusion after heavy storms.
- Humidity control via ventilation improvements stabilized material choices and minimized musty odors.
- Routine inspections caught minor leaks early, avoiding costly DIY repairs and keeping overall dryness intact.
These scenarios prove you don’t need dramatic overhauls to stay dry—just targeted, repeatable steps. Apply similar sequencing to your project, and you’ll sustain dryness, clarity, and a healthier basement environment.
Quick Evaluation Checklist Before You Start
Before you plunge in, perform a quick, clear screen of conditions that can derail a project: check humidity, inspect for active leaks, and confirm that drainage and ventilation basics are sound. This quick eval sets the stage for basement damp proofing success.
You’ll assess first impressions: walls for telltale staining, floors for moisture, and capillary rise indicators.
Verify that basement insulation is intact where needed, and confirm that ventilation systems move air effectively without creating drafts.
Document any odor, mold spots, or musty cues, then categorize urgency.
Guarantee access to electrical outlets and sump clarity if present.
The goal is a concise read on systemic readiness, not a full plan. With baseline stability, you can proceed confidently, avoiding missteps and costly reruns.
Next Steps: What to Ask on Your First Contractor Visit
When you meet your contractor for the first time, come prepared with a short list of essential questions that cover scope, costs, and timelines, and demand clear, written answers. You want precision, not ambiguity, so confirm deliverables, assumptions, and how issues will be documented.
- What exactly is included in the scope and what’s excluded?
- What’re the total costs, payment terms, and potential extras?
- What’s the project timeline, milestones, and possible delays?
- How will you handle ventilation system or basement paint specifics, and how will changes be managed?
Ask for written guarantees, warranty details, and a clear plan for moisture control, drainage, and ongoing maintenance.
Frequently Asked Questions
How Long Does Basement Damp-Proofing Typically Last?
Typically, damp-proofing lasts 10 to 20 years, depending on materials and maintenance. You should check foundation venting and moisture barriers regularly; reseal or replace as needed to maintain effectiveness and prevent hidden moisture issues.
Can Damp-Proofing Fix Existing Flooding Issues Permanently?
Damp-proofing alone won’t permanently fix existing flooding. You’ll need professional assessment and ongoing drainage solutions, plus addressing foundation cracks to prevent recurrence. Consider combined repairs for lasting protection and reliable moisture control, not a single temporary fix.
Will Damp-Proofing Improve Overall Home Resale Value?
Damp-proofing can improve resale value by signaling a well-maintained, moisture-controlled home. It helps address foundation cracks and installs moisture barriers, boosting buyer confidence while reducing future repair risks. You’ll likely see a higher appraisal and faster sale.
Are There Seasonal Best Times for Installation?
Seasonal considerations matter: you should schedule damp-proofing in mild, dry spells, avoiding freeze-thaw or heavy rain. The best installation timing is spring or early fall, when conditions stay dry and temperatures support effective adhesion and curing.
What Maintenance Is Required After Damp-Proofing Is Done?
Seal any minor gaps and maintain ventilation improvements; guarantee continuous moisture control by inspecting seals quarterly, clearing vents, and monitoring humidity. You should recheck after heavy rains or seasonal shifts to preserve effectiveness and prevent leaks.
Conclusion
You now know why basement damp proofing matters and how it protects your home from mold, warped floors, and structural damage. An attention-grabbing stat: homes with basement damp-proofing reports show up to a 20% decrease in moisture-related claims. You’ll spot signs early, choose the right method, and maintain it for long-term dryness. When you meet a contractor, you’ll ask the right questions and get clear, actionable next steps to keep your basement dry year after year.