
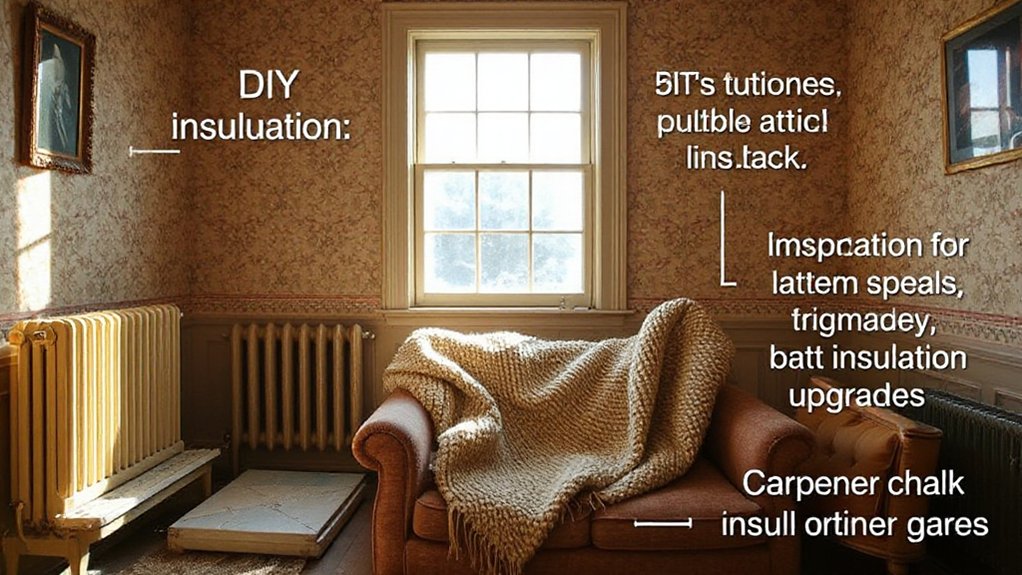

You can start by finding drafts and gaps around doors, windows, and penetrations, then seal them with weatherstripping, caulk, or foam gaskets. Tackle attic and basement insulation next, choosing cost-effective options like blown-in cellulose or mineral wool where it makes sense. Prioritize air sealing before adding insulation, and focus on areas with the most heat loss. With a practical, staged plan and an eye on budget, you’ll see steady savings—and you’ll want to keep going.
Identify Your Home’s Insulation Gaps
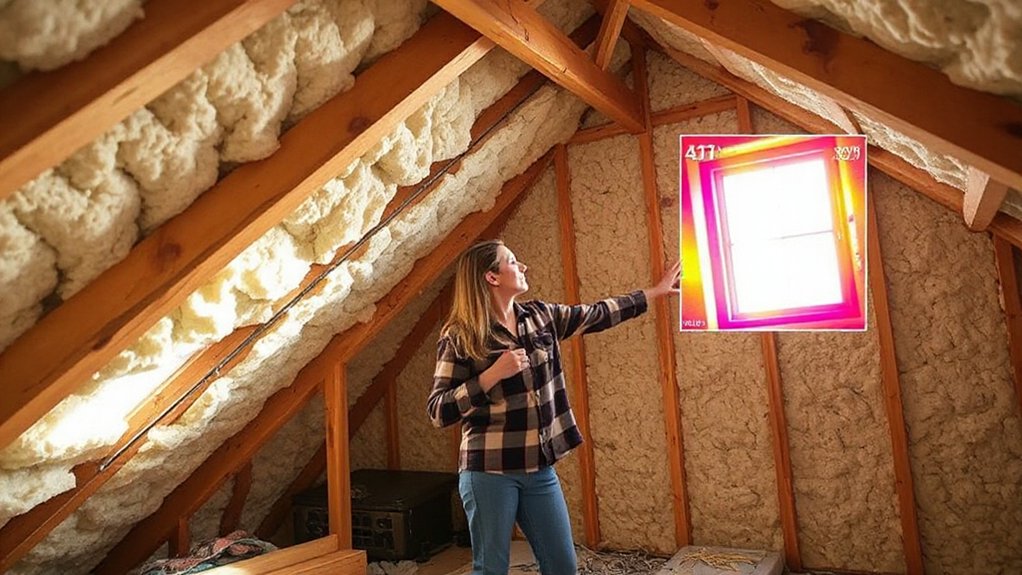
Start by walking through each room and noting where drafts or cold spots show up. You’ll map gaps from wall cavities to attic regions, so you target the right fixes without wasted effort. Begin outdoors, feeling for air leaks around penetrations, then peek behind wall panels or basements to gauge insulation presence.
In the attic, check insulation depth and under-vented spots; verify Attic ventilation isn’t blocked, and look for loose, settled batts. In walls, press on studs and electrical boxes to detect hollow areas, then probe outlets for drafts.
Mark gaps with painter’s tape or chalk, rating severity as mild, moderate, or severe. Record the location and type of gap, plus any moisture signs. This gives you a precise, cost-conscious plan to tighten your home efficiently.
Fast Fixes That Cut Drafts
You’ve pinpointed where drafts sneak in, so let’s tackle quick wins that don’t require major overhauls. Start with door sweeps on every exterior door; a tight seal stops under-door air leaks and is inexpensive to install. Add thermal curtains on cold-facing windows; they reduce radiant heat loss at night and during peak cold snaps.
Inspect weatherstripping around doors and windows; replace crumbled foam or worn vinyl to restore snug gaps without remodeling. Use draft stoppers for fireplaces and unused vents; seal off gaps with affordable draft-proofing items.
Address outlets and switch plates with foam gaskets, especially on exterior walls. Finally, place rugs on bare floors to cut up convection currents; focus on high-traffic rooms first for immediate comfort and bill relief.
Long-Term Upgrades That Pay for Themselves
These long-term upgrades pay for themselves over time by dramatically cutting heating and cooling costs while boosting comfort. You’ll want solutions that pay back quickly and stay effective for years.
Start with window upgrades that seal and reflect; apply thermal curtains in key rooms to trap heat in winter and block heat in summer, reducing HVAC cycles. Pair them with window films on sunny sides to reduce glare and solar gain without sacrificing natural light.
Consider high-efficiency insulation upgrades in attics and basement access points, plus air sealing at penetrations you can budget month by month. Look for components with durable warranties and low maintenance.
Track energy use before and after, and document savings to verify payoff timelines and keep upgrades on a practical, cost-conscious path.
Common Problem Areas in Older Homes
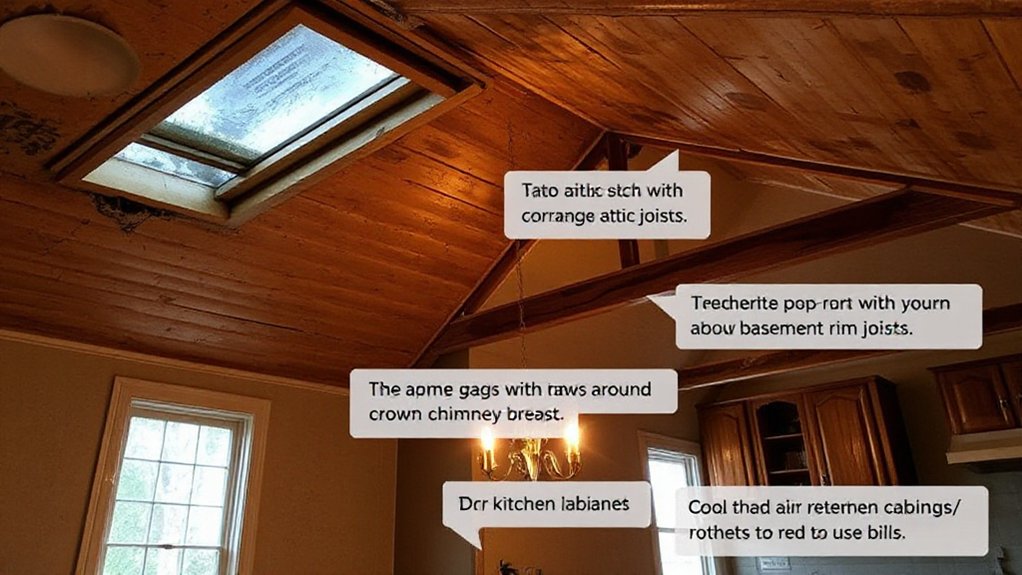
Older homes often conceal the cost hits behind their charm, so quick wins matter. You’ll commonly find insulation gaps at attic hatches, knee walls, and behind outdated lath-and-plaster.
Check the attic for air leaks around soffits and hatch doors, then seal with expandable foam and weatherstripping.
In walls, narrow cavities and missing insulation behind plaster can create cold spots; consider blown-in cellulose or mineral wool if you’re rewalling.
Foundation gaps near plumbing pipes invite drafts; seal with foam and caulk, then add vapor barriers where needed.
Historic preservation guides your choices, so opt for retrofit methods that don’t alter exterior appearances.
Consider aesthetic considerations: preserve historic finishes while upgrading access points, and document alterations for future maintenance and insulation performance.
Prioritize air sealing first, then targeted insulation upgrades.
Plan a Budget-Friendly, Staged Retrofit
If you’re planning a retrofit on a budget, start with a clear, staged plan that targets the biggest payoffs first. Begin with an assessment of insulation standards across the home, identifying spots where heat leaks most and where gains are easiest to achieve.
Prioritize projects that deliver quick, measurable reductions in heat loss, such as sealing air leaks, adding attic insulation, and upgrading exterior doors or windows to a basic, efficient level.
Map actions to seasons to avoid weather delays and spread costs evenly. Use retrofit planning to set a realistic timeline and budget, including contingency funds.
Track progress with simple benchmarks, reviewing energy bills month by month. Choose cost-effective materials, seek rebates, and document savings to justify subsequent stages.
Frequently Asked Questions
How Long Does a Full Retrofit Typically Take to Complete?
A full retrofit typically takes several weeks to a few months, depending on scope and weather. You’ll plan around historical accuracy and aesthetic considerations, budgeting carefully while coordinating trades, permits, and inspections for a practical, cost-conscious timeline.
Which Insulation Types Work Best in Retrofits?
You should opt for mineral wool or closed-cell spray foam as insulation materials, balancing cost and performance, while considering Retrofitting challenges like access, moisture, and ventilation; choose breathable layers and proper sealing for best overall effectiveness.
Do Retrofits Affect Home Resale Value?
Yes, retrofits can raise resale value if done right. You’ll consider renovation costs against potential market impact, but reputable upgrades often appeal to buyers and justify a higher asking price without breaking your budget.
Can Government Grants Cover Insulation Upgrades?
Yes, government funding can cover insulation upgrades through insulation subsidies, though eligibility varies. You’ll need to check local programs, apply promptly, and document costs; this can offset project expenses and maximize your efficiency improvements and long-term savings.
What Maintenance Is Required After Installation?
You should perform a regular insulation inspection and follow a maintenance schedule: check for gaps, moisture, and pests, reseal where needed, replace damaged vapor barriers, and document findings to prevent energy loss and costly future repairs.
Conclusion
You’ll see real savings when you seal first, then upgrade where it matters most. Start with doors, windows, and penetrations, using weatherstripping, caulk, and foam gaskets to lock drafts. Tackle attic and basement gaps, then consider blown-in cellulose or mineral wool for walls. Track energy use, keep fixes affordable, and plan upgrades seasonally. If you stay pragmatic and staged, the bills drop steadily, comfort rises, and your older home finally pays you back.