
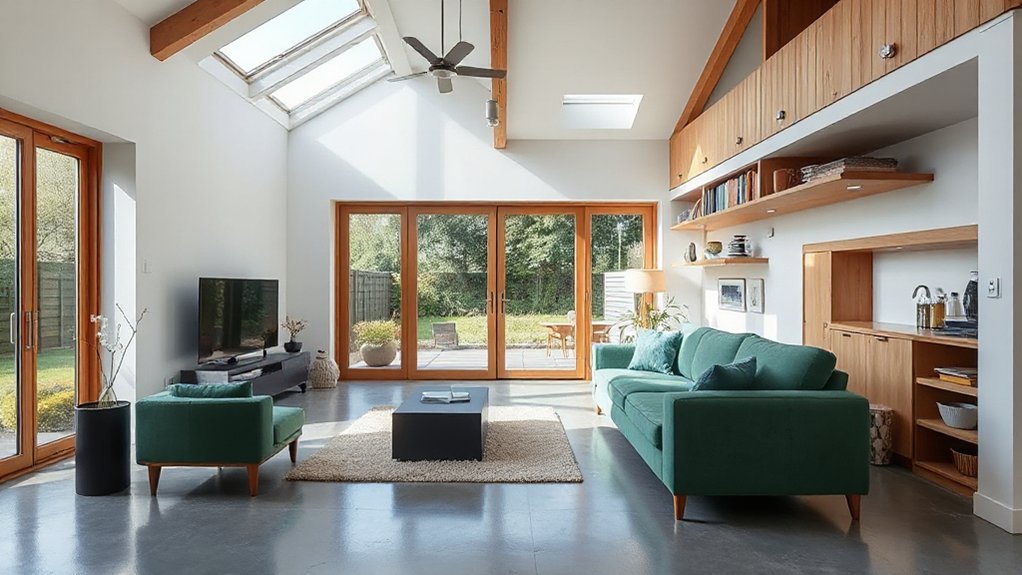

Kent homes thrive on thoughtful insulation, smart heating, and durable finishes. You’ll want to prioritize draft-proofing, high-performance windows, and efficient systems that cut bills without sacrificing comfort. Think low-maintenance surfaces, clever storage, and compact, coastal-inspired palettes. Extend outdoor living with sustainable materials and plan permits early. Ready to balance modern convenience with a local climate, but first, consider how budget, trades, and timing will shape your exact path. Where do you start?
Assess Kent Home Priorities
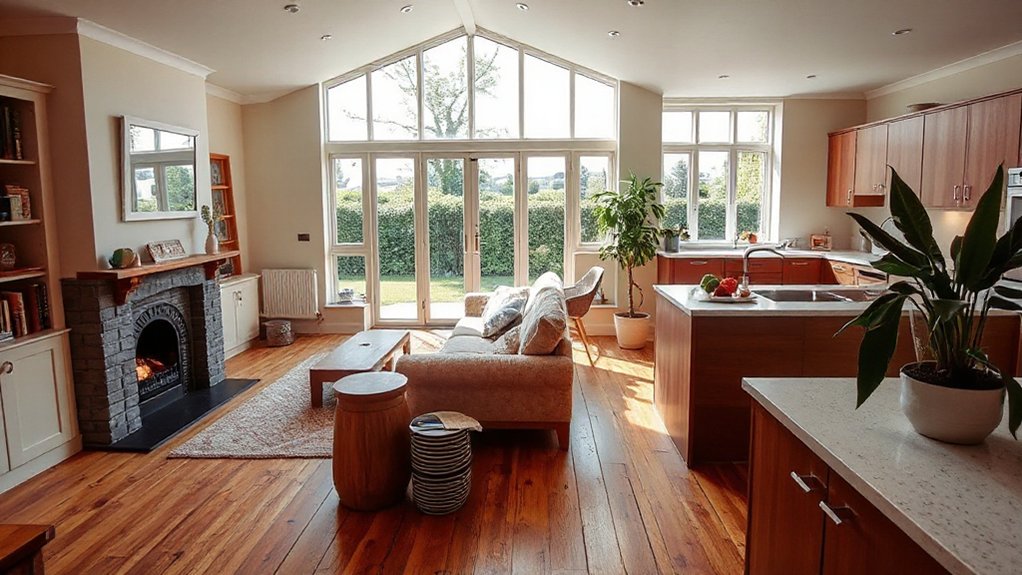
Before you start any renovation, assess your Kent home priorities by listing what matters most to you—timing, budget, and how the changes will affect daily life. You’ll map project scope, then align decisions with practical constraints and design goals.
Start with a clear timetable, noting critical milestones and any planning permissions required in Kent. Next, set a realistic budget with contingency for surprises, and decide which areas take priority.
Consider how each change will impact daily routines, storage needs, and traffic flow. For design-focused clarity, outline preferred interior color schemes that support lighting, mood, and room function.
Integrate garden landscaping ideas that complement the interior vibe while staying within budget. Maintain documentation—sketches, contracts, and decision logs—for a streamlined renovation.
Insulate and Draft-Proof Kent Homes
Ever wondered how much comfort and energy savings slip through the cracks in Kent homes? You’ll start with a precise draft audit, locating gaps around doors, floors, and loft access.
Target airtight seals first, then upgrade insulation materials where heat leaks most: attic corners, external walls, and pipe penetrations. Choose breathable, high-performance options that deter moisture while maintaining thermal resistance.
Prioritize continuous insulation and a well-sealed cavity to reduce convection loops and cold spots, enhancing thermal comfort room by room.
Combine rigid boards with mineral wool for mixed assemblies, and add door sweeps or weatherstripping to perimeter gaps.
Install a controlled, well-ventilated approach to maintain indoor air quality without compromising warmth.
Finish with sensible zoning for use patterns and seasonal adjustments.
Improve Windows for Kent Comfort
Even a small window upgrade can dramatically improve Kent comfort, especially when you optimize frames, glazing, and seals together. You’ll start by evaluating existing casements and sashes for drafts, then target high-leak areas with weatherstripping and improved glazing.
Prioritize window aesthetics without sacrificing performance, choosing materials and finishes that complement Kent’s architecture while boosting energy efficiency. Consider sash replacement for frames with loose sashes or persistent sticking, which can dramatically reduce heat loss and noise transmission.
Integrate tight seals at all transition points to minimize drafts around sills and masonry. Opt for double- or triple-glazed units with low-emissivity coatings to balance daylight with reflectivity.
Finally, align style choices with future maintenance needs and overall interior design goals for a cohesive upgrade.
Budget Kitchen Refreshes for Kent
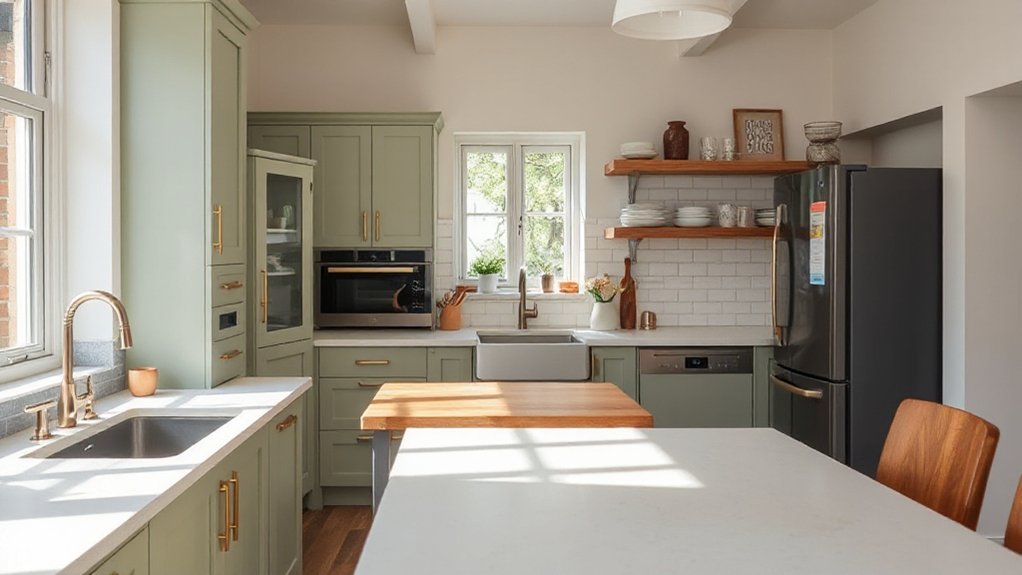
If you’re revitalizing your Kent kitchen on a budget, start with the essentials: layout tweaks, durable finishes, and smart storage that boost usability without breaking the bank. You’ll maximize flow, reduce clutter, and keep surfaces resilient for daily use. Prioritize kitchen decor that reads cohesive without costly upgrades, and pair it with pragmatic appliance upgrades that improve efficiency rather than size.
- Optimize layout to create work zones, freeing counter space and shortening pathways.
- Choose durable, wipe-clean finishes and consider budget-friendly replacements that mimic premium textures.
- Integrate smart storage solutions—pull-out trays, vertical organizers, and labeled bins—for clear access and reduced waste.
Focus on cohesive color, simple hardware, and energy-efficient appliances to elevate value and longevity.
Brighten Small Kent Living Rooms
Brighten your small Kent living room with white walls to reflect light and create a sense of airiness. Maximize natural light by keeping window treatments light and unobtrusive.
Place mirrors or glass-front furniture to bounce brightness further. Use smart reflective surfaces—polished floors, glass accents, and glossy finishes—to amplify what you already have without crowding the space.
Brighten With White Walls
White walls do more than mirror light—they amplify it, making small Kent living rooms feel instantly airier. You’ll notice interior brightness when you pick the right white and balance undertones with flooring, trim, and furnishings. Use high-quality matte or soft eggshell to reduce glare while preserving depth.
Consistency matters: repeat your wall color in accents to unify the space and avoid choppiness. Consider contrast with warm wood or cool metals to add dimension without crowding the room.
- Choose a versatile wall color with balanced undertones to support interior brightness.
- Test samples at different times of day to confirm true tone in Kent light.
- Pair white walls with purposeful accents—texture, soft textiles, and matte finishes.
Maximize Natural Light
Use light diffusers to soften harsh glare while preserving brightness; choices include frosted glass, acrylic panels, or satin finishes on ceiling fixtures. Keep window treatments simple—bare or sheer curtains let daylight flow in freely.
Reflective surfaces, like pale wood or tile, help bounce light without overpowering the space. Finally, maintain clean, uncluttered sightlines to prevent dark corners from forming.
Smart Reflective Surfaces
- Maximize window adjacency with mirror-like panels that align with the sun’s trajectory.
- Integrate smart glass partitions to switch between openness and enclosure.
- Choose neutral, low-contrast tones to prevent visual fatigue.
Bathroom Upgrades for Kent Weather
In Kent’s damp climate, you’ll want weather-resilient fixtures that resist mildew and rust without sacrificing style.
Plan for warmth amid dampness with materials that feel inviting and maintain a comfortable bathroom atmosphere.
Pair efficient heating solutions with smart placement to keep the space cozy while staying energy-conscious.
Weather-Resilient Fixtures
Weather can challenge Kent homes, so start with fixtures built to endure humidity, temperature swings, and occasional leaks. You’ll choose weather resistant fixtures that resist corrosion and mold, while maintaining a cohesive bathroom look. Prioritize materials that stay stable in damp air and heat, and pair them with secure seals to minimize leaks. Think compact, efficient design that keeps maintenance low and longevity high. A practical focus helps you blend form and function, so you get enduring appeal without sacrificing style.
Consider finishes that tolerate frequent cleaning and humid climates, plus hardware you can rely on after storms.
- Invest in corrosion-resistant metals and nonporous surfaces for taps and shower hardware.
- Use sealed, moisture-safe cabinetry with concealed plumbing access for easy maintenance.
- Select durable outdoor furnishings with weather-resistant coatings to extend bathroom passages.
Warmth Amid Dampness
To keep a Kent bathroom warm despite damp air, start with heat-retaining materials and smart layout. Use concrete boards or porcelain tiles with high thermal mass on walls and floors. Then pair underfloor heating with a low-temperature radiant system for consistent warmth.
Optimize the layout to place the bath, shower, and vanity away from drafts. And orient windows to minimize heat loss while maximizing natural light. Choose grout and sealants rated for damp environments to maintain performance.
Incorporate fireplace ambiance cues through warm-toned lighting, matte metal fixtures, and a mirrored focal point to reflect heat. Layer with cozy textiles—thick towels, bath mats, and a woolen throw near the tub—for added comfort and insulation without clutter.
Prioritize durable finishes that resist humidity.
Efficient Heating Solutions
Efficient heating in a Kent bathroom starts with smart zoning and low-temperature systems that pair comfort with energy savings. You’ll design with precision: target consistent warmth, reduce hot spots, and minimize standby losses.
Prioritize energy efficiency by selecting heating systems engineered for bathrooms, like infrared panels or underfloor mats, paired with precise thermostats. Integrate moisture-rated components and consider a dedicated, variable-speed pump for radiant floors to balance heat delivery and efficiency.
- Install zoned controls and programmable thermostats to tailor heat by area and time.
- Choose low-temperature radiant floor systems or panels with thermal mass for stable comfort.
- Pair pumps, valves, and insulation upgrades to maximize energy efficiency and reduce run times.
Smart Heating for Year-Round Comfort
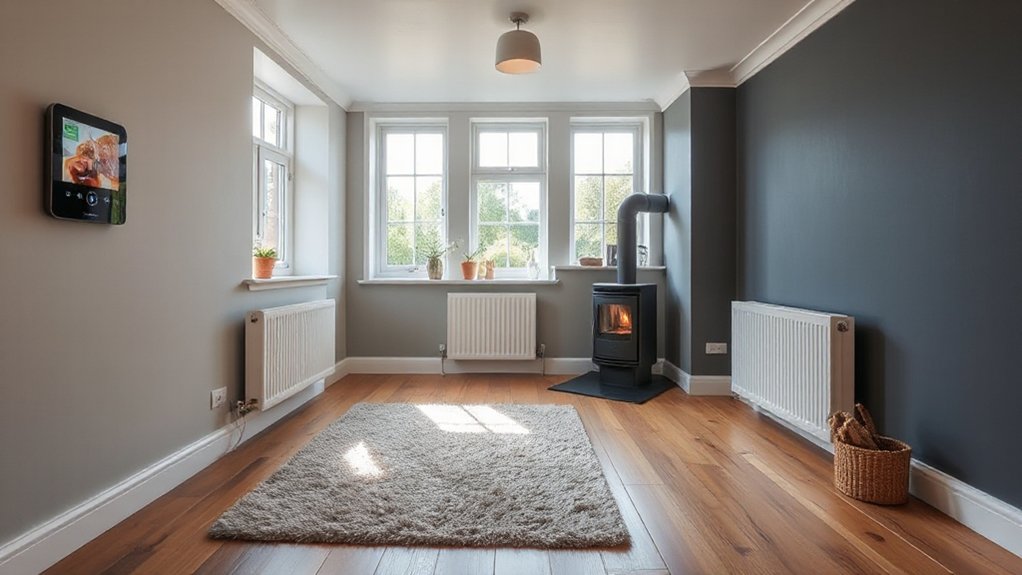
Smart heating systems can dramatically improve comfort and energy use year-round, especially in Kent’s variable climate. You’ll benefit from a design-minded setup that blends efficiency with aesthetics.
Begin with Smart thermostats, which learn your routines and adjust zones without overspending. Pair them with radiant panels installed under floors or low-profile walls to deliver even warmth without visible bulk.
For year-round comfort, zone control matters: separate thermostats for living areas, bedrooms, and the home office prevent heat waste. Choose a system with remote access, so you can tweak temperatures from your phone before you arrive.
Prioritize silent operation, quick response times, and compatible radiators or underfloor mats. Finish with well-sealed ducts and smart ventilation that maintains humidity without drafts.
Durable Flooring for Kent Homes
Durable flooring is essential in Kent homes, where busy families, pets, and frequent entertaining demand surfaces that withstand wear without sacrificing style. You’ll choose materials that balance resilience with warmth and texture, prioritizing long-term performance over quick trends.
Consider finishes and underlayment that reduce noise and improve comfort, so rooms feel cohesive and inviting. In Kent homes, practicality meets design, so select tones and grains that hide minor scuffs while aligning with your overall palette.
Maintenance should be straightforward, with cleanability and scratch resistance in mind. Below are reliable options to match your lifestyle:
1) High-performance laminate or luxury vinyl planks for kitchens and hallways
2) Engineered hardwood with durable finishes for living spaces
3) Porcelain or ceramic tile with slip resistance for baths and entryways
Smart Storage and Clutter Solutions
Transform clutter into calm with practical storage that fits Kent homes’ rhythm: prioritize built-in solutions that maximize wall space, keep surfaces clear, and blend with your finish choices. You’ll shape smart storage around how you live, not just what you own.
Start with tall, wall-to-wall units in living areas to absorb gear without stealing floor area. Use floating shelves above work zones for quick access, yet keep desks and counters uncluttered.
Integrate innovative shelving that adapts to changing needs—adjustable dividers, modular panels, and pull-out trays for toys, tools, and linens. Add hidden compartments in benches, ottomans, and bed bases to conceal seasonal items.
Choose finishes that echo door hardware and cabinetry for cohesion, while maintaining easy maintenance and effortless accessibility. Your rhythm, your spaces, neatly ordered.
Solar Potential for Kent Homes
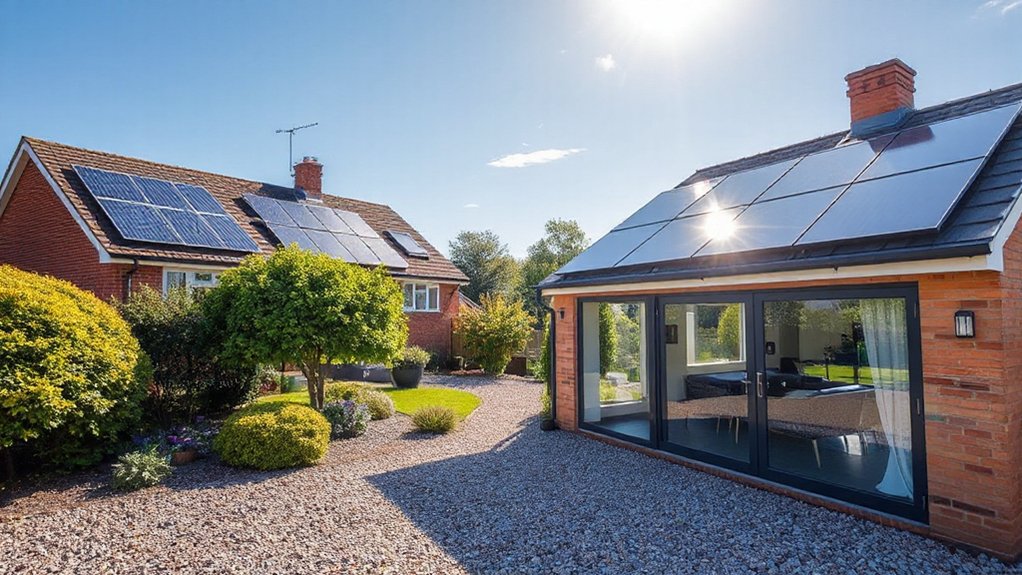
Kent roofs have real potential for solar, especially with a clear, south-facing slope and minimal shading. You can maximize performance by conducting a precise solar analysis early in the design, then align panel layout with roof geometry to optimize energy capture. Focus on orientation, tilt, and insulation to protect energy capacity across seasons. This approach keeps the system compact yet effective, reducing losses and maintenance needs.
- Assess shading, roof angle, and historic weather patterns to forecast annual energy output.
- Map panel groups to maximize electrical capacity while preserving curb appeal and drainage.
- Plan for future expansion, including inverters, battery storage, and grid interconnection, without compromising structure.
With disciplined planning, you’ll release reliable solar performance and tangible energy capacity for Kent homes.
Sustainable Materials for Kent Styles
Choose finishes and substrates that align with Kent’s climate—low moisture migration, stable pigments, and breathable assemblies. Favor renewable resources like responsibly sourced timber, cork, and hemp composites, ensuring certified origins.
Opt for durable, low-embodied-energy choices such as lime-based renders, mineral-based plaster, and recycled-content insulation. Design decisions should emphasize slim profiles, clean lines, and joints that celebrate material honesty without sacrificing weatherproofing.
Plan for lifecycle adaptability: reversible fittings, modular components, and easy-to-repair elements. Enduring aesthetics meet responsible function when detailing prioritizes performance, provenance, and local craft.
Outdoor Living: Pave, Patio, Potting
Outdoor living in Kent hinges on pairing durable, low-maintenance surfaces with smart planting and seating options that enhance curb appeal. You’ll design a cohesive paved area that handles foot traffic and weather, then add planters for color and texture. Keep the layout simple to maximize usable space and ease of maintenance.
- Choose permeable pavers and a complementary edging to reduce runoff, then integrate garden furniture that resists fading and moisture.
- Layer lighting thoughtfully—path lights guide movement, while warm outdoor lighting highlights seating zones without glare.
- Pot plants in varying heights for depth, ensuring access for watering and maintenance.
This approach prioritizes practicality, with garden furniture and outdoor lighting acting as anchors for style and function.
Conservatories and Extensions: Practicalities

When planning conservatories and extensions, you’ll want a clear path from concept to completion that emphasizes durability, energy efficiency, and seamless integration with your existing home. You’ll assess site constraints, choose compliant materials, and align scales with architectural style.
Glass extensions offer bright, panoramic views and minimal visual weight, but require careful framing, thermally broken windows, and shading strategies to curb heat loss.
Roof conservatories should balance structure and insulation, with solid end walls, robust glazing bars, and a permeable drainage plan to prevent damp.
Consider UV protection, solar gain controls, and airtight detailing for year-round comfort.
Plan for electrical feeds, lighting zones, and furniture layouts that maximize usable space while preserving a clean silhouette.
Guarantee permits, warranties, and installer credentials are verified before signing.
DIY vs Pro: What to Tackle
You’ll weigh DIY vs Pro boundaries by weighing cost and time tradeoffs against the task’s scope.
Consider your skill level and safety limits to decide what’s feasible in design-forward spaces.
We’ll outline clear boundaries so you know what to tackle yourself and what to hire out for, without overreaching.
DIY Or Pro Boundaries
Determining what you can handle yourself and what needs a pro comes down to safety, code compliance, and long-term results. Start by mapping out tasks that involve electrical, plumbing, structural changes, or gas lines, and flag anything with potential safety risks. You’ll set clear boundaries that protect you and your project’s integrity, while still keeping room for smart DIY wins.
When in doubt, seek professional collaboration to verify plans before you cut or drill. A thoughtful boundary keeps you moving forward without compromising codes or warranties.
- Identify tasks that require permits or inspections and defer them to licensed pros.
- Schedule a pre-work review with a contractor to align design intent and technical feasibility.
- Document decisions and outcomes to track DIY boundaries for future projects.
Cost And Time Tradeoffs
Balancing cost and time starts with a clear view of what you can tackle safely and what benefits from a pro. You’ll perform a practical cost analysis to decide where materials, labor, and permits fit your budget, then weigh outcomes against potential delays.
For simple cosmetic updates, DIY often saves money and accelerates progress if you’re organized and detail-focused.
More complex tasks—electrical, plumbing, structural changes—warrant professional oversight to avoid costly mistakes and rework.
Emphasize time management by sequencing tasks, securing permits early, and batching chores that share tools.
Establish a milestone plan with budget buffers for surprises.
Keep designs compact and repeatable to reduce waste and labor.
Prioritize high-impact updates that improve function and aesthetics without driving up risk or duration.
Skill And Safety Limits
If you’re weighing what you can DIY versus what needs a pro, start by mapping your skills against the job’s risks. You’ll balance practical gains with safety, and you’ll design with limits in mind. Focus on skill development and clearly define safety protocols before any tool leaves its box.
When in doubt, treat unfamiliar tasks as pro work to preserve structure and finishes.
- Assess tool familiarity and required measurements to avoid costly mistakes.
- Establish step-by-step safety protocols, including PPE, lockout/tagout, and clean work zones.
- Prioritize projects by risk level, scheduling high-risk tasks with professional oversight as needed.
Kent Permits: Planning and Rules
Exploring Kent’s permit landscape starts with clear planning: understand what needs planning permission, what qualifies for permitted development, and the timing for submissions. You’ll map project scopes to the rules, avoiding costly missteps.
Start with your property type and the intended alteration, then verify local nuances that influence approvals. Kent permits hinge on scale, impact on neighbors, and visual character; modest enlargements or new extensions often fall under permitted development, yet setbacks and height constraints can shift eligibility.
Planning rules emphasize design quality, materials, and drainage considerations, so outline facade treatments, rooflines, and site access early. Before you draft plans, consult the local authority’s guidance, outline documentation, and timelines.
Clear pre-application chats save revisions, accelerate decisions, and keep your renovation on track.
Financing Your Kent Renovation: Tips

Financing your Kent renovation starts with a clear budget and a realistic timeline, then lining up funding options that fit both scope and pace. You’ll align costs with design intent, ensuring purchases and labor stay on track without overspending. Consider how much you can borrow versus what you’ll save, and confirm repayment terms upfront to avoid surprises later. Choose options that minimize interest, fees, and risk to your project schedule.
- Compare financing options across lenders and credit unions, focusing on fixed vs. adjustable rates and drawing schedules.
- Assess renovation loans specifically, confirming disbursement controls align with milestone completions and inspection passes.
- Build a contingency line for unexpected costs, keeping it separate from your main loan to preserve project momentum and payment clarity.
Finding Reliable Kent Tradespeople
Seek reliable contractors who demonstrate defined processes, transparent pricing, and documented warranties. Check portfolios for relevant renovation work, focusing on projects similar in scale and finish quality.
Contact former clients to verify reliability, timeliness, and professionalism, asking concrete questions about communication and problem-solving.
Verify licenses, insurance, and any required permits, and confirm they’re up to date.
Request detailed written proposals with milestones, change-order terms, and payment schedules.
Prioritize trustworthy artisans who communicate clearly, provide progress updates, and welcome collaboration during design refinements.
Trust your due diligence to reduce risk and elevate your renovation outcomes.
Local Resources for Kent Renovations
Tap into Local Trade Networks to connect with vetted Kent pros and streamline project workflows.
Use Kent-Based Pros Guides to compare specialists, check portfolios, and verify licenses before you commit.
Stay on top of Permit and Code Checks early in planning to avoid surprises and keep designs compliant.
Local Trade Networks
- Establish vetted local suppliers and trades with portfolios mirroring your styles.
- Schedule regular on-site reviews to align materials, finishes, and timelines.
- Prioritize partners skilled in local craftsmanship and regional craftsmanship.
Kent-Based Pros Guides
If you’ve aligned with trusted local trades and solid portfolios, you’re ready to map out Kent-based pros who can bring those plans to life. Start with design-focused firms that present clear portfolios, timelines, and transparent pricing.
Seek specialists in home decor and garden landscaping who understand Kent’s climate, materials, and style cues. Prioritize detailed quotes, sample boards, and on-site consultations to verify compatibility with your vision.
Build a short list of painters, carpenters, and landscape designers who collaborate in phased renovations, keeping disruption minimal. Check references for consistency in finishes and adherence to schedules.
Confirm licensing, insurance, and warranty terms before signing. Use local suppliers and mills to support synergy, then schedule milestone reviews to ensure the project stays aligned with your design goals and quality standards.
Permit and Code Checks
Before you plunge into construction, start by confirming local permit and code requirements for Kent renovations, then map a clear approval path with your pros. You’ll align your plans with the permit process and ensure code compliance from day one, avoiding delays later. Gather critical documents early, identify permit types, and schedule inspections to keep momentum.
Coordinate with local authorities to validate structural, electrical, and plumbing scopes, and lock in timelines that fit your design milestones.
- Confirm permit scope, timelines, and applicable codes with Kent’s building department to prevent rework.
- Create a pre-inspection checklist focusing on safety, accessibility, and energy efficiency to support code compliance.
- Schedule and track inspections, approvals, and documentation in a centralized project log.
Frequently Asked Questions
What Grants or Subsidies Exist for Kent Home Renovations?
There are grant opportunities and subsidy eligibility you can explore. Check local council programs, energy efficiency schemes, and retrofit grants; you may qualify for home improvement subsidies, carbon-reduction incentives, and architectural-access grants to fund Kent renovations.
How Long Do Typical Kent Renovation Projects Take?
You picture a ticking clock and blueprint details as you start: a typical Kent renovation takes weeks to months, depending on scope. You’ll map a realistic renovation timeline, coordinate trades, and refine project planning for smooth progress.
Are There Any Kent-Specific Building Code Quirks?
Yes, you’ll encounter local planning nuances and historic preservation rules you must follow. You’ll assess approvals, confirm setbacks, and coordinate with planners. You’ll respect preservation guidelines while detailing design choices that fit Kent’s character and schedules.
What’s the Average Cost for a Kent Kitchen Refresh?
A kitchen refresh in Kent typically runs 15–40k, depending on finishes and layout. You’ll want a clear renovation budget and smart kitchen design choices that balance quality with cost, optimizing fixtures, cabinets, and appliances for lasting value.
How Do I Verify Kent Tradespeople’s Credentials?
Verify Kent tradespeople by checking trade licensing and certification standards, then confirm with up-to-date online databases and past work. You’ll compare credentials, request licenses, insurance, and references, and insist on compliant, documented proof before hiring. Sight: a tight, reliable scaffold.
Conclusion
You’ve got the blueprint—now make it livable. Prioritize insulation, draft-proofing, and efficient heating to cut in on bills, then upgrade windows and finishes with moisture resistance for longevity. Align bright, practical layouts with smart storage and low-maintenance landscaping. Keep permits and budgets tight, and lean on trusted Kent trades for steady progress. Think of your home as a well-tuned instrument: small, precise tweaks create a harmony of comfort, efficiency, and enduring style. Your renovation, finally in tune.