


Full bungalow renovations hinge on upfront costs you can’t ignore: permits and code upgrades, structural and foundation checks, and shell protection that blocks moisture and future damage. Then you’ll face material and labor rates, mechanical system upgrades, and finishes that define your budget. Plan for project management and contingency money for surprises. If you’re mapping phases, you’ll spot where a small miscalculation compounds later, and that awareness could change your approach entirely. Keep that in view as you push forward.
What Drives Bungalow Renovation Costs Upfront
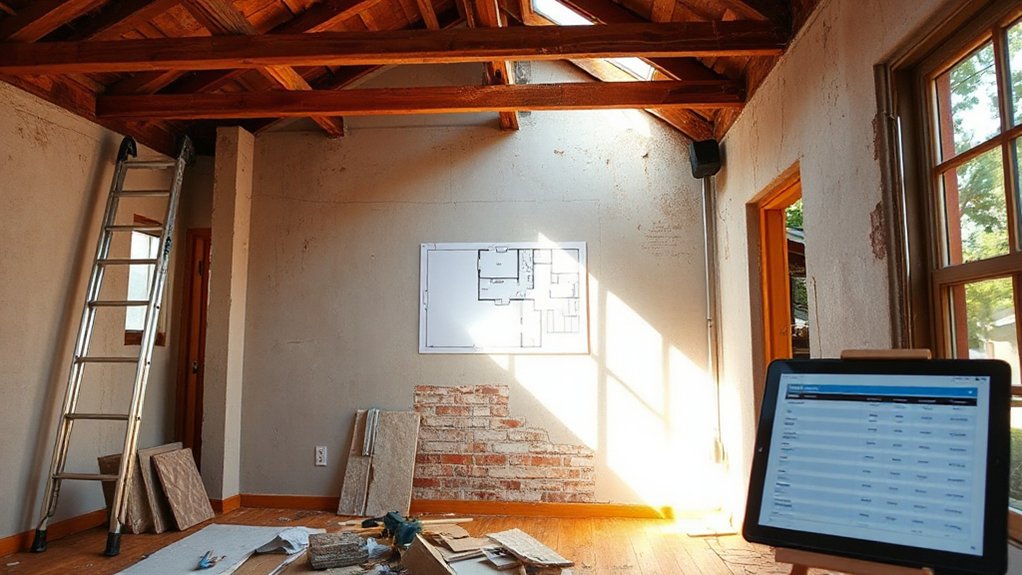
Upfront costs for bungalow renovations are driven mainly by scope and the condition of the structure. You evaluate structural integrity, foundation stability, and load-bearing changes, then translate findings into a quantified budget.
When framing walls or replacing joists, you’ll see material-and-labor splits that guide decisions on efficiency vs. durability.
Mechanical upgrades—plumbing, electrical, HVAC—are priced per square foot, with contingencies for rewiring or upgrading panel capacity.
Exterior work, like roofing or insulation, hinges on climate and existing finish quality, influencing payback on energy improvements.
Landscaping costs enter early if site grading, drainage, or outdoor living areas are planned; interior decor decisions affect subsequent budgeting through finishes, fixtures, and custom cabinetry.
Track unit costs and durations to compare contractors and identify cost-saving tradeoffs.
Permits, Codes, and Approvals: Your First 30 Days?
You’ll map permit timelines and identify the critical milestones you must hit within the first 30 days, so you can forecast approvals and avoid delays.
Expect concrete metrics like permit processing times, plan review durations, and the minimum documentation bundle you’ll need to submit on day one.
Permit Timeline Essentials
Managing the first 30 days of a bungalow renovation hinges on a tight permit timeline: secure the right permits, confirm codes, and align approvals with your project scope. You’ll establish baselines, set milestones, and measure progress against a formal schedule. Track requirements and approval windows for essential trades to minimize delays and budget drift.
1) Gather documents and submit plans promptly to avoid backlogs.
2) Confirm scope aligns with local code allowances, updating plans as needed.
3) Schedule permit reviews and inspections with buffer time for rework.
Key metrics to monitor: permit lead times, inspection pass rates, and approval progression by trade.
While you plan, consider how garden landscaping and interior lighting decisions interact with permits, ensuring outdoor systems and indoor wiring stay within scope. This clarity accelerates decision-making and reduces rework later.
Code Compliance Basics
Code compliance sets the pace for your first 30 days by aligning permits, codes, and approvals with the project scope from day one. You’ll map required permits, inspections, and submittal timelines to critical milestones, minimizing backtracking.
Track approval durations by jurisdiction and budget contingencies for hold periods, plan reviews, and rework. Establish a centralized document log with versioned drawings, code references, and change orders to prevent scope creep.
Prioritize historic preservation constraints early to avoid costly retrofits later, and document any exemptions or approvals in writing.
Integrate energy efficiency requirements into framing, insulation, and mechanical planning to reduce later retrofit costs.
Measure progress with weekly dashboards: compliance status, pending items, and estimated impact on schedule and cost. Maintain proactive communication with inspectors, trades, and the design team.
Structural and Foundation Essentials to Budget For
Structural and foundation work sets the budget floor for any bungalow renovation, so start by evaluating load-bearing walls, footing integrity, and soil conditions. You’ll quantify risks, then prioritize fixes that unlock long-term stability and efficiency. Use measurable targets to guide decisions and budgeting.
- Assess wall framing and column alignment, noting any spacing changes or concrete cracks that impact support loads.
- Test footing depth and settlement indicators, documenting movement with a baseline and periodic rechecks.
- Analyze soil bearing capacity and moisture, incorporating drainage improvements to prevent future shifts.
In practice, align foundation work with landscaping design and energy efficiency goals, ensuring drainage, grading, and plantings don’t compromise structural integrity while boosting curb appeal and thermal performance.
Roofing, Attic, and Waterproofing: Protecting the Shell
With the shell secured from the foundation work, you’ll next map out roofing, attic, and waterproofing priorities to protect against moisture, wind, and temperature swings. Plan for a weather-tight envelope by selecting high-performance roofing materials with a long service life and proven wind uplift ratings. Then size underlayment to local precipitation and venting needs.
Roof maintenance should be scheduled annually to catch granule loss, flashing gaps, and ridge vent blockages before leaks form.
In the attic, maximize insulation thickness and install air sealing to meet local R-values, targeting a consistent thermal boundary.
Waterproofing focuses on continuous drainage paths and vapor barriers at penetrations.
Track costs per square foot, projected energy savings, and replacement intervals to refine a durable, cost-effective shell.
Plumbing Updates: Layouts, Piping, and Fixtures
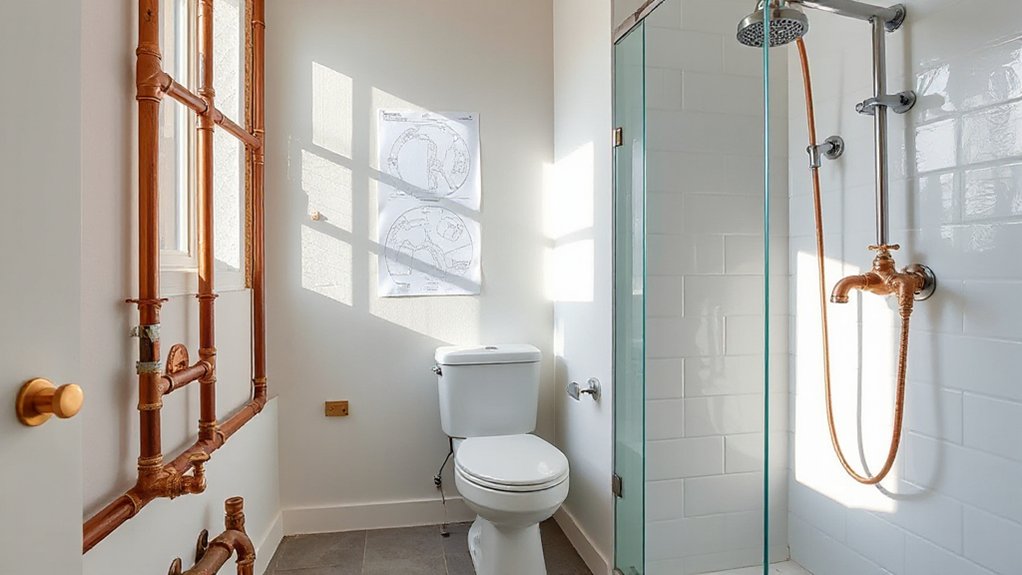
You’ll start by mapping practical plumbing layouts that minimize pipe runs and maximize accessibility, targeting a 15–25% reduction in total length where possible.
Consider piping materials for cost and reliability, weighing copper, PEX, and CPVC against up-front price, reliability, and long-term maintenance, with a goal of a 5–10% difference in material costs.
Plan fixtures by usage zones and flow requirements, using a meters-based approach to estimate water demand and guarantee code-compliant, efficient operation.
Plumbing Layout Considerations
Because plumbing layout directly affects future maintenance and water efficiency, start by mapping the current system and identifying bottlenecks before you redraw pipes. You’ll want a scalable plan that minimizes sound, leak risk, and heat loss while aligning with space constraints and fixture timing. Measure flow rates, pressure, and setbacks to set clear benchmarks.
Build a layout focused on accessibility for future fixes and routine inspections. Consider water hammer reduction, trap placement, and venting efficiency to avoid rework. Align rough-ins with potential remodeling zones, including outdoor connections near garden landscaping and nearby exterior siding routes for clean runs.
- Map existing risers, mains, and branch lines with as-built accuracy.
- Prioritize universally accessible shutoffs and cleanouts.
- Plan future fixtures with modular spacers and service loops for upgrades.
Piping Material Costs and Impact
Piping material costs hinge on a balance between upfront price and long-term performance, so start by cataloging options across stainless steel, copper, PEX, and CPVC. Then quantify lifetime costs. You’ll compare initial price per foot, expected life, and failure rates under typical bungalow loads.
Stainless steel offers durability and corrosion resistance but carries high upfront and installation costs. Copper provides familiarity and reliability with moderate cost. PEX delivers bendability, ease of install, and lowest upfront price with strong durability in typical climates. CPVC balances price with chemical resistance but may face longer-term service questions.
Evaluate material sustainability by manufacturing footprint, recyclability, and replacement cycles. Consider piping durability and material sustainability in service panels, water temperature variance, and future remodel plans to minimize lifecycle risk.
Electrical Systems: Panels, Wiring, and Safety Upgrades
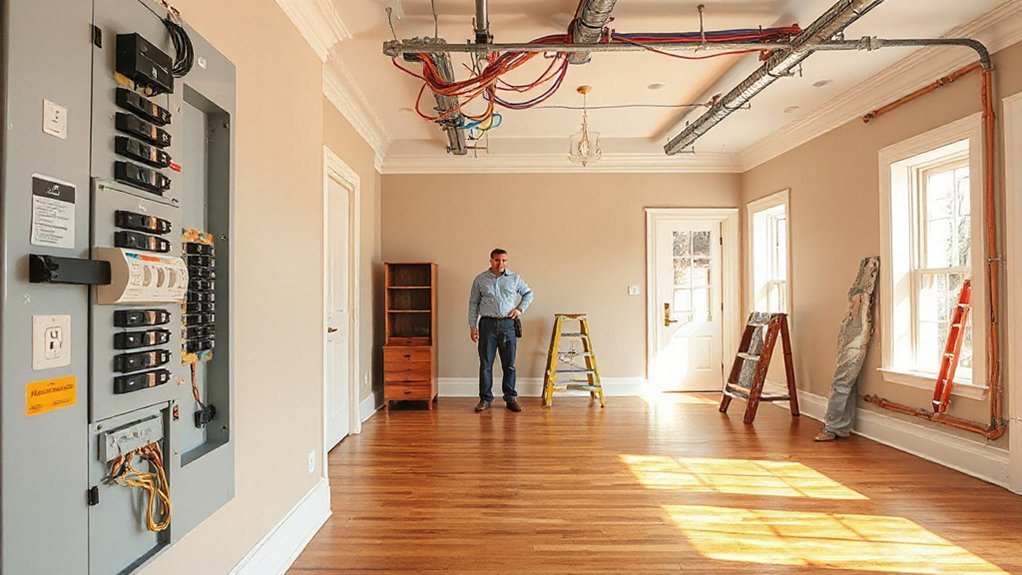
Modern electrical upgrades start with the panel, wiring, and safety improvements that determine reliability and future convenience. You’ll evaluate capacity, choose a main service upgrade if needed, and map circuits for smart lighting and critical loads. Wiring should meet code, support future tech, and minimize nuisance trips.
Expect measured gains in reliability, energy efficiency, and safety, quantified by targeted downtime reduction and load balancing metrics.
- Panel and main service upgrade plan with estimated cost per amperage and life expectancy
- Circuit breaker and wiring compatibility checks, fault tolerance, and future-proofing for smart lighting
- Safety upgrades like GFCI/AFCI protection, grounding, and arc-fault monitoring with compliance milestones
HVAC for Comfort and Efficiency: Sizing and Ductwork
With electrical upgrades in place, your next step is sizing the HVAC system and detailing ductwork to maximize comfort and efficiency. Start with load calculations using a 99% accuracy method to determine BTU requirements per room, factoring typical occupancy, solar gain, and equipment efficiency.
Aim for a system SEER rating of 16+ and a heat COP suitable for coastal climates. Duct design should minimize leakage to under 5%, with trunk lines sized to sustain uniform airflow across zones.
Plan zoning for living, kitchen, and bedrooms to reduce oversizing. Integrate interior lighting and landscape design considerations to reduce heat load and demand.
Document static pressure targets, air throw, and return placement to balance comfort with operating costs. Guarantee accessibility for service and future upgrades.
Insulation and Moisture Mitigation for Coastal or Historic Bungalows
Coastal or historic bungalows demand targeted insulation and moisture control to prevent comfort losses and long-term damage. You’ll prioritize tight envelopes, vapor management, and moisture barriers to maintain indoor standards and protect historic fabric. Measure performance with R-values, dew-point calculations, and humidity targets to guide decisions.
1) Assess exterior assemblies for air leaks and moisture intrusion, then seal and insulate to meet climate-driven R-values.
2) Install continuous vapor barriers and condensation management at assemblies prone to dampness, tracking relative humidity to stay below 60%.
3) Choose breathable, yet protective materials that align with Coastal durability and Historic preservation goals, avoiding moisture traps while preserving era details.
This approach keeps conditioning efficient, reduces mold risk, and preserves historic materiality without sacrificing comfort.
Windows and Doors: Maximizing Light and Efficiency
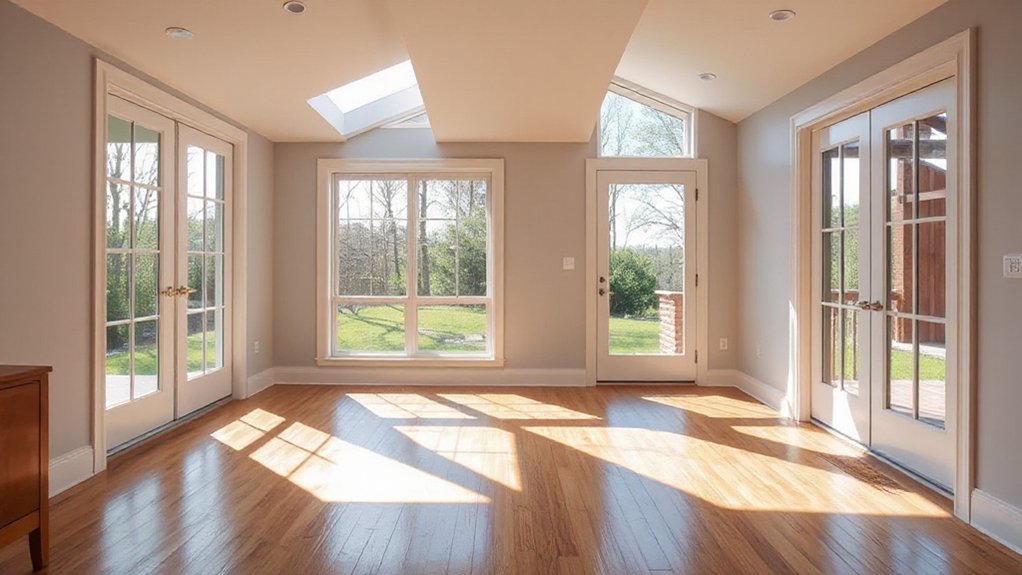
You can boost daylight and energy performance by selecting high-efficiency windows and doors, sizing openings to balance natural light with heat loss and gains, and integrating airtight, moisture-aware details.
You’ll compare U-values, SHGC, and visible light transmission to pick units with minimal infiltration. Specify double- or triple-glazed assemblies, low-E coatings, and insulated frames, and plan flashing, sill pans, and proper caulking to prevent drafts.
Measure potential light gains against seasonal shading and solar heat thresholds, aiming for moderate glare control.
Consider vintage charm with slim profiles and period-appropriate muntins, while modern performance meets current codes.
Garden integration matters: align operable egress with exterior paths, curb noise via glazing choices, and maximize views to landscapes, reducing mechanical reliance and enriching dwelling comfort.
Kitchen Overhaul: Layout, Cabinets, and Appliances
You’ll see layout choice drive both workflow efficiency and upfront costs, so plan for the work triangle and clearance inches that match your daily use.
Cabinets and appliances must align with your cabinet footprint and ceiling height, with budget targets tied to standard sizes and installation times.
Start by outlining target square footage, unit costs, and labor hours to quantify total project impact on your kitchen renovation budget.
Layout Impacts Cost
Renovating the kitchen layout directly shapes costs by dictating cabinet runs, appliance specs, and plumbing and electrical routing. You’ll see key drivers in footprint efficiency, traffic flow, and future usability. To gauge impact, track linear footage, cabinet depth, and wiring runs per wall. Knowing these metrics helps you compare options without guesswork. Focus areas include corridor width, corner usability, and appliance positioning that minimize rework and material waste.
- Calculate total cabinet length and door counts to estimate material and labor.
- Map appliance clearances and plumbing/electrical pull lengths to budget rough-ins.
- Assess potential future upgrades by planning standardized dimensions and modular components.
In planning, consider garden landscaping and exterior paint implications on the overall renovation timeline and staging.
Cabinets and Appliances Budgeting
Wondering how to keep cabinet and appliance costs tight while maximizing function? You can accelerate savings by defining specs first, then batching procurements. Set a budget per cabinet line and per appliance group, track unit costs, and compare at least three vendors for each item.
Prioritize standard sizes, off-the-shelf finishes, and modular layouts to reduce custom fabrication. If you’re replacing countertops, align with cabinet depths to minimize waste. Include integrated lighting and ventilation in the plan to avoid retrofits.
Account for delivery, installation, and installer readiness—avoid delays that inflate labor. Tie cabinet choices to daily use: drawer depth, pull-out organizers, and adjustable shelves quantify efficiency.
Don’t overlook surrounding spaces like garden landscaping and outdoor lighting, which influence outdoor kitchen costs and overall perception of value.
Bathroom Renovation: Feasibility and Fixtures
What’re the practical limits and fixture choices that make a bathroom renovation feasible in a bungalow? You’ll weigh space, plumbing runs, and load-bearing constraints against comfort goals. Focus on compact, code-compliant layouts and efficient fixtures that maximize useable area. Track metrics like square footage, fixture unit counts, and water usage to stay within budget and permits. Feasibility considerations hinge on routing, access, and future maintenance.
- Evaluate door swing, vanity width, and shower or tub footprint to fit within existing 3–4 ft corridors.
- Compare low-flow toilets, compact sinks, and 24–36 inch curbless or corner showers for water and space efficiency.
- Verify supply lines, venting, and electrical proximity to avoid costly retrofits.
Fixtures matter; pick bathroom fixtures with proven performance and reliability to minimize service calls post-renovation.
Flooring and Subfloor: Repairs and Material Choices
Flooring and subfloor work hinges on evaluating moisture, structure, and foot traffic to pick durable, install-ready options. You’ll begin with moisture testing across all basement and crawl spaces, then assess subfloor integrity—loose panels, squeaks, rot, and mold.
Prioritize moisture-resistant substrates for bathrooms and kitchens, and use a vapor barrier where needed. For subfloor repairs, replace damaged sheets in 6- to 8-foot spans, stagger seams, and apply fast-drying patch compounds to achieve a flat, paintable plane within 1/8 inch in 6 feet.
When selecting flooring options, balance durability, comfort, and maintenance; consider engineered wood, luxury vinyl, and ceramic tile for high-traffic zones. Factor installation costs per square foot, acclimation time, and warranty terms to refine your budget.
Finishes and Millwork: Timeless Style on a Budget
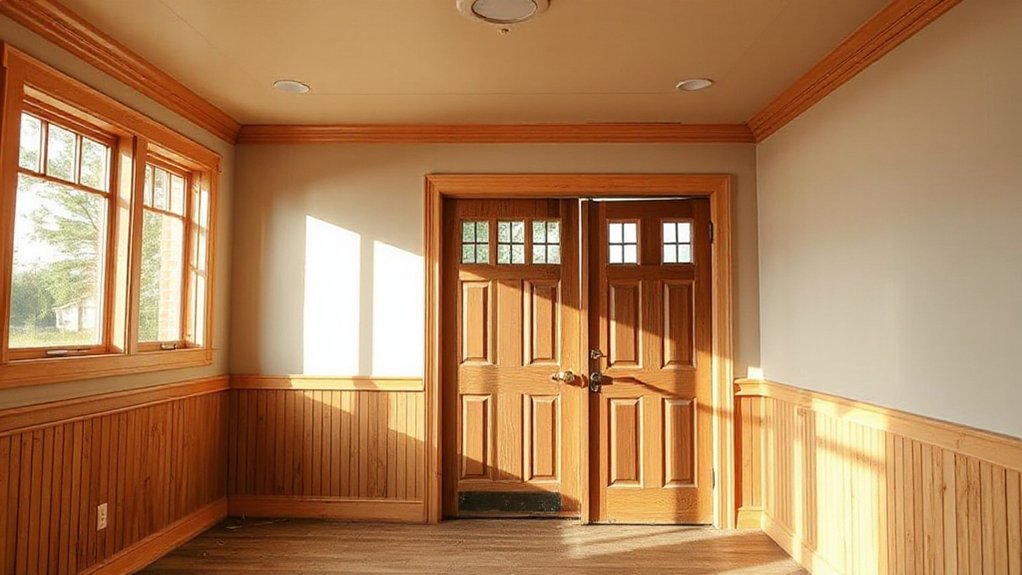
When you choose finishes and millwork, you’ll optimize cost by balancing timeless, budget-friendly options with measurable impact—think durable alternatives, standard sizes, and finishes that reduce maintenance over time.
Millwork decisions drive sticker price and long-term value, so quantify cost per linear foot, installation time, and required finishes to compare wood, veneer, and MDF options.
Focus on texture and detail choices that add character without overprinting the budget, such as beadboard, crown profiles, and subtle trim, and document expected durability and care needs to refine your plan.
Timeless Budget-Friendly Finishes
- Select prefinished, low-VOC materials for quicker install and better air quality.
- Prioritize classic, high-contrast neutrals with subtle texture to evoke Vintage charm without frequent updates.
- Leverage eco friendly materials (recycled composites, responsibly harvested wood) that balance cost and longevity.
A practical approach keeps projects within scope while delivering a refined look. You’ll notice long-term savings from reduced replacements and faster turnover.
Finish decisions should align with durability data, lifecycle costs, and a restrained color story for lasting appeal.
Millwork Impact On Costs
Millwork drives a sizable share of finish costs, but smart choices here yield durable, timeless appeal without inflating the budget. You quantify impact by scope, height, and profile.
Custom millwork adds premium detail, yet you can control costs with standard profiles and modular assemblies. Material costs hinge on wood species, veneer vs. solid, and finish coatings; compare at least three options for each element to identify price per linear foot and total project impact.
For doors and casing, specify mid-range profiles and prefinished surfaces to reduce on-site labor. For built-ins, optimize dimensions to minimize waste and maximize shop fabrication.
Track lead times, subcontractor fees, and installation windows, then build a contingency of 10–15% to cover unexpected substitutions or delays.
Texture And Detail Choices
- Texture contrast: pair matte wall planes with satin wood trim to create depth without adding cost.
- Detail accents: use quarter-round molding, a simple ledge, or inset panels to elevate interest while staying budget-friendly.
- Material efficiency: select durable finishes (lumber, veneer, paint) proven by wear testing and lifecycle metrics to minimize replacement.
Focus on measurable outcomes: surface consistency, glare control, and ease of maintenance. Your goal is a timeless look that resists trend drift, using economical millwork and finishing choices that read as premium.
Managing the Project: Timeline, Roles, and Risks
Coordinating a bungalow renovation starts with a clear project timeline, defined roles, and a risk plan that stays current as work progresses. You set milestones, assign responsibilities, and lock in decision points to prevent drift.
Track progress weekly with a simple dashboard: tasks completed, budget status, and upcoming permits. Clarify who approves changes, who orders materials, and who communicates updates to stakeholders.
Identify risks early—scheduling gaps, supply delays, scope creep—and assign owners with contingency buffers. Integrate garden landscaping considerations early so exterior work aligns with interior timelines, preserving access and minimizing rework.
Measure energy efficiency goals alongside costs, using value-based milestones rather than date-only targets.
Document lessons learned after each phase to sharpen future estimates and avoid repeating avoidable overruns.
Contingency Planning: Handling Unforeseen Issues in Bungalow Renovations
How should you prepare for the unexpected in a bungalow renovation? You’ll implement a disciplined contingency plan that keeps costs and schedules honest.
Start with a contingency budget equal to 10–15% of total project costs, adjusted for age-related unknowns. Track metrics weekly: budget variance, change orders, and days ahead/behind schedule. Build a transparent approval workflow so decisions don’t stall progress.
Prepare for unforeseen delays by identifying high-risk phases (demolition, structural, utilities) and front-loading risk mitigation. Communicate risks in a single, shared dashboard to all stakeholders.
- Establish a formal change-order process with clear cost caps
- Reserve a flexible subcontractor window to avoid idle time
- Schedule buffer days after critical milestones to absorb delays
Frequently Asked Questions
How to Estimate Project Duration Realistically?
To estimate project duration realistically, you should create a detailed schedule, set milestones, and buffer risks. Track weekly, adjust for scope changes, and update contingency estimates. Use budget planning and project scheduling metrics to stay on track.
What Hidden Costs Commonly Surprise Homeowners?
You’ll laugh at hidden fees and unexpected expenses until they bite, and then you’ll wish you’d planned better—document every line item, track changes, and quantify risks to avoid overruns. Hidden fees derail budgets; stay vigilant, meticulous, proactive.
Which Financing Options Suit Bungalow Renovations?
You should consider a home equity loan or line of credit for flexible funding, with clear budgets and contingency targets. Include interior design costs and permitting regulations, track draws, and measure approvals to maintain precise timeline and cost control.
How to Choose Sustainable Material Suppliers?
Choose Eco friendly sourcing by evaluating supplier transparency, certifications, and track records. You’ll compare lifecycle costs, material waste, and transport emissions, quantify scores, and document supplier data to guarantee verifiable Eco friendly sourcing and transparent supply chains.
What Warranty Coverage Applies to Renovations?
Warranty coverage varies by contractor and permit type; you’ll typically receive a builder’s warranty plus product warranties. Expect renovation guarantees covering workmanship defects for 1–5 years, depending on scope. You’ll verify terms, exclusions, and claim processes before signing.
Conclusion
In short, you should treat a bungalow renovation as a tight-budget, high-detail project. Track every line item—permits, foundations, HVAC, and finishes—with monthly cost forecasts and risk flags. Prioritize shell protection and moisture control to avert costly backslides. Use a clear Gantt-style timeline, define roles, and assign owners for each task, plus a robust contingency (10–20%). If you hit a snag, pivot quickly, like a 90s dial-up modem turning into fiber—steady, adaptive, and concrete.