
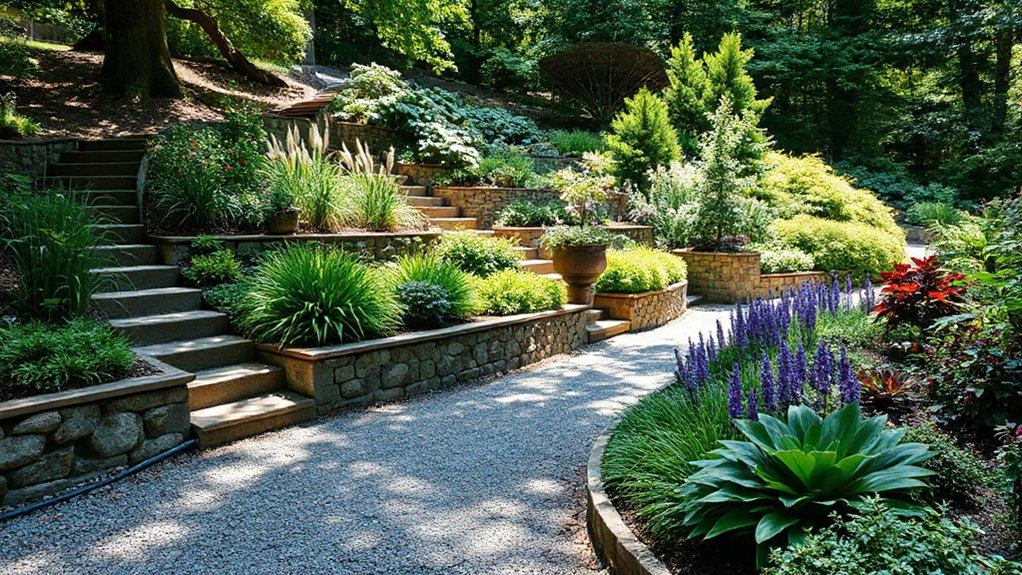

A slope is a staircase of opportunity and challenge, shaping every path you lay and plant you choose. You’ll want terraced steps or contour planting that follows the land’s natural lines, not against them, to slow runoff and stabilize soil. Think through drainage, subtle hardscapes, and accessible, narrow paths that don’t crowd the beds. Ready to map your zones, select hardy, drought-tolerant plants, and plan phased builds that fit your budget? If so, you’re on the right track.
Why Slopes Need Thoughtful Garden Layouts
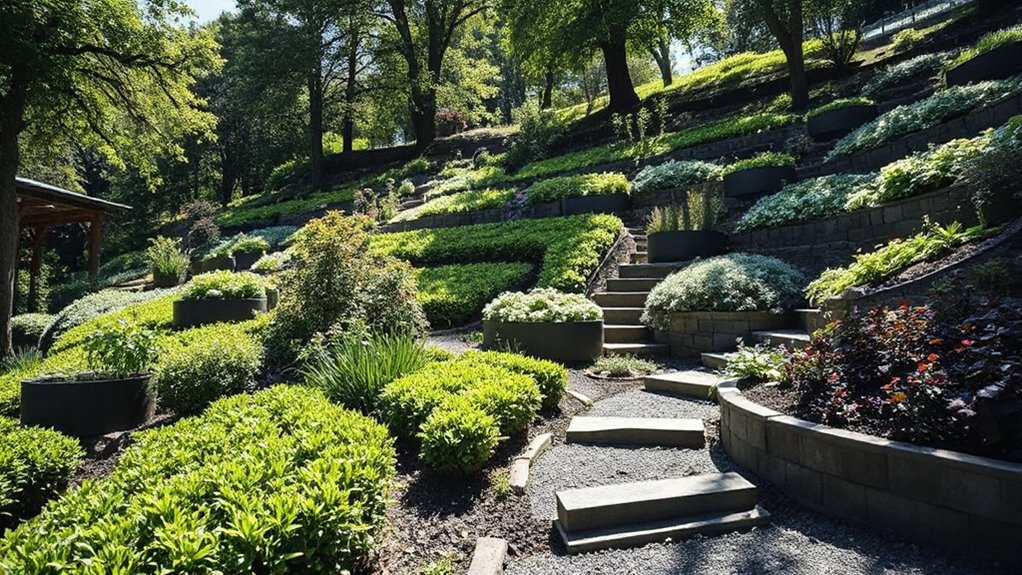
Sloped plots present unique challenges for garden design, so thoughtful layouts keep soil, water, and plants working together rather than against gravity. You’ll prioritize erosion control, drainage, and accessibility, then align zones to maximize microclimates.
Begin with solid ground rules: build gentle contours, install permeable paths, and position heavy beds downslope to curb runoff. Wildflower meadows offer low-maintenance color without demanding prime soil everywhere, but place them where water slows and soil stays stable.
Use rainwater harvesting to capture runoff from roofs and terraces, directing it to mulch-rich beds that need steady moisture. Plan plantings in tiers to reduce slope stress, enabling root systems to hold soil.
Keep irrigation efficient, soils healthy, and maintenance straightforward, so long-term success remains consistent across varying slopes.
Terraced and Stepped Designs: Key Concepts and Benefits
Terraced and stepped designs translate slope into usable space by creating level platforms that slow water, stabilize soil, and simplify maintenance. You’ll plan each tier to maximize sun exposure and accessibility, then integrate rock features for structure and texture.
Proper grading reduces runoff, while retaining walls keep soil in place and reduce erosion. Use steps that match garden tasks—watering, weeding, pruning—so upkeep stays practical, not painful.
You’ll also consider wildlife habitats by leaving snag areas and shallow margins for beneficial insects and birds. With deliberate spacing, you can mix edibles and ornamentals without crowding.
The result is low-maintenance, high-functioning scenery that adapts to future changes.
- rock features for texture and structure
- wildlife habitats with varied micro-sites
- adaptable, scalable maintenance across tiers
Contour-Based Planting to Curb Erosion Naturally
Contour-based planting harnesses the slope itself to slow runoff and trap moisture, building resilience into your garden without heavy hardscaping. You implement contouring techniques to create gentle, continuous lines that follow the land’s shape, guiding water into swales and away from bare banks.
Place shallow trenches or berms at each contour to stabilize soil and encourage infiltration. Then cluster drought-tolerant perennials along the lines to anchor soil year-round.
Mulch generously to reduce surface crusting and evaporation, especially on exposed shoulders. Use groundcovers where foot traffic is likely, keeping pathways narrow and aligned with the contours.
This approach supports erosion control by distributing water evenly, minimizing erosion peaks, and improving soil structure.
Regularly monitor gullies, adjust plant density, and replenish mulch after heavy rains.
How to Choose Slope-Friendly Hardscapes
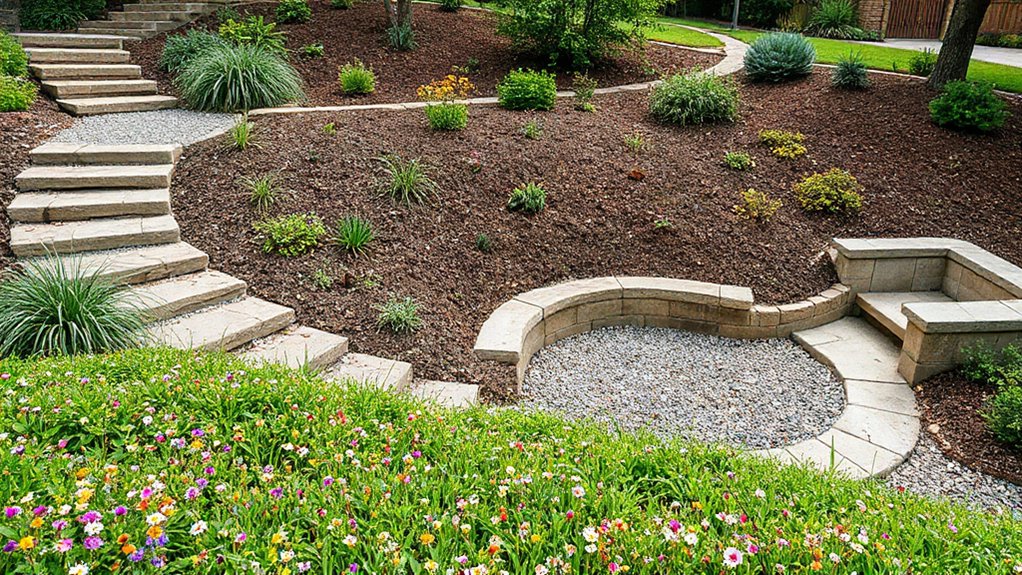
You’ll prioritize drainage-driven materials that resist washout on slopes, choosing pavers, gravel, or concrete with proper slopes and edge restraints.
Pair these with grading for stability, ensuring the base redirects water away from structures and into designed outlets.
Keep spacing, surface texture, and joint choices consistent with your slope and traffic to prevent erosion and maintenance headaches.
Drainage-Driven Materials
Drainage drives material choices on a slope, so pick hardscapes that manage water quickly and reliably rather than trapping it. You’ll favor porous, permeable options that reduce runoff and encourage infiltration, keeping soil around plants stable. Select textures and colors that blend with the slope while maximizing drainage paths. Think modular pavers, crushed stone, and timber grids that channel water to lower beds.
- Use permeable pavers with gaps sized to permit flow and debris passage.
- Layer materials to create step-down terraces that disperse runoff.
- Integrate soil and vegetation: wildflower meadows and rain gardens to absorb excess moisture.
Apply this approach to support plants like wildflower meadows while directing water toward rain gardens, avoiding erosion and promoting sustainable, low-maintenance beauty.
Grading For Stability
Use compacted subgrades and geogrid where necessary to prevent movement under load. Pick materials with good friction and load dispersion, avoiding slick surfaces after rain. Plan for proper edge detailing to curb erosion at changeovers.
Soil testing informs stone thickness, backfill type, and drainage sleeves, reducing settlement risks. Consider pest control implications for wooden or organic components.
Keep access easy for maintenance and inspections, and schedule regular checks after storms to preserve stability.
Soil, Drainage, and Irrigation on Hills: Practical Setup

You’ll start with soil stabilization techniques that keep cuts from washing away and roots from loosening on sloped ground.
Next, you’ll implement drainage channeling methods to move water efficiently without creating erosion banks or pooling.
Finally, you’ll plan efficient irrigation layouts that minimize runoff while delivering consistent moisture to every level of the slope.
Soil Stabilization Techniques
Soil stabilization on slopes starts with a practical mix of design and implementation: you must manage soil, drainage, and irrigation together to keep hillside beds stable and productive. You’ll combine structure and biology to resist erosion, support roots, and retain moisture.
Use contour features and terrace steps to slow runoff, then reinforce with organic matter and cover crops. Prioritize native plantings and Wildflower meadows to build deep root networks, improve soil structure, and add biodiversity.
Include soil amendments based on periodic tests to sustain microbial activity. Maintain irrigation zones with driplines and mulches that reduce evaporation and crusting. Observe plant growth, adjust spacing, and reseed failing pockets promptly.
- Contour-based stabilizers and terracing
- Native plantings and Wildflower meadows
- Mulch, compost, and drip irrigation optimization
Drainage Channeling Methods
Effective drainage channeling on hills starts by aligning water pathways with the slope and soil structure you’ve already built through contouring and terracing. You design channels to follow natural downslope flow, using compact, lined swales that slow runoff and trap sediments.
Position outlets at low points to prevent ponding and redirect excess water into established rain gardens or retention basins. Use graded soil with permeable trench beds to encourage infiltration where possible, and install overflow weirs to handle heavy rains without eroding slopes.
Integrate rainwater harvesting downspouts to feed nearby beds, minimizing runoff. Create small vegetative buffers along channels to stabilize edges, encourage wildlife habitats, and filter particulates.
Regularly inspect, clear debris, and adjust channel gradients after heavy storms to maintain effective drainage.
Efficient Irrigation Layouts
Efficient irrigation on sloped plots starts with a practical layout that ties soil characteristics, drainage, and watering needs into a single system. You’ll combine contour-based sprinkler spacing with drip lines to minimize run-off, matching emitters to plant depth and soil texture. Keep mulch thick enough to reduce evaporation, and use soil moisture sensors to fine-tune cycles.
Design should align with plant selection and garden aesthetics, ensuring both function and visual appeal.
- Align irrigation zones with slope breaks to prevent ponding and maximize coverage
- Choose low-pressure drip emitters for uniform delivery and code-compliant runoff control
- Integrate moisture monitoring with automated timers to adapt to seasonal shifts
This approach yields efficient irrigation layouts that are practical, consistent, and easy to manage.
Plant Palettes That Thrive on Slopes With Low Maintenance
Sloped sites demand plant palettes that resist erosion, require minimal maintenance, and stay cohesive as the grade shifts. You’ll favor low-growing, fibrous-rooted perennials and grasses that knit the soil and reduce runoff, while still offering seasonal interest.
Aim for a cohesive palette that repeats a few key textures and colors to maintain unity across terraces. Choose native plantings and drought-tolerant species suited to your sun exposure and soil depth, reducing irrigation needs and maintenance over time.
Layer groundcovers beneath taller specimens to stabilize edges and fill gaps quickly after disturbances. Integrate wildflower meadows where space allows, providing pollinator habitat without demanding intensive upkeep.
Plan progressions between beds with stepping stones, mulch, and subtle edging to keep slopes tidy and functional.
Maximizing Sun Exposure on Slopes: Orientation and Microclimates
Sunlight is variable across sloped sites, so you’ll want to map exposure as you lay out beds and paths. Orientation matters: place sun-loving crops on southeastern or southern faces, and shade-tolerant varieties on cooler, steeper nooks.
Microclimates form near walls, terraces, and rock outcrops, so test spots at midmorning and late afternoon heat to confirm endurance. Use soil shelves to trap warmth and reduce erosion, then stagger plantings to extend daily sun exposure.
- Wind protection: install hedges or screens on the prevailing windward edge to maintain heat and reduce moisture loss.
- Wildlife habitat: include small, native plants that attract pollinators without inviting herbivores.
- Microclimate zoning: label sun, shade, and wind pockets for precise bed placement.
Accessibility and Safety in Sloped Gardens

Accessibility and safety should be built into every level of a sloped garden, from entry points to work zones, so you can move confidently and work efficiently without unnecessary risk. Prioritize stable paths with non-slip surfaces, gentle slopes, and handrails where needed, then plan clear sightlines to avoid trip hazards.
Use step-stone gradual shifts and grated decking for drainage, ensuring edgings are low and solid to prevent slips. Implement accessible tools setups at convenient heights and store away clutter to maintain navigation flow.
Include safe, durable ramps for wheelchairs or carts, and install edge protection on banks. Consider low-maintenance plantings along risk zones, like Wildflower meadows and Butterfly habitats, that satisfy aesthetics without compromising safety.
Regular checks, lighting, and weather-aware maintenance keep accessibility reliable year-round.
Creating Visual Rhythm: Cascades, Focal Points, and Flow
Cascades, focal points, and flow guide the eye through a sloped garden just as a well-placed roadmap guides a journey. You shape rhythm by tiering planting beds, using taller specimens at the back and cascading colors forward, then punctuate with sculptural elements to pull the gaze along the slope.
Place focal points at intervals to create a natural path, not a static scene, guiding movement and orientation. Keep progressions smooth with repeated textures and color echoes so the eye travels without abrupt stops.
Integrate practical touches like Garden furniture to invite lingering moments, and plan Pest control discreetly to maintain rhythm without visually disrupting the composition.
- Tiered planting
- Repeated textures
- Subtle focal anchors
Small-Slope Layouts for Balconies and Narrow Sites
On small sloped spaces like balconies and narrow sites, think vertically and modularly to maximize impact without crowding. You’ll prioritize compact containers, tiered planters, and rail-appropriate supports that hold steady on uneven grades.
Choose lightweight substrates and modular modules you can rearrange seasonally for variety and air circulation. Plant upright or cascading selections to draw the eye upward, preserving floor space for movement.
Use weatherized, traffic-friendly surfaces and non-slip mats to maintain safety. Integrate vertical trellises or lattice screens to carve privacy while boosting garden aesthetics.
Select drought-tolerant perennials and herbs to reduce maintenance, while accenting with small sculptures or solar lights for subtle urban wildlife-friendly appeal.
Keep paths clear, labeling each module for quick reconfiguration and ongoing refinement.
Budgeting, Phasing, and Project Planning for Slopes
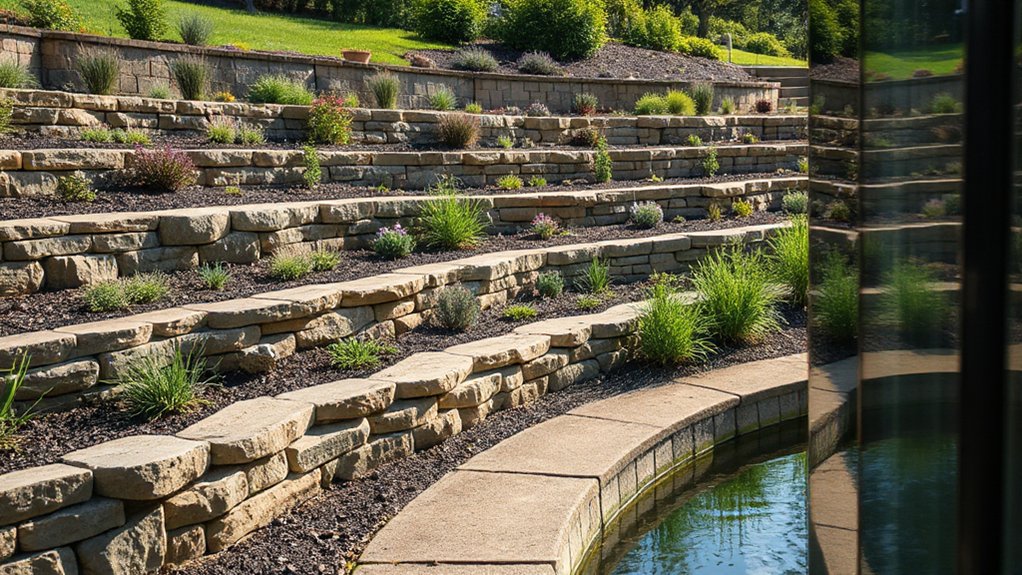
How can you turn a slope project into a clean, controlled plan that sticks to budget and timeline from day one? You map scope, costs, and phases before you buy materials, then lock milestones to a calendar. Align permits, drainage, and soil work with your design priorities to prevent backtracking. Build a simple budget with contingency, then track every line item weekly to avoid overruns. Plan setbacks and seasonal windows so work stays efficient without rushing.
- Define phased milestones and critical-path tasks
- Budget for wildflower meadows and decorative pathways without surprises
- Schedule approvals, deliveries, and inspections around weather and crews
Maintain a clear change-log, keep photos and measurements, and review progress every Friday to stay on target.
DIY Steps: From Assessment to Install for Your Slope Garden
Start with a quick site assessment to map drainage, sun exposure, and soil depth, using a simple checklist to avoid missing a step.
Next, review slope stabilization techniques you can apply before installing raised beds or terracing, so construction stays secure over time.
Finally, outline the installation steps—from materials list to layout, anchoring, and irrigation—so you can execute with clear, actionable tasks.
Site Assessment Checklist
Before you dig into slope gardening, use this Site Assessment Checklist to map conditions and priorities, so you can design a stable, productive layout.
- Verify slope angle, drainage paths, and soil texture; note erosion risks and water flow patterns.
- Identify microclimates, sun exposure, wind corridors, and access for maintenance, so your plan fits real conditions.
- Record existing vegetation, utilities, and access constraints; prioritize features that support stability and water management.
Garden art and Wildflower planting can guide aesthetic decisions while you assess structure, color, and habitat.
Use your findings to sketch zones for paths, terraces, and plantings that minimize runoff.
Prioritize practical, scalable ideas, test soil health, and plan amendments accordingly.
Align the checklist with a phased install to reduce trial-and-error and preserve slope integrity.
Slope Stabilization Techniques
When you’re stabilizing a slope, start by translating your site assessment into a concrete plan: select erosion controls, configure terraces, and install drainage features that work with the natural flow of water.
Begin with durable retaining edges, check for soil compaction, and pick geogrid or mulch options that fit your soil type.
Create stepped shelves to reduce runoff, spacing benches to fit plant spacing and root depth.
Install French drains or perforated pipes to move water away from footings, and line channels with undersoil mesh to prevent silt buildup.
Choose plantings that anchor soil, boost Garden art without overpowering form, and support Wildlife habitat.
Maintain ongoing inspection, repair rills promptly, and log performance to refine future slope stabilization.
Installation Steps Overview
To move from assessment to installation, map out a clear sequence that aligns with your slope’s drainage and soil conditions. You’ll verify that runoff is directed, then prepare beds, install edging, and set up irrigation with perimeters to prevent erosion.
Next, place structure components, amend soil, and test drainage before planting. Keep materials organized and schedule tasks to avoid weather risks, ensuring access for ongoing maintenance and adjustment.
- Evaluate drainage paths, install contour-based terraces, and mark zones for Garden art and wildlife habitats.
- Amend soil with compost, stabilize with mulch, and install edging to hold soil and define planting beds.
- Install irrigation, test water distribution, then plant and seed with native species that support wildlife habitats.
Monitor slopes after rain and adjust as needed for long-term stability and beauty.
Frequently Asked Questions
How Do I Measure Slope Grade for Precise Planning?
To measure slope grade precisely, you’ll use a level, ranging rod, or a smartphone inclinometer, stack steps across the slope, and plot elevations; track soil erosion and drainage solutions to plan terraces and paths with accuracy.
What Are Hidden Risks With Hillside Irrigation Systems?
Under a tight leash, you’ll face hidden risks with hillside irrigation: erosion control challenges and water runoff surges. You’ll need careful grading, debris filters, and soil amendments to minimize damage, keep efficiency, and protect your slope landscape.
Can Slopes Support Large Trees Safely?
Yes, slopes can support large trees, but you must guarantee tree stability and control soil erosion. Choose deep-rooted species, implement terracing, mulch heavily, install root barriers, and monitor irrigation to prevent undermining roots and slope failure.
Which Plants Require the Least Maintenance on Slopes?
Plant selections that require the least maintenance on slopes include hardy grasses and natives; they resist erosion and minimize upkeep. Erosion control is improved by groundcovers. Choose drought-tolerant perennials, and stagger plantings for effective, low-effort stabilization.
How Long Does a Terraced Garden Restoration Take?
Ironically, it won’t be instant, you’ll plan and execute for weeks; terraced restoration takes time but rewards patience. You’ll prioritize erosion control and soil stability, then complete steps methodically, ensuring durable, safe slopes and lasting garden structure.
Conclusion
You’ve got the slope—now make it work for you. A terraced, contour-friendly garden stabilizes soil, reduces erosion, and creates microclimates for year-round interest. Don’t fear cost or complexity: plan in phases, reuse natives, and keep paths narrow and permeable. If you worry about maintenance, start with a small, manageable zone and expand. The deeper payoff isn’t just beauty—it’s resilience, efficiency, and a landscape that thrives with nature rather than fighting it.