


Before you install anything, assess the wiring, panels, and safety features with a clear plan for upgrades that won’t harm character. You’ll want discreet, period-matching hardware and low-profile devices, plus a phased approach that minimizes disruption. Focus on layered lighting, secure access, and energy-friendly thermostats, all controlled by a central hub to keep walls clean. Start small, document every change for reversibility, and you’ll see how the old can host the new—if you proceed with purpose.
Evaluate Wiring Readiness for Smart Homes
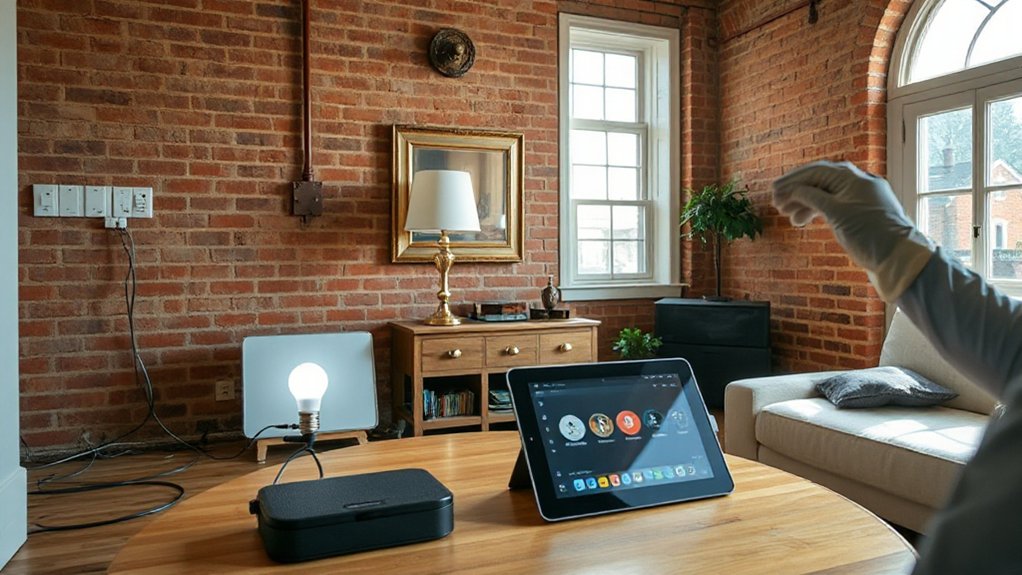
Before you install smart devices, assess your home’s wiring readiness. Start with a quick checklist: confirm service panel capacity, identify age-related insulation issues, and note any aluminum wiring or knob-and-tube remnants.
Next, map circuits to rooms where you plan smart hardware, evaluating whether existing outlets and switch boxes can handle additional load. Check for proper grounding and accessible junction boxes; outdated boxes may require upgrading.
Consider wireless compatibility early—some devices run on specific protocols that demand better signals, so plan placement to minimize interference.
Review safety considerations, including AFCI/GFCI protection and fire risk from overloaded circuits. If you spot brittle insulation or frequent tripping, consult a licensed electrician before proceeding.
With this groundwork, you’ll install confidently and safely.
Pick Subtle, Compatible Upgrades That Protect Character
Choosing upgrades that stay true to your home’s character means prioritizing subtle, compatible options that blend with existing finishes and layouts. You’ll focus on hardware, controls, and devices that don’t scream modern, instead matching period details like brass tones, wood tones, and matte paints.
Look for components with compact footprints and low-profile faceplates that slip behind crown moldings or behind switch plates that already exist. Prioritize two areas: Historical preservation and aesthetic integration.
Choose smart hubs or sensors that mount behind furniture or in closets, avoiding visible hubs and bulky cords. Select energy-saving devices with neutral aesthetics that mirror trim colors.
Document all changes for future restoration, and opt for reversible upgrades when possible so you protect the home’s original charm.
Implement Lighting That Keeps the Room’s Voice
Lighting should reinforce the room’s character while staying unobtrusive, so pick fixtures that complement existing trim, hardware, and color schemes.
Start with layered lighting: ambient, task, and accent, using dimmable smart lighting where possible.
Choose warm, neutral tones that don’t clash with period details, and avoid oversized or modern silhouettes that shout “renovation.”
Position fixtures to highlight architectural features—mouldings, ceiling medallions, and artwork—without drawing attention to the tech itself.
Integrate voice control through discreet wall controls or a central hub, so you can adjust brightness and scenes without fumbling for apps.
Prioritize reliable connections, using low-profile wiring and reputable smart lighting brands with clear update paths.
Test lighting at different times of day to guarantee consistency, and document settings for easy future tweaks.
Add Easy, Secure Access and Temperature Control

You’ll get easy, secure access with keypad or smart lock options that stay locked even if a device drops offline.
Pair that with simplified temperature control—think presets, schedules, and remote tweaks via a wired-back system for reliability.
This approach keeps integration straightforward, minimizes latency, and reduces the risk of compatibility glitches across older wiring.
Easy, Secure Access
Choose an entry system that supports guest codes and timed access, so you control who comes and when. Integrate security cameras at approach points to verify visitors before you release doors.
Use voice assistants to open gates or disengage doors only when you’re nearby and authenticated, reducing fumbling with keys. Prioritize firmware updates and encrypted connections, and keep a backup physical key as a fail-safe.
Test routines weekly, ensuring notifications trigger correctly and that you can act quickly if something feels off.
Simplified Temperature Control
To simplify temperature control in older homes, start by pairing a smart thermostat with your existing heating and cooling system and guarantee it can be accessed via an app, voice, or routines.
Then enable remote sensors to monitor real-time room conditions and provide localized adjustments without manual tinkering.
Use thermostatic controls to maintain setpoints in zones where comfort matters most, reducing energy waste.
Place sensors in living areas, bedrooms, and the kitchen to capture occupancy and thermal fluctuations.
Configure schedules and automations that reflect your daily routines, such as morning warm-up and after-work cooling.
Ensure the thermostat supports seamless firmware updates and secure cloud access.
Test stable connections, limit device permissions, and verify that all changes sync across your preferred devices for reliable control.
Wired-Backed Smart Integration
This approach minimizes latency and boosts security, since core networks aren’t solely wireless. Pair the backbone with battery-backed devices to maintain function during outages, and use encrypted protocols for every node.
Align devices to your HVAC zoning, ensuring sensors report accurately and respond promptly. Consider wireless alternatives only where wiring isn’t feasible, but keep critical paths wired for stability.
Aesthetic considerations matter: conceal cabling, choose slim enclosures, and match outlets to room finishes. Test commissioning thoroughly, document pathways, and label each device for future maintenance.
Boost Energy Efficiency Without Renovation Disruption
If your goal is to boost energy efficiency without a big renovation, start with smart, low-disruption upgrades that fit right into your daily routine. You’ll gain instant comfort and steadier bills without tearing into walls. Focus on practical changes that blend with vintage charm and modern convenience.
- Install smart plugs and lighting to timer-control and curb phantom loads.
- Add a learning thermostat and zoning for key rooms to reduce heating and cooling waste.
- Use smart blinds or insulated curtains to cut drafts and heat gain from sunlight.
Keep devices simple, label routines, and test each tweak for a week. Track energy before and after, then refine. Small, targeted updates deliver measurable results with minimal disruption. Vintage charm remains intact while modern convenience quietly works in.
Plan, Budget, and Future-Proof Your System
Plan your smart-home project with a clear budget and a roadmap that future-proofs your investment. Start by mapping essential systems (lighting, climate, security) and identify low-cost upgrades you can scale later.
Set a hard ceiling for hardware, installation, and ongoing costs, and build a contingency fund for unexpected needs. Choose a flexible platform with broad device compatibility to avoid lock-in, and document every choice for future maintenance.
Consider historical preservation by selecting discreet, reversible installations that respect original architecture. Plan wiring paths and conduit access early to minimize wall damage, preserving aesthetic integration.
Schedule phased milestones, assign responsibilities, and review quarterly to stay on track. Include metrics for performance, reliability, and energy savings to validate the ROI over time.
Frequently Asked Questions
How Do I Choose Wireless Tech That Fits Historic Homes?
You should prioritize low-profile, mesh-friendly wireless tech that preserves Historical accuracy and guarantees Aesthetic integration. Choose bias-tolerant standards, invest in retrofittable panels, and test signal paths in thick walls, then document placements to avoid future renovations.
Can Smart Devices Be Plugged Into Old-Style Outlets?
You can’t plug modern devices into old-style outlets without adapters or retrofit wiring; use outlets and low-voltage solutions that maintain aesthetics. Retrofit wiring hidden behind walls helps, and aesthetic concealment keeps smart tech unobtrusive while you upgrade safely.
Will Smart Changes Affect Home Insurance or Warranties?
Smart changes can influence Insurance implications and warranty considerations, so check with your insurer and installer first. You’ll want documented upgrades, receipts, and compatibility notes to protect coverage and warranty while you enjoy smarter living.
How Visible Are Sensors in a Period-Appropriate Interior?
You’ll barely notice them, satirically speaking, as sensors blend in with period details while still functional. For historical accuracy and aesthetic integration, choose flush mounts, discreet wiring, and low-contrast finishes so visibility remains practical, purposefully unobtrusive.
Are Voice Assistants Practical in Thick-Walled Homes?
Voice assistants are practical, though thick walls can hamper signals. You’ll want solid Smart speaker placement, near central hubs, and fix privacy practices. Voice assistant privacy concerns remain; test coverage room-by-room, and use robust microphones with local processing where possible.
Conclusion
You can confidently crest through containment and continuity, choosing careful, compatible cleverness. Prioritize practical planning, precise budgeting, and patient, phased upgrades that preserve personality while providing power and peace of mind. Keep wiring wise, hardware harmonious, and hubs humbly hidden. Document decisions, test thoroughly, and stay reversible whenever you can. With mindful modifications, maintain mood, maximize efficiency, and minimize disruption. Your smart-home upgrade stays stylish,secure, and seamlessly suited to your space’s story.