
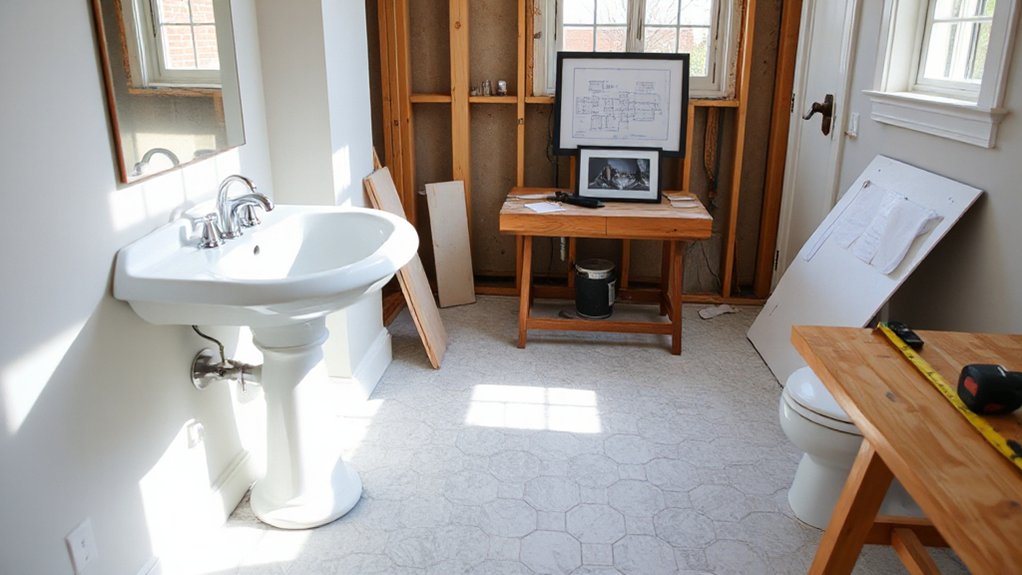

Plan, assess, and align: you’ll evaluate existing plumbing, electrical, and venting, map a near-core route to supply and drain lines, and secure code-compliant permits. You’ll choose a practical location, weigh layout options for tight spaces, and budget for fixtures, tools, and contingencies. You’ll balance DIY limits with professional need, guarantee moisture control and leak protection, and document inspections—all to avoid backtracking when the second bath finally comes online. The next steps will sharpen your approach and reveal where the real challenges lie.
Assess Plumbing Feasibility for Your Townhouse
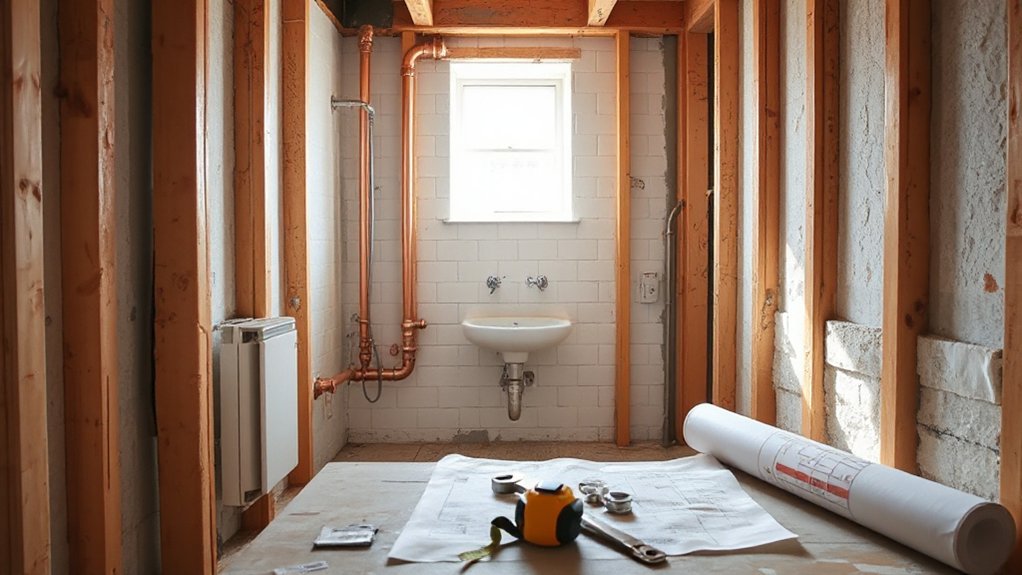
Evaluating plumbing feasibility starts with mapping the existing system and identifying constraints. You’ll chart mains, vents, and load points, then assess pipe diameters, slope, and trap primers to prevent siphonage.
You’ll verify sewer and water-service capacities against the planned bathroom’s demand, calculating fixture-unit counts and peak-flow implications. If you uncover pressure fluctuations or inadequate cold-water lines, you’ll plan for upgrades or pressure-boosting strategies before design lock-in.
Accessibility for future maintenance matters, so designate cleanouts and shutoffs in logical, serviceable locations. Consider iterative routing alternatives, preserving wall and floor integrity while minimizing demolition.
Decorative accents aren’t your primary focus here, but you’ll note where aesthetics may influence concealment methods. For storage solutions, allocate vertical chase space and accessible panels to simplify future repairs without compromising function.
Choose the Location for a Second Bath
Choosing the location for a second bath hinges on existing plumbing clusters, load-bearing walls, and high-traffic zones. You’ll map rough-ins to minimize trenching and maximize fixture efficiency.
Prioritize proximity to bedrooms for master en suite or guest convenience, and consider a half-bath near common areas to reduce pass-throughs.
Evaluate wall planes for stackable fixtures and check for structural implications when adding a shower or tub alcove.
Keep future maintenance in mind: accessible plumbing chase, removable panels, and adequate service clearances around the vanity and toilet.
Align with bathroom decor goals by planning vent routing and moisture control behind tile lines.
Color schemes should influence lighting placement and perceived space; light, cool tones enhance compact footprints, while warmer accents can read as welcoming without clutter.
Permits and Local Codes You’ll Need
Permits and local codes aren’t optional add-ons; they’re your project’s backbone. You’ll authenticate the scope with the building department before any demolition or rough-in.
Identify applicable permits: plumbing, electrical, and mechanical, plus any occupancy or fire-safety approvals. Gather plans, specs, and energy calculations; expect plan review cycles and potential corrections.
Historical regulations may constrain layout or fixture locations, so document heritage considerations if your townhouse is in a designated district.
Zoning restrictions determine setback, egress, and room count, and can trigger variances or approvals.
Expect code references for venting, condensate disposal, seismic tie-downs, and water-tight sealing.
Schedule inspections at critical milestones; delay penalties escalate costs.
Maintain an auditable trail: revisions, approvals, and code amendments, all aligned with your jurisdiction’s timetable.
Second-Bath Cost Snapshot: Core Budget
With permits and codes out of the way, you can lock in the core budget for a second bath. This snapshot targets essential line items, gatekeeping scope creep and financing gaps.
- Plumbing and rough-in: allocate for relocation, fittings, venting, and code-compliant connections; expect rough-in variance by wall layout and floor type.
- Fixtures and finishes: choose durable, water-efficient basics, plus dependable accessories; budget for color schemes and durable bathroom accessories that survive moisture cycles.
- Labor and contingency: estimate schedule-driven trades, inspector rounds, and a 10–15% contingency for unanticipated carpentry or electrical adjustments.
Keep the core budget tight by locking quantities early, documenting allowances for bathroom accessories, and aligning color schemes with existing fixtures to prevent costly mismatches.
Design Layouts for Small Bathrooms
You’ll optimize a tiny bath by prioritizing a compact flow that keeps essential fixtures in a linear or corner arrangement. Use efficient layout strategies like pocket doors, frameless glass, and wall-mungled storage to maximize clearances and accessibility.
We’ll discuss Small Bath Design Flow and Efficient Layout Strategies to balance footprint, utility, and movement, without wasted steps.
Small Bath Design Flow
Designing a small bath layout hinges on maximizing usable footprint while preserving flow between fixtures. You’ll optimize touchpoints, ensure door swing clearance, and maintain service routes for plumbing and venting.
Color schemes and material continuity visually expand the room, while grout and tile sizes reduce perceived seams. Implement efficient storage solutions that stay hidden yet accessible.
Three core moves:
1) Place fixtures along a single wall for compact plumbing runs and logical evap paths.
2) Choose a pocket door or slim swing that preserves width and minimizes obstruction.
3) Use built-in niches and adjustable shelves to keep counters clear and corners usable.
Keep doorways clear and line-of-sight uncluttered. Use consistent finishes to unify tiny spaces, and favor matte neutrals with a single accent to read spacious.
Efficient Layout Strategies
When space is tight, start by aligning fixtures on a single wall to minimize supply runs and simplify venting. Then branch services in short, direct lines to reduce dead space.
Efficient layout strategies hinge on precise zoning: identify wet zones, dry zones, and circulation corridors. Then place a compact shower, toilet, and pedestal or wall-hung sink to maximize elbow room.
Use pocket doors or sliding options to reclaim floor area and maintain clear sightlines. Favor 30–36 inch doors where possible, and keep a narrow vanity to preserve lavatory clearance.
Consider shower curb height, achievable tile layouts, and seamless transitions to avoid tripping hazards.
Plan bathroom decor and tile selection early to ensure cohesive aesthetics, durable finishes, and straightforward maintenance within tight dimensions.
Pick Fixtures That Save Space Without Sacrificing Quality
You’ll choose space-saving fixtures that pair compact footprints with solid performance, like wall-hung toilets and multi-function vanities.
Prioritize quality by checking dual-flush options, sturdy hardware, and finish durability in tight rooms.
We’ll balance efficiency with long-term reliability, ensuring every inch supports daily use without compromise.
Space-Saving Fixture Choices
To maximize functionality in a townhouse bathroom, choose compact, high-performance fixtures that don’t compromise on quality. You’ll optimize space without sacrificing durability by selecting streamlined silhouettes, dual-flush toilets, and wall-hung vanities. Focus on installable efficiency and serviceability, not just looks.
- Pick wall-mounted accessories and compact urinals or toilets with low-profile tanks to reclaim floor area and ease cleaning.
- Choose corner or vessel sinks paired with trough or shallow basins to minimize footprint while preserving usable counter space.
- Integrate multi-function fixtures—hand showers with concealed valves, and smart-temp controls—that reduce movement and water waste.
Decorative accents and color schemes should stay cohesive, ensuring the space reads larger while maintaining functional precision.
Quality Meets Compact Design
Efficient space doesn’t mean compromising on reliability or performance. When you select fixtures for a compact bath, prioritize build quality, compact footprints, and serviceability. Focus on pipes, valves, and fittings with corrosion resistance and dulled edges to minimize snag points in tight layouts.
For bathroom decor, choose clean lines, hidden fasteners, and minimalist escutcheons that read larger than they are, improving perceived space without sacrificing function. Material selection matters: solid surfaces or high-pressure laminates resist moisture; ceramic or porcelain tiles with rectified edges reduce grout lines, easing maintenance.
Opt for wall-mounted or compact floor-meds to free floor space and simplify cleaning. Specify a single, consistent finish palette to avoid visual clutter.
Finally, test airflow and acoustics; quiet operations sustain user comfort in tight quarters.
Ventilation and Moisture Control Essentials
Good ventilation is nonnegotiable when adding a second bathroom, because moisture and odors travel quickly through shared walls and attic bays. You’ll optimize moisture control with a tight exhaust strategy, targeted air exchange, and continuous monitoring to prevent condensate buildup and mold.
Adopt a high‑output bath fan, sized per code, with a proper duct run and minimal bends. Pair it with an intake path that maintains balance and reduces negative pressure in adjacent rooms.
- Install a rated ventilation fan and verify CFM matches room volume.
- Seal penalties: airtight enclosures, vapor-permeable barriers where needed, and dedicated exhaust to exterior.
- Track air circulation and humidity with a smart sensor to trigger relief or purge modes for mold prevention.
Electrical and Lighting Must-Haves for Bathrooms
When wiring a second bathroom, you must plan for dedicated circuits, GFCI protection, and code-compliant, moisture-rated fixtures to survive humid environments.
You’ll specify a dedicated 20-amp branch for receptacles and a separate 15-amp or 20-amp circuit for lighting, grounded and GFCI-protected where required.
Use moisture-rated, enameled steel or plastic boxes, and install in-wall wiring with conduit or sheathing that resists moisture exposure.
Lighting design should prioritize layered illumination: task, ambient, and accent layers with damp-location fixtures rated for bath use.
Select high-CRI LEDs, dimmable controls, and favorable color temperature for cosmetics and safety.
Pay attention to electrical safety: proper clearances, box fill calculations, and blast-proof protection around damp zones.
Document labeling, surge protection, and accessibility for inspections.
Plan Plumbing Rough-Ins and Connections
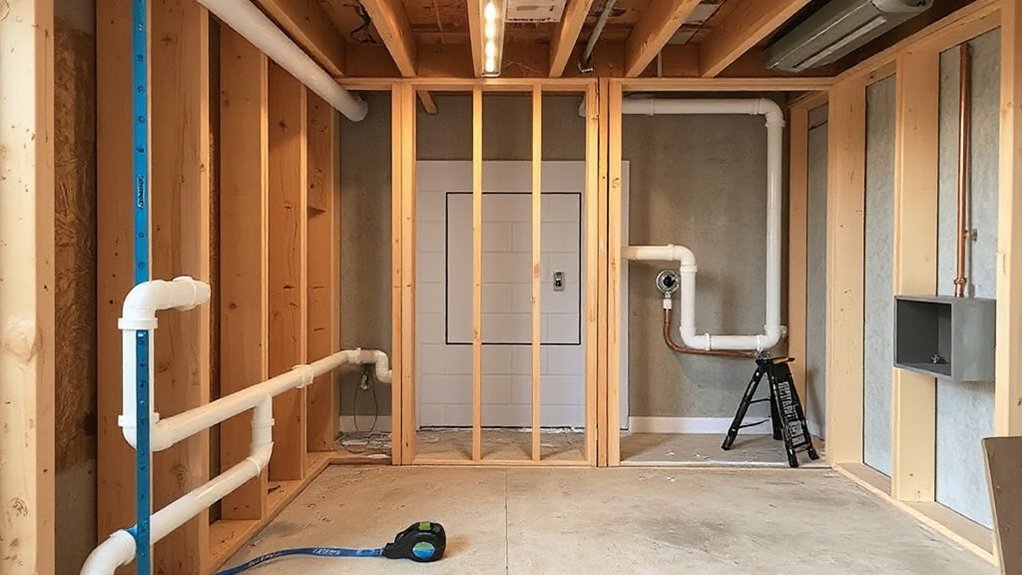
Start by mapping exact fixture locations and run rough-ins to accommodate the second bathroom without compromising existing pipes. You’ll plan gravity/venting routes, trap arms, and cleanouts with code-compliant offsets, ensuring accessible chase paths for future repairs. Coordinate with existing stacks to minimize rerouting, and flag firestops near studs. Establish a clean schematic for supply lines, waste lines, and vent connections, then size meters, shutoffs, and manifolds for balanced pressure.
- Profile wall cavities and chase widths to host new risers and PEX/AB fittings without crowding.
- Align vent fans and condensate traps with exterior venting requirements, preserving chase integrity.
- Integrate bathroom decor and storage solutions in the plan to guide fixture spacing, cabinet recesses, and vanity routing.
Smart Ways to Save on a Second Bath
Smart budgeting for a second bathroom hinges on smart material choices, precise sizing, and staged install plans that minimize waste and labor. You’ll maximize ROI by selecting compact fixtures, standard sizes, and modular components that ship complete with essential hardware.
Prioritize durable, easy-to-service products with low maintenance. Focus on efficient layouts that reduce pipe runs and drywall cuts, cutting labor hours without sacrificing function. When choosing fixtures, balance upfront cost with fixture durability across daily use so replacements aren’t frequent.
For ventilation, install an inline or quiet exhaust fan with humidity sensing to prevent mold risk while avoiding oversized units. Plan for robust waterproofing details at the shower and tub surrounds. These steps curb budget creep while delivering reliable daily performance.
Timeline and Scheduling to Minimize Disruption
You’ll establish a Scheduling Milestones plan upfront, targeting critical phases like framing, rough-in, and finish, with clear owners and hard dates.
Implement a Disruption Minimization Plan that clips noise during core hours, communicates daily progress, and buffers for access needs and material delays.
Tie these together with tight checkpoints, weekly updates, and contingency slots to keep the project on track without surprising the townhouse layout.
Scheduling Milestones
Coordinating a second-bathroom project hinges on a tight, milestone-driven timeline that minimizes disruption to daily living. You’ll map critical phases, assign lead trades, and lock decision points to prevent overlaps. Rigor keeps scheduling lean and predictable, with buffers only where risk is clear.
1) Establish a go/no-go schedule for permits, framing, and rough-in, then confirm with all trades.
2) Sequencing should place plumbing, electrical, and ventilation before finishes, reducing rework and snagging.
3) Pre-purchase fixtures and materials—focus on decorative accents and eco-friendly materials—to avoid delays and price shocks.
Close coordination hinges on daily progress checks, immediate issue flagging, and documented change orders. Your milestone cadence should drive procurement, subcontractor access, and debris removal while preserving usable space.
Disruption Minimization Plan
Disruption during a second-bathroom build must be contained from day one; start with a tight, staged schedule that keeps work confined to defined zones and times, and enforce access windows to minimize living space impact.
You’ll implement a linear build plan with clear phase gates, sequencing plumbing, electrical, and finishes to avoid overlap.
Define zone-specific PPE, dust containment, and waste segregation to sustain clean corridors.
Communicate daily window updates, trade coordination, and snag lists to stakeholders, and lock in contractor weeks for critical tasks.
Prioritize decorative accents and lighting fixtures in the finish phase to compress rework risk.
Use temporary containment, controlled noise, and HVAC zoning to protect adjacent rooms.
Track deviations, adjust buffers, and maintain a real-time disruption log for transparency.
DIY vs Pro: When to Hire for a Second Bath
When deciding whether to DIY a second bathroom or hire a pro, start with a hard check of scope, skill, and code compliance. You’ll want a practical gauge of framing, plumbing, and waterproofing risk before you pick sides. If complexity spikes, lean pro. If permits aren’t looming, you could DIY with strict sequencing and inspections.
- Evaluate scope: fixtures, drainage, venting, and access routes.
- Assess skill: carpentry, plumbing, electrical, tiling; factor safety and warranty.
- Confirm code compliance: permits, inspections, setback rules, moisture barriers, and vapor controls.
For DIY, plan bathroom decor and maintenance-ready cleaning routines to stay efficient and durable.
For pros, insist on written milestones and material warranties to minimize backtracking and ensure long-term performance.
Water Safety: Leak Prevention and Protection

To guard your install, start with waterproofing basics and verify membranes and sealants are intact before drywall.
Watch for pipe leak indicators like damp spots, odor, or sudden moisture changes, and address any pinhole or gasket issues immediately.
Run through drainage system checks, ensuring proper slope, trap seals, and cleanout access to prevent backups and overflows.
Waterproofing Basics
Waterproofing basics start with a solid moisture plan: identify all potential water entry points, then prioritize sealing and drainage to keep interior spaces dry. You’ll implement targeted strategies that align with construction phases and material specs, using proven waterproofing techniques and robust moisture barriers. Focus on envelope integrity, substrate prep, and seamless connections between finished areas.
- Assess critical joints and penetrations for capillary rise, applying compatible sealants and flashing.
- Install continuous moisture barriers behind tile, backing, and base layers, ensuring seamless overlaps and drainage channels.
- Verify slope, weep holes, and ground or shower pan tests before enclosure, documenting results for warranty compliance.
These steps reduce carryover risks, accelerate inspection readiness, and protect fixtures, finishes, and framing from concealed moisture intrusion.
Pipe Leak Indicators
Detecting pipe leaks starts with recognizing telltale indicators early in a townhouse setting: damp spots on ceilings or walls, sudden increases in utility bills, persistent musty odors, and discoloration around joints or fixtures.
You’ll track pipe leak indicators by correlating symptom clusters with system activity and fixture audits. Inspect for localized staining, mineral deposits at risers, and soft, spongy drywall near plumbing runs.
When water pressure fluctuations occur, you may notice erratic shower flow, pump cycling, or pressure drop episodes during valve operation. Use a calibrated pressure gauge to confirm anomalies, and log transient spikes tied to appliance use.
Prioritize preventive measures: tighten fittings, replace worn seals, and install shutoff valves. Document findings for contractor reviews and *guarantee* code-compliant remediation, focusing on containment, detection, and rapid isolation.
Drainage System Checks
- Inspect slope and cleanouts, verify trap seals, and test for seal integrity.
- Check joints, coupling trends, and backflow prevention, correcting corrosion.
- Validate waste lines, venting, and drainage airflow, confirming leak-free operation.
Prioritize Eco friendly fixtures and lighting automation where feasible to minimize long-term risk and simplify maintenance.
Final Steps: Permits, Inspections, and Handover for Your Second Bath
Final steps for securing your second bath hinge on permits, inspections, and a clean handover. With all plans approved, you’ll finalize paperwork, schedule the final inspections, and guarantee the space is ready for use.
You’ll compile as-built drawings, warranty documents, and material certifications, then submit responsive permit packets to the authority having jurisdiction. Coordinate inspections for framing, electrical, plumbing, and final life-safety checks, addressing any nonconformities with rapid corrective actions.
Confirm HVAC balance and exhaust adequacy, and verify drainage, venting, and water supply meet code.
During handover, perform a punch list, capture remaining tasks, and document completion milestones. Specify bathroom accessories and color schemes in the final design dossier and owner’s manual, ensuring maintainability, product warranties, and clear lifecycle expectations for ongoing use.
Frequently Asked Questions
How Long Does a Second Bathroom Addition Typically Take?
A typical second bathroom addition takes about 6 to 12 weeks, depending on scope and permits. You’ll install bathroom fixtures thoughtfully, and you’ll plan ventilation options to meet code while minimizing moisture risks and retrofit challenges.
Is Zoning Approval Needed for Adding a Bathroom?
One interesting stat: nearly 60% of home additions face permitting delays. You should check zoning regulations and permit requirements; yes, you typically need approvals before proceeding, ensuring compliance and avoiding costly rework or fines.
Can I Reuse Existing Plumbing to Save Costs?
Yes, you can reuse existing plumbing in many cases, but expect upgrades to the Plumbing layout and sewer venting. Install bathroom fixtures efficiently, preserve supply lines, and plan waste stacks to minimize rework and code-compliant connections.
What Are Hidden Costs Beyond Initial Estimates?
Hidden fees bite; you’ll see permit overruns, drainage reroutes, and materials surcharges. You must anticipate contingencies, track contractor negotiations, and document scope creep, so you don’t starvingly overspend when project realities collide with estimates.
Do I Need a Structural Engineer for This Addition?
Yes, you typically need a structural engineer for this addition. Structural considerations demand careful framing, load paths, and retrofit assessments. Coordinate engineering consultations early to validate designs, address potential shear and foundation impacts, and guarantee code-compliant, safe integration with existing structure.
Conclusion
As you near completion, the last pipe slips into place and the last tile settles. You’ve mapped feasibility, navigated permits, and choreographed a tight budget with surgical precision. But beneath the finished walls, a quiet risk still waits—testing for leaks, proving airflow, validating vents. Will the layout breathe with your daily rhythm, or betray you in a drain-quiet dawn? Stay vigilant, document everything, lock in inspections, and watch as your second bath finally earns its quiet certainty. The payoff could redefine every morning.