
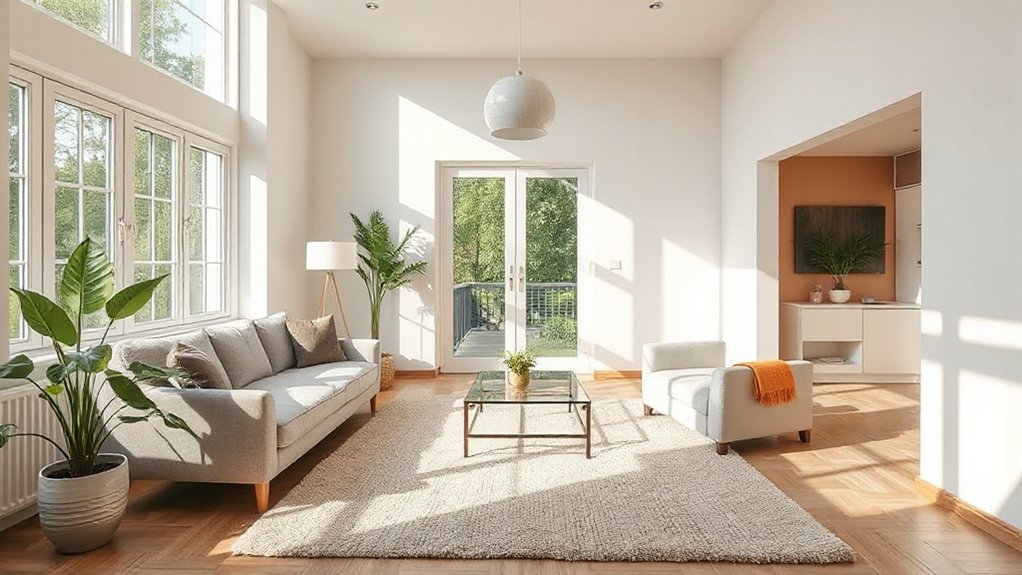

For example, you notice your living room feels crowded but the budget won’t cover a full remodel. You can refresh a semi-detached home by optimizing layout flow, light, and storage without major construction. Think practical tweaks: paint, hardware, smarter lighting, and outdoor touches that feel cohesive with your neighbor’s side. These small, targeted updates keep momentum without disruption—and there’s a simple plan behind them you’ll want to try next.
Assess Your Semi-Detached Layout Before Upgrades

Before you plan upgrades, take a clear look at your semi-detached layout and how it currently flows. You’ll map traffic patterns, natural light, and sightlines to spot friction points. Note where walls interrupt circulation, doors clash with furniture, or storage feels skimpy.
This is your chance to align function with form through deliberate layout considerations, not expensive changes. Observe how rooms connect: does the dining area feel cramped during meals, or does the living space pull visually toward the yard?
Consider acoustics, privacy, and shared walls. Identify semi detached challenges early—where noise travels, where thermal gaps exist, and how you might maximize zoning with simple rearrangements.
Prioritize improvements that boost usability and ambience without overhauling structure.
Set a Practical, Neighbor-Friendly Refresh Budget
Turning your layout insights into a real plan means setting a refresh budget that’s practical and neighbor-friendly. Start with a clear cap on total spend, then allocate by priority: essential fixes first, then curb appeal. Track every dollar to avoid scope creep and unpleasant surprises.
When you compare options, weigh long-term value against upfront cost, favoring durable materials and simple timeless styles. A neighbor-friendly approach includes minimizing disruption, sharing access windows, and keeping noise and debris to a minimum.
For outdoor spaces, plan Landscaping tips that enhance curb appeal without oversized projects, and choose outdoor furniture that’s compact, durable, and easy to store. Remember: small, well-executed touches—lighting, greenery, tidy borders—create polish without escalating costs or inviting complaints.
Quick Paint Fixes to Brighten Shared Spaces
Quick paint fixes can brighten shared spaces without a full refresh. You’ll lift rooms fast by selecting light, warm neutrals or airy pastels that reflect natural light. Do one wall as an accent in a complementary hue to create depth without overpowering the space. Keep trims crisp white to sharpen edges and visually widen corners. Use satin or eggshell finishes for easy cleaning in high-traffic zones.
If lighting is cool, lean into warmer tones to counteract the chill. For a cohesive look across adjacent rooms, pull color from the same family and test swatches in different daylight.
Garden landscaping visible through windows can be echoed in color choices, while exterior signage outside entrances reinforces a welcoming vibe.
Durable, Affordable Flooring Options for Floors and Walls

For floors, look at composite planks, vinyl, or ceramic—these options handle kids, pets, and spills with minimal fuss.
For walls, consider durable wallcoverings or tight-weave textiles applied as panels to hide scuffs and fingerprints. Color and texture should complement existing finishes, not clash.
Installers can outfit entryways and kitchens quickly, reducing disruption.
Prioritize moisture resistance in bathrooms and mudrooms.
Budget-savvy pairing, like durable flooring with affordable wallcoverings, creates cohesive rooms that feel refined yet practical, preserving flow between spaces while staying under renovation budgets.
Lighting Upgrades That Won’t Disturb the Neighbors
If you want brighter, roomier feels without rattling the neighbors, focus on lighting that’s efficient, layered, and thoughtfully controlled. Start with a dimmable LED setup in common areas, so you can tone brightness without cranking up noise or glare. Use task lighting near counters and desks to prevent shadows that waste energy.
Consider warm color temperatures for a cozy, approachable ambience. Outdoor touches matter, too: garden lighting highlights paths and feature plants without flooding streets, and motion-activated exterior lighting reduces unnecessary illumination.
Keep a simple lighting plan that prioritizes zones and timing, rather than a single overpowering fixture. For curb appeal, integrate exterior signage that’s softly lit from below or above. This keeps neighbors comfortable while enhancing your home’s overall polish.
Slim Wall-Storage Ideas That Don’t Require Wall Moves
You can maximize storage without knocking down walls by choosing slim, wall-mounted options that stay out of the way yet look sleek.
Opt for shallow shelves, elevated rails, and compact cabinets that keep essentials accessible with minimal visual clutter.
This approach highlights practical, aesthetic gains from slim wall-storage ideas that don’t require wall moves.
Slim Wall-Storage Gains
When you’re updating a semi-detached layout, slim wall-storage solutions offer big gains without costly wall moves. You’ll access hidden storage and optimize every inch, keeping rooms airy while adding function.
- Install shallow built-ins above doorways for discreet shelves that hide clutter without narrowing sightlines.
- Use full-height panels with integrated peg rail and slim drawers to maximize space optimization along existing walls.
- Add recessed niches in hallways or alcoves to store essentials out of sight yet easily accessible.
- Choose floating cabinetry with soft-close lids to maintain clean lines and a tactile, refined aesthetic.
Minimal Wall-Mounted Solutions
Think small, not cramped: minimal wall-mounted solutions deliver slim storage without a wall remodel. You’ll declutter while preserving flow, using clean lines and unobtrusive fixtures.
Opt for slim shelves that float, paired with under-cabinet lighting to add depth without bulk. Wall mounted decor becomes a focal point, not a distraction—choose pieces with a cohesive color palette.
In living spaces, consider magnetic or peg systems for daily essentials, keeping countertops clear.
For touches of personality, explore artistic murals as an accent you can switch seasonally, rather than repainting walls.
Choose multi-use boards that hold keys, notes, or small frames, and hang them at eye level for quick access.
This approach preserves openness while delivering purposeful style.
Decluttering Hacks to Maximize Small Footprints
Streamline clutter by sorting items into keep, donate, and discard piles, then commit to daily small resets that prevent buildup. You’ll gain space without heavy effort by choosing smart containers and simple routines.
- Prioritize vertical storage to free surface area and keep essentials in sight.
- Use labeled, uniform bins for quick recognition and consistent decluttering cycles.
- Group items by function, not by room, so you reclaim flow and reduce duplication.
- Establish a 5‑minute habit nightly to return stray items to their homes and reset surfaces.
Storage solutions become your ally when you rotate seasonal items and purge duplicates. Practicing decluttering techniques this way keeps rooms airy, organized, and visually calm.
Color Psychology to Refresh Curb Appeal and Interiors
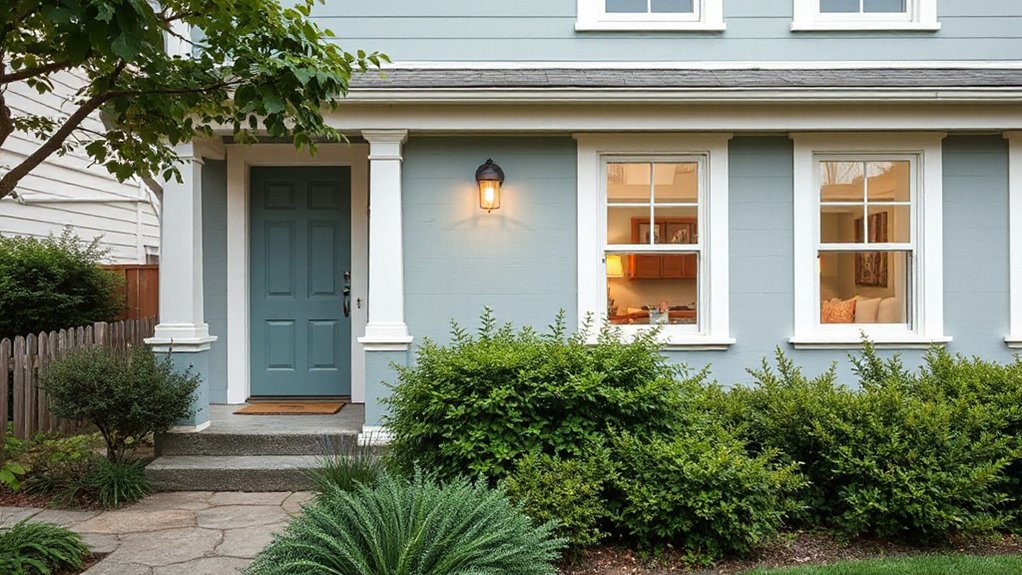
Color psychology can instantly refresh curb appeal and interiors by anchoring your choices to desired moods: outdoor spaces feel welcoming with warm neutrals and saturated accents.
While interiors breathe with balanced contrasts and soft, cohesive palettes. You’ll pick color palettes that support mood enhancement without overwhelming: test swatches in natural light, compare against foliage, and keep doorways or trim consistent for flow.
For curb appeal, choose a dominant exterior hue and two complementary accents to highlight architectural features. Inside, pair calm walls with bolder, purposeful accents—art, textiles, or furniture—sparingly to maintain serenity.
Consider fatigue-free finishes and durable, washable paints for high-traffic zones. Finalize your scheme with a simple outdoor focal point and a cohesive interior anchor that feels intentional, not trendy.
Maximize Natural Light With Window Tweaks
To maximize natural light in a semi-detached home, start by evaluating window placement and treatments that don’t block the view or cast heavy shadows. Then apply these practical tweaks to brighten spaces without a full overhaul.
- Assess orientation and choose lightweight window treatments to let daylight flow in.
- Swap heavy drapes for sheer fabrics or blinds that tilt for privacy yet preserve light.
- Consider glass replacement in key areas to improve translucency and reduce dark corners.
- Add strategically positioned mirrors and reflective surfaces to amplify existing light.
Focus on clean lines, minimal framing, and unobstructed sill space. You’ll notice brighter rooms, more accurate color perception, and a cohesive, airy feel. Window treatments and glass replacement work together for a refreshed, luminous vibe.
Sound-Conscious Choices to Minimize Disruption
After brightening rooms with lighter treatments, you’ll want the flow of everyday life to stay calm and considerate. Sound-conscious choices keep disruption minimal during refresh, so pick targeted, low‑impact updates.
Begin with door seals and weatherstripping to curb stray noise and drafts; it’s inexpensive and quick. Consider soundproofing options like acoustic panels in shared walls or ceiling inserts where sound travels most.
Add rugs and thick curtains to dampen steps and chatter without heavy construction. Treat HVAC vibrations with mounted, low‑noise duct work or isolation mounts.
Choose soft furnishings and upholstered furniture to absorb echoes in living and dining spaces. For late‑night routines, schedule noisy tasks earlier, and use vibration pads under appliances.
These tweaks deliver comfort, without overhauls, and maintain neighborly harmony.
Budget-Friendly Curb-Appeal Tweaks for the Facade
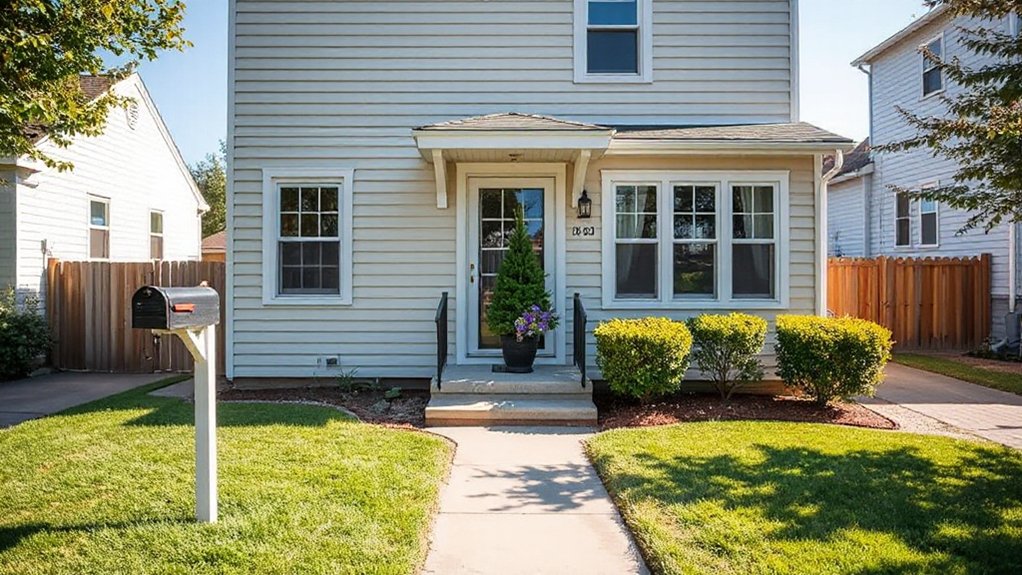
Start with fresh front door paint to set the tone at a glance, choosing a color that complements your home’s trim and bricks.
Then plan welcoming lighting that highlights architectural features without glare.
Use symmetry to create instant curb appeal.
Tying these elements together with a balanced approach to color and illumination keeps the facade inviting and cohesive.
Fresh Front Door Paint
A fresh front door can instantly boost curb appeal without breaking the bank. You’ll choose a durable finish and a color that complements outdoor landscaping and your front porch, then apply with clean prep and steady coats.
1) Prep the door with light sanding and a wipe-down to remove dust.
2) Prime if you’re changing from dark to light or painting unfinished wood.
3) Apply two thin, even coats for durability and a smooth sheen.
4) Seal the edges and trim with painter’s tape for crisp, lasting lines.
Focus on contrast: a bold hue or a refined neutral can make hardware pop. Finish conservatively to maintain lasting appeal without overpowering the facade.
Welcoming Lighting Guide
Light up your curb with small, intentional changes that feel polished but aren’t pricey. A welcoming lighting plan starts at the path and rises to the doorway, not the eaves. Aim for an ambient glow that softly guides guests without overpowering architectural details.
For fixture selection, choose low-profile options with matte finishes that blend with siding and brick. Keep cords hidden and bulbs at warm temperatures (2700–3000K) for inviting warmth.
Use a mix of wall sconces, a porch lantern, and stake lights to create depth and safety without clutter. Focus on symmetry lightly—two sconces flanking the door can read as deliberate rather than staged.
Test nighttime visibility from street level, then adjust height and spacing for balanced curb appeal.
Symmetry For Curb Appeal
Symmetry on the curb isn’t about mirror-image perfection; it’s about balanced cues that read intentional from street level. You can achieve budget-friendly curb-appeal by aligning elements that greet passersby with calm, cohesive order.
Use these simple tweaks:
- Match railings and shutters in tone or shape, so windows read as a unified frame.
- Place a pair of planters or lamps at each entry, scaled to the door width for visual balance.
- Align rooflines or fascia accents across the facade to create a continuous horizontal rhythm.
- Guarantee practical details—like roof insulation and Pest control strategies—are discreetly integrated to maintain a clean silhouette.
Together, these moves sharpen aesthetic impact without major reno.
Hallway and Stairwell Refresh Ideas That Save Space
To save space in a hallway and stairwell, choose sleek storage that hides in plain sight—think slim console tables, magnetic strips, and floating shelves. You’ll gain surface area without crowding the path, so traffic stays effortless. Pick pieces in light tones or with matte finishes to keep the area feeling open.
Install a slim hall mirror to reflect light and visually extend the corridor, balancing function with style. Use a compact shoe rack under a console for quick entry organization, avoiding clutter that drags down the look.
For entrance lighting, opt recessed or wall-mounted fixtures that brighten without visual bulk, creating a welcoming glow. In the stairwell, select minimal railings and tasteful stairwell decor to maintain airy cohesion.
Kitchen and Bath Updates Without Full Remodels
While you don’t need a full remodel to refresh a kitchen or bath, smart updates can transform the space with minimal downtime. You’ll focus on impact over overhaul, pairing function with style. Start with fixtures and finishes that elevate perception without heavy work.
- Swap hardware and faucet accents for a cohesive, modern feel.
- Refresh cabinets with a tactful paint job or new doors, plus updated pulls.
- Install energy-efficient lighting plus reflective backsplashes to brighten surfaces.
- Tastefully integrate landscape design cues and outdoor lighting to blur indoor/outdoor lines. These subtle touches extend the room’s vibe, especially near windows or doors. Choose durable materials, avoid excessive clutter, and keep lines clean. The result: a refreshed kitchen and bath that read contemporary, polished, and effortless.
Clever Furniture Placement for Open, Airy Rooms
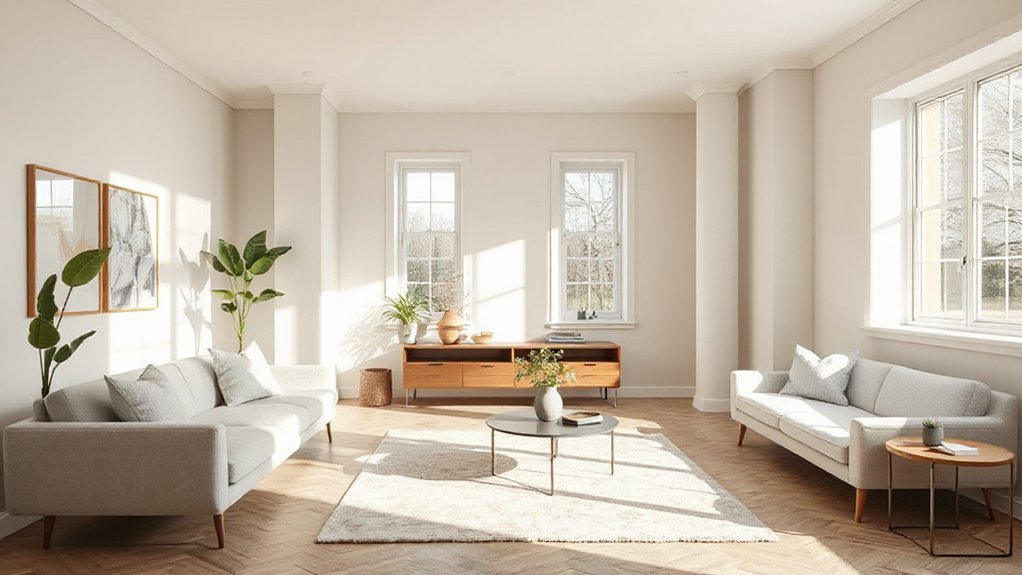
Think about how your sofa anchors the room and creates clear sightlines, because strategic placement shapes both flow and room perception.
Pair the sofa with light-enhancing furniture layouts that unfold toward windows and bright corners, so airy feels stay uninterrupted.
Let every piece serve a purpose—maximize open space while keeping seating inviting and visually balanced.
Strategic Sofa Placement
A well-placed sofa can anchor an open living area and make it feel cohesive. You’ll optimize flow by aligning the sofa with sight lines and architectural cues, balancing scale with the room’s proportions.
Focus on sofa orientation to create inviting zones, not blocking pathways, and use furniture symmetry to echo a calm, intentional layout.
- Place the sofa facing the main viewing area for clear sightlines.
- Mirror a side chair or console across the sofa to achieve balance.
- Use a rug to ground the seating and reinforce symmetry.
- Keep clear space for movement, avoiding overcrowding with accents.
Light-Enhancing Furniture Layout
Maximize light by choosing furniture that doesn’t block sightlines or shadows. You’ll optimize the layout by floating pieces away from windows and using low-profile couches that don’t sag into the room’s center. Select transparent or slim-profile tables to keep sightlines uninterrupted, and place mirrors opposite windows to reflect natural glow without crowding space.
Align seating to the longest wall, creating an open corridor that invites airflow and daylight to circulate. Choose multi-functional pieces to reduce clutter, which amplifies brightness and perceived space.
Consider outdoor landscaping near doors or patios to extend the feel of indoor openness and boost energy efficiency through strategic shading. Keep cables tucked and lighting layered to avoid hot spots and maintain a cohesive, airy aesthetic.
Decor That Updates the Vibe Without Heavy Renovation

Small updates can transform a space without tearing sus out walls. You’ll shape the vibe with thoughtful accents that feel intentional, not fussy. Keep lines clean, textures varied, and colors cohesive to maintain calm cohesion.
- Refresh textiles with natural fibers and subtle patterns for warmth.
- Layer lighting to sculpt mood—pendants, sconces, and warm bulbs.
- Introduce small greenery or an outdoor garden touch to soften edges.
- Swap hardware and art frames in the same palette to unify spaces.
Finish with a few practical touches: declutter surfaces, curate a cohesive color story, and feature a statement piece. For durability and style, consider roofing solutions that coordinate with your color scheme, ensuring the upgrade reads as deliberate rather than temporary.
Maintenance Habits to Keep the Refresh Lasting
A consistent cleaning schedule keeps your refresh looking sharp and feeling effortless.
Pair it with simple seasonal maintenance tasks to head off wear before it shows.
When you stay on top of routines, the aesthetic stays fresh and the vibe endures.
Consistent Cleaning Schedule
To keep the refresh lasting, establish a simple, consistent cleaning routine that fits your weekly rhythm.
- Tidy high-traffic areas daily, clearing surfaces and choosing quick wipe-downs to preserve the fresh look.
- Schedule 15-minute sessions for key zones, like the kitchen and entry, so tasks stay manageable and steady.
- Rotate tasks to cover floors, dust, and reflective surfaces, keeping every room crisp and visually balanced.
- Tie chores to moments in your garden landscaping and outdoor furniture upkeep, reinforcing the idea that indoor freshness echoes outdoor care.
This approach maintains a calm, minimal aesthetic while supporting practical maintenance.
Consistency beats intensity, and a small rhythm sustains the semi-detached vibe.
Seasonal Maintenance Tasks
Seasonal maintenance isn’t a one-and-done task; it’s a reliable rhythm that keeps your refresh lasting. To keep the look cohesive, map simple checklists for each season, focusing on practical tweaks rather than overhaul.
In spring, refresh garden landscaping by tidying edges, replacing mulch, and pruning to encourage healthy growth.
Summer is about upkeep: reseal outdoor grout joints, inspect exterior caulking, and shield surfaces from sun with affordable protectants.
Fall shifts to preservation—clean gutters, inspect roof edges, and store unused outdoor furniture properly to prevent weathering.
Winter, lean into efficiency: seal drafts, test insulation, and refresh lighting to create warm, welcoming evenings.
Pair your outdoor spaces with intentional details; rotate cushions, maintain outdoor furniture visibility, and keep garden landscaping looking intentional year-round.
Quick-Win Projects to Protect Shared Walls During Upgrades
If you’re upgrading a semi-detached home, protecting the shared wall is non-negotiable, and quick-win projects can set the tone for a clean, efficient remodel. You’ll find small changes that prevent noise, dust, and damage while preserving aesthetics.
- Seal gaps around the shared stud bay to minimize sound transfer and drafts.
- Install removable, low-profile shield panels for light construction contact points.
- Use temporary floor and wall covers to protect finishes during rough work.
- Plan a concise clean-up routine and clear signage to enforce neighbor communication and reduce disruption.
These steps keep the project tidy, timely, and visually coherent, reinforcing shared wall integrity through practical, design-aware choices like shared wall insulation where appropriate.
How to Craft a Practical, Neighbor-Friendly Implementation Plan
Before you start, map the goals you set with your neighbors and align on a practical plan that keeps disruptions minimal. You’ll outline a simple timeline, responsibilities, and communication cues, so everyone stays informed without micromanaging.
Prioritize essential tasks and sequence them to reduce noise, dust, and access blocks. Create a lightweight project map that shows boundaries, delivery zones, and peak times to avoid conflicts.
Choose garden landscaping ideas and outdoor furniture placements that stage improvements modestly, so curb appeal improves without overwhelming the facade. Build buffer spaces for storage, and designate a contact person for questions.
Document expectations in a short, shared plan and agree on a check-in cadence. Finally, pair aesthetic choices with durability to sustain neighbor harmony and lasting value.
Frequently Asked Questions
How to Coordinate Renovations With a Neighbor Without Conflicts?
You coordinate openly and early, set expectations, and document agreements. You schedule shared work times, share noise buffers, and respect boundary rules. You implement landscaping ideas that please both, and lighting enhancements that minimize glare and maximize curb appeal.
What’s the Fastest Way to Refresh a Shared Wall Visually?
Start with a chance moment: you glimpse wallpaper options or wall art ideas that instantly elevate the shared wall. You choose bold wallpaper, align with neighbor, and finish with clean frames for a cohesive, visually refreshed space.
Can Temporary Partitions Protect Shared Spaces During Updates?
Yes—temporary barriers can shield shared areas during updates, preserving privacy. Use lightweight panels or screens, plus curtains. Prioritize aesthetics with cohesive colors. Consider portable, modular options for quick setup; pair with strategic privacy solutions to minimize disruption.
How to Budget for Non-Structural Upgrades Effectively?
Budget by starting with a clear cost estimation and practical renovation planning. You’ll allocate priorities, track hidden costs, and set contingencies, then retrofit aesthetic upgrades efficiently to refresh your space without major changes. Focus, balance, and disciplined spending.
Which Paints Are Best for Minimizing Odor and Disruption?
You should choose low-VOC paints to minimize paint fumes and odor control, prioritizing zero or near-zero emissions. Look for breathable finishes, low odor primers, and proper ventilation to keep your space comfortable and aesthetically refined during projects.
Conclusion
You can refresh a semi‑detached home without a full renovation by prioritizing light, storage, and durable finishes that feel cohesive. Stick to a practical budget, tackle quick paint fixes, and choose efficient lighting that won’t disturb neighbors. Use multi‑purpose furniture and simple updates to maintain flow. Protect shared walls with careful planning and quick drywall or padding fixes. Plan in clear steps, keep it tidy, and you’ll enjoy a brighter home that looks new—almost like a chic mid‑century reboot, right on schedule.