
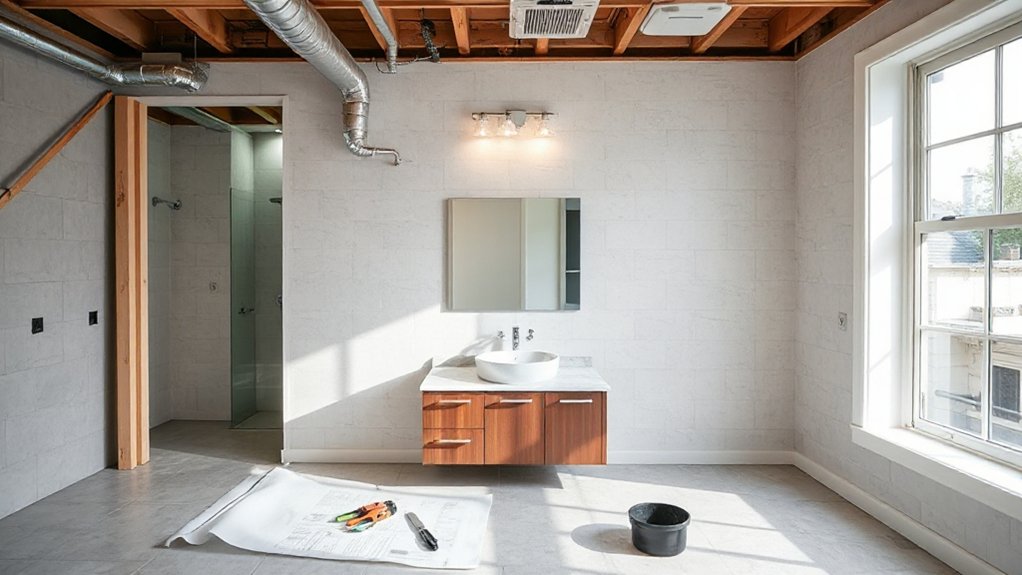

Like adding a second bathroom can turn a cramped townhouse into a smoother, more livable space, it also invites a rollercoaster of costs you’ll want to map carefully. You’ll juggle size, fixtures, finishes, and whether plumbing runs are easy or require major moves. Permits, inspections, and potential structural tweaks can surprise you—and push the price higher. Want a practical, line-by-line plan to keep this project within a realistic budget?
Do I Need a Powder Room or a Full Bath? A Budget-First Decision Guide

Deciding between a powder room and a full bath hinges on how you plan to use the space and your budget. You’ll weigh daily guest needs against long-term convenience, then price out fixtures, plumbing runs, and permits.
A powder room minimizes wall space, lower installation costs, and faster project timelines, but you sacrifice shower functionality and storage. If you anticipate frequent visitors or potential resale benefits, a full bath adds value and comfort, yet increases expense and disruption.
Design aesthetics matter here: a compact powder room can still feel roomy with proper layout, lighting, and mirror choices. Material selection becomes critical for durability in high-traffic areas, guiding you toward water-resistant surfaces and cost-efficient options without sacrificing style.
In short, match scope to demand, then optimize for longevity and value.
How a Second Bathroom Affects Townhouse Value and Everyday Flow
Adding a second bathroom can streamline daily routines and boost resale appeal, but the impact depends on layout, plumbing reach, and local costs. You’ll notice value most where the new bath reduces bottlenecks in morning rushes and improves guest convenience, not just when listing price.
Target layouts that minimize pipe runs and reuse existing water lines to keep installation costs reasonable. In everyday flow, a well-placed bath eases hallway traffic and shortens trips from bedrooms to shared spaces.
Consider bathroom decor and lighting design together; cohesive finishes and ample, layered lighting make the space feel larger and more functional, supporting higher perceived value without extravagant spend.
Smart fixtures and efficient ventilation further enhance cost efficiency and long-term appeal.
Powder Room or Full Bath: Key Cost Drivers You’ll See First
When you’re weighing powder room versus full bath, the upfront costs hinge on fixture counts, finishes, and whether you reconfigure existing plumbing or add new lines.
Powder rooms cut plumbing runs and tile needs, delivering lower costs but fewer comforts.
While full baths drive higher material, labor, and permit fees for a complete plumbing and ventilation setup.
Start with the core drivers—Powder Room Costs, Full Bath Variables, and Plumbing Demands Differences—to predict budgets and set realistic tradeoffs.
Powder Room Costs
Considering powder rooms first makes sense because they’re quick to remodel yet pack potential cost swings, from fixtures to finishes. You’ll scan fixture options early, as the vanity, sink, faucet, and toilet drive most of the budget.
Expect costs to rise with higher-end finishes, smart lighting, and niche storage, even if you’re keeping the room compact. Material choices for countertops and tiles influence both price and maintenance over time.
Don’t overlook hidden costs like plumbing rough-ins, venting, and permit fees, which can surprise you if you skip them upfront.
If you’re remodeling exterior areas, plan for exterior painting and garden landscaping impacts that may require access routes and extra cleanup.
Thoughtful sequencing saves you time and keeps powder-room pricing predictable and minimal disruption.
Full Bath Variables
Full bath costs hinge on the same core variables that drive a powder room, but with larger fixtures and more complex plumbing. You’ll see cost drivers like fixture size, cabinet and countertop materials, and flooring choices amplify.
Housings for tubs or showers add enclosure and waterproofing, while ventilation and lighting packages scale with room size. Material quality, finish, and tile patterns influence labor time and waste, so bids reflect installers’ efficiency with larger spaces.
Historical trends inform pricing swings, especially when premium finishes rise or standard options contract. Architectural styles matter, too: modern minimalism leans on clean lines and cost predictability, while traditional layouts can demand ornate cabinetry and heavier framing.
Plan for changes in code requirements and permit fees as you refine your design.
Plumbing Demands Differences
Plumbing demands differ because a full bath requires more fixtures, larger lines, and stricter drainage layouts than a powder room. You’ll see higher trenching, longer runs, and increased slope requirements to prevent backups and maintain proper venting.
Expect larger feed pipes, more robust shutoffs, and stronger pressure considerations, all driving material and labor costs up. Local code updates influence pipe sizes, setback distances, and access routes, so plan for potential reconfigurations you hadn’t counted on.
Historical trends show bigger bathrooms correlate with better resale value, while design aesthetics push toward efficient layouts that minimize waste and friction losses. In practice, prioritize fixture placement, consolidate hot and cold runs, and invest in scalable, upgradable rough-ins to accommodate future changes.
This approach protects your budget and supports flexible aesthetics.
How Space Size Lets Cost Rise or Fall
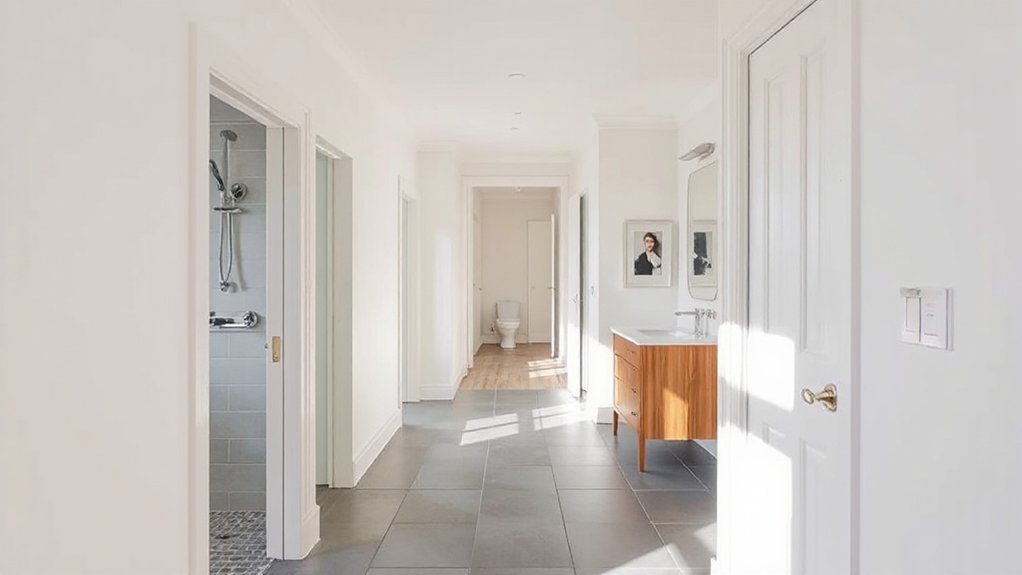
Your space size directly drives both material needs and labor time, so bigger footprints push up costs for plumbing runs, fixtures, and finish levels.
Smaller or awkward layouts can complicate routing and require creative solutions that add price without adding value.
Space Size Impact
How much space you have directly drives cost: bigger footprints demand more materials, longer labor times, and more permits, while tight layouts can tighten the budget if planned carefully.
In practical terms, room size influences fixture counts, shower or tub options, and the need for additional plumbing runs. A larger footprint may justify higher-end finishes because you won’t feel cramped, but it also means more demolition, concrete, and electrical work.
Conversely, a compact layout forces efficient routing and multi-purpose storage, trimming material waste and labor hours. Consider how space affects bathroom decor choices and cleaning routines; simpler lines reduce maintenance, while niche storage can prevent clutter.
Plan with scalable fixtures and predictable material needs to avoid surprise costs later.
Floor Plan Variations
Narrow configurations often require longer runs and specialized fixtures, driving material and labor costs up. Conversely, open or symmetrical layouts can minimize waste, reducing plumbing complexity.
Consider vertical stacking with an adjacent bathroom to minimize vertical drops, which saves on drains and vents.
Garden landscaping and furniture arrangement aren’t just aesthetics—they influence usable space and access, impacting finish choices and permit scopes.
Plan for logical traffic flow to prevent expensive, late-stage remodels.
Plumbing Access: Why It Sets Your Budget Ceiling
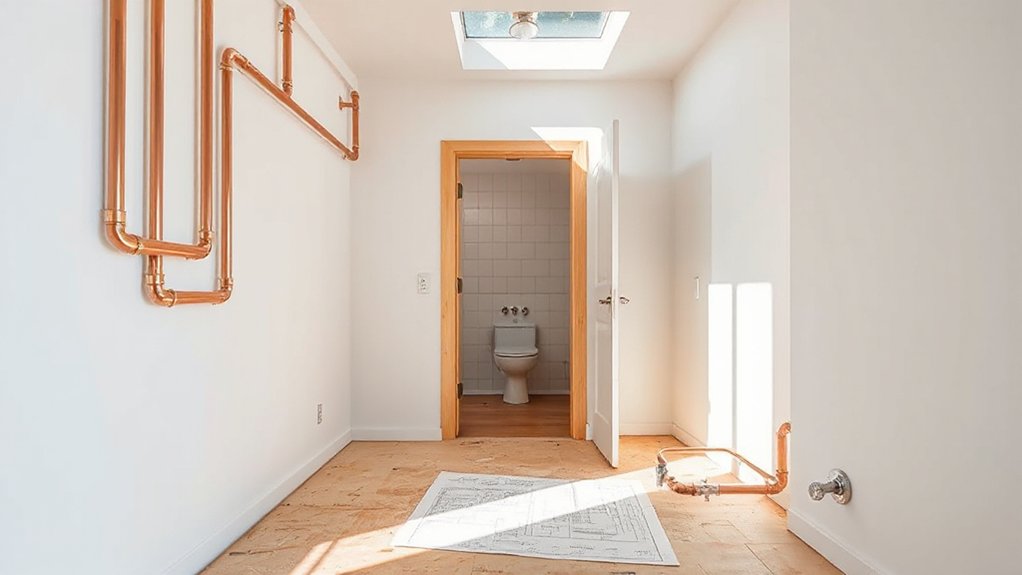
Access to plumbing is usually the biggest early cost driver you’ll face when adding a second bathroom. Your budget hinges on access routes, existing stacks, and the distance between fixtures. If pipes must run long distances or through finished spaces, you’ll pay more for labor, pressure tests, and potential wall or floor restoration.
Spreads between supply and waste lines matter, so map the shortest, straightest paths first. In tight townhouses, attic or crawlspace routes may reduce surface disruption but require extra insulation and access panels.
Plan for shutoff upgrades and future maintenance when choosing materials. While you’re considering layout, factor garden landscaping and interior decorating implications—moveable walls, fixtures, and venting affect both aesthetics and costs.
Prioritize practical, code-compliant paths to minimize surprises later.
Permits and Fees: What to Expect in Your City
Permits and fees start with your city’s application process, so you’ll want to map out each step from submission to approval.
You’ll need plan set requirements, which guide what drawings and specs your permit office expects before they’ll issue any approval.
As you track inspection milestones and associated fees, you’ll see how timing and code checks influence your total cost and project schedule.
Permit Application Process
Starting the permit application process begins with knowing what your city requires and how much it’ll cost. You’ll navigate forms, timelines, and fees so you don’t surprise yourself later. To stay practical, track each step and stay under budget.
1) Gather basics: project scope, drawings, and contractor details.
2) Submit plans for review: anticipate revisions, then pay associated permit and inspection fees.
3) Schedule inspections: plan for rough-in, final, and any zoning or safety checks.
Keep these in mind:
- Bathroom accessories should align with code and space allowances to avoid delays.
- Maintenance tips: budget for ongoing inspections and protect the finished work from moisture issues.
- Build in contingencies for permit overruns and expedited review if deadlines loom.
Plan Set Requirements
When you’re ready to pull the trigger on plans, plan set requirements become your next practical checkpoint. Plan sets spell out exactly what your city requires for permits and fees, so don’t guess—confirm early.
Expect structure: scaled floor plans, plumbing and electrical diagrams, and HVAC details, plus a site plan showing setbacks and the work area. Some jurisdictions mandate energy efficiency calculations and accessibility notes, which can add cost and time.
Be prepared for plan review fees, issuance fees, and potential rework charges if the plans don’t meet code or zoning. Garden landscaping may need separate approvals if yard alterations impact drainage.
Interior painting isn’t typically a permit issue, but tinted finishes or specialty coatings can trigger material specs. Budget contingencies for revisions to avoid delay-driven cost creep.
Inspection Milestones and Fees
Once you’ve submitted your plan set, you’ll encounter a series of inspection milestones tied to permits and fees, with each check-in carrying its own cost and potential hold-ups. You’ll want a tight budget, because missed items or delays mean added days of waiting and extra charges.
Plan for reviews that touch both interior and exterior scope, like interior lighting and landscaping design, to avoid rework.
1) Permit fees and plan review charges: expect base rates plus any specialty reviews.
2) Field inspections: each visit adds time and commuting costs, plus potential re-inspection fees.
3) Certificate issuance and final approvals: a last step that seals compliance and finalizes the permit.
Keep notes on timelines, so you don’t inflate project costs through idle days.
Layout Options to Save Time and Money
There are several layout options that can save time and money on a second bathroom addition. You’ll want to minimize plumbing runs by locating the new bath near existing pipes, typically adjacent to a main bathroom or utility space. Consider a compact 1.5‑bath layout or a shower‑only secondary room to cut costs and install time.
Single‑wall or corner fixtures reduce framing and drywall needs, while stacked components simplify rough‑in work. Preplan access for maintenance, and use durable, low‑maintenance materials to cut long‑term costs.
For exterior impact, integrate outdoor landscaping around the addition to avoid costly grading later. Prioritize energy efficiency with tight envelopes and efficient fixtures to lower operating expenses.
Details, permits, and scheduling remain essential to avoid surprises.
Fixtures and Fittings: Price Ranges You’ll Actually Use

You’ll want a clear snapshot of fixture costs and what’s actually worth spending on. We’ll outline a practical fittings budget that focuses on durable, frequently used items and sensible price ranges.
This starts with a tight costs breakdown you can customize for your townhouse retrofit.
Fixture Costs Breakdown
When budgeting fixtures and fittings for a second bathroom, focus on the items you’ll actually use and where you’ll save without compromising function. You’ll discover that choosing mid-range, durable components lowers long-term costs without sacrificing performance.
Prioritize reliable valves, quality tiling, and efficient fixtures that cut water and energy use. To keep costs predictable, source standard sizes and finishes rather than custom options.
- Fixtures: dual-flush toilet, water-saving faucet, and a sturdy showerhead with good spray coverage.
- Surfaces: porcelain or ceramic tiles, moisture-rated paint, sealed grout to avoid upkeep.
- Accessories: metal towel bars, adjustable shelving, and a mirrored unit that fits your space.
Note: landscaping ideas and interior paint trends influence overall feel, not core fixture costs.
Practical Fittings Budget
Moving from fixture selection to actual budgeting, you should map price ranges to the items you’ll use most in a second bathroom. Focus on practical fittings you’ll actually need, not every luxe option. Basic fixtures—toilet, sink, vanity, faucet, and shower—set the foundation; budget per item using midrange models to keep costs predictable.
Consider smaller upgrades—shower door, towel bars, and grab bars—only where they fit your daily routines. Don’t forget essential fittings like valves, connectors, sealants, and grout; these can surprise if you skimp.
For finishes, choose durable, easy-to-clean materials in neutral tones to avoid frequent replacements. Landscaping costs aren’t in the bathroom build, but plan the transit to plumbing and vent paths.
Finally, align furniture placement with flow and storage needs, avoiding clutter and optimizing space.
Demolition and Structural Changes: What Needs Careful Budgeting

Demolition and structural changes can quickly become a money pit if you don’t plan carefully. You’ll want a detailed scope, a contingency, and clarified permits up front. Don’t overlook framing, load paths, or wet/dry wall progressions, which can derail budgets fast.
- Define scope and sequence before demolition, so you don’t pay twice for the same work.
- Build a 10–15% contingency for unseen issues, especially in older buildings.
- Check landscaping plans and neighborhood regulations to align exterior changes with approvals and setbacks.
Keeping these in check helps you avoid costly rework.
Also, document structural changes for your contractor, and verify waste disposal costs early. If you anticipate curb-appeal impacts, plan how landscaping flow relates to the new footprint.
This minimizes surprises and keeps the project on budget.
Electrical Work and Lighting: Essentials That Lighten or Darken Your Bill
Electrical work and lighting can either spark big savings or drain dollars, so plan early and dial in efficiency. You’ll manage costs by prioritizing lighting design that uses single, well-placed fixtures and dimmable controls rather than a cluster of cheap, high-watt bulbs.
Budget for updated electrical wiring to support extra outlets in the new bathroom, dedicated circuits, and GFCI requirements, reducing overloading risk and future fix costs.
Choose LED fixtures for long life and lower energy use, and size switches and outlets to match actual needs, avoiding overkill.
Don’t forget about smart timing and occupancy sensors in hallways or adjacent spaces to cut idle-light expense.
Get a clear estimate for wiring routes, panel capacity, and fixture counts before you commit.
Ventilation and Moisture Control: A Quietly Important Budget Line
Ventilation and moisture control isn’t glamorous, but it’s a budget line that pays back fast. You’ll protect fixtures, prevent mold, and keep monthly costs stable by choosing efficient systems upfront.
1) Airflow optimization: size ducts correctly, seal leaks, and select a low-SCM fan to reduce run-time and energy waste.
2) Humidity monitoring: install a sensor with alerts, so you catch spikes before damage or odors develop.
3) Ventilation plan integration: coordinate with the bathroom layout, exhaust routes, and humidity load to avoid overkill or undersizing.
Your focus is on reliable performance and quick payback. Expect quieter operation, fewer repairs, and lower long‑term cooling and heating impact. Budget around a modest premium for smart controls.
Flooring and Tiling: Durability Meets Design Dollars
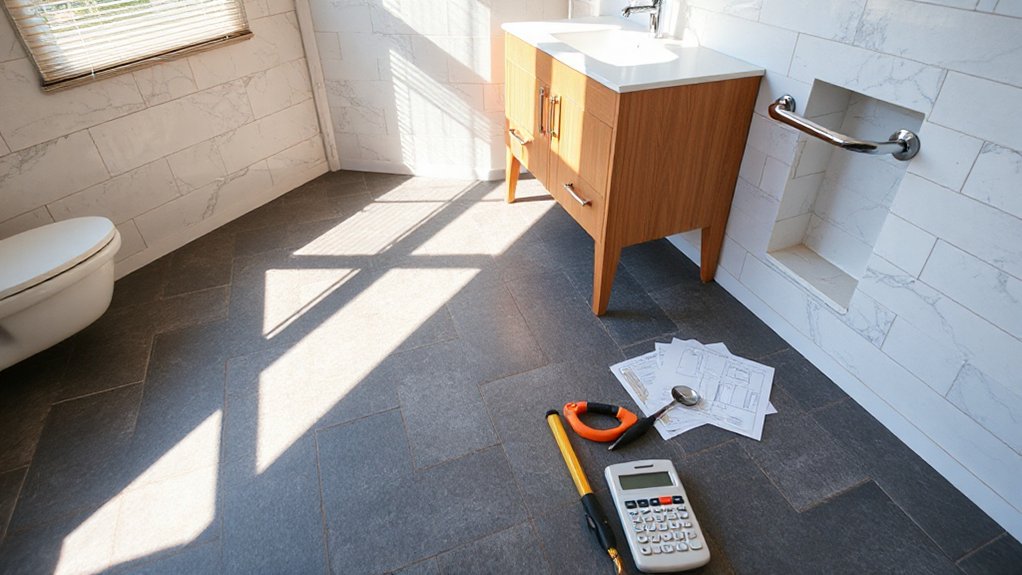
Flooring and tiling choice directly impacts durability, maintenance, and the long-term feel of a townhouse addition. You’ll weigh ceramic, porcelain, luxury vinyl, and natural stone for high-traffic areas, balancing up-front costs with long-term replacements.
Subfloor prep matters, so budget for leveling, moisture barriers, and even radiant heat if the layout supports it.
In bathrooms, select slip-resistant finishes and curb-free gradations to reduce tripping hazards.
Tile sizes influence grout maintenance; larger formats mean fewer joints but may require precise cuts, increasing labor.
For shared spaces, consider moisture resistance and cleaning ease.
Garden landscaping and exterior painting surrounding the project can affect moisture exposure and curb appeal, so plan drainage, grading, and color schemes early to maximize overall value.
Allocate contingencies for material price swings and installation delays.
Shower Enclosures, Vanities, and Storage: Practical Ownership Costs
Shower enclosures, vanities, and storage determine both daily usability and ongoing costs, so plan for fit, materials, and installation upfront. You’ll balance upfront price with durability and maintenance, choosing sensible options for long-term value. Focus on how each choice affects water usage, cleaning, and replacement schedules.
- Choose durable shower enclosures and water-efficient fixtures to minimize leaks and upkeep.
- Pick vanities with integrated storage and solid hardware to reduce clutter and future rework.
- Prioritize smart storage solutions that keep essentials accessible without overhauling later.
Incorporate bathroom accessories that streamline routine use, and favor water efficiency to lower operating costs. This approach reduces maintenance demands while elevating daily comfort and resale appeal.
Hidden Costs and Contingencies You Might Forget
Hidden costs creep in once the project moves beyond the obvious purchases of fixtures and fittings. You’ll face contingencies that aren’t obvious at first glance, so plan for overruns and delays.
Utility rerouting, permit fees, and inspection charges can spike quickly if inspectors flag code issues or hidden plumbing defects. Budget for temporary displacement needs, like vacating a unit during construction, and factor in dust control, debris hauling, and waste disposal costs.
Consider landscaping upgrades that might be postponed but still add expense if access routes or yard work are disrupted. Homeowner insurance may rise during the build, especially if you expand living space or install high-risk features.
Track line items closely, document changes, and secure preapproval for any scope shifts to avoid surprise charges.
Smart Savings That Don’t Sacrifice Quality
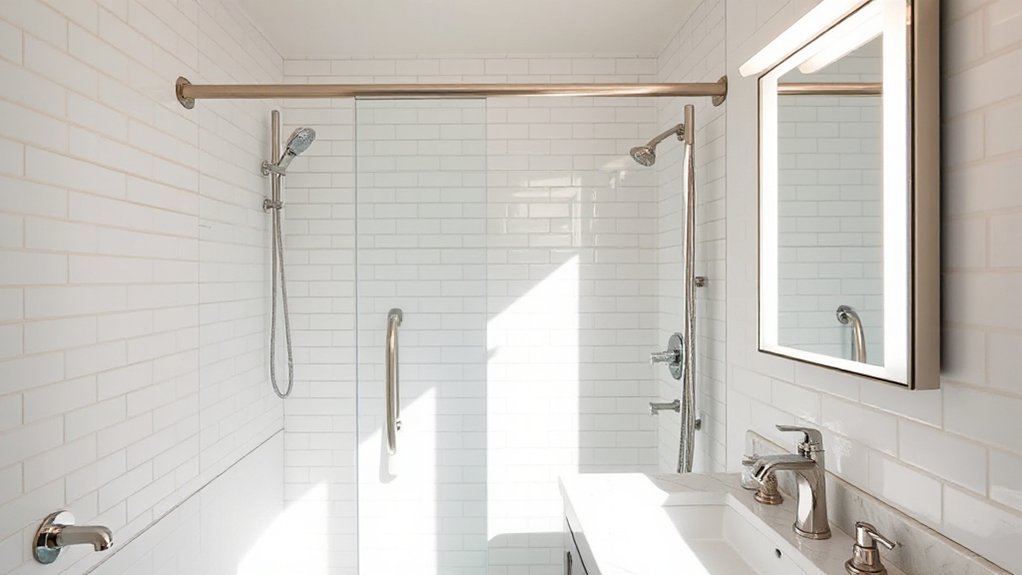
Smart savings can stretch your budget without compromising quality by prioritizing value over cheapest upfront price. You’ll avoid waste by choosing proven, mid-priced fixtures and comparing warranties, performance, and delivery times before buying. Focus on durability and fit to minimize future costs, and plan ahead to prevent rework.
1) Compare options in a side-by-side matrix, including product life, maintenance needs, and return policies.
2) Bundle purchases for delivery efficiency and bulk discounts, especially for plumbing fittings and tiles.
3) Reuse or repurpose existing elements where safe and feasible, aligning with gardening tips for moisture controls and airflow around the new space.
You’ll also consider furniture placement and layout efficiency to maximize function, ensuring the upgrade supports daily routines and clean, organized spaces.
Case Studies: Townhouse Scenarios, Timelines, and Budgets
Case studies show how townhouse projects unfold in real life, with timelines that hinge on permitting, trades access, and material lead times. You’ll see how design aesthetics meet practical constraints, forcing choices between cosmetic upgrades and structural changes.
In one scenario, a compact footprint drives layout options, prioritizing a shower-over-tub configuration and shared plumbing stacks to save costs.
In another, you trade heavy finishes for durable, low-maintenance materials to meet a tight schedule and budget.
Budgets tighten when unexpected delays hit, so you’ll benefit from contingencies for permits and contractor availability.
Homeowner preferences influence fixture selections, access routing, and venting solutions, all balancing comfort with resale value.
Case studies illustrate tradeoffs, timelines, and cost drivers so you can plan deliberately.
Frequently Asked Questions
What Factors Determine a Second Bathroom’s ROI in Townhouses?
A second bathroom’s ROI hinges on location, resale demand, and quality of finishes. You’ll boost value with luxury upgrades and smart design considerations, balancing costs, durability, and water efficiency to maximize appeal and minimize ongoing expenses.
How Long Does a Second Bathroom Renovation Typically Take?
A typical second bathroom renovation takes about 3–6 weeks. For example, you upgrade plumbing, install luxury fixtures, and finish drywall in two weeks, then grouted tile and cabinetry add another two weeks, keeping costs tight with careful planning.
Can a Half-Bath Suffice for a Townhouse’s Second Bathroom Needs?
A half-bath can work, but you’ll likely compromise on comfort and resale value. You’ll need efficient bathroom fixtures and thoughtful plumbing upgrades, focusing on compact layouts, water efficiency, and cost savings to fit your townhouse budget.
What Are Hidden Costs Commonly Missed in Budgeting?
Like chasing a mirage, hidden costs sneak up. You’ll factor material costs and permit fees, plus unexpected plumbing, wiring, and demolition overruns. You’ll budget for access, permit delays, and contractor overhead to avoid budget surprises.
Which Trades Are Essential for a Smooth Build?
Yes, essential trades include plumbing, carpentry, electrical, and tiling, plus HVAC if needed. You’ll pay attention to luxury fixtures and plumbing upgrades, coordinating timing, avoid delays, and factor in permit costs and material price fluctuations for a smoother build.
Conclusion
You’ve got the numbers, now nail the nuance. Practical planning, prudent purchasing, and precise pacing power the project. Pinpoint powder room versus full bath, prioritize plumbing access, and package affordable fixtures without compromising function. Contingencies cushion the curve, and careful comparisons curb costs while preserving curb appeal. Budget-conscious builders balance breadth and budget, batching tasks for fewer headaches. With disciplined decisions, you’ll craft a capable, cost-conscious addition that lasts and pays back in daily, delightful downtime.