
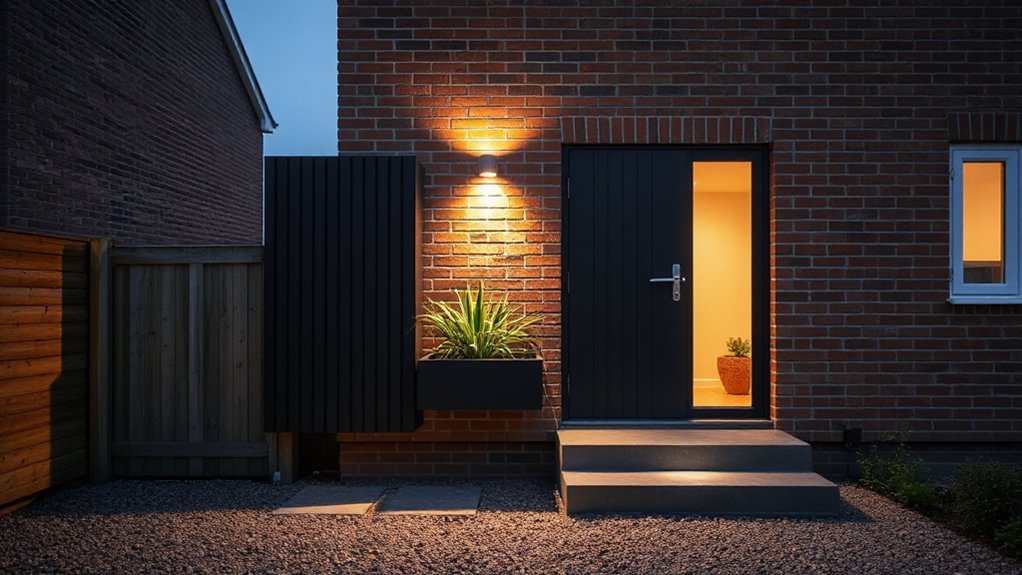

You might not realize how much space you’re wasting in corners and under stairs until you map every inch for built‑ins. Start by measuring walls, noting light and traffic, then sketch a plan that fits your daily routines without crowding rooms. From there, you can map out tall cabinets, wall shelves, and multi‑purpose furniture that blend with your decor. A thoughtful approach now keeps clutter at bay and preserves the charm you want—so what’s your first target in the house to transform?
How Built-In Storage Solves Space in Semi-Detached Homes
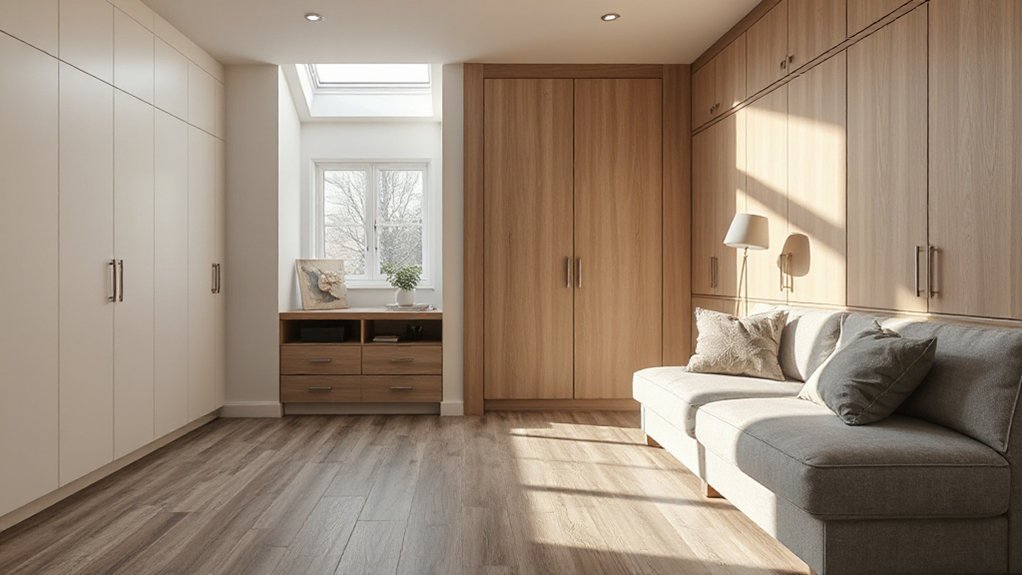
Built-in storage is a practical, space-saving solution for semi-detached homes, where every square foot matters. You’ll reclaim corners, alcoves, and underused walls by tailoring units to your layout.
Start with vertical storage: tall cabinets, wall shelves, and pegboards pull items off floors and free up desk and counter space. Use adjustable shelves to accommodate seasonal items, tools, or cleaning supplies, ensuring you never overbuy.
Implement multifunction pieces like benches with cubbies or window seats with integrated drawers to merge seating and storage. Narrow, recessed niches hold slim wardrobes or coat hooks without crowding rooms.
Prioritize accessibility—place frequently used items at reachable heights. This approach supports storage organization and space optimization, delivering a cleaner, more functional footprint in a compact home.
Assess Space Quickly: Measure, Light, and Load
Before you start installing, take a quick, practical look at the space you’ve got: measure, assess light, and check load. You’ll want precise dimensions first: walls, doorways, and ceiling height matter for built‑in depth and clearance.
Note natural light patterns to plan cabinet placement and finish colors; brighter walls can boost perceived space.
Check load: weigh floors, joists, and progressions to guarantee your structure can support added weight.
Sketch a simple floor plan with measurements and traffic paths; mark outlets, switches, and HVAC vents.
For garden landscaping considerations, align exterior sightlines and storage access from outdoor areas.
When choosing finishes, consider exterior painting compatibility and maintenance.
Use these checks to prevent overbuying and to keep installation efficient and durable.
Prioritize Your Daily Routines for Smarter Storage
To make smarter storage, start by mapping your daily routines and identifying where clutter tends to pile up. You’ll spot patterns in the kitchen, hallway, and entry, then target these zones with built-in solutions that support flow.
Prioritize tasks that recur: morning prep, after-work jackets, and weekend cleaning.
Plan furniture placement to create defined pockets: a slim bench with hooks by the door, a compact cabinet near the stove for essentials, and a rolling cart for utensils.
Align color schemes to reduce visual noise, choosing two calming neutrals with a bold accent for quick recognition of storage zones.
Implement labeled bins and shallow drawers that differentiate by-use items, so you grab what you need without rummaging.
Reassess weekly, pruning items that no longer fit routines.
Reclaim Under-Stair Storage Efficiently
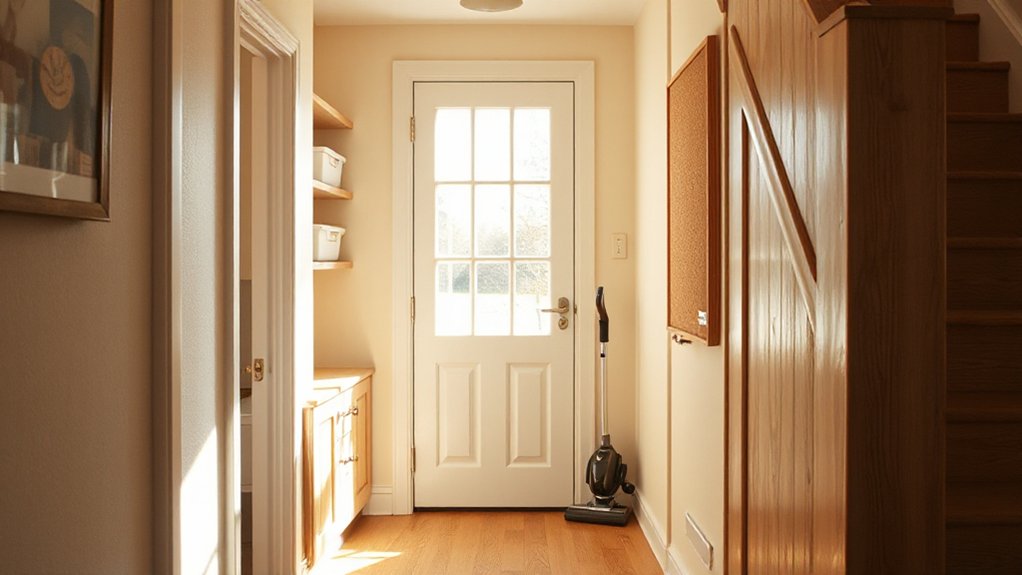
Under stairs storage can quickly become a black hole for clutter, but with a practical approach you can reclaim every inch without sacrificing living space. Begin by measuring every shelf and cubby to map available dimensions, then install shallow, stackable bins that label contents clearly. Use vertical dividers for seasonal items and a pull-out tray for easier access to heavy objects.
Create a dedicated zone for garage organization items, like nonprofit tools or maintenance supplies, so you don’t spill into living areas. Consider a magnetic strip for small metal bits and a slim, mounted shoe rack to keep footwear out of the way.
For garden storage, tuck in compact, weatherproof boxes and a foldable rake hanger. Maintain the system with quarterly audits to prevent overflow.
Nook Transformations: Built‑Ins for Tight Hallways
Narrow hallways don’t have to trap you in clutter; built-ins can turn these pinch points into functional space. Start with a slim, paneled bench that hides shoes and adds a seating moment for quick wardrobe changes. Install shallow alcove shelving at eye level for daily essentials, keeping clutter at bay while preserving passage width.
Choose a wall-mounted, floating cabinet so the floor stays visually open, and include a small hook rail for coats and bags near the entry. Use decorative accents like a framed mirror and a tactile runner to soften the corridor and visually extend the space.
Pick cohesive color schemes; light neutrals with a bold accent trim create depth without overwhelming the corridor, maintaining practicality and style.
Corner Cupboards That Use Diagonal Space Well
Corner cupboards that use diagonal space hinge on smart geometry and precise door-and-shelf design. You’ll optimize corner access by matching cabinet depth to the diagonal footprint.
Focus on maximizing diagonal space with angled shelves and a swinging or bi-fold door that doesn’t collide with adjacent cabinets.
We’ll discuss how to size the cabinet, shape the shelves, and tune door clearance to keep everything reachable and organized.
Corner Cabinet Geometry
Start with a shallow depth at the front to allow door clearance and easy reach, then taper toward the back for a slim profile without crowding. Use a 90-degree corner with a swinging or pullout tray system to convert awkward angles into usable shelves.
Optimize shelf heights so common items aren’t crushed by tall doors or backs. Consider a diagonal storage approach to place frequently used items within arm’s reach while keeping infrequently used goods higher or lower.
Precise layout prevents wasted space and ensures reliable performance of corner cabinet systems.
Maximizing Diagonal Space
Diagonal space in corner cupboards is a goldmine when you plan it right; use it to place frequently accessed items where you can grab them without bending or twisting. You’ll maximize storage efficiency by choosing shallow, tall profiles that fit the notch between walls and cabinets, then install pull-out trays or rotating carousels to reduce dead zones.
Align items by category, with daily use near the front and seasonal or rarely used stacks behind. Use adjustable shelves to tailor height, and consider soft-close mechanisms to protect delicate contents.
Add labeled bins within the carousel for quick visibility, and install a slim, vertical organizer for lids and small utensils. This approach enhances storage optimization, improves accessibility, and keeps your diagonal space deliberately functional.
Door And Shelf Design
To make diagonal corner cupboards work, start with door and shelf designs that maximize accessibility and minimize wasted space. You’ll want doors that swing or slide without colliding with adjacent cabinetry, plus shelves that drop in at angles to expose hard-to-reach corners.
Use adjustable uprights to tailor heights as you load bulky items, and install soft-close hardware to prevent jams from heavy supplies. Consider quarter‑circle shelves that nest items efficiently and keep daily essentials within reach.
Finish with a light, durable finish that resists moisture near entrances and patios.
- Door profiles that clear adjacent units and maintain a clean line
- Angled shelves that reveal stored items instantly
- Soft‑close hardware for durable use
- Outdoor aesthetics and Landscaping integration considerations for a cohesive look
Wall Shelves That Keep Daylight Moving Through Rooms
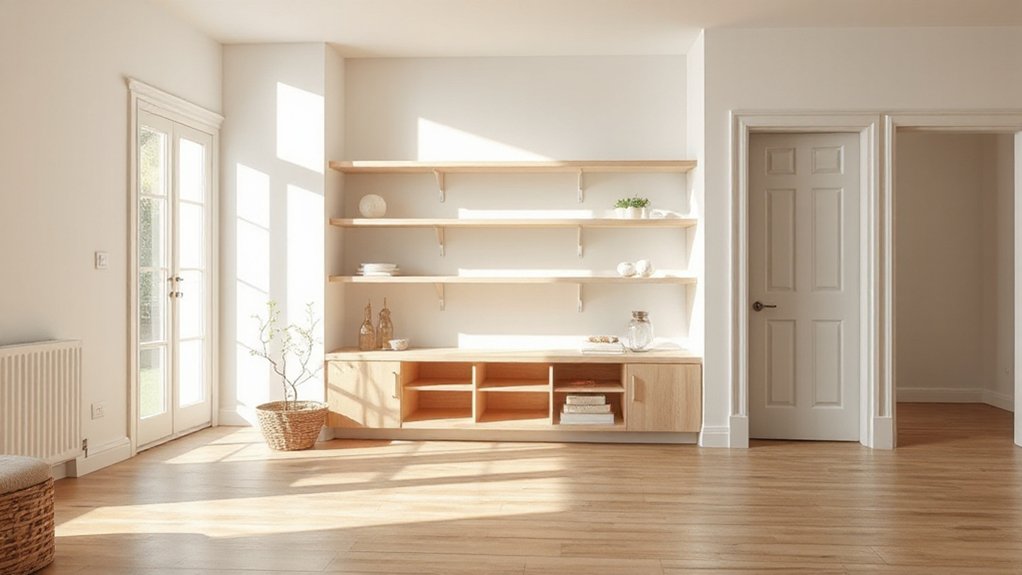
Wall shelves are a simple way to move daylight deeper into a room without sacrificing floor space. Install shallow wall shelves at eye level along light-facing walls to catch and reflect natural light from exterior windows. Choose white or pale wood finishes to maximize brightness, and avoid heavy, dark brackets that interrupt the glow.
Keep shelves narrow and evenly spaced to prevent visual clutter, which helps daylight travel further. When placing shelves, align with existing furniture placement to create a cohesive flow rather than a crowded corner.
Use color schemes with cool whites and soft neutrals to amplify reflected light. Mount brackets into studs, and stagger items sparingly to prevent shadowed pockets.
Add a mirror or glass accents to boost luminance without compromising storage.
Multizone Storage: Cabinets, Drawers, and Display
Multizone storage combines cabinets, drawers, and display areas to maximize organization without sacrificing style. You’ll design a system that keeps daily essentials reachable while showcasing decor. Start with a neutral base cabinet run, then add drawers for small items, and reserve a glass-front display zone for favorites.
Balance is key: guarantee each zone supports your workflow and doesn’t clash with surrounding furniture placement. Keep hardware consistent to reinforce cohesion and ease of use.
- Align drawer heights with typical device or tool sizes you reach daily
- Group by function, not by random placement
- Use compatible finishes to support color coordination
- Leave a dedicated display ledge for seasonal accents
Measure clearance, anticipate door swing, and test reach from typical seating positions for efficiency.
Vertical Strategy: Tall Units and Ceiling Reach
Think tall storage can reclaim underutilized wall space by pairing narrow cabinets with adjustable shelves that reach up to the ceiling.
Consider ceiling reach strategies like stepped heights, slim columns, and interior lighting to keep every inch accessible and visible.
Start with a clear plan for integration with existing layouts, focusing on smooth access, safety, and future flexibility.
Tall Storage Solutions
Ever thought you could double your storage without widening your footprint? Tall storage solutions maximize vertical real estate with purpose-built, slim profiles that stay unobtrusive. You’ll prioritize clean lines and accessible shelves, so every square inch serves a function.
Use tall, narrow cabinets in hallways and under stair landings to keep clutter out of sight. Choose surfaces and hardware in materials that are minimalist aesthetics and built to last, favoring eco-friendly materials.
- Floor-to-ceiling pantry with removable shelves
- Slim wardrobe with adjustable rods and pull-out bins
- Integrated shoe rack and slim pull-out drawers
- Stair-step cubbies that double as seating and storage
This approach is practical, durable, and ready for daily use, without sacrificing style or sustainability.
Ceiling Reach Strategies
Use recessed or pull-down systems for hard-to-reach shelves, keeping frequently used items within knee or chest height for everyday access. Integrate ladder rails or a compact rolling ladder to maintain safety while expanding reach, and install motorized lifts for heavy bins where possible.
Plan for proper lighting and dust protection above high shelves, plus adjustable shelves to adapt to varying item depths. Anticipate load limits, ensure sturdy support, and label zones to preserve storage capacity and routine retrieval efficiency.
Materials and Finishes to Match Your Home
Choosing materials and finishes that harmonize with your existing home is essential for a seamless expansion. You’ll want cues from texture, color, and scale to guide every choice, ensuring the new storage reads as an intentional extension rather than an afterthought.
Focus on color coordination to align cabinetry, trim, and walls, and select finishes that resist wear in high-traffic areas. Prioritize material durability, opting for moisture-resistant cores, solid backing, and UV-stable coatings where sun exposure is likely.
Plan edge profiles and seams to minimize visual breaks between spaces. Below are ideas to visualize the integration:
- Soft, matte finishes that mirror wall tones with subtle grain
- Hardwood-inspired laminates paired with matching baseboards
- Neutral slabs and doors that tolerate daily use
- Concealed hardware for clean lines and longevity
Budgeting Built‑Ins: Cost Ranges and ROI
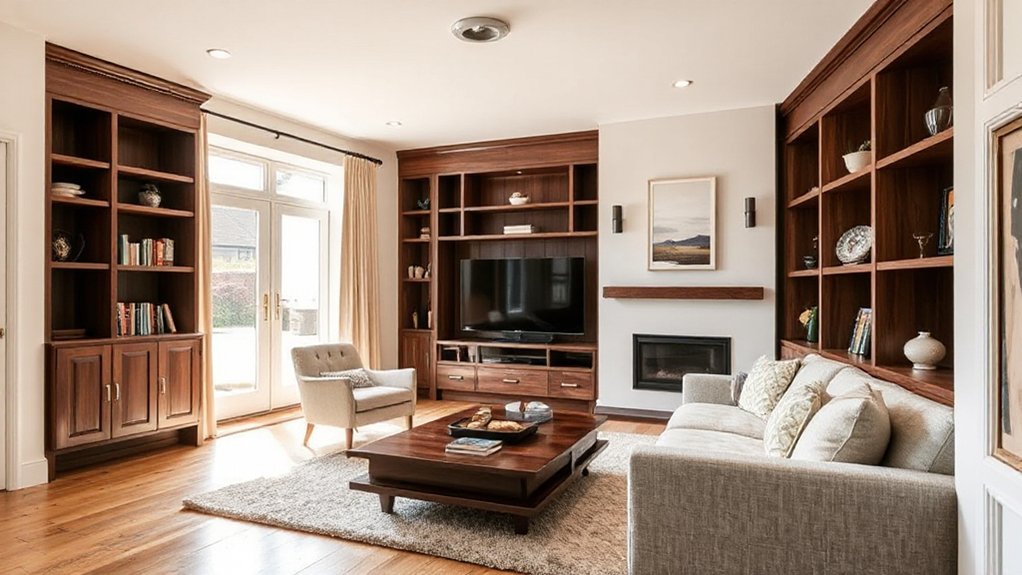
If you’re planning built-ins for a semi-detached home, start with a realistic budget that accounts for scope, materials, and installation complexity. Begin with a baseline that covers cabinets, hardware, and finishes, then add contingency for unforeseen wiring, plumbing, or structural tweaks.
Typical cost ranges vary by material and scale, from economical laminates to solid wood or custom-fit systems, plus installation labor. Expect higher prices for space that’s awkward or requires precise alignment with existing architecture.
Estimate return through storage optimization gains and reduced clutter, which translate to livable area and resale appeal. Track ROI with soft metrics too—time saved, easier maintenance, and better space utilization.
Plan for phased improvements to spread costs and maximize space maximization over time.
Custom vs Semi‑Custom vs Ready‑Made: What Fits
When weighing options, you’ll weigh the fit between custom, semi-custom, and ready-made built-ins against your space, budget, and timeline. You’ll balance storage limitations with design aesthetics, ensuring the result feels intentional, not hacked in.
Here’s how to decide:
- Custom: tailored fit, flawless use of awkward alcoves, higher upfront cost.
- Semi-custom: calibrated sizing, quicker lead times, balanced pricing, flexible finishes.
- Ready-made: lowest risk, fastest install, best for straightforward rooms, limited customization.
- Hybrid: mix components to cover tricky areas while preserving cohesion and texture.
Tips help you avoid regret: map wall lengths, select hardware early, favor modular segments, and align door styles with existing aesthetics.
Quick Wins: Small Changes With Big Impact
Small changes add up fast when you’re upgrading a semi‑detached layout. You can start with tiny, reversible tweaks that don’t require major renovation.
Pick a cohesive color schemes palette and carry it through walls, shelves, and storage units to visually tie rooms together.
Then optimize furniture placement to maximize usable footprint: place slim bookcases along underused walls, install floating cabinets above seating, and keep traffic lanes clear.
Choose storage with true depth rather than shallow surfaces; pull-out drawers and modular units boost organization without crowding spaces.
Use mirrors to amplify light and perceived size, aligning them with storage when possible.
Finally, label and group items by frequency of use so daily routines stay smooth and clutter stays controlled.
Lighting and Hardware That Elevate Built‑Ins
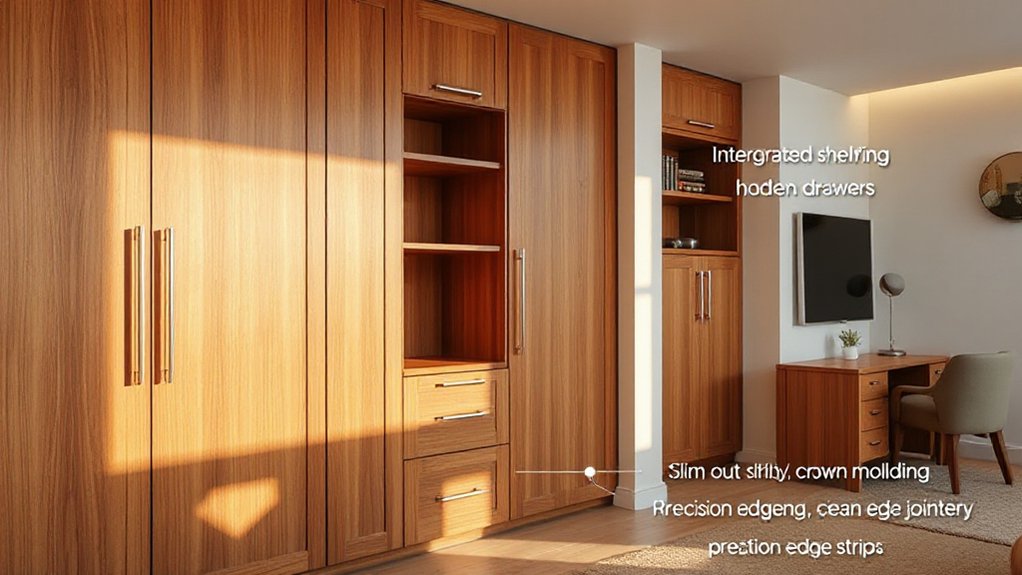
Lighting and hardware are the finishing touches that elevate built-ins from functional to refined. You’ll choose lighting that highlights shelves without glare, using warm temperatures (2700–3000K) and dimmable options for mood shifts.
Pair this with hardware that feels substantial yet understated, so storage remains approachable. Prioritize color coordination and material durability to guarantee a cohesive grab-and-go experience.
- Subtle LED under-cabinet strips spill light along edges for depth
- Matte brass or brushed nickel pulls that match door hinges
- Door magnets and soft-close hinges for quiet usability
- Solid wood or high‑density laminate shelves with routed edges
Aim for consistent metal finishes, tested hardware, and shelves rated for your load; your space stays functional and timeless.
Acoustic Considerations for Neighborly Design
You’ll start by identifying where sound is most likely to travel between units and choosing wall assemblies that prioritize acoustic privacy. Consider practical wall stack options and resilient channels.
Then, pair them with mass-loaded vinyl or decoupled drywall to reduce impact noise and speech transmission. We’ll explore targeted strategies for monitoring performance and adjusting details before you finalize built-ins that support neighborly design.
Acoustic Privacy Strategies
To minimize sound transfer between a semi-detached pair, start with a thorough plan that targets the most common weak points: walls shared with neighbors, floors and ceilings, doors, and exterior facades. You’ll apply proven strategies that balance storage gains with acoustic restraint, focusing on practical, durable solutions.
Consider dense, mass-loaded materials, selective resilient channels, and door seals that reduce leakage without compromising access. Plan to decouple partitions where feasible, and choose soft finishes that dampen impact noise. Use careful layout to place noise‑generating activities away from shared walls.
Integrate storage options that don’t create rattling shelves or hollow voids. Soundproofing techniques and noise reduction tips can blend with built‑in designs, preserving function while protecting privacy.
- Target shared walls with mass, decoupling, and seals
- Locate noisy zones away from neighbors
- Favor solid, vibration‑damping doors
- Use soft, absorptive finishes on surfaces
Wall Assembly Considerations
Wall assemblies matter most where they meet the party wall, so start by outlining a performance goal—minimize flanking, reduce sound transmission, and prevent sound from skipping between spaces.
You’ll select a continuous, sealed envelope that ties into existing studs and drywall without creating gaps.
Prioritize exterior insulation to dampen temperature-driven acoustic paths and help with dew points near the interior finish.
Use staggered or resilient channels only where needed to decouple vibration, not to complicate storage access.
Guarantee foundation stability is addressed; any shifting can crack seals and re‑radiate noise.
Seal all penetrations with acoustic caulk and airtight membranes, then test with simple in-situ checks.
Document assemblies for future maintenance, so your built‑ins stay quiet as designs evolve.
DIY vs. Pro Installation: When to Hire Out
When deciding between DIY and pro installation for built-in storage, start by honestly evaluating your skills, tools, and time. If you have basic carpentry, electrical, and framing know-how, DIY is feasible; otherwise, hire out to protect structure and warranties. Consider your schedule—short deadlines pressure DIY, while pros can preserve space efficiency and finish quality.
For many homes, pros guarantee alignment, proper ventilation, and durable hardware, key for long-term storage success.
- Measure twice, plan once: visualize every shelf, drawer, and hanging rod
- Weigh electrical needs and access, avoiding rework
- Prioritize robust, adjustable components for space optimization
- Schedule permits and inspections to keep value intact
Flexible Layouts That Keep Value Long‑Term
Flexible layouts aren’t a one-size-fits-all fix; they’re about designing space that adapts with your needs while protecting value over time. You’ll prioritize load-bearing plans and modular storage that can reconfigure as rooms shift usage.
Choose built-ins that stay generous but unobtrusive, so resale stays compelling. Think in zones: a flexible living area that doubles as a guest suite via sliding panels, or a dining nook that can become a compact home office.
Prioritize durable finishes and simple wiring for future upgrades. Garden landscaping around the footprint can enhance curb appeal without sacrificing floor space, boosting external value.
Energy efficiency remains core: seal, insulate, and daylight strategically to cut costs and keep the home attractive long term.
Plan for adaptability, not obsolescence.
Case Study: Semi‑Detached Makeover With Built‑Ins
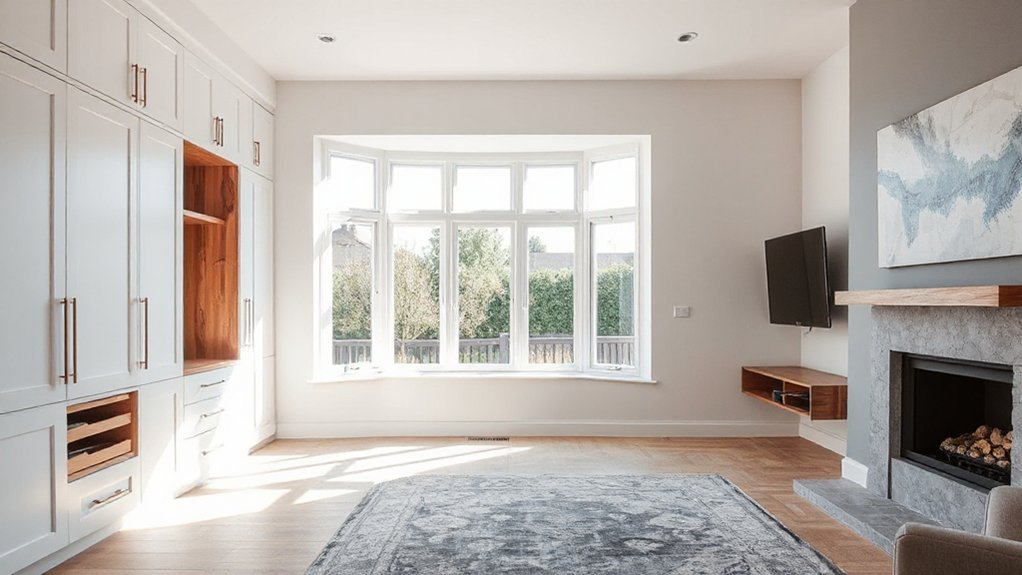
Could a thoughtful makeover unlock built-in potential in a semi‑detached home? In this case study, you’ll see how smart storage reshapes flow without cramping style.
Start with a compact kitchen remodel using Eco friendly materials for cabinets and shelves, paired with vintage accents to keep charm. You’ll reclaim dead corners, install tall pantry units, and overlay hidden gaps for charging stations and cords.
The living room gains a media cabinet with pull‑out shelves, while the hallway stores seasonal items in labeled bins. You’ll test a modular approach so future owners can adapt.
Each decision prioritizes durability, clean lines, and ease of access.
- Space‑saving pantry with pull‑out drawers
- Floating desk with integrated cubbies
- Hidden storage behind pantry doors
- Bench seating with lid‑lift storage
Frequently Asked Questions
How Do Built-Ins Affect Resale Value in Semi-Detached Homes?
Built-ins boost resale when you use custom cabinetry and storage organization to maximize space, durability, and appeal; buyers appreciate tidy, efficient layouts. You’ll attract higher perceived value by showcasing functional, organized areas that minimize clutter and maximize usable space.
What Are the Best Finishes for Durability and Moisture Resistance?
Finish options that endure include moisture resistant materials like high-grade MDF, vinyl-wrapped plywood, and sealed composites. You choose durable, low-maintenance textures, install waterproof backing, and seal edges; your space stays pristine, resilient, and ready for daily use.
Can Built-Ins Be Retrofitted Without Structural Changes?
Yes, you can retrofit built-ins without structural changes by using freestanding or modular options, along with Hidden compartments and Custom cabinetry that slot into existing alcoves, doors, or under stairs, secured to walls for stability and better moisture resistance.
Which Storage Solutions Maximize Natural Light Usage?
Natural light thrives with skylights, glass-front cabinets, and mirror-backed shelving. You’ll maximize space through vertical storage, under-stair drawers, and slim built-ins. Focus on Storage optimization by using light-color finishes and reflective surfaces to brighten every corner.
How Long Does Installation Typically Take for a Full Project?
Installation typically takes a few days to a couple weeks, depending on scope. You’ll plan, measure, and install custom shelving, focusing on space optimization while coordinating trades. You’ll finish with durable, tidy built-in storage solutions.
Conclusion
You’ve got a clear path: measure well, map routines, and tuck storage where it serves daily life. Reclaim nooks, under-stair spaces, and tight hallways with smart, durable builds that echo your decor. Consider acoustic tweaks to keep peace with neighbors, and decide between DIY or pro install based on precision and safety. Keep the layout flexible for long-term value. It’s not magic—it’s a well-planned transformation, and you’re right on track to make storage disappear into style.