


Did you know a basic loft conversion can cost under a third of more elaborate builds when you swap in DIY insulation and lightweight finishing? You’ll want to keep structure intact, use minimal mods, and choose simple access like a sturdy ladder. Think budget-first: cheap insulation, modular walls, basic lighting, and ready-made stairs. But there are hidden traps that can blow your budget fast—worth guarding against before you commit, so you’ll want a clear plan as you move forward.
How to Budget a Loft Conversion Without Sacrificing Safety
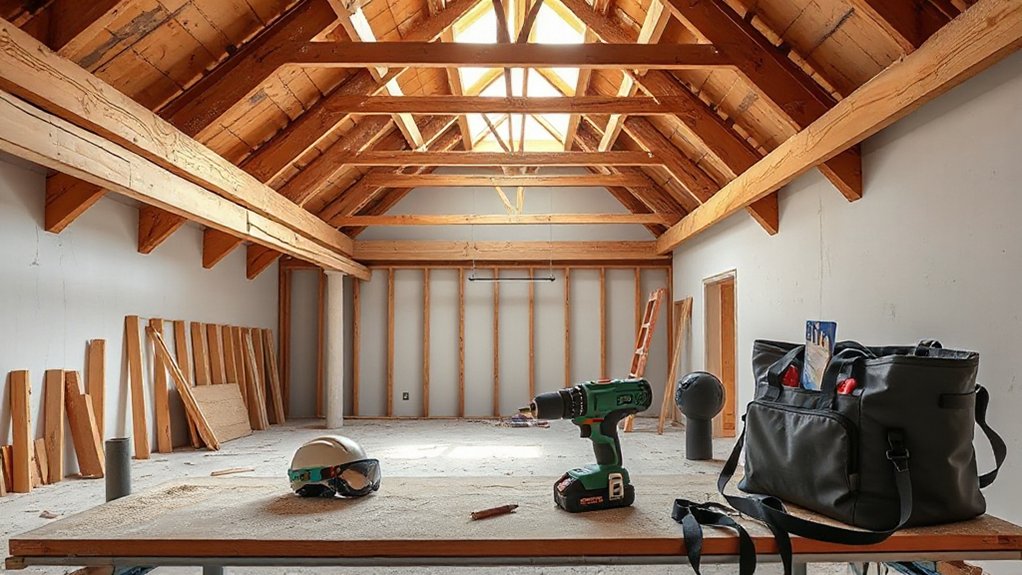
To budget a loft conversion without sacrificing safety, start with a clear scope and a realistic cost ceiling. You map essential rooms, headroom, and egress, then attach a strict budget line for each item—structural reinforcement, insulation, services, and finishing.
Prioritize safety-critical costs first, and build in a contingency of 10–15% for unforeseen issues. Compare quotes from licensed trades, verify references, and demand detailed breakdowns, so you can spot hidden markups early.
Use value-minded choices: robust egress windows, compliant stair design, and modular storage to cut labor. Incorporate practical touches like artistic murals as a low-cost aesthetic, and plan interior gardening to improve air quality without expanding footprint.
Track progress weekly, adjust scope before you sign, and document changes for future resale value.
Quick Structural Checks Before You Start
Before you lift a hammer, run a quick structural sanity check to catch red flags early and keep costs from spiraling. Inspect the attic floor joists, looking for sagging spans, cuts, or excessive notches that weaken support. Check wall and ridge ties, ensuring framing is square and plumb; loose connections can doom a cheap conversion.
Measure clearances for stairs, headroom, and egress, since poor planning costs more later. Look for signs of dry rot, dampness, or past water intrusion in timber and sheathing. Confirm existing load paths align with your plan, especially where you’ll add new loads from finishes or fixtures.
Plan around decorative accents and historical styles without overloading original members; respectful detailing reduces risk and costly rewrites. Limit surprises by documenting findings and consulting a pro if anything feels off.
Choose Lightweight, Low-Impact Insulation
Choosing lightweight insulation can trim both install time and costs, so you’ll want options that stay easy to handle yet perform well. Look for materials that offer solid R-values per inch, simple fit around joists, and fast, low-impact installation methods that don’t require special equipment.
Compare cost-effective choices carefully, balancing price per square foot with long-term energy savings and compatibility with existing loft structure.
Lightweight Insulation Options
Consider aerogel or foil-faced polyisocyanurate panels for compact walls and ceilings, but check local codes for fire concerns.
If you’re after simplicity, blown-in cellulose or mineral wool in existing cavities can deliver decent performance without heavy framing changes.
Choose products with vapor-permeable wraps to reduce moisture risk in cedar-lined or wood-framed spaces.
For retrofit aesthetics, plan around vintage fixtures or decorative accents you want to keep, ensuring wiring and outlets remain safe and accessible.
Budget for fast installation, minimal mess, and a single-supply delivery to avoid multiple trips.
Low-Impact Installation Methods
If you want a quick, affordable loft retrofit, start with lightweight, low-impact insulation that goes in fast and doesn’t demand heavy framing changes. With low-impact installation methods, you’ll prioritize products and tactics that minimize disruption, dust, and downtime.
Choose featherweight panels, blown-in fibers, or vacuum-applied blankets that fit through existing openings, reducing carpentry needs and structural risk. Focus on tight seals around joists, attic hatches, and attic access to maximize efficiency without major remodels.
Look for Eco friendly materials that avoid irritants and heavy processing. Prioritize soundproofing techniques like resilient channels and decoupled layers where noise transfer is a concern, yet keep installation simple.
Plan a clean, modular approach: measure, fit, seal, test, and iterate for steady, predictable savings.
Cost-Effective Material Choices
When you’re selecting materials, prioritize lightweight, low-impact insulation that delivers warmth without heavy renovations. Aim for products with high R-values per inch, minimal thickness, and easy retrofit fit.
Consider spray foams or aerogel blankets for tight spaces, but compare long-term moisture management and off-gas ratings.
Recycle content and local sourcing cut transport costs and embodied energy. Favor panels or boards that can be cut on site, reducing waste and labor time.
For aesthetics, choose solutions that support luxury finishes or discreet integration, so you don’t pay a premium later.
Plan for airtightness first; a tight envelope lowers heating needs, freeing budget for bespoke design touches.
Balance cost with performance, and select materials that stay durable, easy to maintain, and compatible with future upgrades.
DIY Insulation Options That Save You Money

There are several DIY insulation options that won’t break the bank, and choosing the right mix depends on your loft’s layout and climate. You’ll save by combining affordable methods: mineral wool or fiberglass batts for stud walls, blown-in cellulose for attic cavities, and rigid foam boards in non-load-bearing spots.
Seal gaps with inexpensive caulk, weatherstripping, and door sweeps before you add any insulation to cut drafts. Use radiant barrier foil beneath the roof to reflect heat, especially in warm climates.
Install a vapor barrier only where necessary to prevent moisture issues. Consider recycled or low-VOC options to keep costs down and indoor air quality up.
Vintage fixtures or garden integration ideas can influence interior layout, but prioritize effective sealing and proper ventilation.
Flooring on a Budget: What Works Without Breaking the Bank
You’ll uncover budget-friendly flooring options that balance durability and cost, from durable vinyl plank to textured laminates.
I’ll show quick, low-cost installation tips that fit tight deadlines and tight budgets, like prep work and simple changeovers.
This discussion keeps options practical and clear, helping you choose efficient, affordable flooring that stands up to loft use.
Budget-Friendly Flooring Options
Choosing budget-friendly flooring means balancing cost, durability, and ease of installation so you don’t overspend on a space that’s still functional and stylish. You’ll find options that wear well without costing a fortune, and you can still hint at luxury with smart choices. Focus on practicality, not pretension, and pair affordable basics with thoughtful details.
- Consider vinyl plank for water resistance and DIY installs
- Look at laminate with a real-wood look and durable wear layer
- Use affordable underlayment to reduce sound and improve comfort
If you want upscale vibes, mix budget-friendly flooring with small touches like Luxury finishes and High end fixtures in trims, transitions, and accents. That contrast adds value without blowing the budget, while keeping upkeep minimal and installation straightforward.
Quick, Low-Cost Installations
Getting flooring you can install fast and cheaply starts with choosing materials that are easy to cut, lightweight, and forgiving for DIYers. You’ll prioritize options that go down cleanly with minimal tools and fast acclimation times.
Sheet vinyl or peel-and-stick vinyl tiles offer instant coverage, low cost, and simple seams, while engineered wood bargains deliver a convincing look without the price tag of solid wood.
For a quiet, heat-trapping underlayment, add a thin foam layer that’s easy to compress and install.
Consider groutless, floating laminate for quick updates.
If you crave luxury finishes, don’t overpay—textured laminates can mimic high-end materials at a fraction of the cost.
Remember: measure precisely, cut once, and plan progressions to reduce waste and labor.
Safe and Affordable Loft Stairs and Access
When planning safe and affordable loft access, start by prioritizing a sturdy, code-compliant staircase or ladder that fits your space and budget. You’ll balance safety with ease of use, and you’ll consider local codes, hoists, and possible prefab options.
Look for reliable handrails, uniform risers, and non-slip treads, because these details prevent accidents and save repair costs later. If you’re intrigued by Historical design and Artistic features, choose railings or finishes that echo period style without inflating price.
Keep adaptability in mind for tight quarters, and plan for future storage around the access.
- Compare prefabricated kits versus custom builds to find long-term value
- Prioritize non-slip, compliant steps and secure handrails
- Align style with budget through finishes and simple detailing
Cheaper Layouts: When You Don’t Need a Full Dormer
If you don’t need a full dormer, there are cheaper layout options that still boost usable space and light. You can reconfigure the existing ceiling height with a shallow dormer or a shed roof extension, which costs less than full dormers but adds headroom in key zones.
Opt for a practical floor plan: a compact master area, a small study nook, and built‑in storage along the eaves to maximize every inch. Use movable partitions instead of permanent walls to keep flexibility.
Prioritize a bright, open feel with strategically placed skylights or high‑north windows. Add attic storage solutions like shelving and bins under slopes to keep clutter down.
For vintage charm, incorporate reclaimed timber accents and period hardware without inflating costs.
Use Flexible Wall Systems to Save Time and Cash

Flexible wall systems cut installation time and mess, so you can finish faster and save on labor. You’ll see costs stay predictable with modular panels and fewer trades, while seamless walls reduce finish work and future changes.
Start by outlining quick loft conversion steps that leverage ready-made components for tight budgets and a cleaner, move-in ready result.
Flexible Install Time Savings
Flexible wall systems streamline loft conversions by cutting on-site time and labor costs. You’ll install faster, finish sooner, and reduce disruption to your daily routine. This approach concentrates on practical steps that save money without sacrificing outcomes, and it leaves room for selective upgrades later.
- Speedy framing and pre-fabrication cut build days substantially
- Fewer trades on-site mean quicker inspections and approvals
- Simple routing of services minimizes retrofit work and backtracking
Choosing flexible walls supports a tight budget while still offering Luxury upgrades and aesthetic improvements when you want them.
You’ll see lower labor rates, predictable schedules, and less weather risk since much of the work is preassembled.
Plan for clear measurements, standardized panels, and straightforward hardware to maximize time savings and keep costs transparent.
Seamless Wall System Costs
Seamless wall systems can trim your loft project’s total cost by reducing on-site labor and eliminating retrofit work, making the budget safer from surprises. You’ll pay a predictable price per square foot with modular panels, fast installation, and minimal finish work.
Factor in fewer trades, since fewer wall penetrations mean reduced approvals and inspections. With a seamless wall, system costs stay transparent—shop for standard sizes and avoid custom textures that inflate price.
Consider insulation integrated into the panels for thermal gains without extra layers. You’ll save time during framing, wiring, and drywall, accelerating occupancy and reducing rental overhead.
When evaluating options, compare long-term maintenance and replacement cycles, not just upfront costs. Choose reputable manufacturers, request detailed quotes, and verify warranty coverage to protect your seamless wall investment.
Quick Loft Conversion Steps
Before you start, use the idea of modular, flexible wall systems to keep the loft conversion fast and affordable. You’ll map a simple layout, then deploy modular panels that minimize demolition and waste. Keep electrics and plumbing pre-planned in a single phase to reduce delays.
- Choose modular partitions for quick room delimitation and future reconfiguration.
- Pre-fit electrical routes and insulation to avoid bottlenecks during finishing.
- Stage finishes: budget-friendly options first, luxury finishes later if budget allows.
Focus on cost-conscious choices that still feel complete. Opt for solid, mass-market finishes that wear well, while reserving luxury finishes and designer lighting for key focal points.
Integrated lighting, dimmers, and socket placements streamline the build and improve perceived value without blowing costs.
Finishes That Look Sharp on a Budget
Ready to transform a space without overspending? You’ll maximize visual impact with smart, affordable finishes that still feel refined.
Start with paint choices: opt for a neutral base paired with a bold accent wall or ceiling to add depth without heavy cost.
Use prefinished plywood or high-variance laminates for a wood-look vibe that’s durable and easy to maintain.
Introduce texture with affordable wall panels or fabric-backed wallpaper in limited areas to avoid overload.
For kitchen and bath, choose high-impact, durable options like quartz-look laminates and stainless-steel accents.
Keep fixtures simple yet cohesive.
Incorporate luxury finishes and high-end fixtures through hardware, mirrors, and lighting that read expensive without breaking the bank.
Focus on consistency, save on bulk, and measure twice to minimize waste.
What You Can Do Yourself: Paint, Plaster, and Plaster Repairs
After choosing affordable finishes, you can level up with do-it-yourself painting, plastering, and basic repairs that save money and boost results. You’ll tackle walls and ceilings in stages, using lightweight plasters for cracks and skim coats for smoothness, while keeping dust and mess to a minimum. Drying times matter, so plan sessions and ventilate well.
A small setup—trowel, hawk, knife, sanding blocks—keeps tools affordable and ready. Focus on even coats and sample patches to avoid costly rework. Remember to plan garden landscaping and furniture arrangements around the work zone to minimize interference and maximize space.
- Patch, sand, and prime before paint
- Use thin, multiple plaster coats for best finish
- Seal gaps and corners to prevent cracking
Cost-Effective Ventilation and Condensation Control

To keep loft spaces comfortable without breaking the bank, focus on practical, low-cost ventilation and condensation controls that you can implement today.
Start with natural ventilation: openable windows plus trickle vents create air exchange without costly fans. Use exhaust fans in bathrooms and kitchens to pull humid air outward, ensuring ducts vent outside, not into attics.
Insulate cold surfaces to reduce condensation—seal leaks around doors and skylights, and add gap fillers where drafts appear.
Install a simple humidity monitor to track changes and trigger ventilation when needed.
Consider affordable smart lighting that doubles as climate-aware devices; it lowers heat gain and supports energy efficiency by turning on only where needed.
Maintain routine airflow checks and prioritize energy efficiency in any retrofit.
Lighting On a Dime: Efficient Solutions That Click
Why pay more for lighting when you can save now with simple swaps and smart usage? You’ll optimize loft lighting with efficient choices that balance mood and cost. Start with LED bulbs and fixtures rated for long life, low heat, and dimmability to control light without waste.
Use layered lighting—task, ambient, and accent—to avoid over-illumination and glare. Incorporate decorative lighting to add character without breaking the bank, and reserve art installations for focal points that deserve attention rather than full-wall brightness.
Track lighting or adjustable fixtures let you direct light where needed, preserving energy.
- Choose LED, dimmable, warm-white options
- Combine ceiling, floor, and surface lighting to reduce fixtures
- Highlight artworks and decorative lighting to enhance ambiance
Small Upgrades: Thermal Curtains and Weather Stripping
Thermal curtains and weather stripping are small upgrades that quietly trim your heating and cooling bills without sacrificing comfort. You’ll start by choosing affordable, insulated curtains with a light-blocking lining to reduce heat loss at night and glare during the day, matching them to your existing color schemes.
Measure windows precisely, then install tension rods or simple hooks to avoid drilling costly anchors.
Weather stripping should seal doors and windows; adhesive foam tape is inexpensive and easy to replace if it wears out. Check for drafts, especially near outlets and attic hatches, and add door sweeps where gaps exist.
Use decorative accents to blend the look, not distract from efficiency, keeping the space cohesive while maintaining budget discipline.
Plumbing and Electrical: When DIY Is Possible and When to Hire
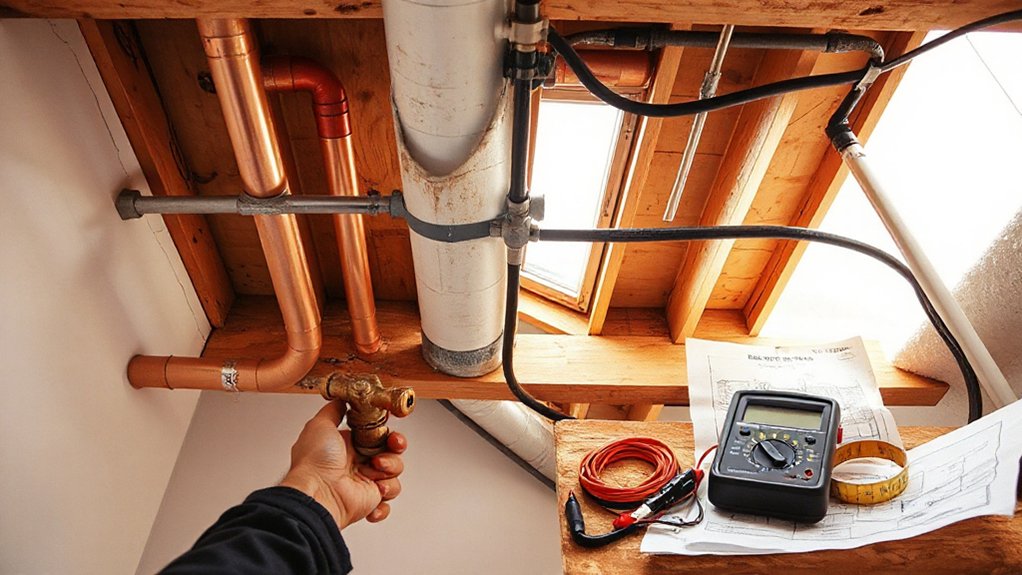
You’ve already tightened up a living space with cheap, effective upgrades; now it’s time to map out when you can handle plumbing and electrical projects yourself and when you should hire a pro. You’ll save money by sticking to tasks you can manage safely, yet some work requires licensed oversight, especially bathroom plumbing and electrical wiring.
Do a quick assessment: if the job involves draining, gas lines, rewiring, or hazards like exposed wires, hire a pro. For simple checks, resealing pipes, replacing fixtures, or adding outlets with proper breakers, DIY can work—as long you follow code and double-check permits.
- Know local codes and permit needs
- Prioritize safety and shutoffs
- Budget for potential professional inspection
This approach keeps costs predictable and compliant.
Hidden Costs and How to Avoid Common Loft Mistakes
You’ll want to sprint through Hidden Costs Checklist early so you’re not blindsided by surprises later. I’ll help you spot common loft mistakes and map budget-smart steps, from permitting quirks to insulation and access costs.
We’ll align your plan with practical, cost-conscious decisions that keep your project on track and affordable.
Hidden Costs Checklist
Ever wondered where loft conversions sneak in extra costs? A hidden-costs checklist helps you stay on track. You’ll map every stage—from planning to finish—so you don’t miss fees that creep in.
Key areas to watch:
- Hidden expenses: permit fees, scaffolding, and drainage work can surprise you if you skip early planning.
- Insurance coverage: confirm builder insurance, public liability, and temporary protection for your existing structure.
Mitigation tips:
- Get fixed-price quotes with clear inclusions and exclusions.
- Build a contingency fund of 10–15% for overruns.
- Schedule inspections at defined milestones to catch issues early.
Common Loft Mistakes
Common loft projects hinge on budgeting as much as design. You’ll bump into hidden costs if you rush material choices or skip measurements, so pause to verify every spec. Plan for ceiling height, egress, and ventilation early, or you’ll pay later with trades rework.
Don’t overlook insulation, DIY fatigue, or permit fees that quietly inflate totals. Loft aesthetics matter, but so does practical layout: avoid bulky stair builds that waste floor space and raise costs.
When you plan, map out concise storage solutions that maximize tiny footprints rather than propping items in exposed corners. Choose multipurpose finishes and modular units to curb overruns.
Finally, document changes and keep receipts; great records prevent budget creep and support confident decisions throughout the project.
Budget-Smart Planning
Hidden costs can sneak up in loft projects, so start with a tight budget and a clear plan for every phase—measure twice, price once, and set a realistic contingency. You’ll benefit from a methodical approach that targets value without sacrificing safety or daylight.
Prioritize structural assessments, insulation, and airflow early to avoid expensive retrofits. Budget for essentials first, then consider upgrades that boost long-term efficiency or resale value. Avoid over-customization that doesn’t add function.
Budget-Smart Planning keeps you disciplined, balancing cost and comfort.
- Focus on durable basics first, reserving funds for high-impact upgrades
- Vet permits, contractors, and warranties to prevent surprises
- Compare energy-efficient options, saving on ongoing costs
Luxury finishes and high end appliances can wait until late-stage decisions.
Fast-Track Planning Tips That Minimize Structural Work
To fast-track planning with minimal structural work, start with a clear scope and decision log that focuses on load-bearing redundancy, room layout, and ceiling heights that don’t require beam upgrades.
You’ll map essential paths, service runs, and ventilation early to avoid late redesigns. Prioritize existing columns, joists, and walls that can remain, and identify any monitored stress points before drawing plans.
Keep decisions tied to cost and practicality: favor flat ceilings, box bays, and partial partitions that don’t demand new supports. Use lightweight finishes and standard sizes to reduce adjustments.
Add decorative accents and artistic lighting without altering structure. Validate access routes, storage, and egress now to prevent costly changes later.
Document approvals promptly to prevent delays and keep the project lean.
Comparing Budget to Premium Loft Conversions: A Quick Benchmark
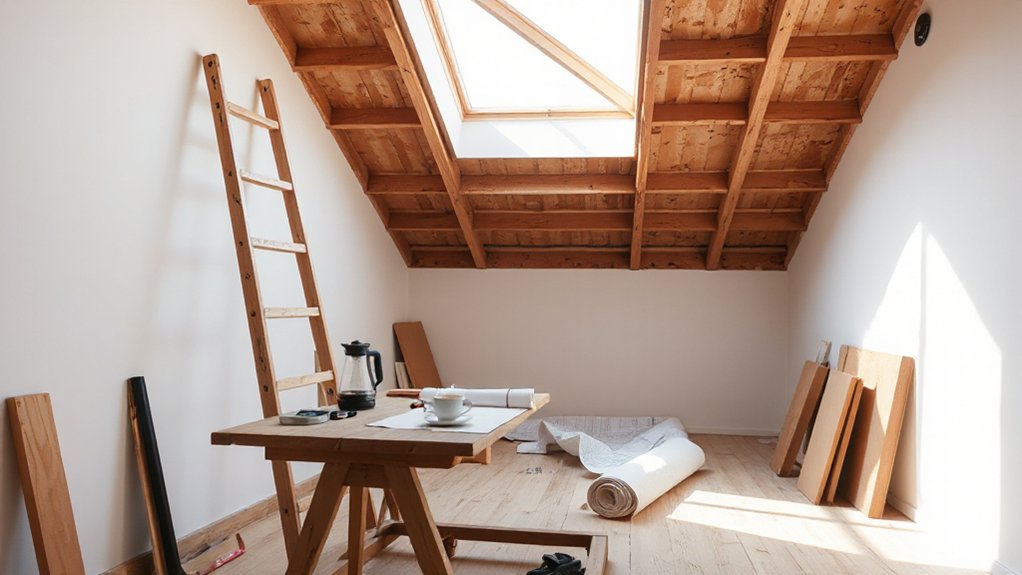
So how do budget and premium loft conversions stack up in real terms? In practical terms, you measure value by usable space, finish quality, and ongoing costs.
A budget route often saves upfront but trades some comfort, insulation, and stealthy finishes.
Premium options add better loft insulation, higher ceilings, and attention to ventilation, which pays off in comfort and energy bills over time.
The key is balancing upfront spend with long-term savings, not chasing flash alone.
Consider these points:
- Loft insulation quality and air sealing influence monthly heating or cooling costs
- Roof ventilation reduces moisture risk and fan noise, improving year-round comfort
- Premium finishes can raise resale value, but require longer lead times and higher initial outlay
Final Check: Is a Budget Loft Conversion the Right Move?
If you’re weighing a budget loft conversion, start by checking whether the space and insulation will meet your daily needs without blowing the budget. You should assess whether the existing roof structure can support basic living space, and whether you’ll need structural modifications to add headroom or load-bearing walls.
Consider how much loft insulation you’ll require to keep heating costs predictable, and whether cheap, quick fixes will save money long term or backfire with drafts and cold spots. Compare costs for code-compliant fire safety, ventilation, and electricals against your aims.
If the layout suits your lifestyle and the required upgrades stay within your limit, a budget path can work. Otherwise, reevaluate, or push for targeted improvements instead of a full conversion.
Frequently Asked Questions
Can I Obtain Planning Permission for a Budget Loft Conversion?
Yes, you can obtain planning permission for a budget loft conversion. Check loft insulation and building regulations, compare cost-saving options, use existing structure, and prioritize lightweight finishings. Plan permits early, document energy efficiency, and seek affordable approvals.
What Grants or Tax Relief Apply to Affordable Loft Projects?
You can claim grants or tax relief for affordable loft projects, but first check eligibility and deadlines. You’ll also guarantee Loft insulation upgrades meet Building regulations, minimizing costs while maximizing energy savings and long‑term affordability.
Which Permits Are Required for DIY Loft Work?
Ever wondered what it takes? You need Building permits and adhere to Safety regulations for DIY loft work. You’ll plan, budget tightly, and secure inspections, then proceed carefully, minimizing costs while avoiding fines or safety risks. Ready to start?
How Long Does a Low-Cost Loft Conversion Typically Take?
A low-cost loft conversion typically takes several weeks to a couple of months, depending on scope. You’ll plan insulation materials and ventilation solutions carefully, coordinate trades, and schedule permits efficiently to minimize delays and stay budget-conscious.
Will a Budget Conversion Affect Resale Value?
Yes, a budget renovation can affect resale value, but modestly if you optimize space and finish. Picture bright, functional rooms; you’ll boost appeal. Focus on durable basics, energy efficiency, and resale impact, to keep costs and returns balanced.
Conclusion
So, a budget loft conversion is totally doable if you keep it simple and shop around. Prioritize lightweight, DIY-friendly insulation, modular wall systems, and basic, cost-effective finishes. Use sturdy ladders or prefabricated stairs, and avoid heavy structural changes to save on costs. Watch hidden fees and get multiple quotes from licensed trades. Ready to start, or will you sprint past the savings and risk costly surprises? If you stay practical and selective, you’ll maximize value without breaking the bank.