


Like a tight budget, your home deserves smart, steady improvements that stick. You’ll start by sorting what truly needs fixing, sealing drafts, and adding insulation where it counts, then refresh spaces with budget-friendly paint and removable decals for a fresh look without a full remodel. You’ll track costs, repurpose items you already own, and choose small upgrades that deliver the most impact—but there’s more to weigh, and you’ll want to keep going to stretch every dollar further.
Set an Affordable DIY Budget in 4 Steps

Setting a solid DIY budget starts with a clear, realistic plan. You’ll map every project, listing needed materials, tools, and a timestamp for each step.
Start with a strict total you won’t exceed, then allocate 50% to essential repairs, 30% to improvement, 20% for unexpected fixes.
Track every expenditure in real time; adjust as costs shift.
Prioritize cost effective decor and Budget friendly paint options to stretch your dollars without sacrificing results.
Compare prices, look for bulk discounts, and use reusable or repurposed items when possible.
Build a simple contingency of 10–15% for surprises.
Choose phased goals so you can complete sections before moving on.
Finally, keep receipts and review monthly to improve your next budget plan.
Quick Cosmetic Upgrades That Save Money Fast
If you’ve mapped out a budget and know what you can spend, quick cosmetic upgrades can yield big returns without busting your bank. Start with wall art you already own or inexpensive prints in bold frames to instantly define rooms. Swap out dated switch plates or cabinet knobs for a fresh look without remodeling. Refresh grout with a simple cleaner or light sealer to brighten bathrooms and kitchens.
For furniture, consider furniture refinishing on a budget—sand lightly, repaint or stain, and add new hardware to transform old pieces. Use removable wallpaper or decals to create accent walls without permanent commitment. Focus on lighting: thrifted lamps with brighter bulbs can amplify color and space.
Small, targeted changes deliver noticeable impact quickly.
Affordable DIY Energy Tweaks That Cut Bills
You can start saving right away by tightening up your home’s air leaks—think sealing obvious draft spots and prioritizing windows you actually use.
For big gains, focus on simple insulation upgrades that don’t break the bank, like weather-stripping and lining gaps around doors.
These practical tweaks set you up to cut bills without heavy costs.
Sealing Windows On A Budget
Draft tighter windows can waste a lot of heat, so sealing gaps is a fast, low-cost fix you can do in a weekend. You’ll improve draft prevention without pricey upgrades, using basic tools and simple materials.
Start by inspecting sashes and frames for leaks, then add weather stripping to any stubborn gaps. Seal cracks with affordable caulk or acrylic putty, focusing on corners and joints where drafts funnel in.
For a hands-on approach, consider temporary transfers like door sweeps on faulty frames to stop creeping air.
- Weather stripping placement on doors and windows
- Caulk cracks and recheck airtightness
- Add door sweeps where drafts persist
Insulation Upgrades For Savings
Insulation upgrades can dramatically cut your heating and cooling bills without breaking the bank. You don’t need fancy systems to see real savings; start where heat leaks most. Check attic access, doors, and vents for drafts, then seal gaps with affordable caulk or foam.
Add insulation materials where it’s light on time and money, focusing on attic insulation first, then walls if feasible. Use thick, affordable batts or roll-on products that fit existing framing without major demolition.
Consider thermal barriers like radiant foils behind soffits or under floors to reflect heat away in summer and retain warmth in winter. Keep moisture in mind; choose breathable, mold-resistant options.
Track your usage, compare bills, and iterate upgrades for lasting value.
Smart Tool Hacks for Small Fixes
Smart tool hacks save time and money on small fixes around the house. You’ll get more from basics by staying practical and resourceful, using what you already own before buying new gear.
Here are quick ideas you can apply today:
- Use a multimeter to diagnose simple electrical issues, then label cords to prevent future mistakes.
- Sharpen drill bits or swap to a sharp, inexpensive bit for cleaner holes, saving effort and material waste.
- Reassess finishes with smart color picks—Paint color choices that hide flaws and reduce prep work.
With a power drill tips mindset, you’ll tackle grooves, loose fixtures, and cabinet misalignments more efficiently.
Rely on simple, versatile tools, and avoid overbuying. Maintain safety and plan projects around your budget.
Prioritize Projects for Maximum Value
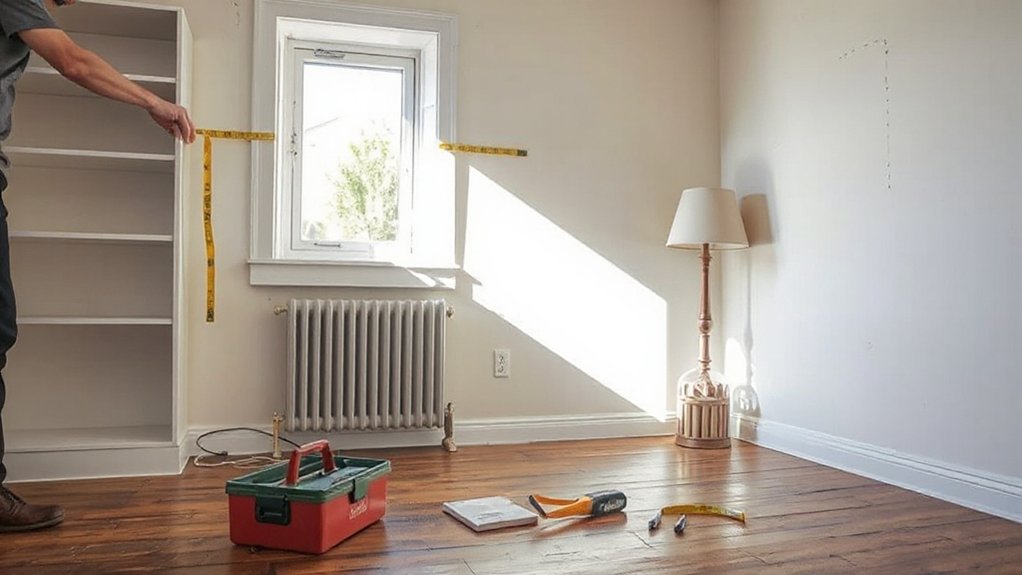
When you’re juggling fixes on a tight budget, start by listing every potential project and scoring them by impact, cost, and ease. Then prioritize those with the highest value: big fixes that unlock daily comfort first, followed by minor upgrades that boost perception without breaking the bank.
Allocate time and permission to adjust as you learn what actually moves the needle. Focus on lasting results: fresh paint, weatherproofing, and solid repairs win over flashy but fleeting changes.
Consider decorating aesthetics in a practical way—cheap accents, lighting, and decluttering can transform spaces fast. Plan furniture arrangements that maximize flow and storage, not just style.
Common DIY Pitfalls to Avoid on a Budget
Budget-conscious planning helps you spot true needs vs. wants and prevents overspending.
Watch out for common budget pitfalls like chasing cheap tools you’ll replace soon or underestimating project scope.
Stay practical, ask for estimates, and set a clear, achievable plan before you buy.
Budget-Conscious Planning
Start with a clear, written plan and a realistic budget, because jumping into projects without one almost always leads to overspending or rework. You’ll gain control by outlining scope, costs, and timelines before you touch tools.
Focus on affordable materials and fit-for-purpose solutions, not flashy upgrades.
- Define priorities and sequence tasks to minimize waste.
- Estimate costs from multiple sources, choosing the best value.
- Track every expense and adjust plans when prices shift.
Common Budget Pitfalls
Don’t underestimate hidden expenses like disposal, delivery, or tools you’ll reuse later. Prioritize essential updates first, and resist impulse buys on flashy finishes.
When it comes to diy safety, invest in basic gear and learn proper use to prevent costly injuries. For material sourcing, compare options, reuse what you own, and check for local auctions or Habitat for Humanity stores.
Track estimates against receipts, and pause if totals exceed safe thresholds. Reassess plans if quality compromises arise.
Frequently Asked Questions
How Do I Calculate a Realistic DIY Budget With No Debt?
You should calculate a realistic DIY budget by listing essentials, then add 10–20% for surprises, avoiding debt. Track every purchase, estimate materials, tools, and permits. Budget planning, prioritize DIY safety, and adjust as costs change.
What Grants or Programs Help Fund Affordable Home Fixes?
Grants overview shows you several options; community foundations, city programs, and nonprofit lenders may fund fixes. You’ll access funding resources by checking eligibility, applying early, and documenting costs. You’ll compare grants, low-interest loans, and energy-efficiency incentives.
Can I Safely DIY Repairs Without Previous Experience or Tools?
Start cautiously, you’re a seedling. You can DIY, but you must prioritize Safety precautions and know Tool alternatives if you lack gear. You’ll learn slowly, assess risks, and stop if unsure to protect your home and wallet.
Which Low-Cost Materials Offer the Best Long-Term Value?
Budget friendly alternatives include plywood, vinyl flooring, and fiberglass insulation; they’re durable and cost effective materials. You’ll maximize value by choosing durable, low-maintenance options, prioritizing install ease and longer lifespans for ongoing savings in everyday projects.
How Do I Prioritize Projects When Time Is Limited?
When time’s tight, you prioritize by impact, then budget, then ease. You’ll outline prioritization strategies, map tasks to days, and use time management tricks to tackle high-value projects first, saving money and effort for later.
Conclusion
You can stretch every dollar by sticking to a lean plan, tracking costs, and finishing projects you can see through. Start with quick wins, like sealing drafts, then layer on small upgrades that make a real difference. One eye-opening stat: homes lose up to 30% of heat through inefficient envelopes, so airtight fixes pay back fast. Stay practical, reuse what you already have, and choose upgrades that deliver the most value per dollar to keep improvements affordable.