
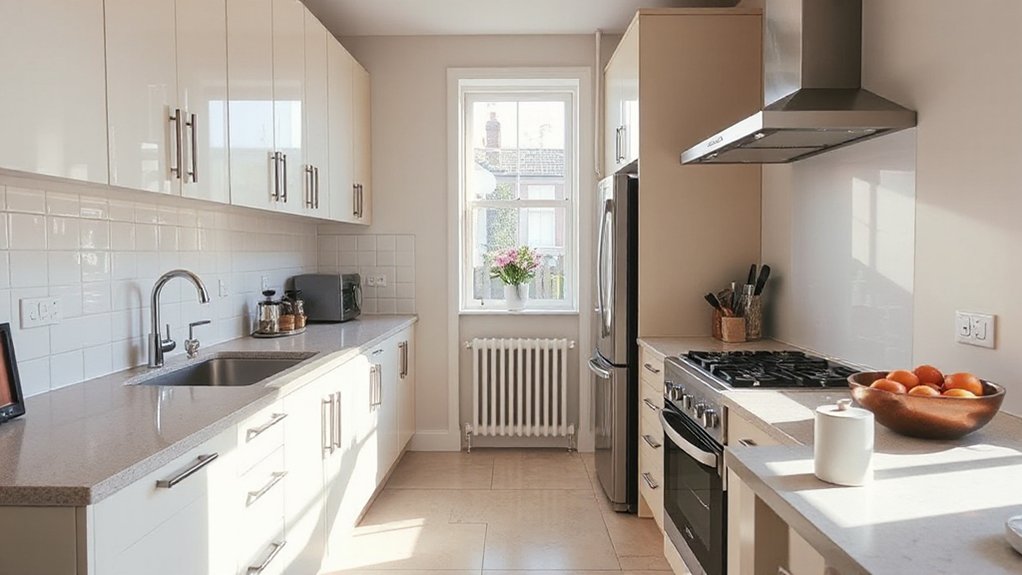

In narrow terraced homes, the best kitchen layouts balance width, flow, and storage so work zones stay efficient without crowding the space. You’ll want galley or L-shaped configurations that prioritize straight-line prep, corner storage, and clear sightlines, plus smart partitions and pocket doors to modulate light and privacy. Consider how light, outlets, and vertical storage influence usability, then anticipate real-world tweaks that keep the kitchen from feeling cramped—there’s more to optimize than you might think.
Why Narrow Terraced Kitchens Demand Special Layouts
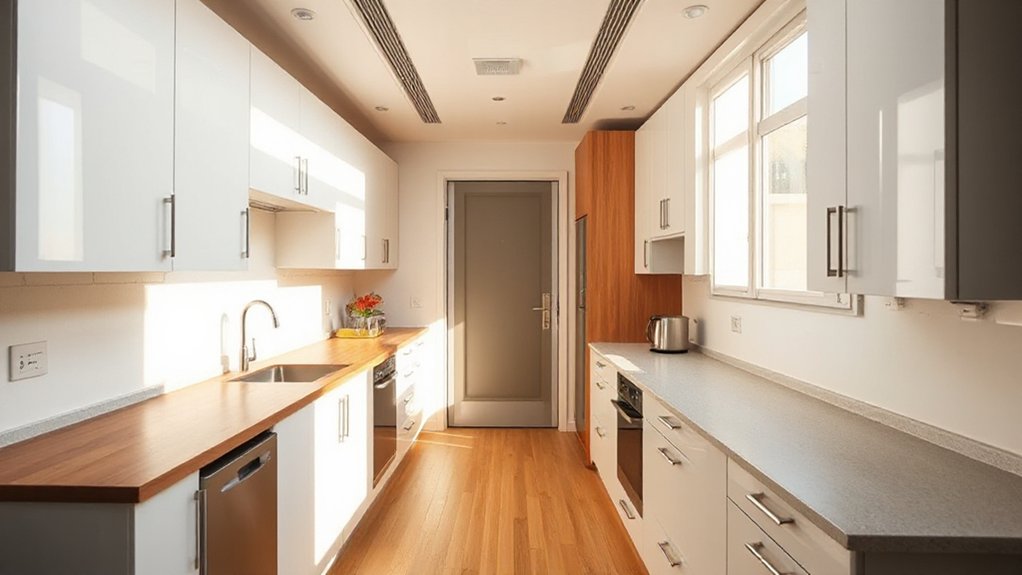
Small kitchens in narrow terraced houses present unique challenges that demand tailored layouts. You face restricted floor area, corridor-like rooms, and limited window access, which constrain appliance placement and workflow.
To maintain efficiency, you prioritize zones: prep, cooking, and cleaning, aligned along a single line or compact L-shape. You must account for door swing, integrated storage, and service connections without crowding traffic paths.
Choosing industrial appliances with compact footprints and vertical stacking helps maximize usable space without sacrificing performance.
Color schemes should enhance perceived space: light neutrals, reflective surfaces, and strategic accent tones create depth and clarity for quick navigation.
Finally, you standardize clear sightlines and repeatable workflows, reducing motion waste and improving daily usability in tight kitchens.
Galley Layouts for Maximum Width and Flow
Galley kitchens thrive on width, so maximize horizontal flow by aligning the major work zones along two parallel runs with a clear, central aisle. You should place the sink, prep zone, and primary cold storage on one side, with the cooking zone and dishwashing area directly opposite, creating a balanced work triangle and minimizing cross-traffic.
Maintain consistent sightlines and guarantee a minimum aisle width of 42 inches to preserve movement efficiency. Choose compact, high-performance kitchen appliances to free space without compromising capability, and integrate pull-out organizers to maximize accessibility.
For finishes, select color schemes with high contrast or tonal harmony that reflect light and hide grime. Ensure ventilation is sized to the linear footprint and that lighting, both task and ambient, supports precise, safe operation.
L-Shaped Kitchens for Corner Storage and Traffic
L-shaped kitchens excel at corner storage and traffic flow by pairing a practical work zone along one wall with a perpendicular run, creating a compact, efficient footprint. You’ll maximize drawer and cabinet access at the elbow, reduce foot traffic through the work zone, and preserve open aisle space for one‑foot rotation by appliances.
Material choices impact longevity and sustainability; integrate vintage cabinetry accents with solid core doors and high‑grade plywood. Use a continuous countertop wrap, minimizing seams where grime hides.
Prioritize task lighting and air gaps to prevent heat buildup. Eco friendly materials bolster efficiency without sacrificing durability, especially on surfaces near heat and moisture.
- Corner storage optimization
- Durable, vintage cabinetry accents
- Eco friendly materials integration
- Seams and airflow management
- Lighting and accessibility planning
Open-to-Dining Configurations to Expand the Feel
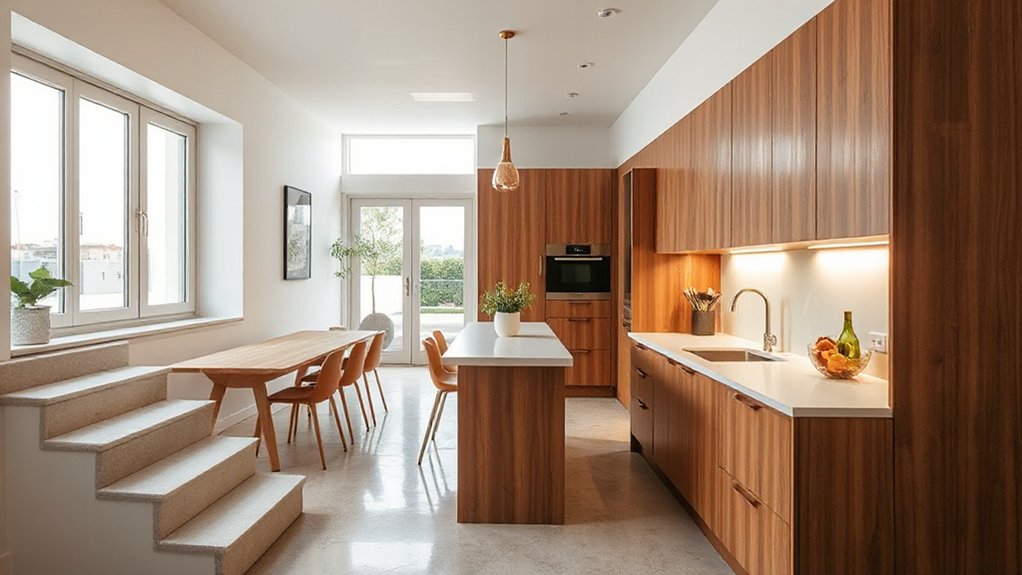
Open-to-dining configurations extend the dining area outward from the kitchen by removing barriers and aligning the workflow with the table space.
You optimize layout by integrating a shared circulation line, ensuring the dining surface remains accessible from both zones without bottlenecks.
Maintain clear sightlines to appliances and storage, so meal prep and service stay efficient.
Prioritize alignment of island or peninsula edges with the dining table for a single, uninterrupted flow.
Choose color schemes that visually connect zones—soft neutrals with a contrasting dining accent can widen the feel without overpowering.
Plan appliance placement to minimize cross-traffic; place primary prep tools away from the dining edge, and mount ventilation where it won’t intrude on seating.
Include integrated seating only if it preserves clear paths and easy cleaning access.
Pocket Doors and Flexible Partitions for Light and Privacy
Pocket doors maximize efficiency by reducing swing space and maintaining open sightlines.
Flexible partitions adjust room function without permanent walls.
You’ll balance privacy and light flow by selecting track systems and panel materials that minimize obstruction when open and provide solid separation when closed.
Focus on operational reliability, ease of use, and precise fit to avoid air leaks and noise transfer in narrow layouts.
Pocket Doors Efficiency
Could pocket doors really boost light and privacy in a narrow terraced kitchen? Yes, when you optimize track systems, door material, and hardware for efficiency. You’ll balance light transmission with sound dampening, so traffic doesn’t disturb cooking zones.
Focus on wall-recessed or pocket configurations that minimize intrusion into aisle space, and guarantee compatible hardware with your kitchen appliances. Use doors that slide smoothly, with tight seals to prevent drafts and heat loss. Align door operation with routine tasks, so doors don’t obstruct prep areas or clean zones.
For best results, select doors that integrate with cabinet fronts and venting requirements, preserving consistent airflow.
- Space-saving track hardware
- Quiet, smooth operation
- Sealed edges for energy efficiency
- Low-profile frame integration
- Durable, moisture-resistant finish
Flexible Partitions Privacy
Flexible partitions combine pocket doors with strategic panels to control light and sound without sacrificing floor space. You design flexible privacy by coordinating movable walls with sliding dividers that slide smoothly along tracked routes.
Choose lightweight, rigid cores for panels to minimize stacking impact while preserving acoustic separation when needed. Use frosted or low-glare glazing as a boundary so daylight remains unobstructed in adjacent zones.
Pocket doors retract fully into walls, freeing aisle width and enabling uninterrupted workflows.
For frequency of use, implement modular panels with gasket seals and magnetic catches to secure positions precisely. Align tracks and hardware with wall studs to reduce flex and rattling.
Regular maintenance, including track cleaning and seal checks, sustains reliable operation and consistent privacy.
Light Flow Optimization
How can you maximize daylight and maintain privacy in a narrow kitchen? Light Flow Optimization centers on pocket doors and flexible partitions that modulate brightness without sacrificing privacy.
Use slim-profile pocket doors to isolate work zones during prep, then slide open to amplify daylight from adjacent rooms.
Position translucent or frosted panels to diffuse light while preserving texture and color.
For color schemes, choose light, cool tones near windows and warmer accents away from glare.
Plan appliance placement to prevent obstruction of sightlines and maintain reflective surfaces that bounce light deeper.
Consider perforated screens or adjustable louvres for targeted shading.
- Pocket doors as light-shaping elements
- Flexible partitions with frosted panels
- Strategic appliance placement for flow
- Reflective backsplashes and cabinets
- Color schemes that maximize daylight brightness
Smart Storage Hacks That Reclaim Every Inch
In tight kitchens, smart storage starts with every inch, so you’ll want to map vertical and underutilized spaces first. You’ll layer compartments above work zones, using wall rails, magnetic strips, and slim pullouts to reclaim depth without widening footprints.
Implement adjustable shelving inside tall cabinets and install toe-kick drawers for bakeware and lids, preserving counter real estate. Fold-down countertops paired with lift-access bins keep rarely used items reachable yet out of sight.
For corners, fit rotating carousels or pull-out trays to maximize awkward spaces. Integrate creative decor with intentional hardware and color to visually expand storage zones.
Plan appliance placement to maintain clear sightlines and minimize heat or moisture exposure, ensuring doors never block adjacent storage. Precision labeling completes efficient retrieval.
Lighting Plans That Brighten a Narrow Kitchen

You’ll optimize a narrow kitchen’s brightness by coordinating ambient, natural, and task lighting to minimize shadows.
Focus on ambient strategies that evenly wash walls, maximize daylight without glare, and use dimmable options for flexibility.
Plan task lighting placement to align with work zones, ensuring focused illumination where you cut, cook, and clean.
Ambient Lighting Strategies
Ambient lighting is essential for narrow kitchens, where space is tight and shadows can make work zones feel cramped. You’ll implement layered lighting that prioritizes task accuracy, edge-to-edge coverage, and glare control. Use linear LED coves along upper cabinets to wash walls evenly, and install under-cabinet strips for countertop precision.
Integrate dimmable fixtures to adapt brightness for cooking, cleaning, and entertaining. Choose decorative fixtures as accent points, balancing form with function. Accent colors in fixtures or lenses can subtly warm the space without overpowering it.
- Layered layers: ambient, task, and accent lighting converge seamlessly
- Dimmable controls tailored to cooking and cleanup
- Cove lighting to eliminate harsh shadows
- Under-cabinet LEDs for crisp prep surfaces
- Decorative fixtures as punctuation, not distraction
Natural Light Optimization
Could natural light truly transform a narrow kitchen? Yes, with strategic glazing, internal reflectance, and corridor-focused layouts. Prioritize window placement that maximizes daylight without compromising work zones.
Use glass or clear-aperture doors to extend sightlines and curb shade casting on work surfaces. Light-colored surfaces reflect more, so select kitchen color schemes that boost brightness while maintaining contrast for depth.
Install skylights or roof lights where exterior geometry allows, ensuring even daylight distribution across counters. Align appliance placement to minimize shadowing: keep tall units, sinks, and stoves under extended light paths, and avoid blocking windows with bulky equipment.
Pair finishes with low-gloss sheens to reduce glare while maintaining clean, precise lines for a practical, engineered feel. Consider window treatments that modulate brightness without dulling color accuracy.
Task Lighting Placement
Effective task lighting in a narrow kitchen targets work zones without creating glare or shadows. You’ll plan placement to illuminate countertops, stove, and sink with minimal fixture count, using directional LEDs for efficiency.
Prioritize under cabinet lighting to wash work surfaces evenly, reducing eye strain while keeping ceiling lights unobtrusive. Position fixtures flush to cabinetry lines to avoid protrusion in tight corridors.
Balance brightness with dimmable controls to adapt for meals, cleanup, and prep. Maintain color temperature around 2700–3000K for warmth and accuracy in color rendering.
Guarantee wiring is concealed and accessible for future upgrades. Consider power zones near outlets for easy accessibility.
- Under cabinet lighting as primary task source
- Dimmer controls for flexibility
- Even beam spread across counters
- Flush-mount fixtures to save space
- Sealed, cool-running LEDs for longevity
Real-World Tweaks to Boost Usability
If you want real gains in usability, start with small, targeted tweaks you can implement quickly. You’ll reconfigure zones using clear, actionable steps rather than broad remodeling.
Prioritize drawer and cabinet organization: install dividers, labels, and pull-out trays to reduce search time for utensils and cookware.
Optimize workflows by aligning prep, cook, and cleanup areas along a straight line, with the sink near the fridge for easy ingredient access.
Use height-appropriate storage to minimize reach strain, and guarantee at least 36 inches of clear passage.
Color schemes and material choices should be considered for durability and visibility; choose high-contrast fronts for quick recognition and durable, easy-clean surfaces.
Finally, test one change weekly, measuring task completion times to guide subsequent tweaks.
How to Choose the Best Layout for Your Terraced Home
Choosing the right layout for a terraced home starts with mapping your daily tasks and identifying bottlenecks in existing flows. You’ll balance work triangles, prep zones, and storage to minimize steps and backtracking. Prioritize clear traffic paths, robust lighting, and accessible outlets.
Assess wall lengths, door swings, and ceiling heights to determine triangle efficiency and future-proofing for appliances. Decide between corridor, L-shape, or U-shape configurations based on cooking tempo and entertaining needs.
Consider cabinetry depth, pull-out organizers, and durable surfaces to support sustained use. Finally, align kitchen appliances and color schemes with your workflow, ensuring coherence under varied light.
A cohesive color palette and well-placed appliances reduce fatigue and optimize performance.
- Map tasks and bottlenecks
- Choose layout shape to fit flows
- Optimize appliance placement
- Plan storage and organizers
- Align color schemes with lighting
Frequently Asked Questions
How Much Budget Is Typical for a Narrow Terrace Kitchen Remodel?
A typical budget for a narrow terrace kitchen remodel ranges from $15,000 to $40,000, depending on scope. You’ll maximize space with smart kitchen storage and install efficient lighting options to preserve flow and function.
Which Materials Best Resist Fingerprints in Small Kitchens?
You should choose fingerprint resistant finishes like matte stainless and ceramic panels, plus maintenance free surfaces such as quartz composites; these resist smudges, are easy to clean, and keep small kitchens looking tidy with minimal upkeep.
Can Smart Appliances Fit a Narrow Layout Without Crowding?
Yes, smart appliances fit a narrow layout without crowding if you plan carefully. Smart integration and appliance placement matter: stack units vertically, use narrow-depth models, and prioritize integrated controls to maintain flow and usability in tight spaces.
Are There Zoning Rules Affecting Kitchen Extensions in Terraces?
Yes, you must consider Building regulations and Property restrictions before extending a kitchen in a terrace. You’ll need planning consent in some areas, comply with height/width limits, and respect party-wall rules to avoid enforcement actions.
How Long Does a Typical Narrow Kitchen Renovation Take?
A typical narrow kitchen renovation takes a few weeks to a couple of months, you’ll plan carefully, ironically noting delays happen. You’ll install open shelving, pick practical color schemes, and complete precise, functional, space-efficient updates.
Conclusion
Picture your narrow kitchen as a well-tuned orchestra. The galley, like a baton, guides each tool along a single, efficient line; the L-shape, a nimble violin, curls storage into a quiet corner. Open-to-dining acts let the room breathe; pocket doors drop curtain-rows of privacy when needed. With smart storage and bright light, you’ll conduct flow, reclaim inches, and perform everyday tasks with precision—your terraced kitchen delivering harmony, room to move, and dependable, practical genius.