
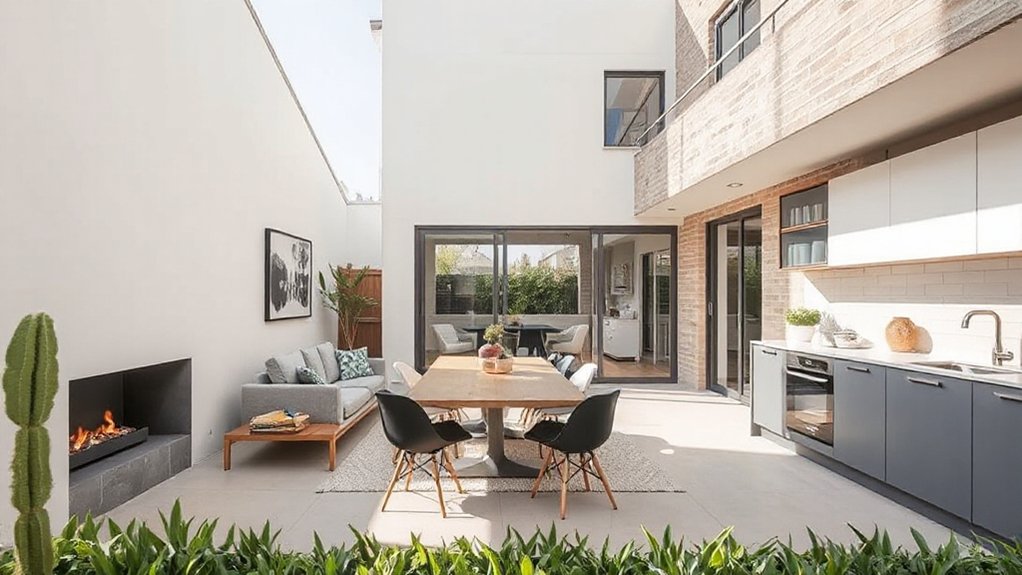

You step into a house where light pools along narrow walls like a quiet river, and you realize the layout asks for restraint before flair. You’ll need a practical plan to open sightlines, cope with tight stairs, and create flexible ground-floor zones that feel generous. The key is measured moves—structural decisions, smart storage, and phased upgrades—so you can keep living comfortably while you upgrade. Ready to map the changes that balance function with daylight and flow?
Assess Your Back-to-Back Layout: Identify Constraints and Opportunities

Start by mapping the exact footprint of your back-to-back layout: where walls, doors, and stairs sit, and how natural light moves through the space. You’ll spot load-bearing elements, chimney positions, and alcoves that limit redesigns.
Note corridor widths, room adjacencies, and potential pinch points where doors collide. Identify fixed features you can’t relocate, like plumbing stacks or windows oriented for light and ventilation.
Evaluate traffic flow: where you pass through daily, and how to minimize interference during renovations.
Assess potential for garden landscaping opportunities adjacent to internal sightlines, and how landscaping could improve outdoor privacy without sacrificing daylight.
Record constraints and opportunities clearly to guide cost estimates, prioritize changes, and ensure your upgrades align with practical, durable needs.
Plan Flow and Daylight in Narrow Rooms
In narrow rooms, you’ll maximize daylight by prioritizing window placement that brings in light from multiple elevations and reduces shadowed corners.
Plan flow by aligning door openings and furniture paths to create clear, unobstructed routes that feel wider than the space.
Consider strategic window sizing and placement to boost daylight penetration without sacrificing privacy or energy efficiency.
Narrow Space Daylight
To make narrow spaces feel airy and well-lit, plan the layout so daylight can travel from exterior windows to interior rooms without obstacles.
- Use a direct sightline from front to back: align door placements with windows to avoid blocking light.
- Choose light-colored walls and reflective surfaces to bounce daylight deeper into the corridor.
- Add compact skylights or clerestory windows where possible to introduce vertical daylight without sacrificing wall space.
In practice, prioritize unobstructed corridors, minimal partitions, and multipurpose walls.
Position seating and furniture to avoid shadowing key areas, and consider natural ventilation strategies that keep air moving between rooms.
Include indoor plants near windows to soften glare and improve microclimates without crowding space.
Plan Flow Optimization
You’ll want to map a clear flow that guides daylight from exterior walls into interior rooms while keeping narrow corridors feeling open. Plan flow optimization focuses on sightlines, door placement, and ceiling heights that enhance perceived space. Use minimal partitions to preserve openness, and align major rooms so daylight travels through shared spaces first, then into private zones.
Implement transom or partial-height openings where possible to pass light without compromising storage or privacy. Prioritize reflective finishes, light-colored ceilings, and consistent floor tones to extend bright areas. Consider garden landscaping to frame exterior light entry and guide interior daylight with vistas.
Integrate outdoor lighting near entry walls to reduce harsh contrasts at passage times. Treat exterior glass with low-bleed coatings to prevent glare and maintain calm interiors.
Window Placement Strategies
Strategically position windows to maximize daylight while preserving narrow-room flow. In this section, you’ll balance glare, privacy, and view while keeping rooms visually connected. Use slim, tall windows to bring vertical light without widening sightlines, and place them opposite reflective surfaces to bounce brightness deeper inside.
Consider fixed panes for diffuse glow in kitchens and living zones, and operable sashes where ventilation matters. Align window placements with furniture layouts so seating and storage don’t block daylight.
Pair window choices with interior color schemes that amplify luminosity, and think about garden landscaping views as focal points for seasonal shifts.
1) Align windows with major wall axes to optimize daylight distribution.
2) Choose glazing and frame finishes that minimize heat gain while maximizing translucency.
3) Integrate greenery views through nearby garden landscaping to anchor color schemes.
Decide Which Structural Moves to Make
You’ll start by outlining which structural moves align with your space and budget, focusing on practical options like layout shifts, beam placement, and potential wall removals.
Consider how load-bearing roles influence changes and what temporary supports or reinforcements you’ll need during renovations.
Think ahead to future-proofing with adaptable spaces, services, and finishes so the design remains usable as needs evolve.
Structural Layout Decisions
To decide which structural moves to make, start by mapping how you currently move through the space and where you feel cramped or awkward. You’ll identify bottlenecks, sightlines, and door swing conflicts, then prioritize changes that open routes and improve flow without overreaching your budget.
Use a practical, modular approach: keep walls where they’re if possible, and add openings or reconfigure adjacency to reduce wasted steps. Consider lightweight, reversible updates that minimize disruption.
Incorporate innovative materials and soundproofing techniques where you expect noise transfer or vibration, but avoid overdesigning.
- Create a wider doorway or transom to improve circulation between living zones.
- Reorganize kitchens and dining areas for direct sightlines and easier service.
- Add daylit, flexible spaces using movable partitions and modular storage.
Load-Bearing Considerations
Evaluating load-bearing factors is the practical next step after layout tweaks. You’ll assess walls, columns, and beams to determine which elements carry weight and where you can safely modify openings.
Start with a structural plan you can trust: verify upstairs joists, roof rafters, and foundation setbacks, then map potential moveable spans.
Prioritize moves that maintain continuous support, like consolidating non-load paths or aligning new openings with existing framing.
For any cut or removal, confirm header sizing and required posts, plus the need for temporary shoring during alterations.
Consider exterior conditions—garden landscaping and site gradients—so grade changes don’t shift loads.
Plan connections to exterior lighting and drainage to avoid compromising stability.
Document findings for trades and avoid overreaching beyond approved modifications.
Future-Proofing Adaptations
Future-proofing hinges on choosing structural moves that balance immediate needs with long-term resilience. You’ll evaluate layout, access, and services to reduce future disruption while keeping the home adaptable.
Prioritize load paths, daylighting, and moisture control so you can reconfigure rooms without major gut work. Consider scalable systems, like conduit-friendly walls and modular partitions, to support evolving needs.
A garden aesthetic outside can guide independent outdoor areas, while robust foundations prevent settlement issues that ripple indoors. Plan for external upgrades that boost value and comfort, such as improved insulation and ventilation.
You’ll want durable materials that age well and require minimal maintenance, preserving function as you expand.
- Prioritize adaptable partitions and service routes
- Strengthen structure for future expansions and climate resilience
- Integrate garden aesthetic cues with outdoor integration strategies
Optimize Stairs and Circulation in Tight Spaces
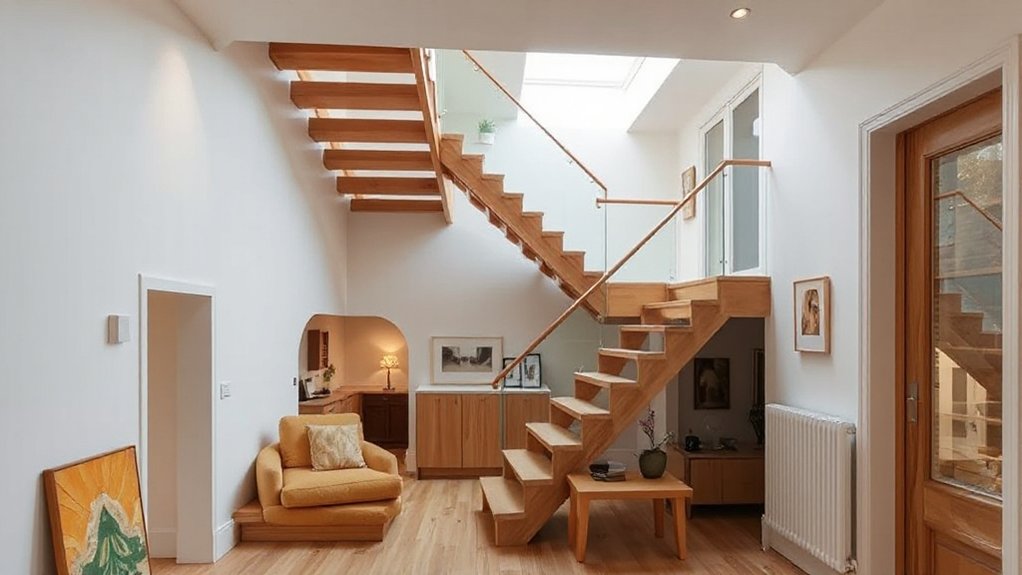
How can you make stairs feel less like a bottleneck in a tight back-to-back layout? Prioritize compact, straight runs over switchbacks to reduce travel distance and confusion. Use a single, well-lit stairwell with a shallow tread rise, and install a quiet, smooth door to seal noise when needed.
Integrate the staircase with adjacent circulation pathways so you don’t force crossing traffic at doorways or landings. Choose a slim-profile railing and continuous handrail for safety without crowding.
Consider alternating tread or scissor designs only if floor plans demand, but test at full scale to ensure headroom. Mark clear sightlines with high-contrast edges and subtle color cues.
Optimize storage under stairs with built-in drawers or cabinets to avoid clutter.
Create a Flexible Ground-Floor Hub With Clear Sightlines
You’ll start by aligning spaces for clear sightlines, so you can monitor activity from a single viewpoint. Use flexible zones you can reconfigure—open seating, occasional dining, and work corners—without blocking core lines of sight.
Prioritize accessible visual connections between kitchen, living, and entry to support seamless, adaptable use.
Clear Sightline Layouts
Clear sightlines are the backbone of a flexible ground floor. You design around open sight lines to keep every zone visually connected, easy to navigate, and adaptable for daily routines or hosting.
Focus on alignment, lighting, and flow so doors, furniture, and stairs don’t interrupt views. Use a shallow color palette and low-profile storage to minimize visual clutter, and position the kitchen, living, and dining to share sight across the space.
Consider exterior lighting to highlight pathways and steps without glare, reinforcing safe, nocturnal use. Also, integrate garden landscaping as a soft frame that extends the interior feel outside.
- Prioritize continuous sight lines by placing key functions along a single axis.
- Choose furniture with low profiles and transparent materials to avoid blocking views.
- Plan lighting layers (ambient, task, accent) to maintain clarity at all times.
Flexible Zone Planning
Position the kitchen work zone on the perimeter to keep air, heat, and steam away from the seating zone, and use an island or peninsular counter as a visual divider rather than a wall.
Use consistent material palettes and lighting schemes to maintain flow, and specify furniture with slim profiles to preserve sightlines.
Consider garden privacy screens that don’t close you off, and integrate dimmable, layered outdoor lighting to extend usable hours and emphasize zones without clutter.
This approach supports flexible use while maintaining open, cohesive movement throughout.
Accessible Visual Connections
To create accessible visual connections in your flexible ground-floor hub, align sightlines along a single axis from entry to primary living zones so you can see and reach each area without shifting focus. Prioritize open sightlines across the main corridor, dining, and seating spaces; minimize obstructions and use low-profile storage to maintain clarity.
Integrate artificial lighting that follows the line of sight—recessed fixtures and wall-washes keep shadows from breaking connections. Consider outdoor landscaping visible from inside to extend the sense of space.
Use materials and finishes that reflect light and reinforce continuity between zones.
1) Position entrances and thresholds to maintain uninterrupted lines of sight.
2) Use consistent flooring and color cues for seamless flow.
3) Place lighting and greenery to reinforce focal paths.
Store Smarter: Compact, Stylish Solutions
Maximize every inch with smart, stylish storage that stays out of sight but never out of reach. You’ll pair compact solutions with durable materials to keep everyday items organized without crowding rooms.
Use wall-mounted cabinets and floating shelves to free floor space, and choose shallow pull-out organizers for kitchens and hallways.
In bedrooms, opt for a bed frame with built-in drawers or a storage ottoman to conceal seasonal clutter.
Consider modular units that you can reconfigure as needs shift, ensuring future-proof practicality.
Integrate smart storage with aesthetic accents: matte finishes, soft-close hardware, and cohesive color schemes that complement existing décor.
Label bins and maintain a routine to keep surfaces clear, so you preserve open sightlines and maximize usable square footage.
Light First: Wiring, Fixtures, and Brightness

Lighting sets the tone for a back-to-back remodel, so start with a practical plan that covers wiring, fixtures, and brightness all at once. You’ll map zones for living, dining, and work areas, then specify circuits, outlets, and dimmers to support flexible layouts. Focus on lighting design fundamentals: layer ambient, task, and accent light, and choose bulb selection that suits each zone’s function and mood. Keep wiring neat with accessible junctions and labeled switches.
- Plan ceiling, wall, and accent fixtures around traffic flow and natural daylight.
- Select bulbs for color rendering, brightness, and efficiency; mix LED warm and neutral tones.
- Use dimmers and smart controls for easy brightness adjustments and scene settings.
Energy Upgrades for Small Homes
Upgrading a compact home starts with tight envelope control: pick energy-efficient windows and seal gaps to cut drafts.
Add insulation where it matters most—attics, walls, and floors—to stabilize interior temps without cranking the heat.
When you balance windows and insulation, you’ll reduce energy use while keeping natural light and comfort steady.
Energy Efficient Windows
If you’re upgrading a back-to-back home, start with energy-efficient windows to cut heat loss and reduce drafts. Choose triple-glazed or high-performance double-glazed units with low-E coatings, and seal all around the frame to prevent leaks.
Focus on frames with tight tolerances and proper flashing to avoid condensation.
- Compare U-values and solar heat gain coefficients to balance comfort and daylight.
- Consider solar shading and window tinting to limit summer glare without sacrificing view.
- Plan for easy-access cleaning, vertical sliders, or tilt-in sashes to maintain performance over time.
Insulation And Air Sealing
Add attic and wall insulation to meet local code, prioritizing continuous, high-R materials rather than patchy fills. For ducts, seal seams and wrap where needed to reduce heat loss and maximize efficiency.
In practice, aim for thermal comfort by minimizing cold spots and drafts in living areas. Address moisture paths and vapor barriers to prevent mold. Consider low-VOC insulation options for better indoor air quality.
Improved envelope performance also supports noise mitigation by reducing exterior sound transmission. Regular inspections keep benefits long-lasting.
Space-Saving Kitchen Upgrades That Work
Smart layout and clever storage can transform a small kitchen into a functional workspace you’ll actually enjoy using. In an open plan design, you’ll prioritize vertical bins, built‑in shelving, and under‑cabinet lighting to keep counters clear. Design moves should be intentional: place frequently used items within easy reach, and tuck away rarely used gear behind doors or in drawers.
Focus on compact appliances and modular modules that fit your space without crowding.
- Install tall, slim pantry storage and pull‑out organizers to maximize every inch.
- Choose wall‑mounted rails and magnetic strips to free counter space while keeping essentials accessible.
- Integrate a pull‑out cutting station and fold‑away work surface to expand prep areas on demand.
Make Bathrooms Feel Larger and Modern
A small bathroom can feel spacious with simple, deliberate choices that emphasize light, uncluttered lines, and functional detailing. You’ll gain room by selecting wall-mounted or recessed storage, keeping surfaces clear, and using mirrors to bounce light.
Choose a slim, frameless shower door and a compact vanity to reduce visual bulk. Light-toned tiles and a bright white palette broaden the space.
A single, cohesive material runs uninterrupted from floor to wall for continuity. Prioritize bathroom lighting with layered sources: ceiling, task, and ambient accents that avoid glare.
Install efficient ventilation systems to prevent moisture buildup and mold. Use evenly spaced outlets and a dedicated hairdryer station to minimize clutter.
Maintain clean lines, purposeful hardware, and concealed plumbing for a modern, airy feel.
Reimagine Private Spaces: Bedrooms and Nooks
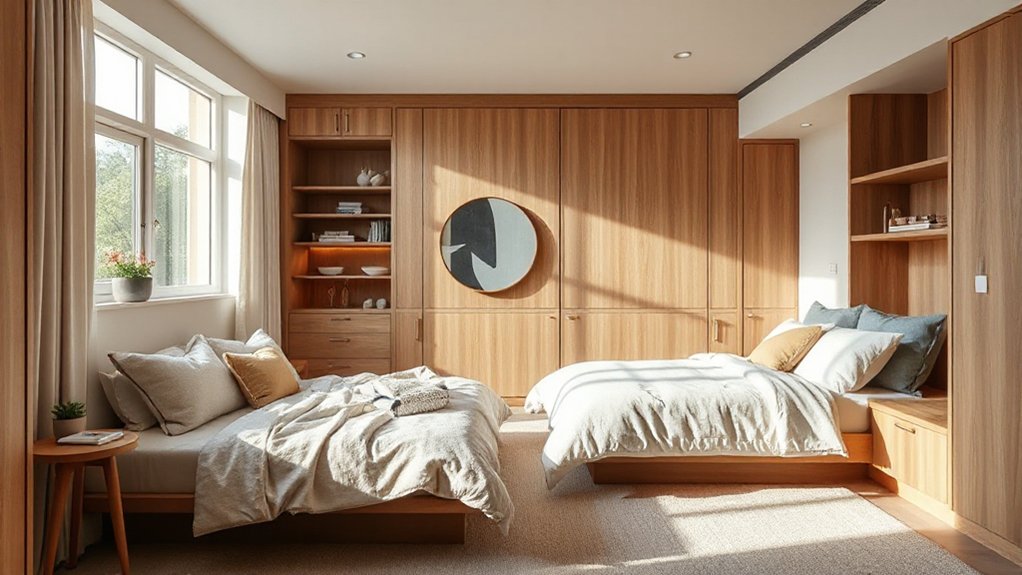
Bedrooms and nooks deserve the same clarity and restraint you applied to the bathroom, so you’ll start by shaping private spaces that feel calm, intimate, and functional. You’ll create a cohesive rhythm between sleep zones and reading corners, prioritizing quiet and storage.
Focus on soft lighting, low-profile furniture, and textures that invite relaxation. Small tweaks—sound-absorbing panels, blackout shades, and a compact desk—support daily routines without clutter. Aim for intimate scales that still read as purposeful retreats.
- Optimize layouts for flow between bed, storage, and seating to form private retreats.
- Integrate cozy nooks with built-in seating, warm textiles, and task lighting.
- Choose durable finishes and concealed storage to keep spaces calm and organized.
Refresh the Back-to-Back Exterior and Curb Appeal
Rejuvenating the back-to-back exterior isn’t just about curb appeal—it sets the first impression and informs daily interactions with the home. You’ll start with a clean, unified baseline: assess existing siding, trim, and entry fascia, then plan improvements in steps.
Choose exterior color schemes that reflect your neighborhood and your taste. Test samples at toe-high level and in shade to observe longevity and contrast.
Prioritize lighting near doors, paths, and the alley access to boost safety and ambiance after dark.
Landscaping ideas should focus on low-maintenance, drought-tolerant plantings, and compact borders that don’t crowd windows or sightlines.
Install a cohesive house number, mailbox, and edging to reinforce the design.
Finally, guarantee the front path is level, slip-resistant, and well-drained.
Durable Finishes for Daily Life in Tight Homes
Durable finishes matter as soon as you start living in a tight back-to-back home, where every surface bears daily wear. You’ll pick materials that withstand scuffs, moisture, and cleanings without fading. Focus on low-maintenance textures and seam-free joints to reduce grime pockets while keeping a modern look.
Plan around practical uses like urban gardening nooks and smart home integration zones so finishes support tech and plant care without clutter.
1) Choose resilient surfaces (laminate, quartz, ceramic) with sealed edges for water resistance and easy wipe-downs.
2) Opt for matte or satin sheens to hide fingerprints, with closed storage to limit dust and moisture exposure.
3) Integrate smart sensors, compact planters, and accessible wiring so urban gardening and tech stay neat and durable.
Budget and Phase Upgrades Strategically

Budgeting upfront and mapping phases keeps your back-to-back upgrade practical and affordable. You’ll break the project into clear milestones, prioritizing essentials first (structural, insulation, plumbing) before cosmetic upgrades.
Create a rolling budget with a 10–15% contingency and track costs weekly to avoid surprises.
Phase one should fix any water or draft problems, then address space planning and storage to maximize livable area.
In phase two, focus on efficiency upgrades and durable finishes that you’ll actually maintain.
When budgeting for garden landscaping and outdoor lighting, estimate installation and long-term upkeep, not just initial costs, and tie them to your daily routines.
Align exterior improvements with indoor flow so you gain usable outdoor rooms without overextending resources.
Permits and Codes for Retrofit Projects
Before you start the retrofit work, you’ll need to pull permits and map the codes that apply to your back-to-back house. This permits overview helps you anticipate requirements, avoid delays, and budget accurately.
You’ll track local building, fire, energy, and safety codes, plus any historic or zoning constraints. Guarantee you understand permit types, review timelines, and whether inspections are staged or final.
For code compliance, prepare a site plan, load calculations, and product certifications to show compliance with efficiency and ventilation standards. Engage the authority having jurisdiction early to confirm specifics and any neighborhood overlays.
- Gather plan sets, calculations, and product datasheets for submittal.
- Schedule pre-application meetings and track review milestones.
- Create a checklist to verify code compliance before final permits.
Maintenance Plan: Keep Your Bright, Efficient Home
To keep your retrofit from losing its edge, create a simple, ongoing maintenance routine that covers HVAC filters, insulation gaps, moisture control, and appliance efficiency.
Schedule monthly checks: replace HVAC filters, inspect duct seals, and note any unusual airflow.
Seal gaps around doors, windows, and plumbing to prevent cold drafts and heat loss, prioritizing high-traffic rooms.
Track moisture with a hygrometer, fix condensation, and address any leaks promptly to avoid mold.
Run appliances at peak efficiency by cleaning coils, vents, and lint traps; replace old seals or drum rollers as needed.
For curb appeal and efficiency, plan garden landscaping that minimizes heat absorption and supports shade, plus outdoor lighting that’s energy-smart and weather-ready.
Regularly evaluate performance, adjusting routines seasonally.
Next Steps: From Plan to Real Upgrade
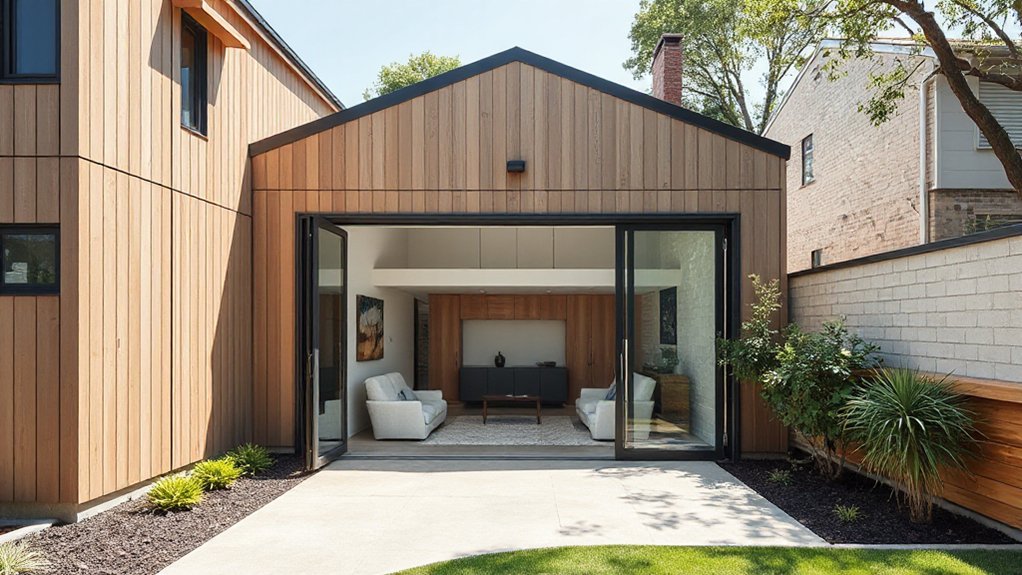
Turning the plan into action means lining up your upgrades with clear steps, timelines, and measurable results. You’ll translate ideas into tasks, assign owners, and set check-ins so nothing slips. Focus on practical sequencing and cost controls as you move from concept to reality.
1) Prioritize landscape integration and outdoor living early in the budget, mapping softscape and hardscape moves to your structural changes.
2) Create a phased schedule with milestones, permitting, contractor availability, and weather windows to minimize downtime.
3) Establish quality gates: materials specs, finish checks, and a wrap-up review to verify everything aligns with your goals and warranty requirements.
Frequently Asked Questions
What Is the Typical Timeline for a Back-To-Back Retrofit?
A typical timeline spans 8–16 weeks, depending on scope. You’ll plan surveys early, secure permits, and schedule trades carefully. You’ll balance Historical preservation with practical Aesthetic enhancements, minimizing disruption while ensuring approvals, inspections, and quality finishes stay on track.
How Do I Prioritize Safety During Structural Changes?
First, you prioritize safety by enforcing Fire safety and structural reinforcement during any change, and you’ll halt work if alerts flare. You assess loads, secure temporary supports, wear PPE, and verify permits before proceeding with safe, detailed steps.
What Are Cost-Saving, Non-Permit Dependent Upgrades?
You can boost energy efficiency with draft-proofing, LED lighting, and programmable thermostats, while making aesthetic improvements like fresh paint and updated hardware. Choose affordable, non-permit dependent upgrades that minimize disruption and deliver noticeable comfort and reduced energy costs.
Can I Live in the Home During Renovations?
Yes, you can live in the home during renovations, but plan for temporary living arrangements and keep renovation insurance updated. Coordinate phased work, access, and safety, so you minimize disruptions and protect your belongings throughout the project.
How to Choose Durable Finishes for Tight Spaces?
Choosing durable finishes in tight spaces means prioritizing Eco friendly materials and aesthetic considerations, you seal edges, test wear, and select low-VOC paints. You’ll compare textures, durable laminates, and scratch-resistant surfaces, then install modular, space-saving, easy-clean options.
Conclusion
You’ve got a clear roadmap: optimize flow, boost daylight, and carve flexible spaces that adapt with you. Start with a solid ground-floor hub, tighten sightlines, and pair smart storage with layered lighting. Keep permits and phased work in check, and establish a maintenance rhythm to protect efficiency. Think of your home as a living instrument—small adjustments here and there keep the whole thing singing, resilient through seasons and trends, yet unmistakably yours.