
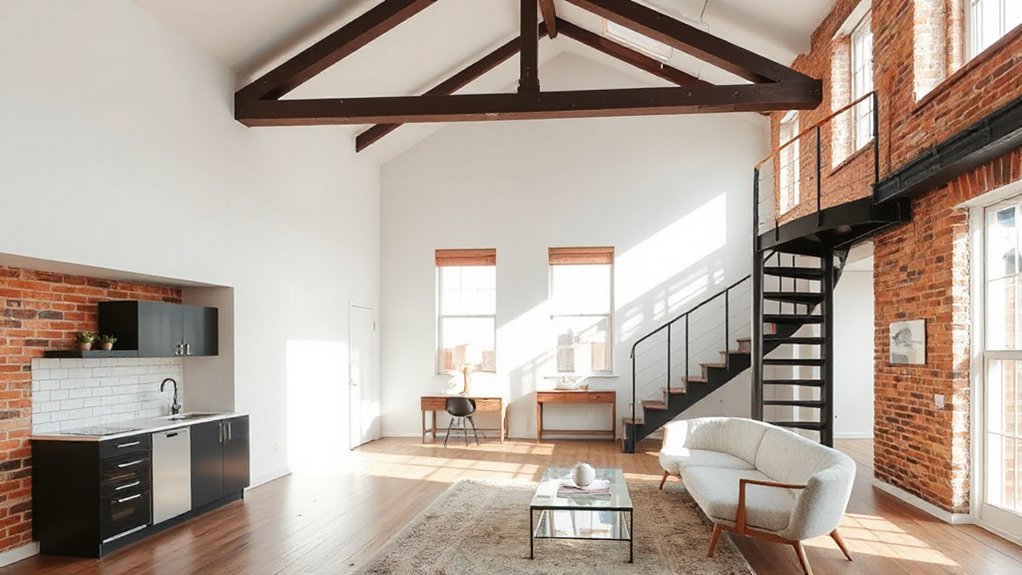

Turning a loft into a functional living space starts with headroom checks and structural feasibility, then moves to planning permissions, insulation, and ventilation. You’ll map zones for living, sleeping, and storage, light it well with windows and skylights, and choose durable finishes. Budget for a clear timeline and smart storage. Keep energy efficiency front and center to avoid costly fixes later. Ready to outline a practical, step-by-step approach that actually fits your space?
Step 1: Check Headroom and Structural Feasibility
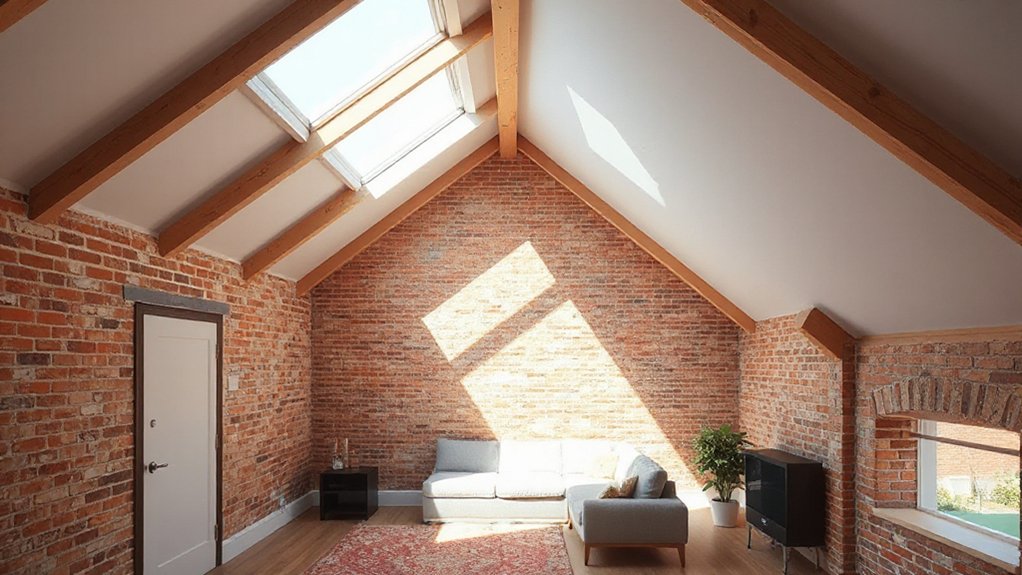
To start, verify that there’s enough headroom for comfortable living—this usually means at least 2.2 to 2.4 meters (7.2 to 8 feet) of usable space after any insulation and joists.
You’ll assess slope, ceiling height, and potential obstructions before planning layout.
Check structural feasibility by examining joists, rafters, and bearing points, and consult a professional for a load assessment if you’re unsure.
Prioritize safe access with a staircase location that won’t compromise headroom in key zones.
Confirm adequate daylight and ventilation to avoid cramped feel.
When you design, integrate loft decor ideas that maximize height perception and storage without crowding.
Consider vintage accents to add character while maintaining functional flow and clean lines.
Step 2: Understand Planning Permissions and Building Regulations
Before you do any build work, check what permissions and codes apply to your loft conversion—this isn’t optional, it’s essential. You’ll want to determine if your project requires planning permission or is allowed under permitted development rights.
Start with your local planning authority’s stance on loft conversions, and review building regulations for structural changes, fire safety, and means of escape. Be aware of historical restrictions that might limit alterations to rooflines or dormers, and watch for zoning conflicts that could affect usage, extensions, or occupancy.
If plans exceed limits, you’ll need a formal application, often with drawings and a proposal statement. Consult a specialist early to avoid costly redesigns, guarantee compliance, and keep the project on track.
Step 3: Plan for Insulation, Ventilation, and Thermal Comfort
Insulating your loft properly is the foundation of a comfortable space, so start with a clear plan for both thermal performance and air quality. You’ll first map where heat leaks occur—doors, eaves, and ductwork—and decide on where to add bulk insulation, rigid boards, or mineral wool.
Focus on achieving a continuous barrier to minimize thermal bridging, then choose ventilation that suits your climate and use. Thermal insulation isn’t just about warmth; it’s about steady indoor temperatures and reduced energy bills, so size and install correctly.
For airflow management, specify vents, tricks like trickle intake, and an extractor layout that prevents condensation. Keep a simple target: balanced air exchange without drafts, noise, or humidity spikes, and verify with a quick blower door check.
Step 4: Design the Loft Layout: Living, Sleep, and Storage Zones
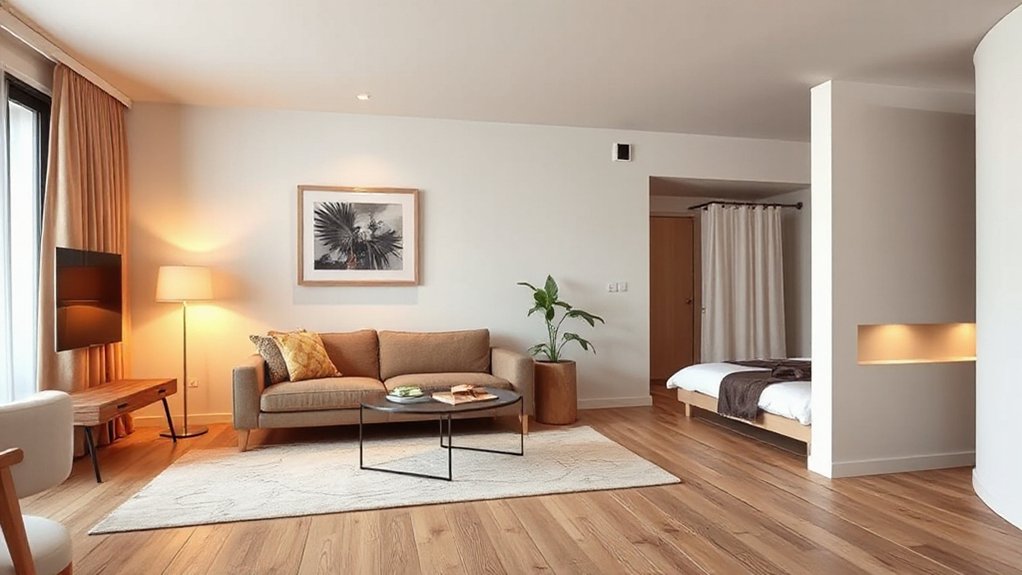
With the layout map in hand, start by dividing the loft into three clear zones: living, sleeping, and storage. Aim for logical progressions between zones so movement feels natural.
For the living area, choose compact, multi-use furniture to maximize flexibility without crowding the space. Position seating to create a conversational circle and leave open pathways to the sleeping nook.
In the sleeping zone, locate the bed where it won’t obstruct vents or daylight. Use screens or curtains to provide privacy when needed.
Storage should be tucked along walls, using vertical solutions like tall wardrobes and shelves. Plan furniture placement to avoid visual clutter, and keep decorative accents restrained to maintain calm, cohesive lines.
This approach delivers clarity, function, and a balanced loft rhythm.
Step 5: Maximize Natural Light With Windows and Skylights
Start by prioritizing window placement to capture the most daylight without sacrificing privacy or storage.
Then outline skylight strategies that brighten central areas while minimizing heat gain, glare, and energy use.
Finally, apply light reflection techniques—gallery walls, light-colored surfaces, and mirrors—to maximize every beam of natural light.
Maximize Window Placement
Can you really squeeze more natural light into a loft without sacrificing privacy or heat efficiency? Yes—with deliberate window placement.
Start by aligning windows to key living zones: seating areas benefit from long sightlines, while dining or work nooks gain from south- or east-facing panes for steady illumination.
Use narrow, tall windows to boost light without overwhelming walls, and pair them with unobstructed lines of sight for a sense of space.
Consider window aesthetics—frame styles, mullions, and hardware that complement the loft’s character—without compromising energy performance.
When selecting glass types, prioritize low-emissivity coatings and double glazing for heat retention and glare control.
Optimize openings with consistent sill heights and operable sections for airflow, privacy, and visual balance.
Skylight Placement Strategies
Skylights can amplify natural light and open up a loft’s vertical space when placed thoughtfully. To optimize daylight, position them to align with primary living zones, not just walls. Tilted or curb-mounted skylights reduce glare while maximizing even daylight diffusion throughout the room.
Consider multiple smaller units over open areas rather than a single large pane; this promotes a more uniform skyward view and minimizes overheating. Install on roof sections with minimal shade from adjacent structures, trees, or dormers, and use blackout-integrated shades for times you want darkness.
Focus on frame material and glazing: low-E coatings and insulated housings keep heat transfer in check. Finally, guarantee trims are sealed to prevent leaks and maintain a clean, energy-efficient silhouette.
Light Reflection Techniques
Maximize natural light by using reflective surfaces and carefully placed light sources to bounce daylight deeper into the loft. You’ll want strategic mirror placement to reflect afternoon sun across rooms without creating glare.
Position mirrors opposite windows at varying heights to sweep light to dim corners and avoid harsh hotspots. Use large, unobtrusive reflective surfaces, like glass-tinish panels or polished metal accents, to multiply brightness without bulk.
Place light fixtures on opposite walls or ceilings to bounce illumination indirectly, reducing shadows along stair treads and seating zones. Choose surfaces with low glare, neutral tones, and minimal texture to prevent image distortion.
Balance mirrors with natural light by aligning reflective surfaces to the sun’s path through seasons, maintaining comfort and visual clarity throughout the day.
Step 6: Create Safe Access: Stairs, Railings, and Fire Safety
To guarantee safe access in your converted loft, start by choosing stairs that fit your space, meet local codes, and provide solid support with proper handrails. Then plan for fire safety by installing alarms, clear egress paths, and unobstructed exits. Focus on practical details that minimize risk and maximize usability.
- Select staircase materials that balance durability, weight, and maintenance, ensuring enough headroom and landings for safe passage.
- Evaluate railing designs for continuous grip, height compliance, and visual openness that still protects children and pets.
- Confirm fire safety essentials—smoke detectors, easy-access extinguishers, and clearly marked routes with emergency lighting.
Step 7: Soundproofing and Privacy in a Loft-Open Plan

Soundproofing basics start with choosing solid boundary materials and evaluating existing gaps, so you can stop sound leaks at the source.
In open-plan lofts, set clear zones for living, sleeping, and working to protect privacy without isolating spaces.
Use acoustic zoning tactics—soft furnishings, rugs, and targeted panels—to tune sound levels while preserving flow.
Soundproofing Fundamentals
When you’re converting a loft into a living space, soundproofing and privacy should be planned from the start, not added as an afterthought. Focus on practical, repeatable steps that create real results without overhauling existing structures.
1) Treat key barriers as a sound barrier: seal gaps around doors, windows, and penetrations with acoustic seals and weatherstripping.
2) Optimize materials for musical acoustics: use dense, low-resonance panels and decoupled assemblies where walls meet floors to reduce flanking noise.
3) Prioritize ceiling and floor strategies: install mass-loaded vinyl or rigid foam layered with resilient channels to minimize impact and airborne sound transmission.
These choices reduce noise transfer, improving comfort, clarity, and privacy throughout the loft.
Privacy in Open Plans
Height variations, half-walls, or low screens create visual separation without closing sightlines, keeping air and light flowing. Prioritize doorless entries with adjustable screens or curtains for temporary privacy when needed.
Sound control matters: place bedrooms away from living hubs and add soft textures to dampen noise transfer. Consider vertical privacy: tall bookcases or cabinetry to shield sensitive spaces while contributing storage.
Plan electrical outlets and lighting to support focused activities without creating hard partitions. Anticipate open plan challenges, then adapt with modular, scalable solutions.
Acoustic Zoning Tactics
Even with an open loft, you can carve out quieter zones by aligning acoustic strategies with everyday use. Acoustic zoning lets you design pockets for work, rest, and play without sacrificing flow. Focus on targeted sound insulation where it matters most, and avoid overbuilding.
- Identify high-traffic zones and install selective soundproofing, like door seals and acoustic-reducing trims, to cut noise transfer.
- Use soft, absorptive materials—textiles, rugs, and ceiling panels—in activity areas to damp reverberation and create calmer microclimates.
- Create visual barriers with shelving or screens that don’t close the space but help control sound pathways and privacy.
The result is practical acoustic zoning that enhances comfort while preserving openness and style.
Step 8: Smart Storage Solutions for Small Footprints
With a small footprint, every inch counts, so start by redefining storage as a design feature rather than an afterthought. You’ll prioritize built-ins that blend with walls: under-stair cabinets, floating shelves, and recessed niches.
Choose multi-purpose furniture—ottomans with hidden compartments, beds with drawers, and sofa beds with storage—so you reclaim floor space without sacrificing function.
Install vertical solutions to maximize wall real estate, using tall wardrobes and stacked crates. Use adjustable organizers inside drawers and cabinets to maintain flexibility as needs shift.
Label boxes or use clear containers to speed access and reduce clutter. Plan routes so frequently used items sit at arm’s reach, not behind doors.
This approach delivers smart storage and space optimization, keeping your loft open, tidy, and livable.
Step 9: Materials and Finishes That Stand the Test of Time
Durable material choices and timeless finishes set the foundation for a loft that lasts. Pick hard-wearing surfaces and classic tones that age well, so you’ll avoid frequent replacements.
Prioritize quality over trendiness to keep your loft cohesive and low-maintenance for years.
Durable Material Choices
When selecting materials for a loft, favor durable options that resist wear, moisture, and temperature swings. You’ll want substrates and finishes that age well, require minimal upkeep, and keep a clean, modern look. Prioritize longevity without sacrificing efficiency or style.
1) Eco friendly materials that resist scratches and stains, with low VOCs, ensuring indoor air quality stays high.
2) Durable surfaces like high-density laminates, porcelain, and solid composites that withstand impact and moisture while maintaining a crisp appearance.
3) Minimalist design-friendly options: matte finishes, uniform tones, and seamless joints that reduce maintenance and simplify cleaning.
Choose products with warranties and documented performance data. Seal edges properly to prevent moisture intrusion, and favor simple, repairable systems over flashy, short-lived trends.
Timeless Finish Options
A timeless finish keeps a loft looking fresh for years, so start with surface options known for longevity and easy upkeep. Focus on durable materials that tolerate daily life, like quartz counters, porcelain tiles, and solid wood with UV protection. Choose finishes that resist scuffs, fingerprints, and moisture, then seal or repaint sparingly to extend life.
For walls, opt for washable paints in neutral tones or timeless ceramic panels that resist staining. Flooring should be resilient under heavy use; consider polished concrete, engineered wood, or stone tiles with slip resistance.
Integrate Vintage fixtures in lighting and hardware for charm without frequent replacement. Pair with classic color palettes—greys, creams, and muted blues—to maintain cohesion as trends shift.
Prioritize low maintenance, high durability, and cohesive detailing.
Step 10: Budget, Timeline, and Realistic Loft Roadmap
To set a clear path forward, map out your budget, timeline, and a realistic loft roadmap before any major work begins. You’ll gain control by defining costs, milestones, and contingency, so delays don’t derail progress. Prioritize luxury amenities and aesthetic enhancements that truly add value without inflating the plan.
- Establish a firm budget with line items for permits, basics, finishes, and unexpected costs, plus a 10–15% cushion.
- Create a phased timeline with realism, including design reviews, procurement windows, and installation slots.
- Set measurable milestones and review points to keep the project on track and aligned with your vision.
Step 11: Energy Efficiency and Long-Term Sustainability for Loft Living
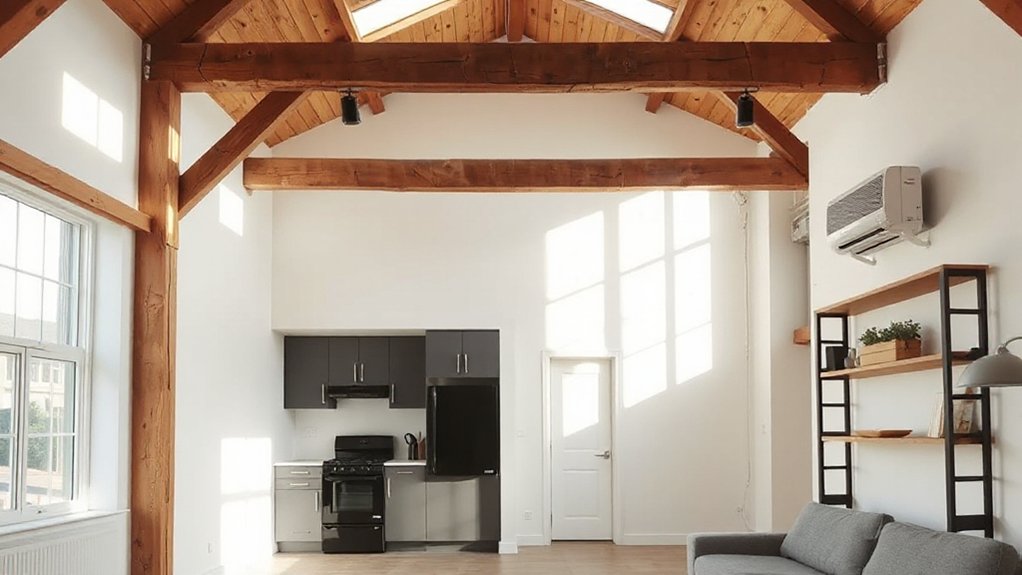
Step 11 focuses on energy efficiency and long-term sustainability in loft living, so you’ll maximize comfort while lowering operating costs. You’ll assess insulation, air sealing, and window performance first, because drafts waste heat and raise bills. Choose high-performance materials with accurate R-values and solar-ready framing where possible.
Implement a smart thermostat and zoned controls to target habits and occupancy patterns, reducing waste. When you plan heat, light, and appliance loads, prioritize energy-efficient models and LED lighting. Integrate solar panels if feasible, guaranteeing structural capacity and proper orientation.
Pair solar with storage or grid-tied options to smooth variability. Consider renewable energy incentives or rebates, and set measurable goals for consumption. Regular maintenance, airtightness tests, and clear monitoring ensure sustainable loft living over time.
Frequently Asked Questions
How Long Does a Typical Loft Conversion Take From Start to Finish?
A typical loft conversion takes 6–12 weeks from start to finish. You’ll guarantee roof insulation is installed properly and complies with Building regulations, coordinate trades, and schedule inspections, minimizing delays and keeping the project on track.
What’s the Average Cost Range for a Full Loft Conversion?
You’ll typically spend between $50,000 and $150,000 for a full loft conversion. Plan for interior insulation, fit-for-purpose heating, and securing building permits early to avoid delays, extra costs, and compliance issues.
Do Loft Conversions Require a Party Wall Agreement?
Did you know loft conversions add up to 20% value? Yes, party wall agreements are often required; you’ll need clear legal agreements with neighbors. Check local rules, hire a surveyor, and secure permissions before construction begins.
Can a Loft Be Converted in a Rented Property?
Yes, you can, but check rental restrictions and obtain landlord permissions first. You must secure written consent, guarantee compliance with building regs, and address party wall considerations; plan professionally, follow timelines, and document approvals for a smooth process.
What Are the Resale Value Benefits of a Loft Conversion?
Sure, you’ll boost resale value by improving loft insulation and securing building permits, which signals quality to buyers. This practical, solution-focused upgrade reduces energy costs and enables smoother transfers, enhancing market appeal and potential sale price.
Conclusion
You’ve mapped a smart loft plan, from headroom checks to energy-smart finishes, so transforming the space becomes practical, not overwhelming. Prioritize multi-functional zones, proper insulation, and light—keep services accessible and budget aligned. For example, a tight 420 sq ft attic became a bright, livable suite by installing a dormer, skylights, and built-in storage under eaves, plus radiant floor heating. The result: comfortable daily living, reduced energy use, and a durable, stylish home you can adapt as needs shift.