
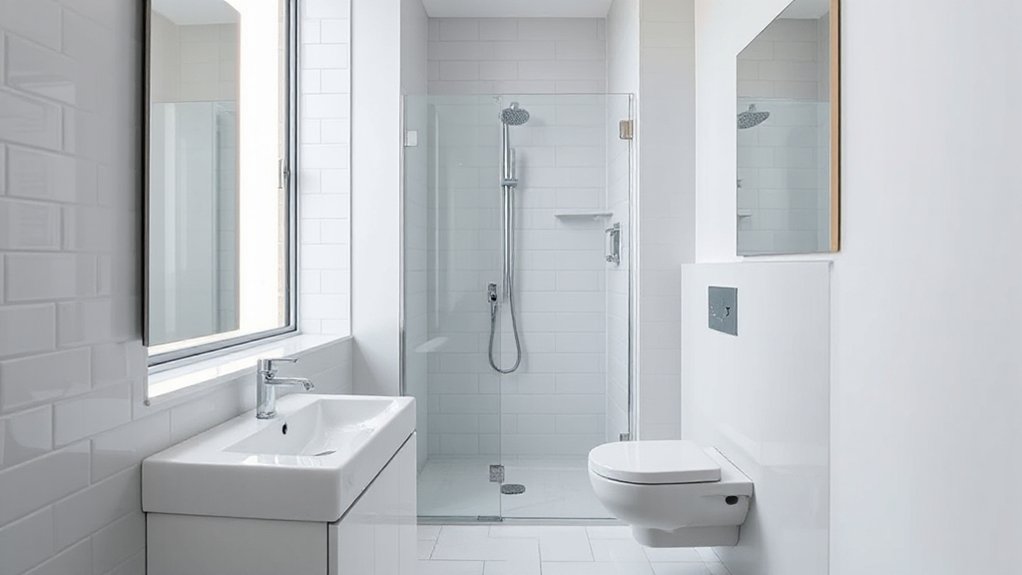

Here’s a nugget you may not realize: tiny bathrooms can feel bigger when you control light direction as much as color. You’ll want a plan that unpins glare, hides clutter, and uses the room’s lines to guide the eye. Start with lighting and mirrors, then move to color and fixtures—all while keeping storage streamlined. If you push just a few strategic tweaks, the space opens up without a full remodel; you’ll see what’s possible next.
Pinpoint the Tiny Bathroom Pain: Light, Clutter, and Layout
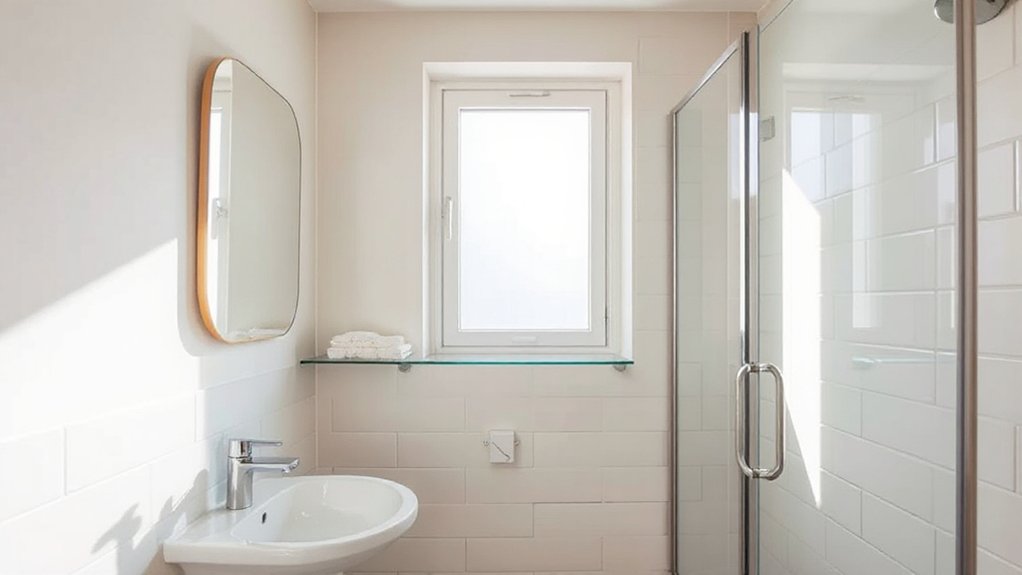
You’ll quickly notice three small-space hurdles: bad lighting, clutter, and a cramped layout. You tackle them by naming each pain point first, then mapping practical fixes.
For lighting, you identify where shadows collect and where glare hits. Replace harsh bulbs with softer LEDs and add a slim mirror to reflect ambient light.
Clutter is your second target: purge, install a recessed shelf, and choose wall-hugging storage that won’t crowd the doorway.
Layout-wise, you evaluate the traffic flow, confirming you can move without squeezing past a sink.
Consider color psychology to influence perceived space—cool neutrals with a bright accent can expand walls and calm the eye.
Fixture compatibility matters here: confirm faucets, towel racks, and cabinets share a cohesive profile to avoid visual busyness.
Set a Target Light Level for Small Bathrooms
Set a target light level for daily use, then measure how daylight shifts across the room to see where you gain or lose brightness.
Next, map out layered lighting—ambient, task, and accent—to meet that target without glare.
Finally, commit to a practical plan you can implement in stages, noting real-world results as you go.
Set Target Light Level
To determine the right target light level for a small bathroom, start by considering how you use the space and what tasks matter most. You’ll balance ambient glow with task brightness, aiming for comfort without glare.
Pin an exact number if you can: 300 to 500 lumens for general illumination, plus extra for mirrors where you apply makeup or shave.
Use layered lighting to avoid dark corners; mix ambient, task, and accent where appropriate.
Think wattage efficiency and color rendering so whites read true and not plasticky.
When selecting components, focus on lighting control to adjust mood and visibility, and fixture selection that minimizes visual bulk.
Choose dimmable options and ensure waterproof ratings for safety in damp environments.
Test placement at mirror height to maximize clarity.
Measure Daylight Impact
When evaluating daylight, track how natural light enters the bathroom at different times of day and how it changes with seasons. Then translate that into a target light level you can actually measure.
- Observe glare pockets near the mirror at noon and note how they fade by evening.
- Record light levels with a simple lux meter during morning, afternoon, and overcast days to build a baseline.
- Compare daylight with artificial light to ensure consistent brightness without overlighting or underlighting.
Use these targets to calibrate fixtures, while prioritizing natural ventilation and moisture control to prevent mold. Keep measurements practical: repeat weekly for a month, then lock in a stable target that feels airy without draining energy or skewing color.
Layer Lighting Strategies
Layering lighting starts with a clear target light level you can actually measure, built from your daylight observations. You’ll set a practical baseline for task lighting, ambient glow, and accent highlights, then adjust for function and mood.
Determine a ceiling or wall fixture that provides even general illumination without glare, aiming for around 300–400 lux in the vanity zone, with higher levels only where you perform precise tasks.
Add task lights that shine directly on mirrors without creating harsh shadows, and calibrate to avoid cold, overpowering tones.
Use dimmers to modulate brightness for mood enhancement and to soften progressions between zones.
Choose color temperatures in the 2700–3000K range for warmth, or 3500K if you prefer crisper visibility, ensuring consistency across fixtures for cohesive lighting techniques.
Choose Reflective Surfaces for Instant Brightness
Choosing reflective surfaces instantly brightens a small bathroom by bouncing light around the room. You’ll maximize perceived space by selecting materials that reflect rather than absorb. Opt for high-gloss tiles, a polished vanity, and a glass shower door to expand the line of sight. Keep edges clean and seams tight to prevent dulling from grime.
Maintain a routine for bathroom ventilation and plumbing maintenance so brightness isn’t wasted on moisture damage or fogged surfaces.
- Glossy subway tiles catch and throw light across walls
- Frameless glass doors keep sightlines open and reflections continuous
- Mirrored medicine cabinets multiply light and add storage
This approach demands steady upkeep: guarantee proper Bathroom ventilation and address Plumbing maintenance promptly to prevent tarnish, fogging, or water stains that dull brilliance.
Pick Wall Colors to Make a Space Feel Airy

To make a small bathroom feel airy, start with light, cool-toned wall colors that reflect rather than absorb light. You’ll bias toward whites, pale grays, and misty blues for a visual expansion that stays calm.
Color psychology guides your choice: cool hues reduce perceived density and heighten contrast with fixtures, while warm accents can trick the eye into depth when used sparingly.
Select paint finishes that balance washability with light diffusion; eggshell or satin offers subtle sheen without glare, while matte minimizes surface imperfections.
Test samples in your space at different times of day to observe how natural and artificial light alter tone.
Keep the palette cohesive with adjacent surfaces, and avoid overly saturated shades that shrink the room.
Use Vertical Space for Storage and Focal Points
Tap into vertical space with tall cabinets and slim-depth storage to keep essentials tucked away without crowding the floor.
Use eye-catching wall focus—like a slim open shelf or a bold vertical mirror—to draw the eye upward and create the illusion of height.
Keep the layout precise: pick pieces that maximize storage while maintaining a clean, uncluttered look.
Vertical Storage Hacks
Vertical storage isn’t just about adding shelves—it’s about reclaiming wall space to free up floor area and sharpen your bathroom’s focal points. You’ll prioritize narrow, high-storage units and wall-mounted baskets that blend with your color palettes and flooring options, keeping lines clean and reflections bright.
Opt for transparent containers to visually expand depth, and mount hooks at varied heights for quick access without crowding. Use mirror-backed organisers to bounce light and disguise clutter, reinforcing a sense of airiness.
- Floating shelves with slim profiles near the sink
- Wall-mounted baskets in a cohesive finish
- Over-the-door slim hooks and slimline towel bars
This approach minimizes bulk while maximizing storage, so traffic flows freely and curiosity gravitates toward thoughtful details.
Tall Cabinets, Slim Depth
Tall cabinets with slim depths are your best ally for bathroom storage that doesn’t crowd the space. You’ll maximize vertical storage without stealing floor real estate. Choose units that reach toward the ceiling to draw the eye upward and create the illusion of height.
Opt for doors with mirrors or frosted glass to bounce light and visually expand the room. Inside, organize with adjustable shelves and pull-out baskets so you can customize for towels, toiletries, and cleaning supplies.
Slim depth matters: look for 8–12 inches, deeper is unnecessary and invites clutter. If possible, install corner tall cabinets to tuck in awkward angles.
Finish with slim hardware and cohesive color to maintain a seamless, open feel. Tall cabinets, slim depth keep clutter away and space breathing.
Eye-Catching Wall Focus
To draw the eye upward and keep essentials within easy reach, treat walls as a storage panel and a focal stage at once. You’ll create an eye-catching wall focus by using vertical display and smart zoning, letting color contrast and decorative accents guide attention.
Elevate a slim shelf into a vertical statement with small containers, a backlit mirror, and a row of hooks for daily use. Choose a bold accent hue against a neutral backdrop to sharpen perception of height, then repeat the palette in accessories to unify the look.
- Vertical shelf with labeled containers and a slim plant
- Backlit mirror, small hooks, and a narrow towel bar
- Bold color contrast paired with metallic decorative accents
Install Slimline Fixtures to Free Floor Space
Slimline fixtures are your quickest path to breathing room in a tight bathroom. You’ll gain floor space by choosing wall-mounted or compact options for sinks, toilets, and storage.
Opt for a wall-hung vanity with a slim profile and a shallow basin to reduce visual clutter while preserving usable counter space.
Install a concealed cistern toilet to reclaim floor area without sacrificing function.
For showers, select a slimline tray and a corner pivot door to minimize footprint and glare.
Prioritize bathroom ventilation with inline fans tucked into the ceiling to keep air fresh without bulky housings.
Use water saving fixtures—low-flow taps and a dual-flush option—to cut daily water usage.
Precision fittings, level mounting, and clean joint lines keep lines uninterrupted and visually seamless.
Maximize Natural Light With Window Strategies

Position your window strategies to let in more light while keeping privacy in check. Use bright, reflective window treatments and higher brightness indoor surfaces to maximize window brightness.
A well-placed mirror can reflect light further into the room, making the space feel larger.
Let In More Light
If you want your bathroom to feel bigger, start by inviting light in. Let natural illumination flood the space with smart window choices and minimal obstructions. Focus on lighting design that doesn’t fight your layout; choose sheer treatments, translucent panels, or frosted glass to maintain privacy while maximizing glow.
Position mirrors to reflect daylight from exterior windows and amplify brightness without adding clutter. Use crisp, light-reflective finishes on walls, floors, and cabinetry to bounce light around.
- Sheer window coverings that soften without blocking
- Strategically placed mirrors for doubled brightness
- Light-toned surfaces and reflective textures to amplify glow
Max Window Brightness
Maximize daylight by optimizing window strategies that invite natural light to flood the bathroom. You’ll prioritize clear, unobstructed sightlines and simple, controllable light sources.
Start with minimal window treatments that don’t mute brightness; choose sheer roller shades or light-filtering curtains that diffuse rather than block.
Position mirrors opposite windows to bounce daylight deeper into the room without crowding fixtures.
Use exterior shading to control glare while preserving visibility from inside; consider adjustable awnings or screens that soften high noon sun.
Keep frames thin and colors pale to reduce visual weight around openings.
Declutter mullions and grilles where possible, and consider frosted or low-iron glazing to maintain brightness without sacrificing privacy.
Test light at different times; adjust until brightness feels even.
Mirror Reflects Space
Mirrors can dramatically amplify natural light by bouncing daylight deeper into the room. To maximize this effect, choose mirrors that reflect the window and its view, not just walls. Position at eye level for everyday tasks, and align with the brightest source to double the glow without glare.
Use reflective decor strategically—glass shelves, metal frames, and glossy tiles—so light scatters softly rather than races across dull surfaces. Keep clutter minimal to prevent shadows from forming in corners.
If possible, install a long, frameless mirror opposite the window to create an illusion of extended space. A well-placed mirror can transform the feel of the bath, doubling perceived size with subtle, practical brilliance.
- Low-profile, wide mirror across from the window
- Reflective decor accents near light sources
- Clean lines, minimal framing, glare control
Create Space With Transparent Treatments
Transparent treatments can make a small bathroom feel bigger by letting light pass through and keeping sightlines uninterrupted. Choose clear glass or tempered panels for showers and partitions to minimize visual bulk while preserving privacy where needed. Mount frameless fixtures to reduce edge clutter and reflect light more evenly.
Opt for light, cool-toned materials on walls and floors to enhance the sense of airiness. For color psychology, stick to airy neutrals with an occasional soft blue or green accent to evoke calm and openness.
If you want sound control without visual weight, integrate acoustic treatment lightly—a perforated panel behind the vanity or a slim, absorptive rug can curb echoes without breaking transparency. Keep hardware streamlined and consistent to maintain a cohesive, spacious feel.
Declutter With Hidden Storage Solutions
Hidden shelf solutions tuck everyday essentials out of sight without stealing floor space. Consider dual-purpose furniture that hides a laundry basket, extra towels, or grooming gear inside a streamlined bench or cabinet.
For even cleaner counters, mount wall bins and organizers so items disappear from sight yet stay within easy reach.
Hidden Shelf Solutions
- Recessed shelf above the vanity with a slim lip for cosmetics
- Behind-the-door caddies that tuck into the hinge zone
- Corner shelves that align with towel bars for symmetry
Dual-Purpose Furniture
Look for ottomans or stools with lift-off lids to stash towels or toiletries, keeping surfaces clear. Wall-hugging consoles beneath sinks can cradle cleaning supplies while maintaining a clean line.
Prioritize Smart storage: drawers with dividers, tiered trays, and built-in slots to prevent chaos. For color psychology, select finishes that blur boundaries—soft whites, cool greys, and warm taupes—to harmonize fixtures and create perceived space.
Always measure door swings and sink clearance to make sure every piece fits you, not just your idea.
Wall-MMounted Bins
Wall-mounted bins take the clutter-clearing strategy up a notch by keeping essentials off the counter while staying visually light. You’ll install slim, wall-hung containers near the sink or cabinet side, so everyday items stay reachable yet out of sight.
Choose stackable or magnetized options to maximize vertical space without bulk, and pick neutral tones to blend with tile and grout. Label each bin for quick sorting—toothbrushes, cotton balls, and brushes can have dedicated spots, reducing rummage.
Opt for eco-friendly storage made from recycled plastics or bamboo composites to reduce waste while preserving durability.
- Slim steel bins with matte finishes
- Bamboo composite caddies with low-profile lids
- Recyclable plastic pouches in a magnetic strip
Wall-mounted bins simplify cleaning and decluttering.
Organize by Zones for a Clear Layout
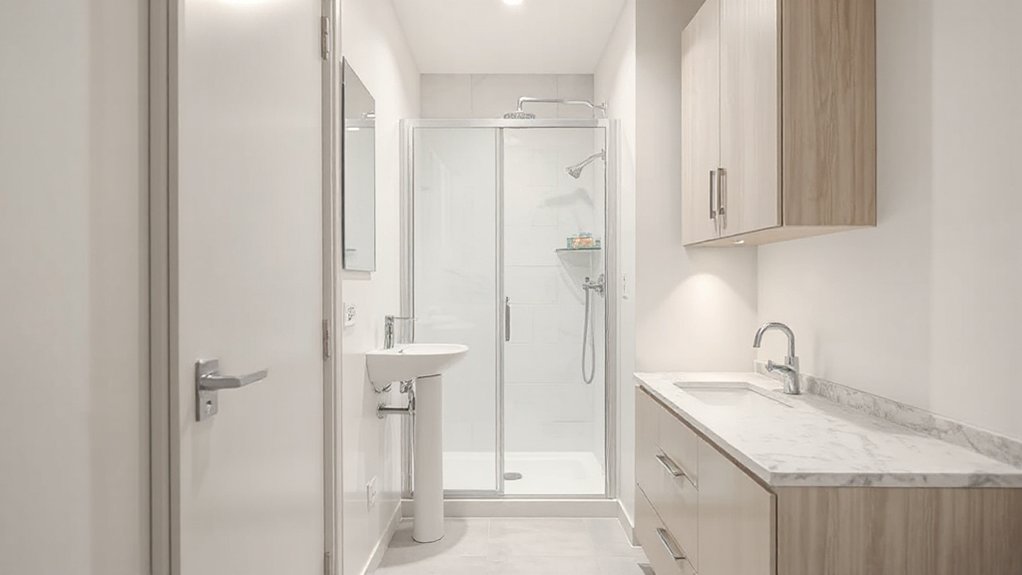
To create a clear layout, divide the bathroom into zones that reflect how you actually move through the space: a wet zone for shower and tub, a prep zone for vanity and storage, and a dry zone for toilet and towels.
You’ll visually separate these areas with placement, color accents, and smart storage so progressions feel intentional, not crowded. Position the prep zone near the door to minimize dragging items through wet areas, and keep the dry zone organized with labeled bins and a compact towel rail.
Use color psychology to cue each zone—soft greens for calm prep, brighter accents near the wet zone for visibility.
Prioritize accessibility features like lever handles, raised shelves, and reachable medicine storage to maintain a smooth, single-flow routine.
Tile Ideas That Read as Larger in Tiny Bathrooms
Texture your wall and floor with patterns that feel airy, like subtle micro-tiles or pale, repeating motifs, so the eye reads more open space.
Use large-format tiles to minimize grout lines and create a continuous plane that visually expands the room, while pairing them with light hues for extra airiness.
Favor bold, statement patterns for a single wall or a focal area to amplify depth without clutter.
Patterned Tiles For Airiness
Patterned tiles can make a small bathroom feel airier by guiding the eye and reflecting light. You’ll use the pattern to create vertical or diagonal movement, which tricks the sense of space without changing the room’s footprint. Choose small-scale motifs or repeating lines in light colors to boost airiness while staying grounded in practicality.
Install with tight grout and consistent alignment to avoid visual clutter; a matte finish can reduce glare while maintaining brightness. Pair with neutral walls and clever lighting to maximize openness.
- Subtle, repeating motifs that draw the eye upward
- Light-valued tiles with soft contrast to bounce light
- Consistent grout lines for a seamless flow
Large-Format Tiles Advantage
Large-format tiles can visually expand a tiny bathroom by reducing grout lines and creating the illusion of one continuous surface. You’ll notice fewer joints, which makes walls and floors appear uninterrupted, enhancing perceived space. Choose large porcelain or ceramic tiles with a low-contrast edge to minimize visual breaks.
Plan layout to minimize cuts and align with the room’s longest axis for a streamlined look. Light colors and satin finishes reflect more light, aiding brightness in small grounds.
Make sure proper surface preparation and waterproofing, especially around wet areas. Install generous, continuous shower walls to avoid tiled corners that trap attention.
Prioritize bathroom ventilation and mold prevention by addressing humidity, using exhaust fans, and sealing seams thoroughly. This approach yields durable, airy results.
Doors and Curtains That Expand the Open Feeling
Doors and curtains can dramatically expand the open feeling in a small apartment bathroom by guiding sightlines and light. You’ll benefit from simple, deliberate choices that minimize visual clutter while maximizing flow.
Use door curtains that hang freely and don’t brush walls, creating a soft boundary instead of a solid barrier. When you open doors, let natural light spill in and reflect off bright fixtures to widen the space perception.
Keep hardware minimal and tracks recessed if possible to reduce visual weight. Choose light, airy fabrics and sheer panels to blur edges without hiding function.
- Door curtains that skim the floor for continuous lines
- Open doors paired with translucent panels to bounce light
- Minimal hardware and unobtrusive curtain tracks
Floor Patterns and Rugs to Lengthen the Perceived Space
Floor patterns and rug placement can visually stretch a compact bathroom by guiding your eye along lengthened lines. You pick a long, narrow runner or staggered tile layout to pull sight toward the far wall, creating depth without adding clutter. Choose a light, consistent color palette so flooring blends with walls, avoiding abrupt breaks that break flow.
When you place rugs, run them parallel to the room’s longer axis and keep edges aligned with key zones—sink, shower, toilet—to elongate perception. Color schemes matter: opt for cool neutrals with a subtle contrast trim to subtly define zones without constricting movement.
Consider furniture arrangements that maximize visible floor space: mount storage higher, use wall-hung fixtures, and keep countertops clear. This keeps the footprint airy while preserving practical function.
Mirror Placement for Depth and Light Reflection
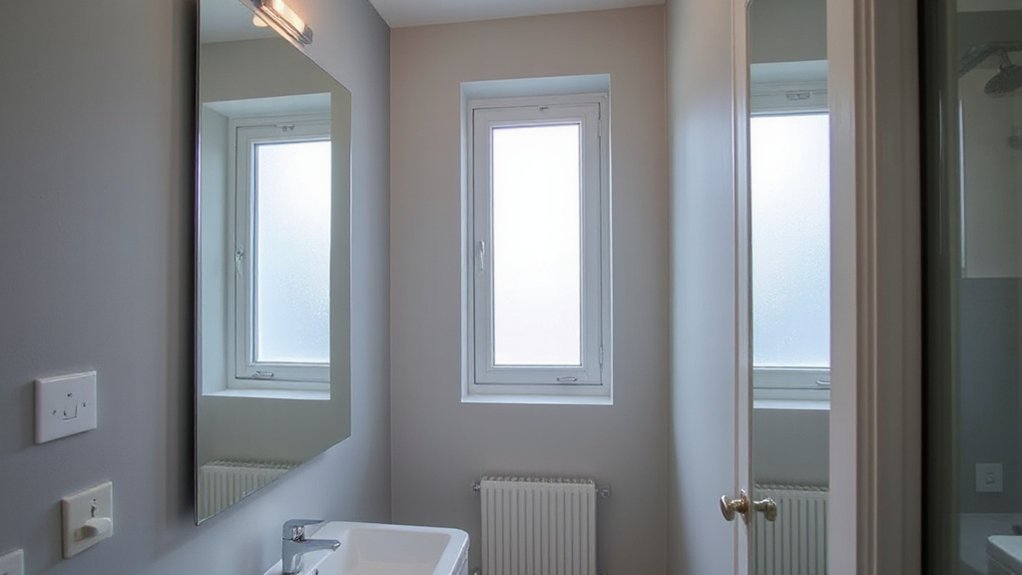
Mirrors do more than double your reflection—they fool the eye into thinking the room is deeper. To maximize depth, place a tall, frameless mirror opposite a window or light source so natural light bounces across the space. If you can’t align directly, angle a slightly tilted mirror to catch the glow of decorative lighting and cast elongated shadows along the walls.
Keep edges clean and avoid clutter around the frame, which can break the illusion. For ventilation, mount a mirror above a recessed cabinet to reflect air movement, preventing damp spots. Balance is key—don’t overwhelm with too many mirrors; one well-placed piece can do the work.
- Reflective height aligns with your ceiling line for uninterrupted sightlines
- Mirror opposite a vanity light amplifies glow and makes mornings feel brighter
- Integrate decorative lighting and ventilation solutions in mirrored zones for consistent ambiance
Add Greenery to Soften and Stretch the Space
Greenery softens hard edges and creates the illusion of extra depth, so bring in plants that fit a small bathroom’s light and humidity.
You’ll maximize space by choosing compact indoor plants that tolerate steamy air and low natural light, like pothos, ferns, and snake plants. Place them where they don’t crowd fixtures—sills, wall-mounted shelves, or over the vanity.
Use decorative planters with narrow profiles to keep sightlines clean and avoid clutter. Group two or three specimens on a single shelf for a cohesive vignette, or stagger a small trio along a mirror edge to reflect light.
Rotate a few greens seasonally to refresh energy without reconfiguring the layout. Maintain routine misting and drainage, and replace tired leaves promptly.
Indoor plants create softness without sacrificing bathroom function.
Budget-Friendly Upgrades for Tiny Bathrooms
If you’re aiming to stretch a tiny bath without breaking the bank, start with the basics that deliver big returns: smart storage, inexpensive hardware, and lighting tweaks. You’ll squeeze space with clever organizers, trim hardware costs by swapping in affordable pulls, and brighten the room with layered light.
Small updates add up: reflectors, vertical lighting, and under-cabinet LEDs make every corner feel bigger.
- Budget hacks that transform visibility and function with minimal spend
- Style tips focused on cohesive finishes and bright accents
- Practical installs you can implement this weekend without professional help
Quick DIY Layout Tweaks to Refine Flow

Small layout tweaks can make a big difference in a compact bathroom, so start by rethinking traffic flow and sightlines. You’ll gain space by aligning the vanity, toilet, and shower on parallel planes, minimizing abrupt turns.
Swap a corner sink for a slim wall-mounted model to free floor space and create the illusion of width. Consider furniture layout changes: float storage off the wall, use open shelving to keep sightlines clean, and place a tall cabinet where it won’t interrupt paths.
Add color contrast to emphasize zones—light walls with darker accents near the vanity or tub to visually separate functions. Prioritize a single, cohesive palette and avoid clutter.
These tweaks refine flow without major renovations, elevating daily ease in a small bath.
Common Mistakes Tiny Bathrooms Make (and How to Avoid Them)
Common mistakes in tiny bathrooms usually stem from trying to fit too much into too little space. You’ll often overload walls with clutter, overlook lighting, and choose mismatched fixtures that shrink the room further.
To avoid these pitfalls, focus on simplifying layouts, selecting compact, well-proportioned components, and planning for clean sightlines.
- Declutter with smart storage that tells the eye “open space,” not a jumble of items
- Choose slim, wall-mounted bathroom accessories and compact Plumbing fixtures that maximize floor area
- Use cohesive finishes and strategic lighting to reflect space back to you
Before-and-After: Real Tiny-Bathroom Transforms
You’ll see how a tight footprint can become surprisingly functional with deliberate tweaks: a slim vanity swapped in for depth, a corner shower instead of a full tub, and wall-mounted fixtures that free floor space.
Real projects show the power of thoughtful detail: vertical storage above the sink, recessed medicine cabinets, and reflectors that double as lighting.
In one after-shot, warm neutrals create depth while glossy accents bounce light, making the room feel larger.
In another, you’ll notice realistic plumbing fixtures chosen for compact plumbing runs, reducing bulk without sacrificing function.
Materials are carefully chosen for wash, wipe, and maintenance practicality, not just looks.
The before-and-after proves that small changes, well-applied, deliver dramatic spacial clarity in bathroom decor.
Frequently Asked Questions
How Can Mirrors Distort or Elongate a Tiny Bathroom Visually?
Mirrors distort or elongate a tiny bathroom visually by precise placement and angles. Position tall mirrors opposite walls to create depth; use multiple panels for wall reflections. Mirror placement amplifies light, while wall reflections multiply perceived space without clutter.
What Budget-Friendly Lighting Tricks Maximize Perceived Space?
Use ambient lighting softly across ceilings and walls, then layer accent lighting under cabinets or along mirrored edges to carve depth; choose compact, dimmable fixtures, warm tones, and strategic gaps to visually expand space without clutter.
Which Door and Curtain Choices Create More Open Sightlines?
You’ll keep sightlines open by choosing clear or light doors with minimal frames and sheer curtains; go uninterrupted with floor-to-ceiling panels. Pair bathroom color schemes and storage organization to maximize openness, minimizing visual clutter and enhancing flow.
How Should You Arrange Daily Routines for a Compact Layout?
You should schedule daily routines by grouping tasks near the sink and shelves, using Storage solutions to keep essentials within reach, and sticking to calm Color schemes to minimize clutter; streamline steps, prep items, and maintain clear counters.
Can Vertical Lines Make Ceilings Feel Higher in Small Baths?
Yes, vertical lines trick the eye, making ceilings feel higher, you’ll see. Color schemes brighten and unify, while clever storage solutions keep clutter away, so you practically gain space. Ironically, restraint heightens perception, not wallpaper overload.
Conclusion
If you implement these tweaks, your bath will feel noticeably larger without a remodel. Start by letting light flood in with sheer treatments, then amplify brightness with mirrors and glossy finishes. Use vertical storage and wall-hung fixtures to clear clutter and widen sightlines. A small change in color—cool, matte walls—goes a long way. Here’s a quick stat: homes with reflective surfaces can feel up to 20% more open. Your tiny bathroom can finally breathe.