
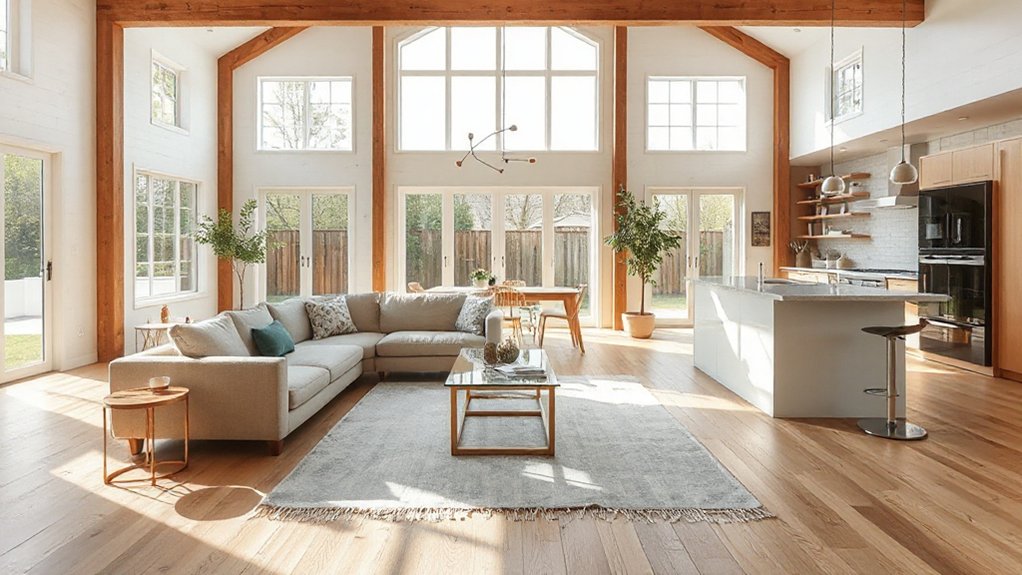

Open-plan is not just a wish list—it can feel like tearing down a cage, if you don’t map every load path first. You’ll assess walls, joists, and foundations to see what you can safely remove, then plan continuous support and phased work to keep the home livable. You’ll define zones with sightlines and finishes that read as one space, while meeting code and comfort. The next step? a practical layout test that reveals where the real challenges lie.
What Open-Plan Living Solves in a Bungalow
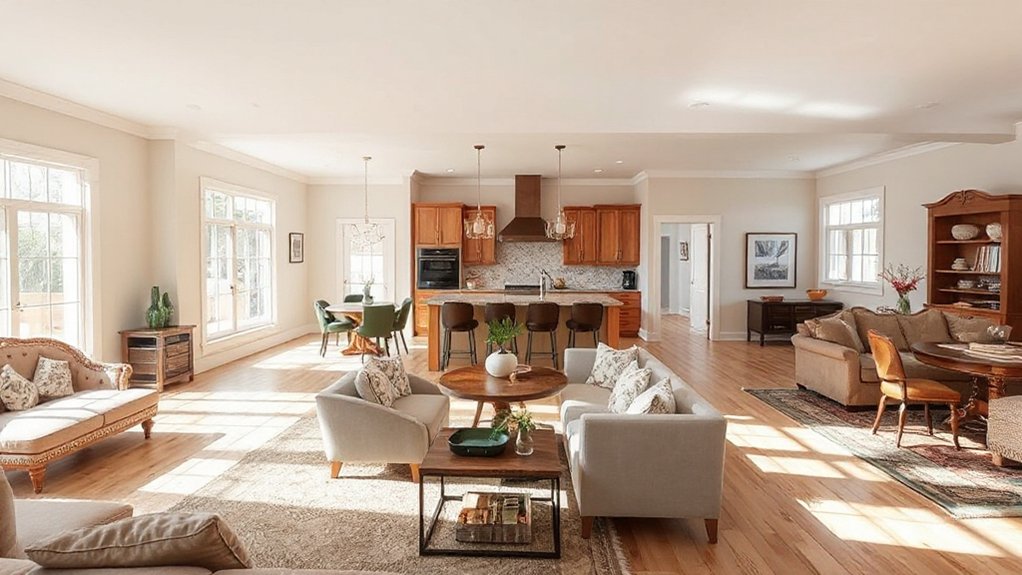
Open-plan living solves several practical issues in a bungalow by merging cramped, compartmentalized spaces into a single, flexible area. You gain seamless circulation, fewer doorways, and faster, more intuitive movement between zones, which reduces furniture clutter and improves sightlines.
The layout supports multifunction use, so you can shift from cooking to dining to working without interruptions, while preserving distinct zones through subtle height changes, lighting, or area rugs.
Outdoor integration becomes a practical benefit: larger openings, coordinated shifts in natural light, and improved access for al fresco dining.
Energy efficiency aspects emerge as you minimize thermal bridges and consolidate heating zones, enabling more uniform temperatures and reduced equipment cycling.
Assess Your Space With a Wall-Free Floor Plan
To assess a wall-free layout, start by mapping your existing footprint and identifying solid constraints, such as load-bearing lines, plumbing, and electrical runs.
Next, sketch zones for daily activities and note where natural light concentrates.
Evaluate ceiling height, floor shiftings, and HVAC placement, since these affect open-plan usability.
Consider sightlines from primary seating areas and entrances to ensure fluid navigation.
Plan for flexible furniture arrangement by selecting low-profile, modular pieces that can reconfigure without visual clutter.
Allocate storage underbenches or integrated cabinetry to maintain clean lines.
Choose wall art strategically to anchor zones without crowding pathways.
Finally, verify that major appliances and utilities stay accessible during future changes, maintaining a practical, scalable open-plan core.
Prioritize Sightlines for Cozy Connectivity
Prioritize sightlines to knit separate zones into a cohesive, cozy layout. You’ll map line-of-sight from seating to cooking, entry, and work areas, then place focal points to guide the eye without clutter.
Use clear sightlines along 6 to 8 feet, avoiding tall cabinets or island overhangs that interrupt flow. Align major furniture axes with doorways and windows to create a continuous rhythm; maintain unobstructed views across zones while preserving defined uses.
Employ low-profile storage and integrated lighting to reduce visual noise, and select materials with understated texture to support a calm rhythm.
Consider garden landscaping as a visual buffer beyond interior boundaries, and place outdoor furniture to echo indoor seating, extending comfort and accessibility to connectivity between inside and outside.
Maintain predictable sightlines during any reconfiguration.
What Structural Changes Are Feasible in a Bungalow
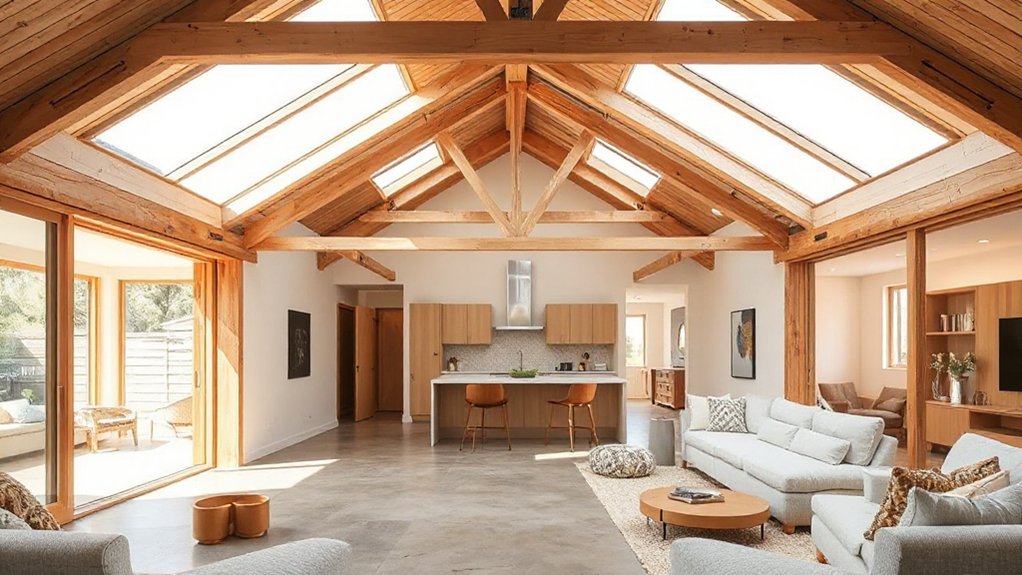
In a bungalow, most structural changes hinge on the ceiling height, foundation, and bearing walls. So start by confirming which walls are load-bearing and whether the crawlspace or basement can support added weight or openings.
- Determine load paths: map beams, studs, and joists to identify safe cut lines and new header sizes.
- Evaluate foundations and zoning constraints: verify soil bearing, retrofit options, and any required inspections under historical preservation and land zoning rules.
- Plan openings with structural efficiency: choose location, span, and material that maintain roof and floor integrity while minimizing risk.
Historical preservation and land zoning considerations influence allowable modifications, informing permits, restoration accuracy, and setback limits.
Zoning by Use: Kitchen, Living, and Dining Flows
Zoning by use directly shapes how you allocate kitchen, living, and dining spaces for flow and efficiency. You’ll map zones by activity, align high-traffic paths, and guarantee transitions stay clear.
Start with a central hub for cooking and cleanups, then anchor lounging with sightlines and acoustic separation. Consider sight and sound buffers between prep areas and seating to maintain focus.
Use continuous surfaces and intentional furniture footprints to define boundaries without walls. Plan for outdoor integration by bringing dining or lounging to patio doors or a covered deck, linking indoor and outdoor flows.
Include privacy solutions where activity overlaps with neighboring views or late-evening use, such as screened buffers, strategic plantings, or slim screens. Verify daylighting and venting work with the new arrangement.
Open Doorways Without Losing Coziness
You’ll explore opening wall solutions that preserve sightlines while maintaining sound and air separation where needed.
Use cozy flow techniques to guide movement between spaces, and implement quiet threshold tactics to minimize abrupt shifts.
We’ll align these approaches with practical details on door widths, frame types, and material choices to balance openness with warmth.
Opening Wall Solutions
How can you create open flow between living spaces without sacrificing warmth? You’ll approach wall openings with structural awareness and clear sightlines, prioritizing proportional openings that retain drywall integrity and sound control.
Use framed transoms, partial height walls, or pocket doors to maintain boundaries while inviting light and air. Choose materials and finishes that harmonize with adjacent rooms, and install energy-efficient insulation around any new framing to support energy efficiency.
Add electrical receptacles and low-profile lighting to keep the space functional yet cohesive. Propose these options:
1) Framed transoms with high‑performance glazing for outdoor integration
2) Partial-height walls paired with acoustic seals and recessed doors
3) Pocket doors and hinge upgrades that preserve heat and reduce drafts
Cozy Flow Techniques
Creating cozy flow without sacrificing warmth starts with selecting doorways and openings that invite light and air while keeping comfort tight at the edges. You’ll frame passages with strategic widths—not too wide to lose containment, not too narrow to feel cramped.
Use partial partitions or framed arches to guide sightlines while preserving openness. Position doorways to align with primary daylight paths, avoiding glare and drafts by adding transoms or transom-like openings for cross-ventilation.
Choose furnishings that soften thresholds: low-profile sofas, storage benches, and area rugs define zones without blocking air. Apply decorative accents that unify spaces: cohesive color palettes, texture contrasts, and tailored finishes.
Prioritize consistency in furnishing styles to maintain flow, then subtly vary materials to prevent monotony while preserving warmth and function.
Quiet Threshold Tactics
- Edge-define doorways with contrasting trim and floor shifts.
- Place low, layered lighting near thresholds for function and mood.
- Use vertical garden screens to enhance privacy and cohesion.
Key Load-Bearing Considerations for Open Plans
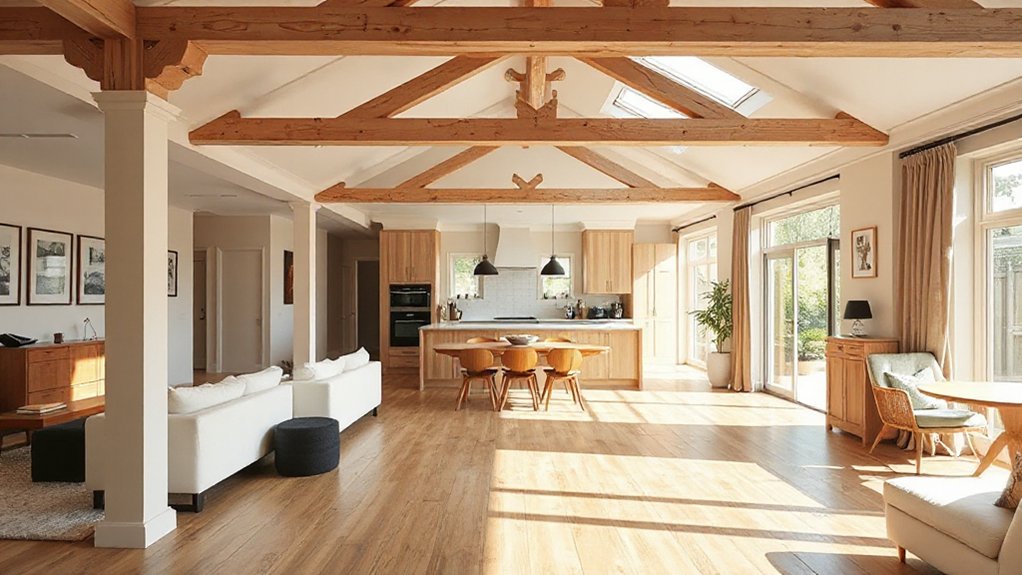
You’ll need to verify structural beam sizing for open-plan zones and map an unbroken load path from roof to foundation.
Clarify how each beam intersects with joists and walls to prevent sag and local failures, using conservative factors of safety.
Prioritize detailing methods, connections, and sequencing that maintain stiffness while enabling future reconfigurations.
Structural Beam Sizing
When sizing structural beams for an open-plan bungalow, the primary goal is to safely transfer loads from above to the foundation while preserving clear spans and desired ceiling heights.
1) Assess live and dead loads, then select member sizes that meet code spans without excessive deflection.
2) Guarantee Beam reinforcement and connections are detailed for shear transfer, bearing width, and anchorage to columns or walls, prioritizing continuous support over open areas.
3) Plan Foundation integration early, coordinating with footing sizes, soil bearing capacity, and potential underpinning to prevent settlement that could jeopardize long-term performance.
Load Path Clarity
Understanding load paths is key in open-plan bungalow design, ensuring every beam, wall, and column clearly channels loads from above to the foundation without ambiguity. You assess the primary gravity path first, then confirm secondary and tertiary routes, documenting second-floor joists, ridge beams, and intermediate supports.
Maintain continuous bearing through studs and posts, avoiding hidden transfers that complicate future renovations. When reconfiguring rooms, preserve explicit load-transfer junctions and clearly labeled supports, so retrofit work remains straightforward.
Plan for garden privacy within load considerations by aligning walls and fences with documented paths, minimizing obstruction to structural members. Integrate outdoor lighting without altering critical headers, ensuring circuits don’t compromise header integrity.
Prioritize verifiable, schedule-friendly steps to sustain stability during open-plan shiftings.
Light Each Room With Natural and Layered Illumination
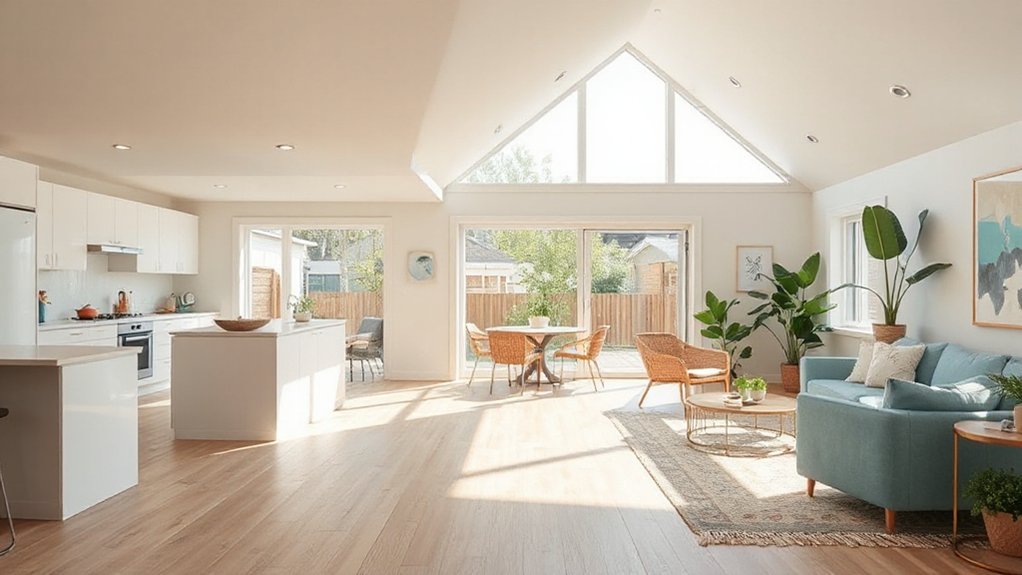
Natural light should be the backbone of each room, complemented by layered illumination that balances task, ambient, and accent needs. You’ll optimize window placement and glazing to maximize daylight while controlling glare.
Then layer with task pendants, dimmable LEDs, and indirect cove lighting for evening rooms. Use daylight sensors to adjust artificial output, preserving energy efficiency without sacrificing visibility.
In open-plan zones, coordinate lighting zones with furniture layout so you don’t cast shadows across workspaces or seating areas. Landscaping ideas around external windows can boost perceived brightness and thermal comfort.
Limit hot spots by selecting low-EMF fixtures and reflective finishes. This approach keeps the space bright, functional, and energy-smart throughout the day.
- Plan lighting zones around activity areas
- Use dimmable, energy-efficient fixtures
- Integrate daylight management with landscaping ideas
Acoustic Comfort in an Open Plan
Acoustic comfort becomes the backbone of an open-plan layout once you remove walls as sound barriers; that means designing for sound control as a core structural parameter. You’ll evaluate room boundaries, ceiling heights, and floor assemblies to limit direct line-of-sight sound paths.
Prioritize acoustic insulation in partition assemblies, using staggered or double studs, resilient channels, and dense mass materials to reduce flanking noise. Implement decoupled ceiling treatments and floating floors where feasible to further isolate vibrations.
Choose soundproofing techniques for service penetrations, door gaps, and window connections, applying weatherstripping and seals at seals and frames.
Monitor reverberation with targeted absorption panels, particularly in eating and lounging zones, balancing reflectivity and clarity for speech. Regularly test with simple audits to confirm steady improvement.
Smart Storage That Maintains Flow
Smart storage should support open flow, not interrupt it. You’ll prioritize built-in, low-profile options that vanish beneath sightlines while remaining accessible. Focus on integrated systems that minimize clutter, optimize circulation, and reinforce flow maintenance without dictating furniture placement.
Select units that align with ceiling heights, wall cavities, and doorway sweeps, so you don’t trap movement or create visual bottlenecks.
- Use shallow, wall-recessed cabinets and pull-out niches that keep surfaces clear while preserving easy access.
- Choose modular, multi-use furniture with concealed storage and labeled zones to avoid improvised, disruptive stacking.
- Implement hidden charging bays and labeled vertical organizers to reduce countertop congestion and maintain clear sightlines.
Smart storage reduces friction, supports flow, and keeps open-plan spaces adaptable for daily activities.
Materials and Finishes That Tie Bungalow Spaces Together
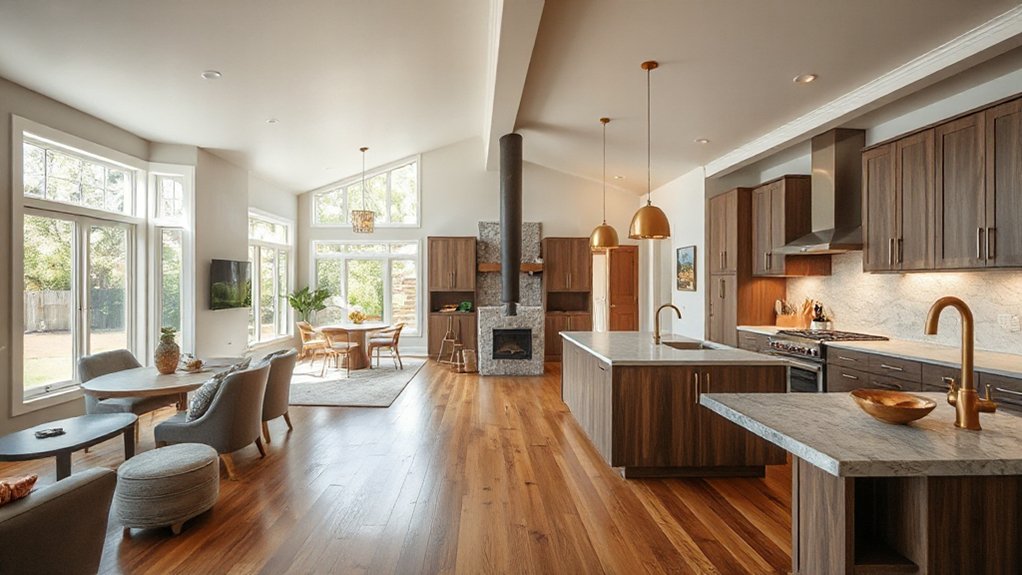
You’ll establish material flow by selecting shared tones and textures that run through the core living spaces. Use a cohesive finish palette and consistent grain direction to guide sight lines and movement from room to room.
Prioritize durable, low-maintenance options that align with your open-plan layout and seasonal lighting changes.
Material Flow Harmony
- Use a unified flooring material with subtle variation between zones to anchor movement.
- Choose one family of wall and cabinet finishes, echoing color temperature and sheen for cohesion.
- Pair sustainable materials with discreet acoustical panels where functions clash or voices rise.
Finishes Cohesion Guide
Finishes cohesion starts with a unified material system that reads as deliberate, not matched by chance. You select a core palette of tones and textures that recur across walls, ceilings, and surfaces to create visual continuity.
Implement a restrained trio of finishes—matte plaster, engineered wood, and low-sheen tile—to reduce noise and glare while maintaining depth. Map progressions carefully: align edge details, trim profiles, and substrate tolerances so joints stay crisp without abrupt cues.
Artistic finishes can appear as subtle texture on a feature wall or a kiln-fired accent tile, but they must echo the main material family.
Flooring options should migrate between zones, preserving grain direction and color warmth to maintain spatial coherence and ease movement through open areas.
Flexible Furniture Placement for Open Zones
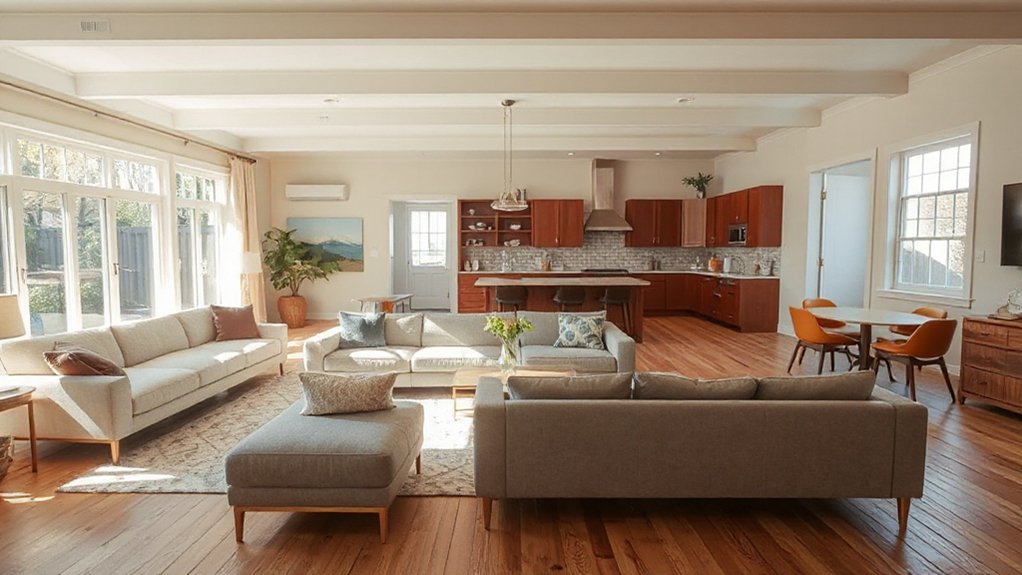
How can you optimize furniture placement in an open-plan bungalow without creating zones that feel disjointed? You’ll employ deliberate sightlines, anchor points, and consistent scale to establish cohesion. Use furniture arrangement that defines zones with soft boundaries rather than rigid walls; employ zoning techniques like area rugs, low bookcases, or pendant lighting to signal purpose while preserving flow.
Prioritize modular pieces that can reconfigure as needs evolve, and align seating to encourage conversation across the shared plane. Maintain clear path routes and guarantee access to natural light. Finish panels and textures should be complementary across zones to reduce visual friction.
- Identify anchor furniture and align spectators’ sightlines for natural adjacency.
- Layer lighting and rugs to imply zones without interrupting flow.
- Choose modular pieces that adapt to changing activity.
Kitchen Layouts That Support Open Living
You’ll shape an open living area by prioritizing a clear kitchen flow that supports foot traffic between prep, cooking, and dining zones. Consider island placement that anchors sightlines and provides a functional work triangle without obstructing movement toward living spaces.
This discussion centers on optimizing open-plan circulation and evaluating island configurations to balance workflow with social engagement.
Open-Plan Kitchen Flow
An open-plan kitchen should prioritize a clear, uninterrupted workflow that connects prep, cooking, and social space without barriers. You optimize flow by zoning work zones: prep, cleaning, cooking, and service, aligning counter heights and appliance reach. Guarantee sightlines stay open to seating and living areas, with minimal door interruptions and deliberate corridor widths. Use cabinetry to encode function, reduce clutter, and preserve surface continuity.
- Plan triangle-efficient layouts with dedicated paths between sink, range, and fridge, keeping ≥120 cm walkways.
- Use level surfaces and flush handling for appliances to avoid trips or catches, plus integrated lighting for task focus.
- Incorporate furnishing flexibility with movable islands, portable carts, and modular storage that adapts to social events and daily tasks, plus decorative accents.
Island Placement Ideas
Island placement is about balancing accessibility, sightlines, and social interaction within an open-plan kitchen. Start by defining workflow: place the island between the sink, stove, and fridge with 42–48 inches of clearance on all sides to maintain movement corridors.
If you host prep at the island, make certain at least one side has an extended countertop for seating, not deep eating ledges that trap traffic. Consider power outlets, task lighting, and ventilation in close proximity to cooking zones.
Integrate vintage fixtures for character without compromising load plans or ceiling height.
Plan outdoor integration by aligning door widths and views from the island toward exterior spaces, enabling smooth connections for entertaining and weather-aware serving.
Finish selections should resist cookware impact while sustaining easy cleaning and durability.
Ceiling Treatments to Define Areas
Ceiling treatments can visually separate open-plan zones without walls. To define areas, use deliberate ceiling textures and lighting layouts that cue shifts between spaces without breaking sightlines.
Implement subtle texture changes over functional zones—for example, a coarser texture above living areas and a smoother plane above dining—so your eyes follow intended paths.
Integrate lighting fixtures that reinforce boundaries: recessed strips outline perimeters, pendant clusters indicate dining zones, and angled cove lighting softly delineates circulation.
Keep junctions clean to avoid clutter and maintain acoustics. Consider ceiling-height variations or dropped soffits to mark activity zones without enclosure.
- Use contrasting ceiling textures to signal different functions.
- Align lighting fixtures with zone boundaries for visual cues.
- Combine recessed and pendant lighting to emphasize shifts.
Open-Plan Colors That Unify a Bungalow
You’ll start by selecting a unified color scheme that flows from room to room, minimizing abrupt shifts in tone.
Use repeating hues and subtle contrasts to tie ceilings, walls, and floors into one coherent palette. This approach keeps sightlines clear and furniture reading consistent as you reconfigure the open plan.
Unified Color Schemes
- Choose a cohesive base (neutrals) and repeat it in fabric, wood, and metal finishes.
- Tie rooms with shared accents—doors, trim, or hardware—that echo the same finish.
- Position vintage furniture and statement lighting as focal points that reflect the scheme’s hue family.
Flowing Hues Across Spaces
Open-plan living hinges on a well-planned color flow: choose two or three hues that travel smoothly from room to room and assign them to wall paint, fabrics, and major furniture tones. You’ll map each space to the chosen palette, ensuring progressions use the same lightness and saturation levels to avoid contrast shocks.
Ground the scheme with a neutral anchor for ceilings and trim to maintain cohesion. Consider color psychology when selecting hues to influence mood and activity—slightly cooler tones for focus zones, warmer tones for social areas.
Plan furniture ergonomics around the palette: avoid jarring color jumps on seating depths or table heights. Use textiles and finishes to reinforce continuity, fixing accessory accents in measured doses to prevent visual fatigue while preserving depth.
Budget-Friendly Structural Tweaks and Savings
Reconfiguring a bungalow for open-plan living doesn’t have to break the bank; start with targeted structural tweaks that maximize space while preserving safety and performance. You’ll prioritize load paths, temporary partitions, and non-load-bearing wall removals to minimize cost while preserving structural integrity. Use precise measurements, consult a structural engineer for header sizing, and opt for cost-effective framing changes that yield clear sightlines and improved flow.
Integrate passive candidates like daylighting and airflow to reduce long-term energy use. Consider surface-level changes, such as door aligns and ceiling soffits, to maintain service access without major rebuilds. Garden landscaping and smart home integration can complement the layout within budget.
- Verify header requirements and reuse existing framing where feasible.
- Install low-cost, removable partitions to visualize zones.
- Plan electrical and HVAC runs for future upgrades, not today.
Step-by-Step Renovation Schedule for an Open Bungalow
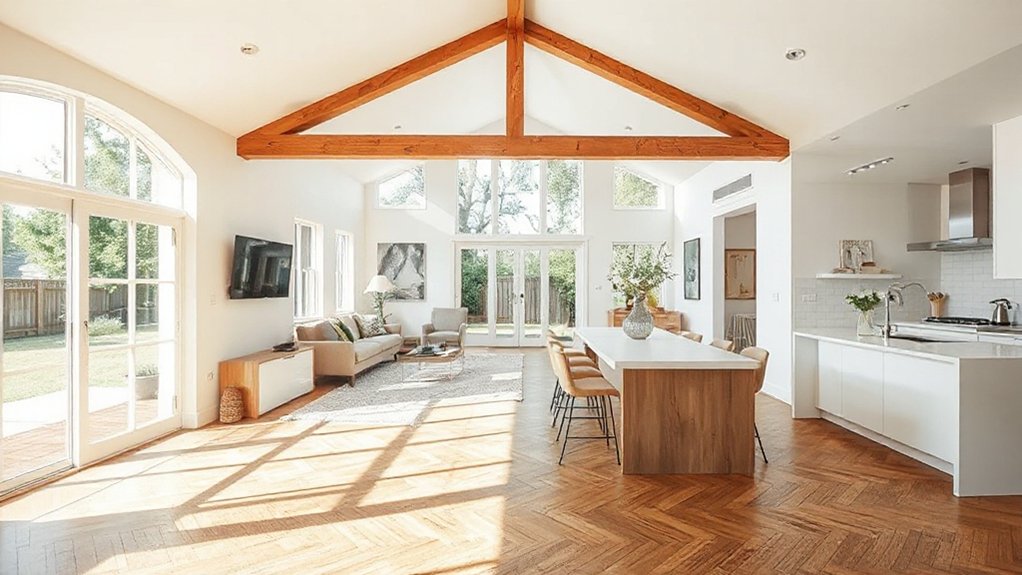
To turn the planned open bungalow into reality, start with a practical, time-bound renovation schedule that preserves safety and minimizes downtime. Break the project into sequential phases: demolition, structural adjustments, electrical and plumbing rough-ins, insulation and drywall, then finishes.
Assign clear durations, buffers, and milestone gates for each phase to prevent scope creep. Align tasks with access constraints to reduce disruption, sequencing trades to overlap where safe.
For outdoor landscaping, plan grading, drainage, and initial planting to coincide with exterior shell completion, preserving soil integrity and weather windows.
Create a furniture arrangement blueprint early, so space planning informs wall openings, cabinet locations, and lighting.
Track progress daily, document deviations, and adjust timelines to maintain a lean, controlled build pace. Maintain safety checks, material storage, and site cleanliness throughout.
DIY vs. Contractor: Making the Right Call
Deciding between DIY and hiring a contractor hinges on scope, risk, and timing: for straightforward tasks like demolition or drywall, DIY can save money and keep momentum. However, code compliance, structural work, and complex electrical or plumbing demand licensed help. You’ll evaluate permits, load paths, and inspection cycles before picking a path.
Garden privacy and outdoor lighting should factor into your planning, since enclosure changes affect sightlines, siting, and electrical routing.
- Assess task complexity, required permits, and potential rework costs before grabbing tools or calling pros.
- Align contractor expertise with structural, electrical, and plumbing needs; insist on licensed professionals for critical work.
- Plan finish-level integration with routing for garden privacy features and outdoor lighting to avoid later rewrites.
Real-World Before-and-After Makeovers: Open-Bungalow Examples
Open-bungalow makeovers hinge on clear, measurable outcomes rather than grand statements, so start by defining the target space changes and the resulting flow. You’ll compare before-and-after layouts, noting square footage shifts, door swings, and opening widths, then quantify traffic patterns with sightlines and HVAC zoning.
In practice, you map zones for cooking, dining, and lounging, ensuring clear progression with island placement, column removals, or beam reinforcements. Assess daylight penetration and acoustic behavior, documenting changes with photos and measurements.
Real-world examples show how garden landscaping integrates sightlines to the outdoors, while outdoor furniture placement anchors seating groups without impeding circulation. Finally, track utility updates, such as updated lighting circuits and switchgear, and record the user experience via a quick survey to validate the targeted flow.
Frequently Asked Questions
How Do I Maintain Privacy in Open-Plan Zones?
You can maintain privacy by using privacy screens and zoning strategies like partial walls, vertical slats, and ceiling-height bookcases, plus strategic furniture placement; employ acoustic panels and rugs to delineate zones while preserving light and sightlines.
What Budget Traps Should I Avoid Early On?
Budget blunders bite early; avoid them by planning precisely. You’ll prioritize cost effective upgrades and design flexibility, selecting scalable systems, phased renovations, and durable materials, ensuring predictable costs while keeping open-plan zones versatile and maintenance-low.
Can DIY Work Without Harming Structure or Safety?
Yes, DIY can, but you must prioritize safety. Inspect load-bearing elements, consult a pro if unsure, and follow DIY safety best practices; preserve structural integrity, use proper supports, shields, and local codes to avoid compromising the home.
How to Plan Acoustics for Multi-Use Areas?
You plan acoustics by zoning spaces, using Acoustic zoning and soundproofing techniques to isolate tasks. Place soft furnishings in quiet areas, hard surfaces in lively zones, and install ceiling clouds, absorbers, and seals to control reflections and noise transfer.
What Are Common Reconfigurations With Minimal Disruption?
You can pursue key reconfigurations with minimal disruption by prioritizing furniture placement and lighting design; relocate sofas and partitions, install track lighting, use temporary room dividers, and stage zones to preserve sightlines while keeping utilities accessible.
Conclusion
You can’t rush an open bungalow—carefully map structure, services, and sightlines, then phase changes to protect support and light. One interesting stat: homes with open-plan layouts report up to 15% faster perceived space due to uninterrupted sightlines and better daylight diffusion. Prioritize continuous load paths, compatible finishes, and clear functional zones to keep safety and flow intact. With measured steps, you’ll gain spaciousness without sacrificing stability or code compliance.