
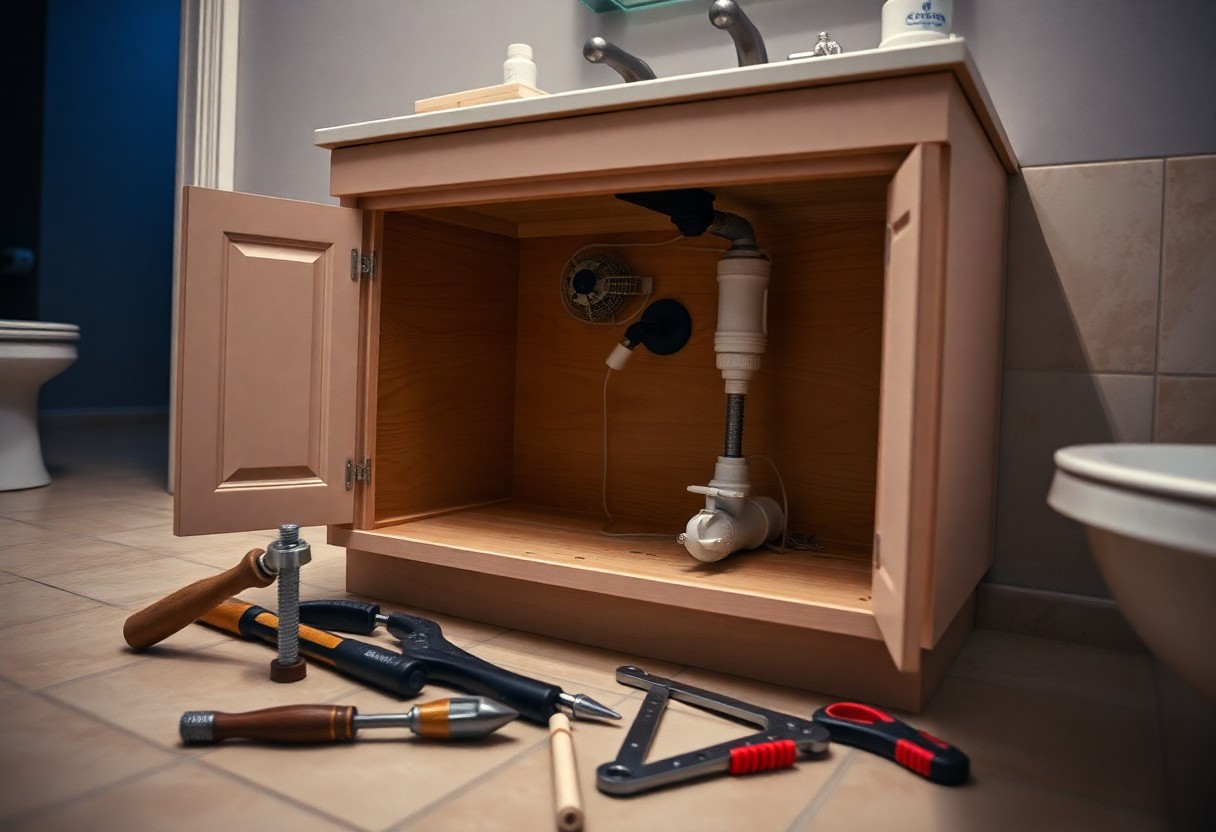

If you’re giving your bathroom a bit of a facelift, one of the first jobs you’ll likely tackle is figuring out how to remove a bathroom vanity. It’s not the most glamorous task, but it’s far less daunting than most people think. With a bit of prep, a few basic tools, and a steady hand, you can whip that old unit out without causing a plumbing disaster or ripping half the wall off. It’s the kind of job that feels fiddly until you get going — then it’s surprisingly satisfying.
Bathroom renovations can be daunting, but removing your bathroom vanity doesn’t have to be. This guide will take you through each step, ensuring you safely and efficiently remove your old vanity to make way for a new one. By following these instructions, you can tackle this project with confidence, transforming your space while enhancing its functionality and style.
Tools Needed for the Job
Essential Tools
To remove your bathroom vanity, gather necessary tools such as a screwdriver set, a power drill, a wrench, and a utility knife. These items will help you unscrew cabinet fixtures, disconnect plumbing, and safely detach the vanity from the wall. A hammer may also be useful for gently prying the vanity away if it’s stuck.
Optional Tools
While not necessary, optional tools can make the job easier. Consider having a reciprocating saw on hand for cutting through stubborn materials, and a level to ensure proper installation of the new vanity. A drop cloth is helpful for protecting your floor from debris, and a stud finder can assist in locating wall anchors.
Using a reciprocating saw is particularly advantageous for removing vanities with built-in plumbing that may be difficult to disconnect. You can easily cut through pipes if necessary, minimizing the risk of damaging surrounding fixtures. A stud finder ensures that when you install the new vanity, you secure it to the wall studs for stability, eliminating the chance of future wobbling. Investing in these optional tools can ultimately save you time and effort during the removal process.
Preparing the Bathroom
To ensure a smooth removal process, start by preparing your bathroom effectively. This involves creating a clutter-free environment, safeguarding your belongings, and ensuring access to all areas around the vanity. Proper preparation allows you to work efficiently and reduces the risk of accidents.
Clearing the Area
Begin by removing all items from the vanity top, including toiletries and decorations. Clear the surrounding floor space as well, ensuring there’s ample room to maneuver tools and the vanity itself. Make sure to relocate any nearby furniture or rugs that might impede your movement during the removal process.
Turning Off Water Supply
Next, locate the water supply valves under the sink and turn them off. This action prevents any water leakage when you disconnect the plumbing, helping to maintain a dry environment and avoid potential water damage.
Typically, you’ll find two valves: one for the hot water and one for the cold. Turn both valves clockwise until they stop. If your bathroom lacks individual shut-off valves, you may need to turn off the main water supply for your home. It’s wise to check that both faucets are running dry before proceeding to disconnect any plumbing. Taking this step prevents unexpected flooding and keeps your project on track.
Disconnecting the Plumbing
To successfully remove your bathroom vanity, disconnecting the plumbing is vital. Start by shutting off the water supply to prevent any leaks. Use a bucket to catch any residual water when you start detaching the plumbing connections. Identify the type of sink drain and supply lines you have, as this will dictate the tools needed for removal.
Finding the Right Connections
Locate the shut-off valves under your sink to turn off the water supply. You’ll typically find two valves: one for the hot water and one for the cold. Ensure the valves are securely closed, and then check the connections on both the drain and supply lines, as they might vary in design, requiring different tools.
Safely Detaching Pipes
Using an adjustable wrench, carefully loosen the nuts that connect the water supply lines to the faucet and the P-trap to the drain pipe. To avoid any damage, hold the pipe in place while you twist the nuts. Once loosened, remove the pipes, allowing any remaining water to drain into your bucket.
After loosening the connectors, ensure you keep a firm grip on the pipes to avoid straining or damaging them. Pay attention to the orientation of the plumbing fixtures; taking a photo can help you reassemble them later. If you encounter stubborn corrosion, using penetrating oil can facilitate easier removal. Always handle plumbing components with care to prevent any unnecessary breaks or leaks.
Removing the Vanity
With plumbing disconnected and the bathroom prepped, it’s time to tackle removing the vanity. Start by carefully examining the base of the vanity to identify any screws, brackets, or fasteners securing it to the wall or floor. Make a note of their locations and prepare to unscrew them, ensuring you have a stable work surface to support the unit as it becomes free from its fittings.
Unscrewing Fasteners
Begin unscrewing all fasteners, focusing first on wall brackets and then on floor screws. Use your power drill or screwdriver efficiently to access hard-to-reach areas. Keep track of all removed screws and hardware in a small container to prevent losing them during the process.
Lifting and Transporting
Once unscrewed, you can lift the vanity off the floor, but enlist help if it’s a large or bulky piece. Clear a path to your transport location, whether that’s a truck or a waiting garage space. Move slowly and cautiously to avoid injury or damage to your home.
While lifting the vanity, bend at your knees and keep your back straight to prevent strain. Ideally, have one person at each end to distribute the weight evenly. If space allows, consider tilting the vanity slightly to maneuver it around corners safely. Use moving blankets to protect both the vanity and any walls or doorways you may encounter. Planning your route beforehand can save time and effort during transporting.
Tips for a Smooth Removal
Planning and organizing can enhance your bathroom vanity removal experience. Follow these expert tips to streamline the process:
- Prepare your space by clearing surrounding items.
- Ensure you have all necessary tools at hand.
- Work with a partner for safety and efficiency.
- Take photos before disassembly for reference.
- Label all parts and plumbing connections.
Thou shalt proceed methodically to avoid complications.
Handling Heavy Objects
When dealing with heavy vanities, use proper lifting techniques. Bend at your knees, not your back, and ask for help if the vanity is too heavy or unwieldy. Secure a grip on both ends and lift with your legs while keeping your back straight for balance. This reduces the risk of injury and damage to your bathroom.
Working with Limited Space
In tight bathroom spaces, removing the vanity can be particularly challenging. Assess the layout and identify the best angles for access. Clear out any obstructive furniture or accessories, and consider disassembling components in parts that can be taken out individually.
When working in limited space, maneuvering becomes crucial. If your vanity has drawers or cabinets, empty these out first, as this reduces weight and bulk. Utilize foldable tools or compact designs where possible. Always plan your route to ensure you can navigate tight corners, and consider using furniture sliders to assist in moving the vanity more easily. This thoughtful approach allows for a more efficient removal, preventing damage to walls or flooring. Should complications arise, remain patient and adjust your strategy accordingly to keep progress steady.
Factors to Consider
Before removing your bathroom vanity, several factors will influence your approach and the tools you need. Consider the space, plumbing, and electrical connections involved. Evaluate the following points:
- Size and weight of the vanity
- Condition of the wall and flooring
- Type of plumbing fixtures
- Accessibility to tools and equipment
This ensures you are well-prepared for the project ahead.
Age of the Vanity
The age of your vanity can significantly impact its removal. Older vanities may be constructed with outdated materials and adhesives, making them more challenging to take apart. Additionally, age can lead to deterioration, which might cause unexpected breaks or issues during removal. Inspecting the vanity’s condition will guide your removal strategy and help prevent damage to surrounding areas.
Wall Attachments
Understanding how your vanity is attached to the wall is vital for a safe removal process. Some vanities are simply set against the wall, while others may have additional supports, brackets, or anchor screws. Checking behind the vanity for screws or fittings can save you time and prevent damage to both the vanity and the wall. Unearthing hidden fasteners may require extra effort, but it’s necessary for a seamless transition.
To wrap up
With this in mind, you can confidently remove your bathroom vanity by following the proper steps. Ensure you have the right tools, disconnect the plumbing safely, and carefully detach the vanity from the wall. Take your time to avoid damage to surrounding fixtures and surfaces. Proper preparation and attention to detail will help you achieve a successful removal, making way for your next bathroom project.