
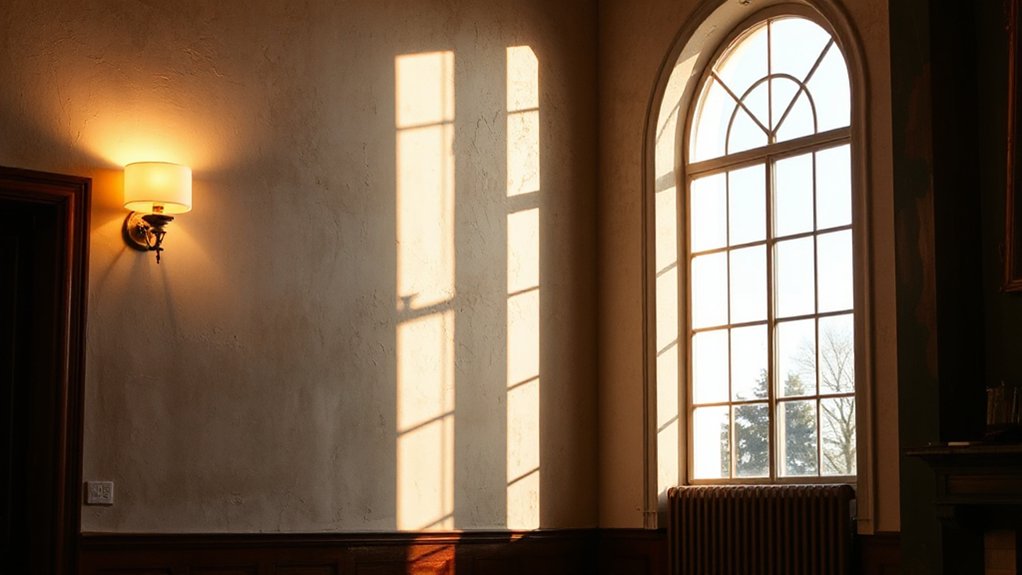

You can nudge a room’s mood without overhauling it, and the right lighting makes the difference feel deliberate rather than accidental. You’ll balance ambient, task, and accent layers, map them to architecture, and choose color temperature to suit each zone. With the right fixtures and control strategy, glare stays at bay and textures pop. If you’re curious how a quick, methodical approach can lift function and feel, you’re about to open a practical path forward.
Lighting Goals by Room: Vibe, Function, and Flow
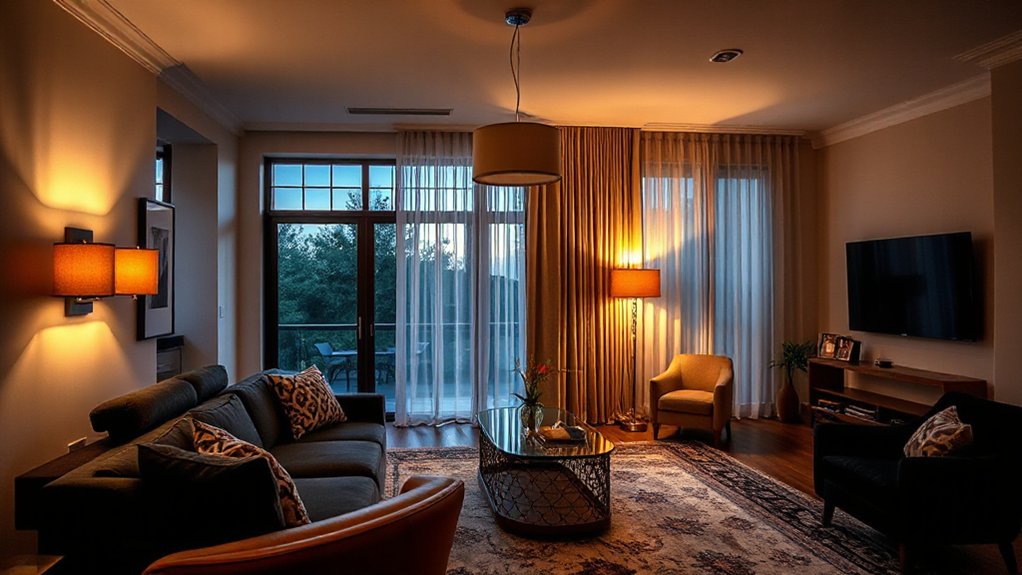
To shape lighting goals by room, start with vibe, function, and flow as a single framework. You’ll align mood, tasks, and movement to a cohesive plan, then translate it into fixture types, placements, and controls.
In living spaces, define vibe through color psychology and brightness targets that support conversation, reading, and media viewing, while preserving natural lighting cues.
For kitchens, prioritize task illumination over ambient, calibrating color temperature to reflect true food colors and reduce shadows on work surfaces.
In bedrooms, balance dimmability with restful tones to support sleep rhythms and morning wakeups.
Bathrooms demand high CRI and glare control for grooming tasks.
Always map each space to a primary function, then layer secondary activities to maintain consistent flow and energy efficiency across the home.
Layer Light: Ambient, Task, and Accent in Practice
Layer light by layering ambient, task, and accent layers to create a cohesive, flexible space. You’ll balance the three layers to avoid glare and shadows while preserving color accuracy.
Ambient light establishes general illumination with diffuse sources, prioritizing even distribution and low contrast.
Task lighting, focused and brighter, supports specific activities—reading, sewing, or computing—without forcing you to strain.
Accent light highlights architectural features, artwork, or textures, creating depth through selective contrast.
Practice: set ambient at a comfortable baseline, then add task luminance near work surfaces, and finally introduce accents to sculpt mood.
Monitor proportions to prevent bulb longevity issues from excessive use or heat. Use dimmable, high-CRI LEDs, and staggered fixture placement to maintain Layer contrast while maximizing efficiency.
Map Your Room’s Lighting Needs to Architecture
Link lighting needs to architecture by translating room function, form, and materials into a grid of lighting zones. You map each zone to architectural features: ceilings, beams, alcoves, and transoms, then align luminance with the room’s workflow.
Define primary zones for task surfaces, secondary zones for circulation, and accent zones to reveal texture and form. Use a grid approach: assign lux targets, visibility levels, and shadow behavior per zone, ensuring seamless progression along sightlines.
Consider architectural constraints like column spacing, soffit height, and window ratios to avoid glare and clutter. Natural integration occurs when fixtures follow lines and materials, minimizing intrusion.
Acknowledge historical context by preserving key architectural cues and reinterpreting them with discreet fittings that respect heritage while delivering modern performance.
Pick Color Temperature by Room and Mood

Color temperature should align with the room’s function, mood, and the architectural cues you mapped earlier. Start by pairing task zones with cooler hues (roughly 3500–4100K) for clarity and focus. Then reserve warmer temps (2700–3000K) for relaxing areas that support mood enhancement.
Consider ambient lighting in the 2700–3000K range to foster comfort without perpendicular glare on work surfaces. For color psychology-driven spaces, mix layers: a base of 3000K, accented by 4000K task lights where precision matters.
In dining and living areas, use dimmable fixtures to shift from 2700K to 3200K as needed. Document your targets per room, noting exact kelvin values and lumen levels.
Reassess after furnishing changes, ensuring the color temperature supports function, mood, and the architectural cues you mapped earlier.
Fixture Types That Transform Spaces Without Clutter
Fixtures that transform spaces without clutter rely on compact, multifunctional options that maximize impact with minimal footprint. You’ll prioritize fixture styles that provide both illumination and utility in a single unit, reducing visual noise while maintaining performance.
Choose recessed, surface-mounted, or track configurations that align with ceiling lines and avoid protrusions that interrupt sightlines. Opt for integrated LEDs, dimmable drivers, and, when possible, wireless control to minimize wiring and switches.
Favor modular designs you can expand or reconfigure as needs change, preserving a clutter-free aesthetic. Consider luminance distribution, color rendering, and glare control to maintain clarity without bulk.
Keep mounting hardware hidden, and select low-profile fixtures with consistent finishes for cohesive, unobtrusive lighting that enhances function and form.
Dining Room Lighting: Drama Meets Practicality
You’ll balance dramatic lighting with practicality by using focal fixtures that cue attention without overpowering the room. Layered illumination—ambient, task, and accent—lets you shape mood while preserving function at the table and in the corners.
Start with a strong central fixture, add adjustable wall or cabinet lighting, and finish with dimmable controls to respond to different dining moments.
Dramatic Yet Functional Lighting
- Layer intentionally: focal, ambient, task, and decorative elements
- Tunable white for color accuracy and mood
- Dimmer strategy aligns with activity and time
- Calibrate for natural illumination and color contrast
Layered Illumination Tactics
Layered illumination in a dining room blends focal, ambient, task, and decorative light to support both mood and function. You set a balanced base with ambient fixtures that wash walls evenly, avoiding hotspots.
Add focused task lighting—pendants over the table or adjustable wall sconces—to optimize dinner prep and conversation without glare.
Introduce decorative luminaires to emphasize texture, artwork, or architectural details, ensuring they don’t compete with functional layers.
Control schemes matter: dimmers on ambient and decorative layers yield flexible intensity for dining and entertaining.
Consider color temperature consistency across layers to prevent jarring shifts.
Keep spacing uniform to prevent shadowy corners that disrupt conversation.
The result is ambient glow with precise contrast and deliberate shadow play, delivering comfort, clarity, and drama in equal measure.
Living Room Lighting for Conversation and Comfort
If you want a living room that supports easy conversation, position lighting to balance visibility and warmth without glare. You’ll combine ambient glow with task-friendly accents, ensuring even skin tones and no harsh shadows behind people. Use dimmable fixtures and warm color temperatures (2700–3000K) to foster comfort while maintaining readability for conversations.
Curate seating-facing zones to minimize eye strain and maximize engagement. Then calibrate glare-reducing louvers or diffusers on overheads.
Prioritize Lighting ethics and sustainability practices by selecting LEDs with high efficiency, long life, and recyclable components. Additionally, route cables neatly to avoid hazards.
Track energy use and adjust patterns seasonally to preserve mood and budget.
- Balance visibility with warmth for natural interaction
- Dim controls enable dynamic conversation pacing
- Favor efficient, repairable components
- Consider lifespan impacts on sustainability practices
Kitchen Lighting That Balances Task Accuracy and Style
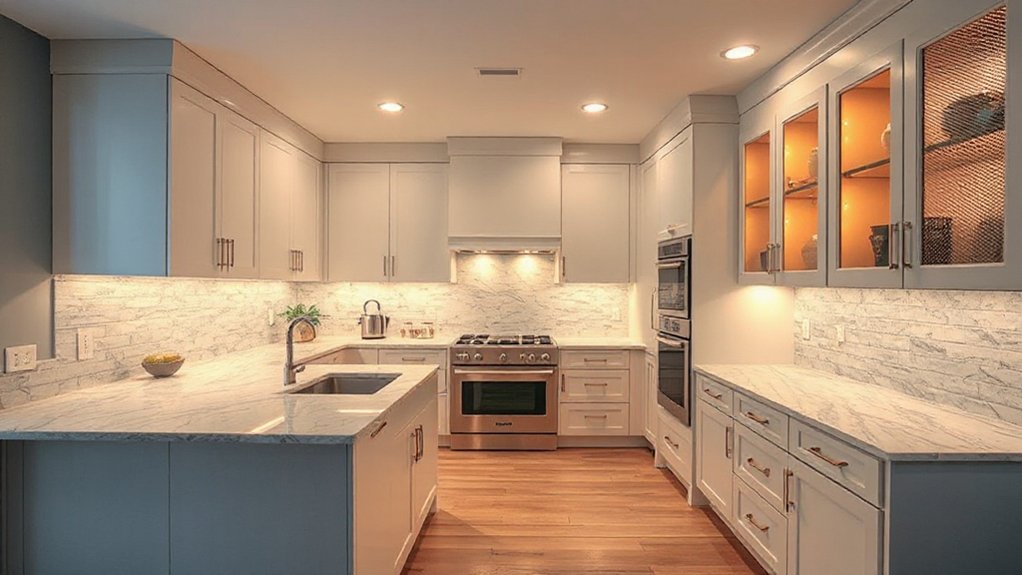
In the kitchen, you need lighting that keeps tasks accurate without sacrificing style. Start with task layers: bright ambient to reveal overall layout, under-cabinet lighting for countertops, and focused task fixtures at work zones.
Choose color temperature to match activities: cooler white (around 3500–4100K) for prep and bright finishes, warmer tones (2700–3000K) for dining nooks or sit-down areas.
Use high-CRI luminaires to render true colors of food and surfaces.
Incorporate accent lighting to highlight architectural features or backsplashes, creating depth without glare.
Guarantee even light distribution to avoid shadows in corners.
Dimmer controls let you switch from precise chopping to relaxed plating.
Verify consistency across fixtures to prevent color temperature shifts and maintain a coherent, functional aesthetic.
Home Office Lighting for Focus and Eye Comfort
Good office lighting reduces eye strain and sustains focus by combining task, ambient, and contrast lighting that you can adjust throughout the day. You optimize for long periods of concentration by aligning color temperature and luminance with your work, ensuring natural illumination supports readability without glare.
Prioritize a neutral-to-cool task light at the desk, plus soft ambient ambiance from indirect sources to avoid harsh shadows. Maintain even brightness across the workspace, and bias lighting to reduce contrast strain on screens. Avoid flicker and choose steady, high-CRI sources for accurate color.
Regularly reassess light zones to match tasks, posture, and screens.
- Match task luminance to document work and screen glare reduction
- Position desk light to minimize shadowing on the workspace
- Use indirect sources to create even ambient illumination
- Monitor color temperature to sustain comfort and accuracy
Controlling Light: Dimmers, Smart Bulbs, and Zoning
Dimming, smart bulbs, and zoning give you precise control over light levels, color, and distribution to match tasks and times of day. Dimmers reduce brightness smoothly, minimizing glare and preserving eye comfort while sustaining ambient glow in common areas.
Pair dimming with tunable white or adjustable color temperature to align with circadian rhythms and activity, switching from cool, crisp light for task work to warmer tones for relaxation.
Smart bulbs enable scheduling, scene presets, and centralized control without rewiring, enhancing consistency across rooms.
Zoning divides spaces into functional lighting regions, ensuring targeted illumination where needed while keeping other zones subdued to avoid overlighting.
Consider light diffusion when selecting fixtures and lamps; use frosted diffusers or translucent shades to balance brightness and reduce hotspots.
Highlight Architectural Features With Directed Light
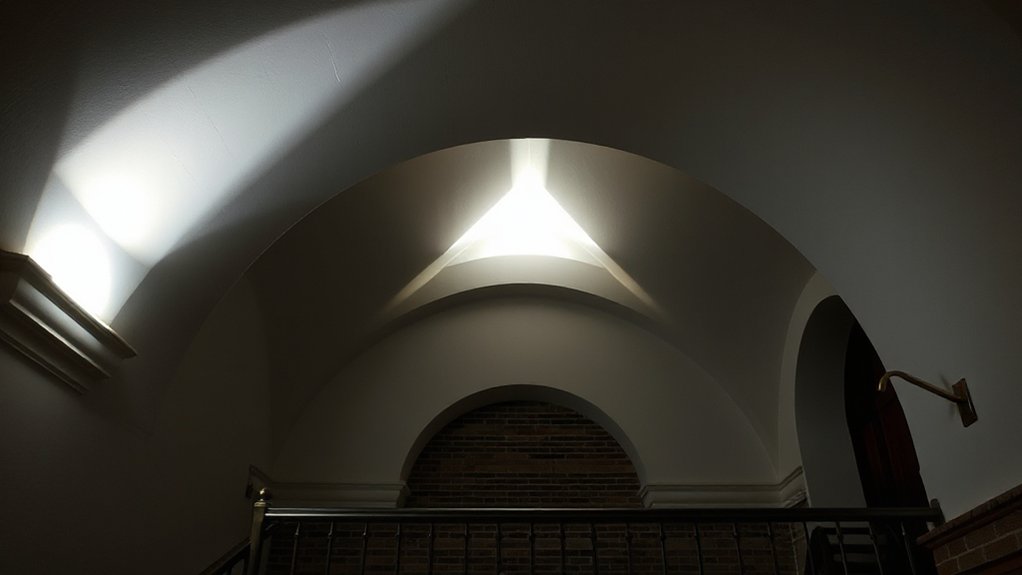
Directed lighting can reveal the texture and silhouette of architectural features, guiding the eye to walls, columns, and ceilings. You’ll use targeted fixtures to emphasize depth, scale, and rhythm within the room, without overpowering existing details.
Choose architectural accents with purpose, aligning beam angles to highlight cornices, alcoves, and structural recesses. Implement disciplined spotlight techniques to create contrast zones that read as deliberate design statements rather than random illumination.
Place fixtures to avoid glare, and calibrate lamp temperature for neutral, true rendering of materials. This approach preserves architectural honesty while adding drama.
By controlling spill, you maintain balance between feature and space, ensuring readability and flow.
- Focused beam placement to sculpt texture
- Layered contrast for depth and balance
- Ceiling and wall integration for continuity
- Avoids excessive hot spots and glare
Color Rendering and How It Affects Paint and Textiles
Color rendering ties directly to how paint and textiles read under lighting. You’ll evaluate CRI or CQS values to predict true color behavior, then compare source types to see how they shift perception.
When you pick lighting for walls, note that high color accuracy guarantees wall colors reproduce as intended, reducing mismatches between swatches and finished coats.
For textiles, render accuracy matters for upholstery, drapery, and rugs, guiding your choice toward fabrics that maintain hue and subtle tonal shifts under ambient light.
Consider metamerism effects when pairing paint and textiles in a single space, testing samples under the actual luminaires.
Prioritize lamps that deliver consistent spectral power distribution to support textile enhancement and avoid premature color distortion.
Energy-Efficient Lighting Tricks That Still Feel Lux
Energy savings don’t have to mean dim spaces or color loss; with the right mix of fixtures, bulbs, and placement, you can maintain a luxurious feel while cutting watts. You’ll prioritize high-efficacy LEDs, controllable color temp, and task lighting that complements ambient glow.
Use dimming zones and SMART controls to match activity and time of day, preserving a sense of depth and texture. Sustainable design relies on spectral balance and efficient luminance distribution, so plan for even coverage that reduces glare.
Natural illumination remains a reference point; pair it with supplemental LEDs that mimic daylight without oversaturation.
- Select high-CRI, high-efficiency LEDs tuned to 2700–3500K for warmth and depth
- Implement zoned dimming to vary brightness by function and mood
- Use wall washers and accent fixtures to readjust focal points
- Integrate daylight sensors and smart controls for consistent levels
Common Lighting Mistakes in Small Spaces (and How to Avoid Them)

In small spaces, you’ll improve task layering by explicit zoning of light sources for specific tasks, so each area gets the right intensity and glare control.
Balance warmth levels across ambient, task, and accent light to prevent a flat or mismatched feel.
Avoid glow overload by restricting overly bright fixtures and using dimmers or layered layers to keep contrast clear and efficient.
Improve Task Layering
Task layering matters: in small spaces, layered lighting guarantees tasks get enough illumination without creating glare or wasted light. You’ll combine ambient, task, and accent layers to avoid dark pockets and glare, while preserving natural ambiance and supporting mood enhancement.
Position task lights for precision work, not general mood, and ensure color rendering is consistent across layers. Use dimmers to adapt intensity without changing color temperature abruptly, and avoid overlighting surfaces that reflect heat.
Calibrate placement to minimize shadows on work surfaces, and test at actual task times.
- Align task luminaires with work zones for glare-free, precise output
- Layer ambient and task light to maintain consistent color and depth
- Use dimming and neutral tones to sustain natural ambiance
- Reserve accent lighting to highlight function without washing tasks
Balance Warmth Levels
Balancing warmth levels is essential to avoid a space that feels either clinical or washed out. You’ll align luminance and color temperature across zones, preventing jarring changes between cool and warm tones.
Start with a baseline warmth, around 2700K to 3000K, then refine using a consistent color harmony across fixtures. Create lighting schedules that stage warm accents in social or work areas and cooler task light near screens to reduce eye strain.
Normalize dimming behavior so that ceiling, wall, and cabinet lights share similar dimming curves, avoiding abrupt shifts as you move through rooms.
Measure results with a simple before/after test, adjusting output to maintain a cohesive mood. Document your plan to guarantee future updates stay on target with your color harmony goals.
Avoid Glow Overload
Small spaces often suffer from glow overload when multiple light layers stack up without a clear hierarchy. You must curate each layer to avoid stray luminance, keeping glare off walls and screens.
Prioritize dimmable, task-focused fixtures and set a dominant ambient layer to reduce light pollution while preserving depth. Use color temperature shifts to maintain contrast without oversaturation, and verify that every source serves a purpose within the space.
- Define a primary ambient layer with controlled output
- Add task lighting only where needed, on dimmable drivers
- Limit high-CRI fixtures to essential zones to prevent glare
- Test for reflections and adjust angles to minimize glow overload
30-Minute Lighting Makeover Plan: A Quick-Start Checklist
If you’re after an instant uplift, this Minute Lighting Makeover Plan gives you a fast, practical path to brighter, more functional interiors.
Begin with a 10-minute audit of existing fixtures, noting placement gaps, glare, and shadow zones.
Prioritize task lighting over ambient where precision matters, and switch to LED bulbs with 90+ CRI for color accuracy.
Identify one decorative fixture to re-optimize focal points without clutter.
Align light temperature to use cases: warm for living rooms, cooler for kitchens and workspaces.
Leverage Natural lighting by layering window light with sheer drapes and sconce accents that enhance daylight.
Calibrate dimmers to three levels: ambient, task, and accent.
Document results, then schedule a 15-minute weekly review to maintain balance and prevent dusk-dark cycles.
Frequently Asked Questions
How Can Lighting Influence Room Perceived Height?
Perceived ceiling height increases with vertical illumination, distributing light upward and along walls. You’ll notice a taller room when you use uplighting and wall-washing, reducing shadows and emphasizing vertical lines for a more spacious, balanced perceived ceiling.
Which Fixtures Reduce Glare on Screens Effectively?
You minimize glare by choosing matte-finish fixtures and indirect lighting; use dimmable tasks and positioned accents. Glare reduction comes from wall-washing, ceiling bounce, and screen-facing luminaires. Maintain appropriate Screen illumination with subdued ambient light and anti-reflective screens.
Can Lighting Changes Boost Mood Without Overpowering Decor?
Anecdote: you notice a 2-point study showing rooms with warm color psychology correlating to calmer moods. Yes—lighting changes boost mood without overpowering decor by layering colors, intensities, and accents, using lighting layers to balance ambiance and practicality.
How to Balance Natural and Artificial Light Budget-Friendly?
Balance natural and artificial light on a budget by combining daylight optimization with affordable upgrades: use sheer shades, reflective surfaces, and dimmable LEDs; prioritize task lighting near work zones, and synchronize fixtures to avoid excess cooling costs.
What’s the Best Lighting for Multi-Purpose Rooms?
You’ll want layered illumination with flexible task lighting for multi-purpose rooms, pairing ambient lighting, accent accents, and adjustable fixtures. Use dimmers, zones, and portable options; prioritize glare-free task lighting near desks and work zones for precise, practical control.
Conclusion
Why settle for a room that merely exists when you can illuminate a personality? With layered ambient, task, and accent lighting, your space becomes a well-lit stage where color accuracy and mood aren’t afterthoughts but specs. Think dimmers, smart controls, and fixtures tucked just so—no glare, no clutter, just precision. If a showroom and a sunbeam had a baby, this is it: practical, technical, and sneakily transformative. Enjoy your 30-minute makeover—your eyeballs, and your guests, will thank you.