
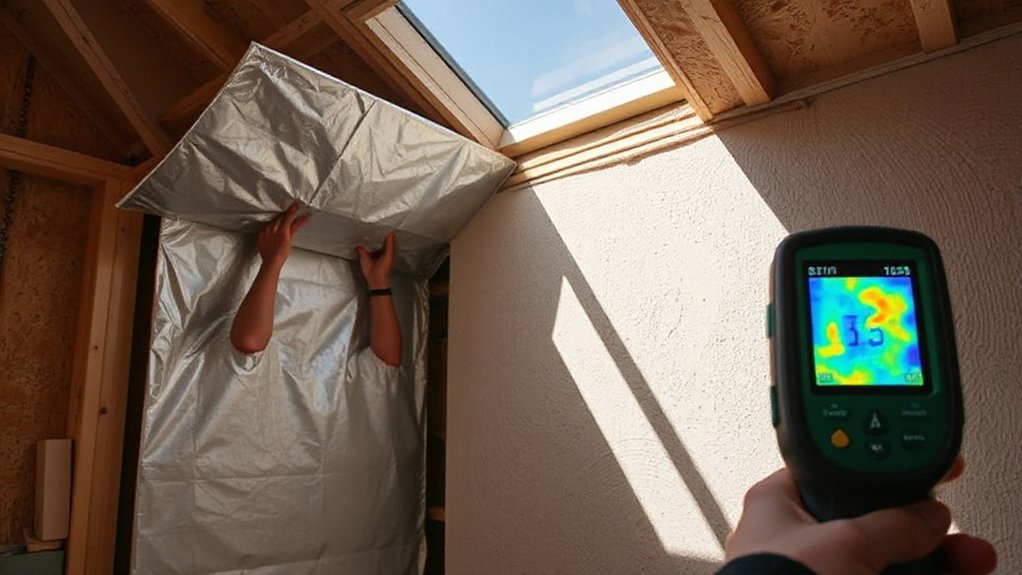

Insulation upgrades can redefine comfort overnight, almost like flipping a switch on energy bills. You’ll weigh spray foams with low GWP, dense-pack for irregular cavities, and blown-in options that seal gaps you can’t reach with standard methods. You’ll also consider durable, recycled materials and the trade-offs between DIY and pro installation. Curious how these approaches translate to real-world savings and long-term performance for your home? Let’s map out the practical steps and tailor a plan.
Why Modern Insulation Matters for Home Comfort
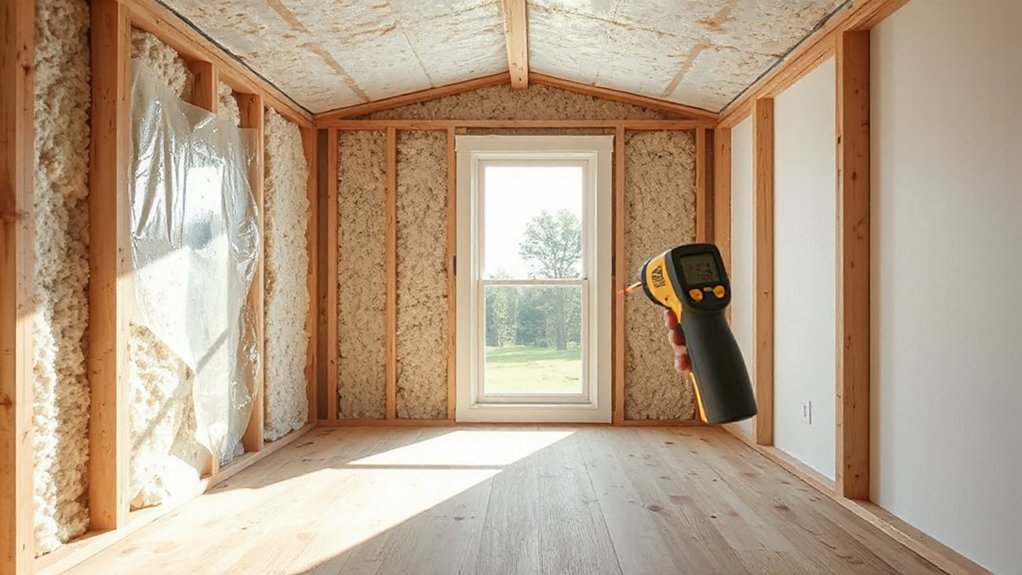
Modern insulation directly affects everyday comfort by reducing outdoor-caused temperature swings and eliminating drafts. You’ll feel steadier indoor temperatures as walls, ceilings, and floors resist heat flow. The key is limiting thermal bridging, where studs, joists, and other framing elements transfer heat efficiently, creating cold spots or heat loss.
By selecting appropriate insulation thickness, you raise overall R-values and slow both cooling and warming cycles. In practical terms, you optimize comfort without overpaying for energy, since incremental gains diminish beyond a certain insulation thickness.
Check installation details to guarantee tight, continuous coverage, avoiding gaps around penetrations and edges. Quietly, proper thickness also supports humidity control and indoor air quality, reducing condensation risk and draft-induced discomfort across seasons.
Breathable Barriers: What They Do and Why They Matter
Breathable barriers help control moisture and air movement, so you get durable assemblies and fewer cold spots.
They’re about balancing moisture management principles with material choices to support drying potential and insulation effectiveness.
Consider installation considerations to guarantee the barrier works with your climate, textures, and existing assemblies.
Breathable Barrier Benefits
Breathable barriers let moisture escape from wall assemblies while keeping bulk water out, reducing mold risk and rot without trapping humidity. When installed correctly, they enable vapor movement in response to ambient conditions, helping to balance interior humidity without compromising structure. You’ll benefit from improved indoor air quality, steadier temperature gradients, and extended wall life.
Choose membranes that align with local climate, framing, and ventilation strategies for ideal performance. Remember that breathable barriers and vapor retarders work together; the barrier handles vapor diffusion, while installed tape and seams minimize gaps. Confirm compatibility with insulation and cladding to prevent condensation at interfaces. Correct detailing matters as much as material choice.
- Visualize air moving through tiny pores, easing dampness without exposing framing
- Seams and edges seal tightly, stopping ghost moisture
- Correct compatibility reduces seasonal surprises
- Uniform performance supports long-term durability
Moisture Management Principles
Moisture management with breathable barriers hinges on directing vapor diffusion where it’s needed and preventing bulk water from entering. You’ll control vapor flow by selecting barriers that balance permeability with structure, matching climate conditions and wall assemblies.
Moisture barriers deter incidental leaks and capillary rise, while allowing interior humidity to move toward the exterior when conditions permit. Consider permeability ratings, placement, and continuity to avoid pinholes, gaps, or discontinuities that undermine performance.
In assemblies, pair barriers with proper drainage and insulation to maintain surface temps that discourage condensation. You’ll also assess seasonal shifts, ensuring diffusion paths don’t trap moisture on interior surfaces.
Remember: the goal isn’t total dryness, but effectively managing vapor diffusion to reduce moisture risks without compromising comfort.
Installation Considerations
How do breathable barriers shape a successful installation? Breathable barriers control moisture diffusion while maintaining air gaps for drying. You’ll balance air tightness with drainage, preventing mold without trapping humidity.
Key decisions include barrier placement, seam sealing, and compatibility with chosen insulation thickness to avoid thermal bridging at edges. Confirm the barrier remains intact during paneling or siding installation, and confirm fasteners don’t create penetrations that bypass the barrier.
You’ll verify that the barrier’s permeability matches interior moisture loads and climate conditions, preserving long-term performance. Consider venting strategies where needed, and test for proper drying potential after assembly.
Material durability, UV resistance, and compatibility with existing assemblies influence service life and performance.
- Visualize moisture wicking away from the substrate through spaced layers.
- Imagine seamless seams that don’t sag under temperature swings.
- Picture continuous coverage around corners, outlets, and penetrations.
- Envision consistent insulation thickness maintaining a uniform thermal profile.
Low-GWP Spray Foams: When to Use and What to Watch
Low-GWP spray foams are a practical option for sealing gaps and creating continuous insulation, but they’re not a universal fix. You should consider application scope, substrate compatibility, and fire/smoke ratings before choosing a product.
For most homes, spray foam provides excellent air sealing and a higher R-value per inch than many alternatives. Yet installation quality matters more than the product alone. Monitor rise time, cure temperatures, and surface prep to avoid voids or foam pullback.
Prioritize products with documented GWP reduction and installers trained for correct thickness and ventilation considerations. Use in areas where cavity access is limited or where continuous insulation is essential, such as corners, penetrations, and attic-to-ceiling junctions.
Always follow manufacturer instructions and local code requirements.
Dense-Pack and Blown-In: Best Cavities for Specialty Insulation
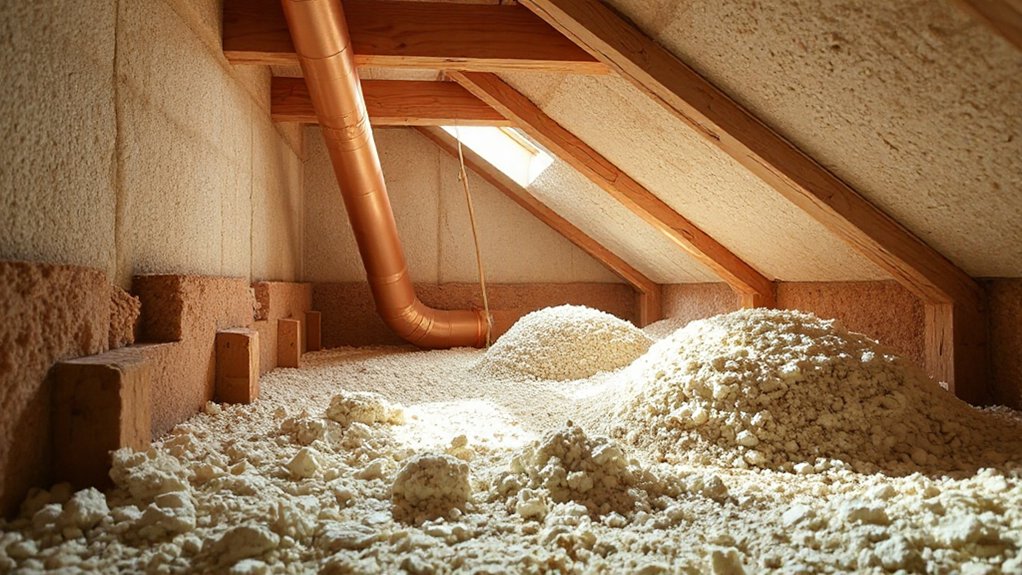
Dense-pack and blown-in methods require precise cavity selection to maximize performance. You’ll want to distinguish dense-pack opportunities from open or partial cavities and match the material behavior to each geometry.
Here, we focus on dense-pack nuances and blown-in cavity types to guide practical, precision insulation decisions.
Dense-Pack Nuances
Dense-pack and blown-in insulation target different cavity types, so selecting the best approach hinges on cavity size, orientation, and existing framing details. In practice, you’ll notice that dense-pack creates higher insulation density with minimal air pathways, while blown-in preserves flow for irregular voids.
Dense-pack nuances include adjusting pour thickness and packing pressure to avoid voids and settlement over time. You’ll track measurement data to verify achieved R-value and long-term stability. Use targeted density tests to confirm uniform coverage without compressing surrounding materials.
Insulation density should align with framing spacing and ventilation needs, ensuring doors, wires, and pipes remain clear. Commit to documenting cavity conditions before and after installation for future audits.
- Tight cavities compress packing into narrow spaces
- Air-flow pockets reveal where density adjustments mattered
- Framing gaps guide nozzle placement and reach
- Post-installation tests confirm sustained performance
Blown-In Cavities Types
Blown-in cavity fills are versatile, offering targeted solutions for irregular voids and larger cavities that don’t suit dense-pack. You’ll use two main types: dense-pack variants for tighter cavities and standard blown-in for more open spaces.
Dense-pack delivers high R-values by compacting fibers to limit air movement, making it ideal where space is limited or dust leaks must be minimized. Standard blown-in creates uniform insulation by freely distributing fibers, which is best for larger, irregular voids or retrofit work without altering framing.
In specialty applications, consider moisture resistance and vapor behavior to prevent condensation, especially in exterior walls or around attic penetrations.
When planning insulation installation, verify cavity dimensions and access, seal gaps first, and ensure your chosen product meets local code and performance targets for cavity insulation.
Recycled Materials for Gaps: Practical, Effective Options
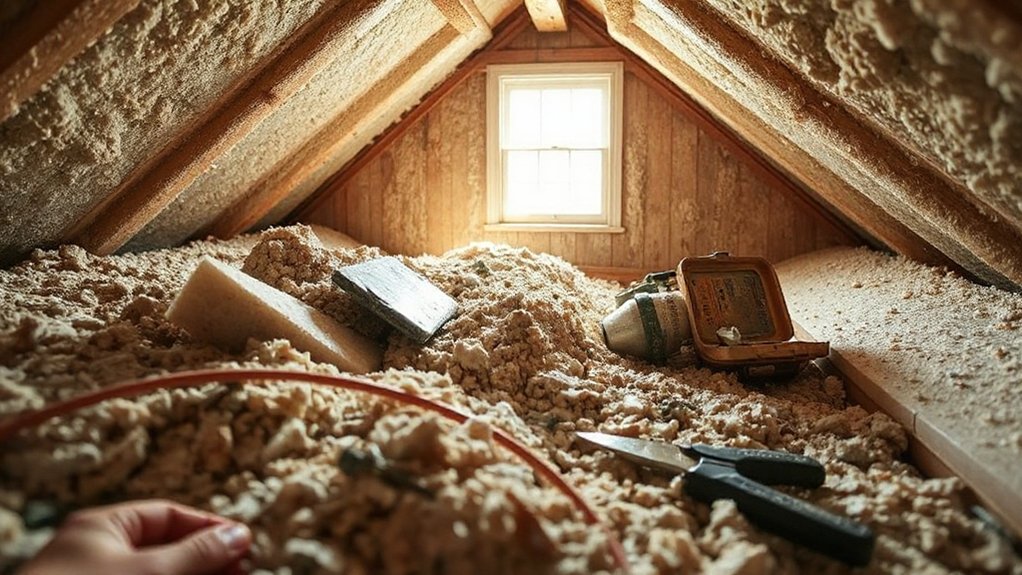
Recycled materials can effectively seal gaps while cutting waste and cost. You’ll deploy practical, eco friendly insulation options that fit common gaps around doors, windows, and penetrations. Each choice emphasizes performance, ease of install, and material compatibility, keeping you on budget without compromising seal quality.
You’ll prioritize recycled gaps materials that resist air leakage, resist moisture, and maintain long-term stability. Implementing these options helps you achieve tighter envelopes and lower energy use, while supporting circular economy goals.
- Recycled cellulose or cotton batting tucked into frame gaps for pliable, mold-resistant sealing
- Recycled denim blends applied with compatible adhesives to seal large cavities
- Reclaimed foam strips at edges, compressed for tight fits with minimal settling
- Post-consumer recycled silicone foams for flexible, durable gaps around irregular shapes
Smart Diagnostics for Pinpoint Heat Loss
Smart diagnostics let you locate heat loss quickly and accurately, so you can target repairs without guesswork. You’ll use surface temps, infrared imaging, and blower-door tests to map airflow paths and insulation gaps.
Start with a baseline: record indoor setpoints and exterior conditions, then run a controlled pressurization test to reveal leaks not visible to the eye.
Interpret heat-loss patterns by comparing thermal images to known construction details, focusing on joints, windows, and penetrations.
Employ data logging to track transient losses during weather changes, and correlate with energy bills for validation.
Use handheld sensors to verify suspected hotspots, then prioritize fixes by impact and ease.
Smart diagnostics streamline diagnosis, reduce waste, and improve retrofit precision by clearly identifying heat loss sources.
Assess Retrofit Readiness: What Your Walls Can Tell You
Assess retrofit readiness by reading what your walls reveal about structure, insulation, and moisture risk. You’ll scan indicators that hint at hidden gaps, framing quality, and potential insulation gaps, then translate findings into actionable steps for retrofit.
Look beyond color to texture clues and material changes that signal air movement or moisture threats, guiding your decisions on updates and maintenance. Consider how wall texture and paint selection reflect previous repairs, airflow patterns, and condition of framing, vapor barriers, and sheathing.
Use this understanding to prioritize sealing, insulation upgrades, and moisture control.
- Wall texture cues: uneven surfaces, bulges, or cracking that indicate movement or hidden voids
- Paint selection tells a story about moisture exposure and prior repairs
- Visible fasteners or trim gaps signal framing and air leakage pathways
- Historical patches reveal insulation inconsistencies and repair priorities
Attic and Roof Upgrades to Stop Air Leaks

Did you know that the attic is often the door between a leaky roof and a tight home? You’ll tighten this door with focused upgrades that stop air leaks at the source.
Start by sealing attic hatches and penetrations, then address wind-washing and gaps around chimneys, vents, and duct pass-Throughs. Install a continuous air barrier along the attic plane to minimize convection paths.
Prioritize attic ventilation to balance moisture and performance, pairing intake and exhaust to avoid pressurization issues. Upgrade roof insulation where gaps exist, aiming for uniform coverage and no compression against framing.
After sealing, test the system with a blower door to verify reductions in air leakage. Maintain access for seasonal inspection, and guarantee junctions remain sealed after any roof work.
Foundations and Basements: Moisture and Insulation Synergy
Foundations and basements are a critical moisture line of defense for an energy-efficient home, where insulation and humidity control work together to prevent costly damage. You’ll optimize the interaction between basement moisture management and foundation insulation to curb heat loss and mold risk.
Use dehumidification paired with vapor barriers at material junctions to maintain stable interior conditions. Inspect exterior drainage, and install proper footing drains to prevent water ingress from the ground up. Select foundation insulation that resists compression and maintains continuity under concrete.
Install vapor-permeable finishes where appropriate to balance moisture transfer without sacrificing thermal performance. Proper detailing reduces condensation points and protects structural integrity while preserving long-term efficiency.
- Subsurface moisture barriers guiding dry, stable basements
- Continuous foundation insulation zones minimizing thermal bridges
- Drainage systems directing water away from walls
- Vapor-aware finishes preventing hidden humidity buildup
Air Sealing First: The Step That Unlocks Better Insulation
Air sealing is the first, most impactful step you can take to enable better insulation. You’ll target gaps around doors, windows, sills, electrical outlets, and plumbing penetrations with correct materials and technique.
Use a measured approach: identify path of air movement, then seal with compatible products to maintain vapor control where needed.
Focus on thermal bridging where framing members meet sheathing and corners; these areas lose heat despite thick insulation elsewhere.
Seal from the exterior to interior to avoid conditioning unsealed spaces.
Remember insulation aging, which can create new gaps over time; plan for reinspection and resealing on a retrofit cycle.
Proper sealing reduces conditioned-air leakage, stabilizes indoor temperatures, and improves the effectiveness of every subsequent insulation upgrade.
Ventilation and IAQ in Tight Homes

You’ll start by understanding Indoor Air Quality basics and how they affect comfort and health in tight homes.
We’ll compare managing home airtightness with ventilation system types to keep luft quality steady without losing energy savings.
This sets the stage for practical, precise choices that balance envelope performance with effective air exchange.
Indoor Air Quality Basics
Do you know how ventilation shapes indoor air quality in tight homes? In these spaces, you rely on controlled air exchange to dilute pollutants, humidity, and odors without sacrificing energy performance. You’ll monitor source control, filtration, and ventilation rates to keep comfort and health aligned. Use simple metrics like ACH goals and filter MERV ratings to guide decisions. Place a modest emphasis on practical IAQ tools that fit tight envelopes.
- A compact mechanical exhaust or balanced system quietly moves air without drafts
- Sealed ducts minimize leakage and energy loss while delivering clean air
- Indoor plants and air purifiers act as supplementary benefits during high-occupancy periods
- humidity control prevents mold risks and improves perceived air freshness
Managing Home Airtightness
Effective airtightness management starts with controlled ventilation that matches your home’s tight envelope. You’ll balance infiltration and exfiltration by prioritizing purposeful air exchange rather than passive leakage.
Use targeted source control to reduce moisture and pollutant ingress, and pair it with intermittent or continuous ventilation as dictated by occupancy and climate.
Monitor IAQ with simple metrics—CO2, humidity, and VOCs—to guide adjustments without overventilating.
Schedule an energy audit to validate improvements, quantify heat loss, and verify that sealing measures don’t compromise safe airflow.
Maintain a stable pressure differential to prevent drafts and cold spots while minimizing energy penalties.
Consider aesthetic enhancements, like discreet operable vents and favorable grille placements, that don’t sacrifice performance.
Document changes for future retrofits and ongoing performance tracking.
Ventilation System Types
Ventilation systems suitable for tight homes vary in how they move and manage air, balancing energy efficiency with indoor air quality. You’ll compare types by how they exchange and filter air, control moisture, and integrate with sealing strategies. Use-tested performance metrics to judge energy use and IAQ outcomes, not just cost.
Inspect airflow paths, ensure airtight joints, and plan for future upgrades.
- Heat-recovery ventilators recover heat from outgoing air while delivering fresh air.
- Energy-efficient exhaust and supply combinations offer balanced ventilation.
- Passive or demand-controlled systems adjust to occupancy and weather.
- Filtration and pressure management protect air quality without waste.
Choose a system that fits your tight-home goals for ventilation balance and air quality while matching duct layout, noise limits, and maintenance needs early on.
Cost-Effective Upgrades for Older Homes
Upgrading an older home doesn’t have to cost a fortune; focus on practical, high-impact fixes that you can implement now. You’ll target envelope improvements first, focusing on attic and floor access to seal gaps with durable caulks, spray foams, and gasketed doors.
Prioritize door and window seals, weatherstrip with precision, and add door sweeps to curb drafts without altering historical architecture. Consider insulation retrofits in cavities where feasible, using one-step foam or mineral wool to preserve fire performance and air barriers.
Measure heat loss with simple infrared checks, then isolate leaks by addressing knee walls and chimney gaps. Respect cultural significance when preserving interior finishes, choosing reversible upgrades that don’t compromise structure.
These steps deliver measurable comfort, lower bills, and manageable risk.
Green Materials That Last: Durability Meets Sustainability
You’ll compare durable green materials, weighing long-term performance against upfront costs to keep your repairs energy-efficient.
We’ll outline practical choices that balance durability with sustainability, focusing on material lifespans, maintenance needs, and recyclability.
This sets the stage for eco-friendly performance options that stand the test of time.
Durable Green Materials
- Long-lasting timber perpendicular to moisture exposure, treated with non-toxic binders
- Recycled-content insulation boards that retain R-values
- Metal fasteners with corrosion resistance for framing durability
- Eco friendly paints enhancing interior air quality and surface protection
Long-Term Sustainability Choices
Durability and sustainability go hand in hand when selecting green materials for long-term home performance. Choosing options that resist moisture, wear, and degradation reduces replacement cycles and embodied energy. You prioritize materials with proven service life and low environmental impact, balancing performance with cost.
Target long-term reliability by evaluating u-values, thermal mass, and moisture management, ensuring systems tolerate climate exposure without frequent upkeep. Favor accessible maintenance, non-toxic components, and compatible finishes to prevent degradation at joints and interfaces.
Consider solar panels and rainwater harvesting as part of a durable, integrated approach, selecting sturdy mounts, corrosion-resistant hardware, and protective enclosures that extend life and simplify service. Document warranties, expected degradation rates, and replacement schedules to support transparent planning and durable, sustainable performance over decades.
Eco-Friendly Performance Options
Eco-friendly performance hinges on choosing materials that stand up to moisture, wear, and climate while keeping embodied energy low. You’ll prioritize durable, low-impact options that perform across seasons without frequent replacement, and you’ll verify rated resistance, longevity, and maintenance needs.
In practice, look for materials that pair moisture tolerance with low embodied energy, and confirm installation compatibility with existing assemblies. You’ll consider Eco conscious roofing and Sustainable wall finishes that minimize heat gain, reduce drafts, and sustain aesthetics over time.
- Durable, moisture-resistant substrates that last with minimal upkeep
- Low-embodied-energy insulation complements eco conscious roofing
- Sustainable wall finishes that tolerate movement and pollution
- Long-term performance data guiding replacement cycles and cost-effectiveness
DIY vs. Pro: Where to Start and Where to Hire
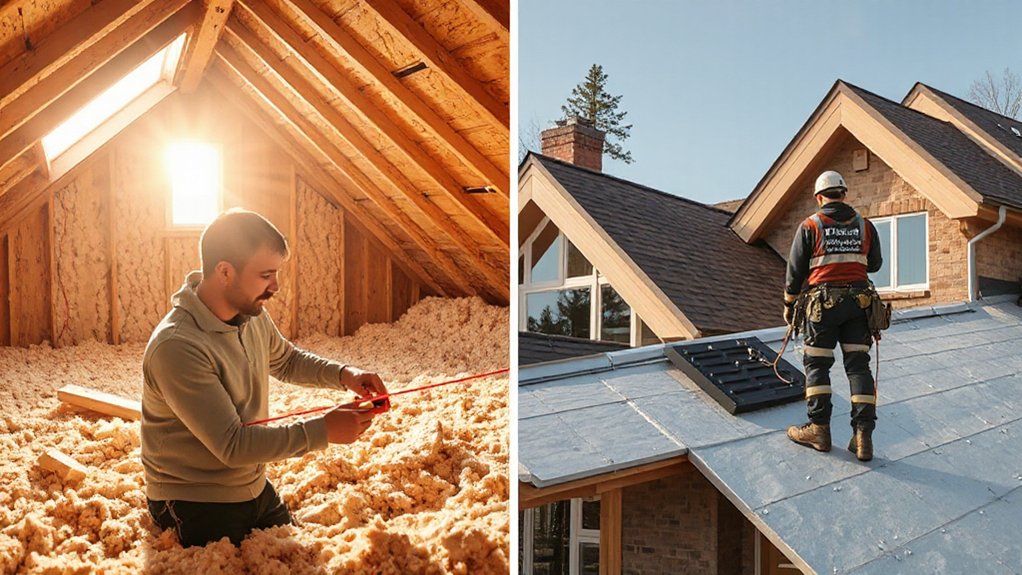
When deciding where to start and what to hire for insulation repairs, assess the job’s complexity, safety risks, and your own skills. You’ll want to separate tasks you can safely handle from those needing trained crew and proper equipment.
For simpler projects—weatherstripping, basic attic sealing, or portable insulation blankets—DIY is viable, provided you follow insulation regulations and wear appropriate PPE.
Complex jobs—dense-pack cores, spray foams, or asbestos concerns—demand licensed professionals with independent verification and guarantees.
Evaluate contractor credentials, past project quality, and written estimates. Consider insulation aesthetics; neat seams and clean penetrations matter for long-term performance.
Ask for product data, ventilation impact, and thermal bridging mitigation.
If your plan involves high-risk materials or uncertain codes, hire pros and document each step for compliance and future maintenance.
Real-World Savings: Case Studies in Action
Have you ever seen real dollar signs disappear after a well-placed upgrade? Real-world savings aren’t just theoretical—they show up in monthly bills and comfort.
In these case studies, you’ll see how targeted measures reduce thermal bridging and raise insulation R values, delivering measurable results. You’ll note payback timelines, door-tight seals, and attic upgrades that yield steady, predictable savings without complexity.
- A retrofit where continuous insulation minimizes thermal bridging across exterior walls
- An attic conversion that boosts insulation R values and lowers heat loss
- Window/door upgrades paired with air-sealing for faster, tighter envelopes
- Duct sealing and insulation trimming HVAC energy use for consistent temperatures
These examples emphasize practical, verifiable gains, not hype, keeping repairs efficient and outcomes predictable.
Maintenance and Long-Term Performance Checks
Maintaining performance after upgrades keeps the savings and comfort solid, so you’ll set up a simple, ongoing check routine. Start with a quarterly self-audit of seals, gaps, and drafts around windows, doors, and outlets. Inspect insulation durability for signs of moisture, settlement, or pest access, and note any uneven thickness or compression.
Test thermal resistance by comparing indoor temperatures against external conditions during peak heating or cooling, using a reliable thermometer or smart sensors. Track attic, crawlspace, and wall insulation performance through energy bills and visible indicators, like icicles or frost lines.
Schedule professional blower door or infrared scans annually to confirm integrity. Document findings, prioritize fixes, and reassess budgets to sustain energy efficiency gains.
Frequently Asked Questions
How Long Do Insulation Upgrades Typically Last?
Up to 20 to 30 years for most insulation upgrades, depending on materials and installation. You’ll maintain thermal performance and moisture control with proper ventilation,防 moisture barriers, and periodic inspections, replacing degraded components as needed to sustain efficiency.
Which Insulation Is Best for Older Homes?
For older homes, choose mineral wool or cellulose, balancing historic integrity with performance. They’re durable, fire-safe, and less invasive. Emphasize breathable assemblies; consider eco friendly insulation options. This supports historical building preservation without sacrificing modern comfort, zoning, or efficiency.
How Does Insulation Affect Indoor Air Quality?
Insulation affects indoor air quality by improving air circulation and reducing humidity while preventing pollutant trapping. You’ll notice fewer drafts, better filtration efficiency, and controlled moisture, but guarantee proper ventilation and material compatibility to avoid off-gassing and air contaminants.
What Costs Are Typical for DIY vs. Pro Work?
Cost comparison varies, but you’ll pay more for pro work due to labor and materials; DIY saves, yet demands high skill requirements. You’ll weigh equipment costs, permits, and timelines against contractor warranties and risk.
How Can I Verify Installed Insulation Meets R-Values?
If you want to verify, you’ll perform R value testing with a certified method and compare to insulation standards. You’ll document results, address gaps, and guarantee compliance, because accurate testing protects energy savings and code adherence.
Conclusion
You’ll feel the difference when you upgrade with modern insulation methods. A single, well-sealed retrofit can cut home energy use by up to 30% in some climates, keeping you cooler in summer and warmer in winter. Choose low-GWP sprays for seamless barriers, and dense-pack or blown-in for irregular cavities. Track performance with annual checks, and mix recycled materials where practical. Prioritize durability with green materials, and decide—DIY or pro—based on your accuracy and safety needs.