
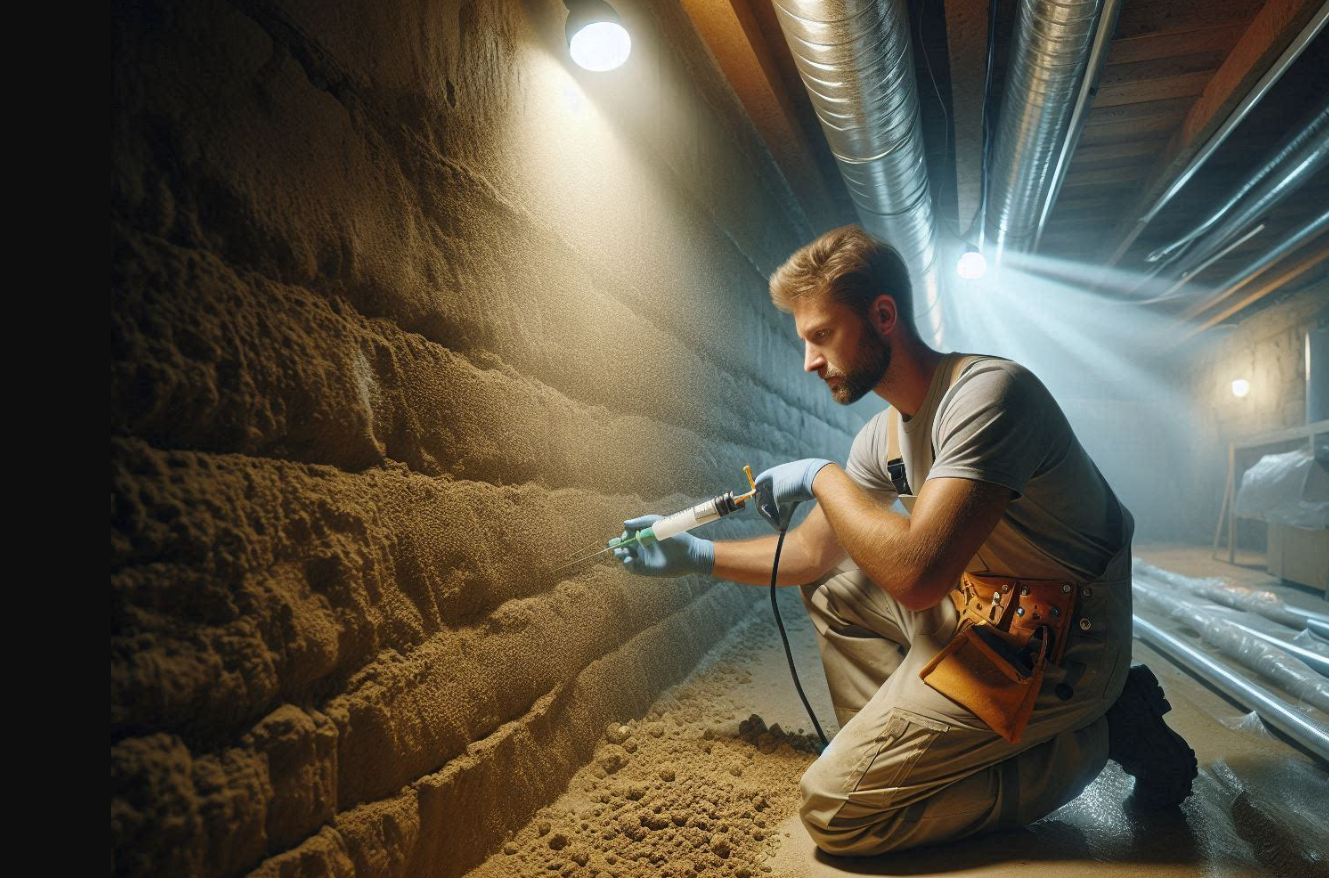

Damp problems in your walls can feel like a slow leak in your wallet, right? When your home starts smelling musty or you spot flaky paint and weird tide marks, you’re probably dealing with rising damp and that’s where injection damp proofing comes in. Instead of ripping your walls apart, you get a special cream or fluid injected into the brickwork that creates a new damp proof barrier.
So in simple terms, you’re telling moisture to stay in the ground where it belongs, not creep up into your walls and trash your plaster. And once you get how it works, you can spot when you actually need it – and when someone’s just trying to upsell you.
What’s the Deal with Injection Damp Proofing?
With more homeowners clocking strange tides marks on walls after those heavy 2024 rainstorms, injection damp proofing has quietly become the go-to fix. You’re not ripping floors up or rebuilding walls, you’re targeting moisture at the source. It’s fast, pretty tidy, and on a typical 3-bed house you’re often talking in the region of a day’s work, not weeks. So instead of endlessly repainting flaky plaster, you’re putting in a proper moisture barrier that actually fights rising damp.
So, what exactly is it?
In simple terms, you’re talking about drilling small holes along your internal or external walls and pumping in a damp proof cream or fluid that creates a new horizontal barrier. This barrier stops moisture traveling up from the ground into your brickwork, a bit like installing an invisible umbrella at the base of the wall. Most modern creams are silane/siloxane based, they diffuse into the masonry and then cure, and once they’re set you’ve effectively got a fresh DPC without dismantling half your house.
Why should you care?
Because if rising damp keeps creeping up your walls, it’s not just ugly stains and peeling paint you’re dealing with, it’s your property value quietly slipping away. You’re also inviting things like mould spores, dust mites and that constant cold, clammy feel that pushes your heating bill up by 10-15%. With injection damp proofing, you cut off the moisture route, stabilise internal humidity, and make it way easier to keep rooms warm and healthy. Long story short, you protect your wallet, your walls, and your lungs.
When you dig into real jobs, the difference can be pretty stark: on a Victorian terrace with 900 mm high tide marks, injection damp proofing combined with replastering cut internal moisture readings from 85% down to under 15% in about three months. You’re not just chasing cosmetic fixes either, you’re giving timber skirtings and floor joists a fighting chance against rot, which is where the big repair bills usually hide. And if you ever plan to sell, surveyors pick up on damp instantly – a recent RICS survey flagged that visible damp can knock 5-10% off offers, so putting a proper barrier in now tends to pay you back later.
How Does It Work?
Injection damp proofing works by quietly building a hidden moisture barrier inside your walls that stops rising damp in its tracks. Instead of ripping out brickwork, you drill small holes along the mortar line, usually every 100-120 mm, then inject a silane/siloxane cream under controlled pressure. As that cream diffuses through the capillaries in the masonry, it lines them with a water-repellent layer, so moisture from the ground simply can’t climb any higher. What you get is a new damp proof course formed from within, not slapped on the surface.
Seriously, it’s not as complicated as it sounds
Think of injection damp proofing like putting a waterproof lining inside your wall’s “veins” so the water just stops climbing. You’re not rebuilding anything, you’re simply using drilled entry points to let a specialist cream flow into old, thirsty brick and mortar. Within a few hours it starts reacting with the minerals in the wall, then over a few weeks it cures fully and blocks capillary action. So on the outside, your wall still looks the same, but on the inside, the game has totally changed.
The process in simple terms
You’re basically following a step-by-step recipe: investigate, drill, inject, then let the wall dry out properly. First you or your surveyor check moisture readings and map out a level damp proof course line, typically 150 mm above external ground level. Next, 12 mm holes are drilled into the mortar bed at set intervals, the cream is injected to a measured volume per linear metre, and the holes are plugged. After that, you let the treated wall dry – often 6-12 months for heavier saturation – before finishing with replastering that suits the new DPC system.
On a typical 3-bed semi, you might be looking at around 25-30 metres of wall to treat, so you’ll often see technicians starting at one corner and working methodically around, drilling at exactly the same height inside and outside where possible for a continuous barrier. Each hole is usually drilled to about 90-95% of the wall thickness, so the cream fills the full profile of the masonry, not just the front few centimeters. Because the material spreads sideways as well as along the bed joint, you don’t need to saturate the entire wall, just hit the right spacing and depth.
Once that’s done, salts-contaminated plaster is stripped, walls are sometimes treated with a salt-inhibiting render, then you’re free to skim, paint, tile – whatever finish you want – knowing the new damp proof course is quietly doing its job in the background.
The Perks of Injection Damp Proofing
Studies show you can cut moisture ingress by up to 80% within weeks using a well-installed injection damp proof course, so you’re not just guessing, you’re stacking the odds in your favour. Instead of ripping out half your ground floor, you drill small holes, inject the cream, tidy up, and let chemistry get to work while you carry on with life. You usually see walls drying out over 6-12 months, and in that time salts stop blooming, skirting boards stop swelling, and your heating bill stops quietly creeping up.
What’s in it for you?
On a typical 3-bed terrace you can often complete injection damp proofing in a single day, which means way less disruption to your routine and not living on a building site for weeks. You keep more of your original plaster and skirtings, so you’re not paying for a full strip-out unless it’s really needed. Plus, you get a clear treatment zone you can point to if you ever sell the place, which always looks good on a survey.
My favorite benefits
In most older houses with solid walls, you can get targeted treatment exactly where rising damp is active, so you’re not throwing money at areas that are bone dry. You also get a solution that keeps working long term, not just a quick paint-over that flakes off a year later and makes you swear at the wall.
What really wins me over is how injection damp proofing gives you control and predictability in a situation that usually feels chaotic, especially if plaster is crumbling and paint is bubbling off in sheets. You know where the holes are drilled, how deep, what cream is used, and you’ve got data sheets saying it’s tested to last decades, which is reassuring when you’re signing off a 5- or 10-year guarantee.
Add in the fact that most installers can phase the work room by room so you can shuffle furniture around instead of moving out, and it suddenly feels like a manageable weekend-level hassle rather than a horror story renovation. And when you stand back a few months later and see dry skirtings, solid plaster, and no fluffy salt patches creeping back, that quiet “yeah, that was worth it” moment is hard to beat.
Are There Downsides?
Compared to ripping out walls, injection damp proofing feels like a no-brainer fix, but it still has a few strings attached. You’re drilling into masonry, so in old lime mortar or crumbly brick, that can go sideways if the installer isn’t careful. Costs also creep up when you add plaster removal, redecoration and follow-up moisture readings over 6-12 months. And if the source is actually a leaking gutter or high external ground level, you might see very little improvement, because the cream can’t magically fix a totally misdiagnosed problem.
Honestly, nothing’s perfect
Compared to a full rebuild of damp walls, injection feels quick and tidy, but it’s not some silver bullet that fixes everything overnight. You’ve still got drying times of 6-18 months on thicker walls, plus the hassle of stripped plaster and skirting. You also rely heavily on the installer getting spacing, depth and volume right – mess that up and you’re basically drilling holes for nothing. So yes, great tool, but only when it’s used in the right place, in the right way.
What to watch out for
Instead of just asking the price, you really want to dig into how the work will actually be done and what happens after. Misaligned drill holes, gaps in the pattern or injecting into saturated rubble-filled cavities can all leave you with damp patches that never quite disappear. On top of that, some firms quietly skip salt-contaminated plaster removal to keep quotes low, which means those nasty hygroscopic salts keep dragging moisture through your nice new paint.
What really deserves your attention is the survey and the paperwork that follows, because that’s where you see who knows their stuff and who’s winging it. You should be getting moisture profiles across different wall heights, not just a bloke waving a meter around at skirting level for 30 seconds.
Ask for the drill pattern, hole spacing (usually 10-12 cm apart), product spec sheet and a written drying timetable so you’re not repainting after 4 weeks then blaming the system when it fails. If they won’t talk about bridging from plaster, floor screeds or external ground levels, or they shrug off ventilation and condensation checks, that’s your cue to walk away and find someone who actually treats the building as a whole, not just a line of holes to fill.
Who Should Consider It?
Compared to ripping out plaster or rebuilding walls, injection damp proofing suits you if you want targeted results without turning your home into a building site. You’ll find it especially useful in older brick houses built before the 1950s, basement flats with persistent tide marks at 300 mm to 1 m high, or rental properties where you just can’t have weeks of disruption. If you’ve already tried dehumidifiers, anti-mould paint and constant ventilation with only short-term relief, you’re firmly in the “should consider it” camp.
Is this for everyone?
Not every property or budget is a perfect fit, and that’s totally fine. You’ll get the most benefit if your main issue is rising damp in porous masonry, not major leaks or structural movement. Small terrace houses with solid walls, older cottages with no existing damp proof course, even 1930s semis with unexplained peeling skirting boards – these are the kind of places that respond well. If you’re in a modern cavity-wall home with condensation issues, other fixes might give you better value.
Your situation matters
Because every building has its own little quirks, your specific setup really changes how well an injection course will perform. A Victorian terrace with 9-inch solid brick walls, high external ground levels and a blocked sub-floor vent needs a different approach to a 1980s bungalow on a sloping plot. Even things like the type of plaster you’ve got, whether the walls were tanked before, or if there’s a history of flooding all affect the spec. You’re not just buying some magic cream in a tube, you’re buying a system that has to match your exact conditions.
Take a basement flat in a 1900s London conversion as a practical example – you might have moisture readings off the charts at the party wall, a shared downpipe leaking for years and a concrete path bridged right up to the internal floor level. In that case, you don’t just drill and fill; you combine injection with lowering external ground levels, upgrading ventilation and using a salt-resistant plaster system, otherwise you’re masking symptoms.
Compare that with a rural cottage where the internal floor was raised 150 mm with concrete in the 1980s, trapping moisture in the lower brick courses, here an injection course paired with breathable finishes can drop readings by 60-80% within months. So your job isn’t to become a damp guru overnight, it’s to map what’s going wrong in your specific home, then line that up with what injection treatment is actually designed to fix.
What to Expect from Your Contractor
You invite someone in to drill into your walls and suddenly you’re wondering if you’ve hired a pro or a cowboy outfit. A good contractor will survey properly, take moisture readings, explain why injection is right for your property and give you a written scope of work. You should see dust sheets, clear drilling patterns, correct hole spacing (usually 100-120 mm apart) and evidence of the product used. And when they’re done, you get a guarantee in writing, not just a vague promise.
Finding the right person for the job
You really want someone who does damp work every week, not a general handyman having a go. Check if they’re PCA or CSTDB qualified, ask how many injection damp proof jobs they’ve done this year, and hunt down reviews that mention results 6-12 months later. A solid contractor will happily show you previous case studies, insurance details and a sample guarantee. If they dodge simple questions, that’s your cue to walk.
Questions you should ask
You should head into that first visit with a small hit list of questions, not just nod along. Ask what product they’ll inject, the expected drying time (usually 6-12 months for full drying), what prep you need to do, and exactly how they’ll deal with contaminated plaster. Get them to confirm how long the guarantee lasts, if it’s insurance-backed and what happens if damp readings are still high after 6 months. Clear, confident answers usually signal you’re dealing with someone who knows their stuff.
When you start firing off those questions, pay attention to how they answer, not just what they say. Do they explain the difference between rising damp and condensation, or just blame “damp” for everything? Can they show you moisture readings on a meter and explain why one wall is worse than another, maybe because of a blocked cavity or high external ground level? Ask how they’ll handle skirting boards, sockets and radiators on treated walls, and whether they’ll re-skim with a salt-resistant render or leave that to you. The more specific their response, with actual figures, products and timeframes, the more confidence you can have in the job actually working long term.
To wrap up
Drawing together everything you have just seen, you can see how injection damp proofing sits in that sweet spot between old school building know-how and modern tech, giving your walls a hidden shield against rising damp while keeping disruption low. If you want your home to feel solid under your feet and your plaster to stay put, this method gives you a clear, practical route to follow – no drama, just a proven system that you can plan, budget for, and use to keep your place dry for the long haul.